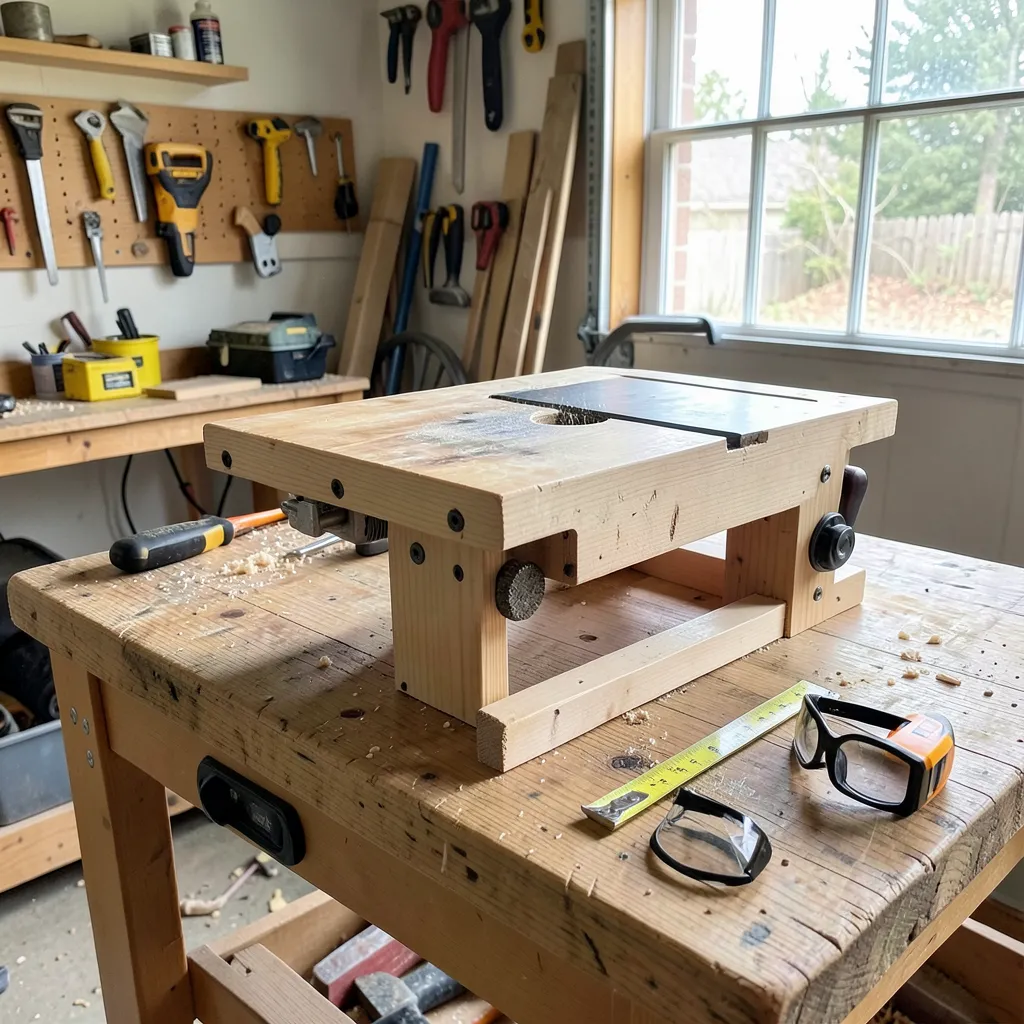
Homemade Table Saw: DIY Plans That Actually Cut Straight and Safely
A homemade table saw can be a valuable tool for any woodworking enthusiast. Building your own allows customization to fit specific needs and can save money.
Creating a table saw at home offers many advantages. You can tailor it to your projects and workspace. Store-bought saws often come with features you don’t need, or they lack ones you do. A homemade version lets you decide everything.
The process also provides a sense of accomplishment. Working with your hands and seeing the final product is rewarding. Plus, you learn new skills that can be applied to future projects. This guide will help you understand the basics of building a homemade table saw, ensuring you have the right tools and knowledge for a successful build.
Introduction To Homemade Table Saw
Best Store-Bought Alternative
 |
SKIL 15 Amp 10 Inch Portable Jobsite Table Saw with FoldingSKILSAW | Our pick | $325.13
Price as of 20 Oct 2026
|
View |
Cost is the main driver here: a homemade table saw built around a circular saw you already own can cost as little as $30-$60 in plywood, hardware, and a hinge, versus $300+ for even an entry-level benchtop table saw. The trade-off, covered in detail further down, is that you’re building a jig around a circular saw’s motor and blade rather than a purpose-built table saw mechanism, so features like a riving knife and blade guard that come standard on a store-bought saw have to be deliberately worked around rather than assumed.
Most homemade designs follow the same basic principle: mount a circular saw upside-down under a flat table surface, let the blade protrude through a slot, and guide the workpiece across the top the way you would on a real table saw. Getting a clean, safe result depends less on the exact plan you follow and more on three things — a genuinely flat, stable table surface, a fence that stays parallel to the blade under pressure, and never skipping the push-stick habit, since the blade sits exposed on top rather than tucked under a housing.
Materials And Tools Needed
For the base and top: a sheet of 3/4-inch plywood or MDF for the table surface (thick enough not to flex under a circular saw’s weight), 2x4s for the frame legs and cross-bracing, and either a piano hinge or a bolt-and-wingnut mounting system to attach the circular saw underneath so you can still access it for blade changes. You’ll also need wood screws, carriage bolts for anything load-bearing, and wood glue for the frame joints.
Tool-wise: the circular saw itself is the heart of the build, plus a drill for pilot holes and mounting, a jigsaw or hand saw to cut the blade slot in the tabletop, a combination square to keep the blade slot and fence truly parallel (this single measurement matters more than almost anything else in the build), and clamps to hold the frame square while you screw it together. Skimping on the square-and-parallel step here is the single most common reason a homemade table saw cuts a taper instead of a straight line.
Designing Your Table Saw
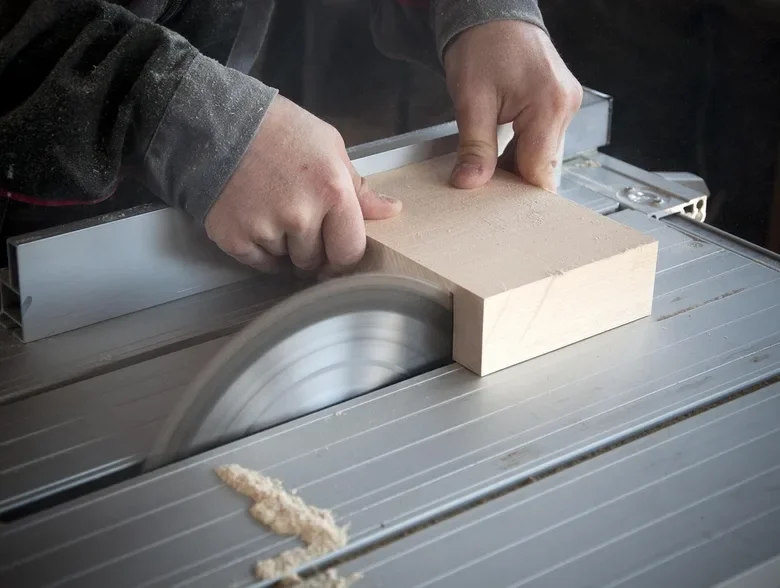
Start by deciding what you’re actually cutting most: ripping long boards to width calls for a longer table and a fence that locks parallel across its full length, while mostly cross-cutting shorter pieces favors a more compact table with a miter slot instead. Sketch the rough dimensions before cutting any wood — most builds land somewhere around 24×30 inches for the tabletop, which is enough surface to support a board without it tipping, without becoming an unwieldy bench that eats your whole shop.
Decide early whether the saw needs to be portable or can stay fixed in one spot, since that changes the frame design — a fixed bench can use permanent leg joinery, while a portable version benefits from folding legs or a wheeled base. Plan for blade height and bevel adjustment access from above the table if your circular saw supports it, since you don’t want to flip the whole jig over every time you need to change cutting depth. Whatever else you build in, budget space underneath for the saw’s own safety guard mechanism to still move freely — jamming it open defeats the one built-in safety feature your circular saw already has.
Building The Base
Cut four 2×4 legs to your target height (a comfortable working height is typically 34-36 inches) and join them with horizontal 2×4 rails on all four sides, using glue plus screws at each joint rather than screws alone — a table saw’s whole job is resisting lateral force as you push wood across it, and a glued joint resists racking far better than a dry screwed one. Check every corner with a square as you assemble, since a frame that’s out of square telegraphs straight into an out-of-parallel fence later.
Add diagonal cross-bracing between at least two adjacent legs; this is what actually stops the frame racking side-to-side under the push force of a cut, more than the square top joints do on their own. If mobility matters, locking caster wheels at all four corners let you roll the saw into use and lock it solid while cutting — just confirm the locked wheels genuinely stop lateral movement before trusting the saw with a real cut, since a saw that shifts mid-cut is a kickback risk.
Installing The Saw Blade
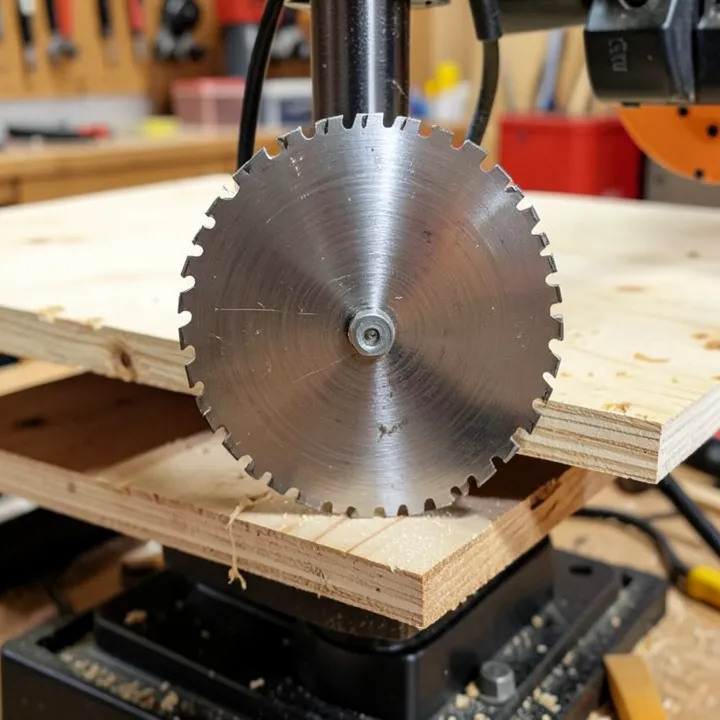
Use a blade matched to what you’re actually cutting: a 40-tooth combination blade handles general ripping and crosscutting in solid wood, while a 60-80 tooth blade gives a cleaner cut in plywood and veneered panels at the cost of a slower feed rate. More teeth generally means a smoother but slower cut; fewer teeth cuts faster but leaves a rougher edge that may need extra sanding.
Whatever blade you install, torque the arbor nut to the saw manufacturer’s spec rather than just “tight,” and always spin the blade by hand with the saw unplugged before the first cut to confirm it runs true with no wobble. A blade that wobbles even slightly at the rim is far more likely to bind in the cut or throw the workpiece back at you — this check takes ten seconds and is not optional.
Creating The Tabletop
Plywood (3/4-inch, void-free if you can get it) is the standard choice for a homemade table saw top — it’s strong across its span, machines cleanly, and costs less than most alternatives. MDF is smoother out of the box and slightly cheaper, but it absorbs moisture and can swell or delaminate at the edges if it ever gets wet, which matters in a shop where spilled finish or humidity is a real possibility. Tempered hardboard is harder-wearing than either but noticeably heavier and tougher to cut cleanly with hand tools, which makes it a better choice for a fixed installation than a portable one.
Once the top is cut and the blade slot is routed or jigsawed in, sand it with 150-180 grit to remove any roughness that would catch a workpiece sliding across it, then seal it — a wipe-on polyurethane or even a coat of paste wax reduces friction so wood glides rather than catches, which directly affects how straight and controlled your cuts feel. Skip heavy paint on the working surface itself; it adds friction and can gum up over time in a way a hard sealer or wax finish doesn’t.
Adding Safety Features
A blade guard is the first thing most homemade builds lose when the circular saw gets mounted upside-down, since the saw’s own retractable guard is designed to work right-side up. If your design doesn’t preserve some form of guard over the exposed blade above the table, build a simple hinged wood or clear polycarbonate shield that a workpiece can push open as it passes through and that drops back down afterward — an exposed spinning blade at table height with nothing over it is the single biggest safety gap between a homemade saw and a store-bought one.
Wire in an accessible power switch, ideally a paddle switch mounted at the front edge of the table where a knee or hip can hit it in an emergency without you needing to reach for a cord. Test it under no-load conditions before ever making a real cut, and get in the habit of unplugging the saw completely (not just switching it off) any time you’re changing the blade or reaching near it for adjustments.
Testing And Calibration
With the saw unplugged, rotate the blade by hand and check with a square that it’s exactly 90 degrees to the table surface (unless you’ve deliberately set a bevel), and confirm it doesn’t wobble at any point in its rotation. Any play here shows up as an inaccurate, rough cut once the saw is running, so it’s worth catching before you ever plug it in.
Measure the distance from the blade to the fence at both the front and back of the table — these two numbers need to match exactly, because even a 1/16-inch difference means the workpiece is being squeezed or angled as it travels, which is a common, underappreciated cause of binding and kickback on a shop-built saw. Adjust the fence mounting until front and back measurements agree, then confirm everything with an actual test cut on scrap: it should come off clean, straight, and the same width the whole length of the board.
Maintenance And Upkeep
Sawdust accumulates fast under a table saw jig, and it’s not just a mess — buildup around the motor housing and vents can cause a circular saw to run hotter than it’s designed to, shortening motor life. A shop vacuum run over the underside every few sessions, plus a quick brush-off of the table surface, keeps both the saw and the sliding surface performing the way they did on day one.
Blades dull gradually rather than all at once, so the warning sign is usually a cut that needs more push force than it used to, or slightly burnt or ragged edges instead of a clean line. A blade sharpening service is often cheaper than a new blade for a quality carbide-tipped blade; a cheap steel blade is usually more economical to just replace. Either way, inspect the blade for chipped or missing carbide teeth periodically — a damaged tooth changes the cutting balance and is a legitimate safety issue, not just a quality one.
Advanced Modifications
A basic dust collection setup — a shop vac hose clamped or taped to a port near the blade — captures a meaningful share of the dust before it ever hits the floor or your lungs, though a homemade jig will never seal as tightly as a factory-enclosed table saw cabinet. Check and clean the vacuum’s filter regularly; a clogged filter quietly loses suction long before it triggers any obvious warning, and by the time you notice reduced pickup you’ve likely been breathing more dust than you realized.
A shop-made miter gauge or crosscut sled, riding in a slot cut parallel to the blade, turns repeated angled or square crosscuts from a freehand guess into a repeatable, accurate operation — this is genuinely one of the highest-value add-ons for a homemade saw, since accurate crosscuts are otherwise hard to manage without a factory miter slot. Any jig you build should be tested on scrap and clamped or locked before use, the same as the saw itself.
Frequently Asked Questions
What Can I Use Instead Of A Table Saw?
Use a circular saw, jigsaw, or handsaw instead of a table saw. Miter saws and track saws are also effective alternatives.
What Is The #1 Danger When Using A Table Saw?
The #1 danger when using a table saw is kickback. It can cause serious injuries by forcefully throwing the wood back at you.
What Hand Tool Is Equivalent To A Table Saw?
A circular saw is the hand tool equivalent to a table saw. It offers similar cutting capabilities but with more portability.
Can Circular Saw Blades Be Used In Table Saws?
Yes, you can use circular saw blades in table saws. Ensure the blade size and arbor hole match your table saw specifications.
Where DIY Table Saws Fall Short on Safety
Most homemade table saw builds skip three things a store-bought saw includes by default: a riving knife (stops the wood pinching the blade and kicking back), a blade guard, and anti-kickback pawls. None of the plans above add these because they are hard to retrofit onto a plywood jig.
That is not a reason to avoid building one — plenty of woodworkers use a homemade table saw for years without an incident — but it does mean pushing wood through with a push stick, never freehanding a cut, and treating the exposed blade area with more caution than you would on a saw with a guard.
Conclusion
Building a homemade table saw offers many benefits. It saves money and provides a sense of accomplishment. With the right tools and safety measures, anyone can make one. Enjoy creating and using your new table saw. Happy woodworking!
Sponsored / affiliate links. As an Amazon Associate I earn from qualifying purchases. I may earn additional commission from eligible campaigns.