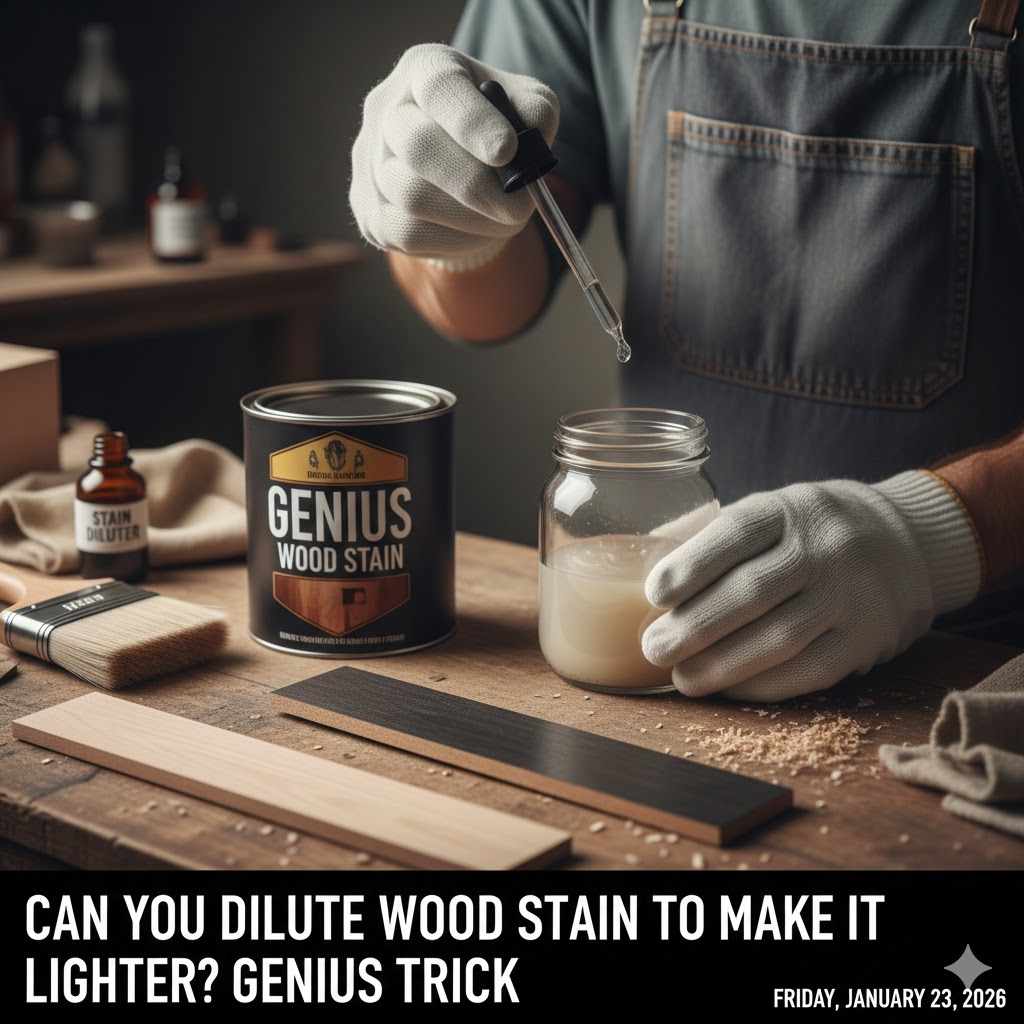
Can You Dilute Wood Stain to Make It Lighter? Genius Trick
Yes, you can absolutely dilute wood stain to make it lighter. This simple trick gives you custom control over the color intensity. For oil-based stains, use mineral spirits or paint thinner. For water-based stains, simply use water. Always test your mixture on a scrap piece of wood first to get the perfect shade before applying it to your project.
Have you ever found the perfect wood stain, only to apply it and find it’s way too dark? It’s a common moment of panic for many DIYers. You had a beautiful, light-toned finish in mind, and now your project looks heavy and gloomy. It’s frustrating, and you might think your only option is to sand it all off and start over.
Don’t worry, there’s a much easier way! You have more control over your stain color than you think. In this guide, I’ll show you the genius trick of diluting wood stain to get that perfect custom shade you’ve been dreaming of. We’ll walk through everything, step-by-step, so you can finish your next project with confidence.
Welcome, friend! I’m Md Meraj, and I’m here to help you take the guesswork out of woodworking. Today, we’re tackling one of the most useful tricks in wood finishing: creating a lighter, more transparent stain. Let’s get started.
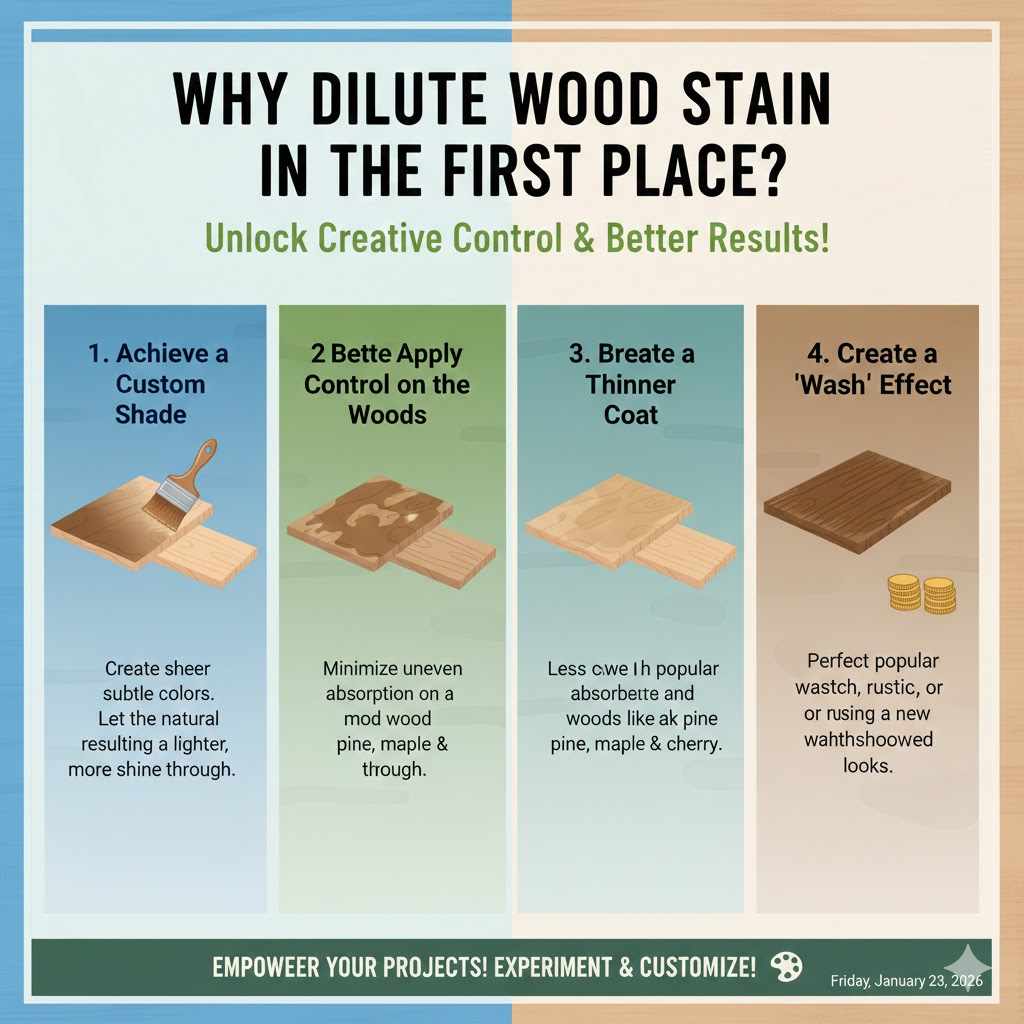
Why Dilute Wood Stain in the First Place?
You might wonder why you’d want to change a color that a manufacturer already perfected. Diluting stain isn’t about fixing a mistake; it’s about unlocking creative control. It’s one of my favorite techniques because it empowers you to customize your projects.
- Achieve a Custom Shade: You are no longer limited to the colors on the shelf. You can create a sheer, subtle hint of color that lets the natural wood grain shine through beautifully.
- Better Control on Blotchy Woods: Some woods, like pine, maple, or cherry, tend to absorb stain unevenly, resulting in a blotchy finish. A diluted stain is less intense, which helps minimize blotching and gives you a more uniform look.
- Create a “Wash” Effect: Want that popular weathered or whitewashed look? Diluting a stain is the perfect way to achieve it. A thinned white or gray stain can give you a gorgeous, rustic finish.
- Save Money: If a stain is too dark, you don’t have to buy a whole new can. You can lighten the one you have, saving you a trip to the store and a few dollars.
Understanding Stain Types: The Most Important Step
Before you start pouring and mixing, you must know what kind of stain you have. Mixing the wrong liquids is the number one mistake beginners make, and it can ruin your entire project. There are two main types of wood stain you’ll find at the hardware store.
The Golden Rule: Like dissolves like. You must use an oil-based thinner for an oil-based stain and a water-based thinner for a water-based stain.
How do you tell which type you have? Check the can! The label will tell you if it’s “oil-based” or “water-based.” If you’re still not sure, look at the cleanup instructions. If it says to clean up with “mineral spirits” or “paint thinner,” it’s oil-based. If it says to use “soap and water,” it’s water-based.
Here’s a quick comparison to help you understand the differences:
| Feature | Oil-Based Stain | Water-Based Stain |
|---|---|---|
| Solvent (Base) | Petroleum distillate (oil) | Water |
| Diluting Liquid | Mineral spirits, paint thinner, naphtha | Water |
| Drying Time | Slower (6-24 hours) | Faster (1-3 hours) |
| Odor | Strong, chemical smell | Low to no odor |
| Penetration | Penetrates deep into the wood | Sits more on the surface, colors the top layer |
| Grain Effect | Enhances wood grain beautifully | Can sometimes raise the wood grain (requires light sanding) |
| Cleanup | Mineral spirits or paint thinner | Soap and water |
What to Use to Dilute Wood Stain
Now that you know your stain type, let’s pick the right liquid (also called a “diluent” or “solvent”) to thin it with. It’s simpler than it sounds!
For Oil-Based Stains
You’ll need a petroleum-based solvent. The most common choices are readily available at any home improvement store.
- Mineral Spirits: This is my go-to choice for beginners. It’s widely available, affordable, and has a slower evaporation rate, giving you more time to work with the stain before it dries. It’s very forgiving.
- Paint Thinner: Often used interchangeably with mineral spirits, paint thinner is a general-purpose solvent. It works just as well for diluting stain. Always check the label to ensure it’s a petroleum-based product.
- Naphtha: This solvent evaporates much faster than mineral spirits. Woodworking pros sometimes use it when they want a project to dry quickly, but for beginners, I’d stick with mineral spirits to avoid a rushed, stressful application.
- Turpentine: An older, more traditional choice, turpentine is derived from pine trees. It works well but has a very strong odor and can be more expensive. Mineral spirits are a more modern and practical choice.
For Water-Based Stains
This one is easy! To dilute a water-based stain, you just need…
- Water: That’s it! Plain, simple water from your tap is all you need. It’s free, odorless, and completely non-toxic. This is one of the biggest advantages of working with water-based products. I recommend using distilled water if you have very hard tap water, as the minerals can sometimes affect the finish, but it’s not usually a major issue.
Essential Tools and Materials You’ll Need
Getting your tools ready before you start makes the whole process smooth and enjoyable. You don’t need anything fancy.
- Your wood stain (oil-based or water-based)
- Your diluting liquid (mineral spirits for oil-based, water for water-based)
- Safety gear: Nitrile gloves, safety glasses, and a respirator (especially if working with oil-based products indoors)
- Clean mixing container: A glass jar or a plastic container that won’t be dissolved by solvents works great.
- Measuring spoons or cups: For accurate mixing ratios.
- Stir sticks: A clean popsicle stick or paint stirrer is perfect.
- Scrap wood: This is not optional! You MUST test your color on a spare piece of the same wood as your project.
- Clean, lint-free rags: For applying the stain and wiping off the excess.
- Drop cloth or old newspapers: To protect your work surface.
Step-by-Step Guide: How to Dilute Wood Stain Perfectly
Ready to create your custom color? Let’s walk through the process together. Take your time, and remember—the most important step is testing!
Step 1: Safety First!
Before you open any cans, put on your safety gear. Protect your hands with nitrile gloves. Wear safety glasses to shield your eyes from splashes. If you’re using an oil-based stain, proper ventilation is crucial. Work in a well-ventilated area like an open garage or outdoors. If you must work indoors, open windows and use a fan to circulate the air. The fumes from solvents can be harmful, so a respirator is always a good idea. The Consumer Product Safety Commission provides excellent guidance on handling these materials safely.
Step 2: Prepare Your Workspace
Lay down your drop cloth or newspapers to protect your floor or workbench. Arrange all your tools so they are within easy reach. Having everything ready means you won’t have to scramble for something with stain-covered gloves on.Step 3: The Crucial TestGrab your scrap piece of wood. It is so important that this piece is the exact same type of wood as your project. A stain will look very different on pine than it does on oak. Sand the scrap piece exactly as you sanded your main project. This ensures your test is a true preview of the final result.
Step 4: Start with a Small Batch and a Simple Ratio
Don’t dilute your entire can of stain! You might overdo it, and you can’t go back. Start by mixing a very small amount in your separate container. A good starting ratio is 1 part stain to 1 part diluent (1:1).
For example, measure 1 tablespoon of stain and add 1 tablespoon of mineral spirits (for oil-based) or water (for water-based).
Step 5: Mix Thoroughly and Gently
Use your stir stick to gently but thoroughly mix the stain and the diluent. Scrape the bottom and sides of the container to make sure everything is incorporated. You want a smooth, consistent color. Avoid shaking the mixture, as this can create air bubbles that might show up in your finish.
Step 6: Apply the Test Stain
Dip a clean, lint-free rag into your diluted mixture and apply it to your scrap wood. Apply it in the direction of the wood grain. Cover a small area, just like you would on your actual project.
Step 7: Wipe Away the Excess
Let the stain sit for a few minutes (check the can for recommended time, but 2-5 minutes is typical). Then, use a new, clean rag to wipe off all the excess stain. Wiping removes the extra pigment sitting on the surface and reveals the true color.
Step 8: Let It Dry and Evaluate
Let the test spot dry completely. This is key! The color will look different when it’s wet. Once dry, examine the color in good light. Is it what you wanted?
- Too dark? Add more diluent to your mixture. Try a 1:2 ratio (1 part stain, 2 parts diluent) and test again on a new spot.
- Too light? Add a little more stain to your mixture.
Keep adjusting and testing on your scrap wood until you say, “That’s it! That’s the perfect color!” Make a note of your final ratio so you can replicate it for the main project.
Step 9: Stain Your Project!
Once you are happy with your custom color, you can mix a larger batch using your winning ratio. Apply it to your actual project with confidence, following the same application and wiping technique you used on your test piece. After it dries, don’t forget to apply a protective top coat like polyurethane or varnish to seal and protect your beautiful work.
Common Mistakes to Avoid When Diluting Stain
Learning this trick is easy, but a few common slip-ups can trip up beginners. Keep these in mind to ensure a flawless finish.
- Using the Wrong Diluent: This is the most critical mistake. Remember: water for water-based, and a solvent like mineral spirits for oil-based. Mixing them will create a clumpy, unusable mess.
- Forgetting to Test: I know I’ve said it a lot, but it’s that important. Applying an untested mix directly to your project is a huge gamble that rarely pays off. Always test on a scrap piece first.
- Mixing Too Much at Once: Start with a small test batch. You can always mix more later. This prevents wasting stain if you don’t like your initial mixture.
- Poor Ventilation: The fumes from oil-based stains and solvents can be overwhelming and unsafe. Always work in a space with plenty of fresh air.
- Not Mixing Enough: Make sure the stain and diluent are fully combined. If not, you may get streaks or an uneven color on your project. Stir gently but thoroughly.
- Ignoring the Wood Prep: The best stain job starts with good sanding. A poorly prepared surface will look splotchy, no matter how perfect your stain mixture is. For more information on proper sanding techniques, resources like the University of Arizona’s guide on finishing wood can be incredibly helpful.
Alternative Ways to Get a Lighter Finish
Diluting stain is a fantastic method, but it’s not the only one. Here are a couple of other techniques to keep in your woodworking toolkit.
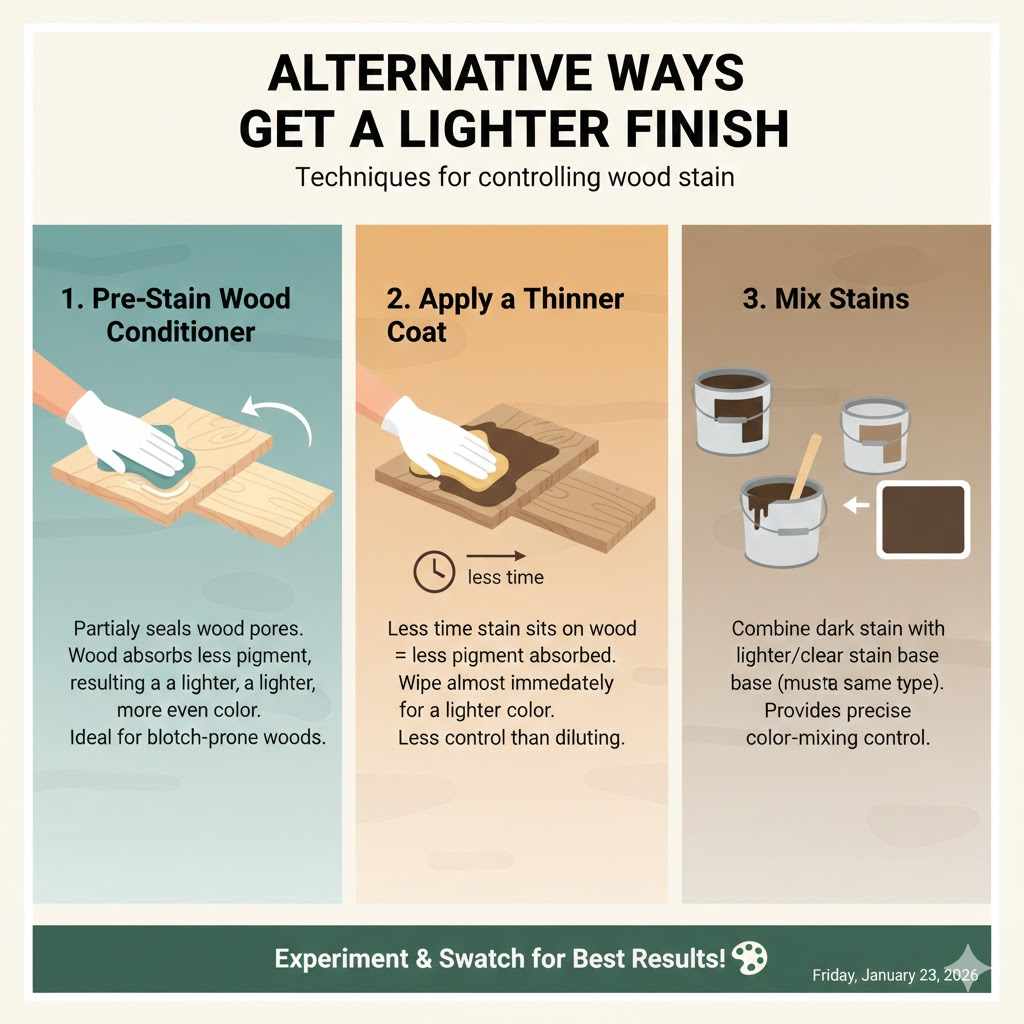
1. Use a Pre-Stain Wood Conditioner
This is less about lightening the stain itself and more about controlling how the wood absorbs it. A pre-stain wood conditioner partially seals the wood pores. When you apply stain over it, the wood can’t drink up as much pigment, resulting in a lighter, more even color. This is especially effective on blotch-prone woods like pine.
2. Apply a Thinner Coat
Instead of flooding the wood surface with stain, apply a very thin coat with your rag. Work it into the wood and wipe it off almost immediately. The less time the stain sits on the wood, the less pigment will be absorbed, leading to a lighter color. This gives you less control than diluting but can work in a pinch.
3. Mix Stains
You can mix a dark stain with a lighter stain of the same type (oil-based with oil-based) or with a “natural” or “clear” stain base to lighten the color. This requires buying another can of stain but gives you precise color-mixing control.
Frequently Asked Questions
What happens if I use water to dilute an oil-based stain?
Oil and water do not mix. If you try this, the stain and water will separate into a lumpy, unusable mess. It will ruin your stain and won’t apply to the wood correctly. Always match your diluent to your stain base.
How much can I dilute wood stain?
You can dilute it quite a bit! Ratios of 1 part stain to 3 or 4 parts diluent are common for creating a very light “wash” effect. There’s no hard rule. The key is to test until you get the transparency you want. Just be aware that heavily diluted stains may have less binder, making a top coat even more important for durability.
Will diluting wood stain affect the drying time?
Yes, it can. Adding mineral spirits (a solvent) to an oil-based stain will often help it dry a little faster. Adding water to a water-based stain might slightly extend the drying time, as there’s more water to evaporate. Always follow the manufacturer’s recommended drying times on the original stain can as a baseline.
Can I use this trick on gel stain?
Yes, you can dilute gel stain, but it’s a bit different. Gel stains are thick and designed to sit on top of the wood. Thinning them will make them less “gel-like” and more like a traditional liquid stain. Use mineral spirits for oil-based gel stains. As always, test first, as thinning will change its consistency and application properties.
Can I save my leftover diluted stain?
You can! Store your custom mix in a clean, airtight container, like a sealed glass jar. Label it clearly with the stain color and the ratio you used (e.g., “Oak Stain – 1:1 with Mineral Spirits”). This is great for future touch-ups or small projects.
Do I still need to apply a top coat like polyurethane?
Yes, absolutely. Diluting a stain doesn’t change the need for a protective finish. A top coat like polyurethane, varnish, or lacquer protects the wood and the color from scratches, moisture, and wear. It is an essential final step for any stained project.
What if my stain is already on the wood and it’s too dark?
If the stain is still wet, you can immediately wipe it with a rag dampened with mineral spirits (for oil-based) or water (for water-based) to lift some of the pigment off. If it’s already dry, your options are more limited. You may need to sand the finish off and start over. This is why testing first is so vital!
Your Next Step to a Perfect Finish
See? You don’t have to be stuck with a color straight from the can. With a little bit of mixing and testing, you can become the artist of your own wood finishes. Diluting wood stain is a simple, effective, and almost magical technique that opens up a whole new world of custom colors.
Remember the golden rule: match your stain type with the right diluent. Start with a small batch, test on scrap wood, and adjust until you get that perfect shade. You’re now in control of the final look of your project.
So next time a stain looks a little too bold, don’t put it back on the shelf. Grab it with confidence, knowing you have the skills to tailor it perfectly to your vision. Happy woodworking!