How to Stain a Wood Bookshelf (Without Blotches or Streaks)
Sand the bookshelf to bare wood with 120-grit then 220-grit, wipe it clean, apply a wood conditioner if it’s pine or another blotch-prone softwood, then wipe on your stain with a lint-free rag, let it sit 5-15 minutes, and wipe off the excess before it dries tacky. Skipping the conditioner step is the single biggest reason DIY bookshelf stain jobs come out blotchy.
Most bookshelf staining guides skip the part that actually determines whether your finish looks even or splotchy: what the shelf is made of. A solid pine bookcase, an oak veneer unit from a furniture store, and a plywood built-in all take stain differently, and treating them the same way is why so many first-time stainers end up with dark blotches around the knots and a streaky top. Below is the process that avoids that, plus what to do if your bookshelf turns out to be veneer instead of solid wood (a detail a lot of guides don’t even mention, and one that changes your whole approach).
Figure Out What Your Bookshelf Is Actually Made Of First
Best Stain for Blotch-Prone Softwoods
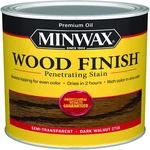 |
Minwax Wood Finish, Dark Walnut – $7 A classic oil-based penetrating stain that gives one-coat color on oak and other open-grained hardwood bookshelves without needing a conditioner first.
|
Before you open a can of stain, check the shelf’s construction. Look at an edge or the underside of a shelf. If you see a thin layer (often less than 1/32 inch) of wood grain sitting on top of a different-looking core, or the grain pattern repeats identically across multiple shelves, you have veneer over particleboard or MDF – extremely common on shelving units sold at big-box furniture stores since the early 2000s. Solid wood shows the same grain and color consistently through the thickness of the board, with no seam.
This matters because veneer is typically only 0.5 to 1mm thick. Sanding through it with anything coarser than 220-grit will expose the substrate underneath, which won’t take stain the same way and can’t be fixed by sanding more. If you’ve confirmed veneer, skip heavy sanding entirely – a light scuff with 220-grit or a deglosser (liquid sandpaper) is enough prep, and a gel stain will sit on the surface better than a penetrating oil stain anyway.

Choosing a Stain That Matches Your Wood
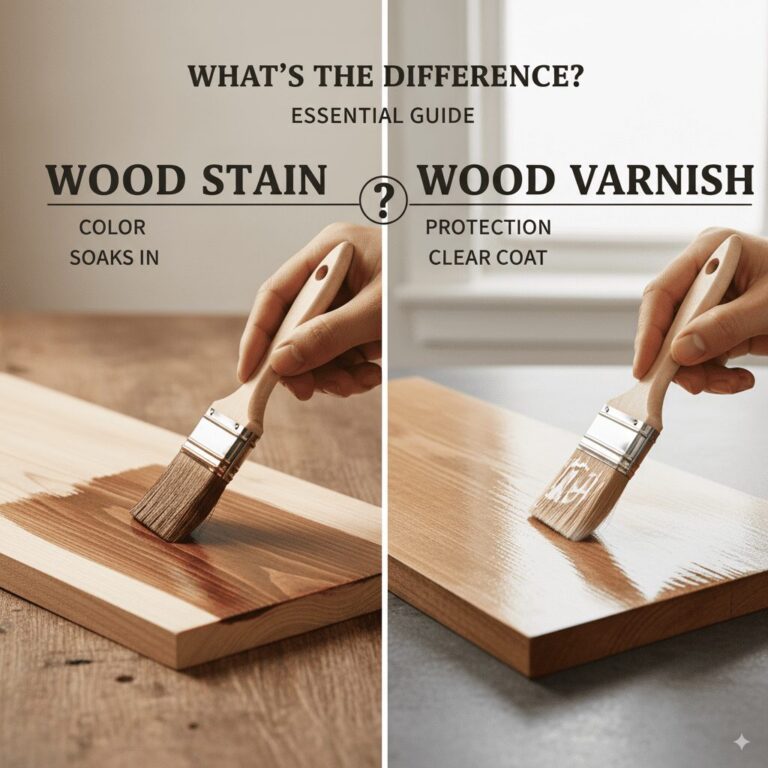
For solid pine, birch, or poplar shelves – the softwoods most likely to blotch – a gel stain is the safer bet over a traditional oil-based penetrating stain. Gel stain sits on top of the wood rather than soaking in unevenly, so it largely sidesteps the blotching problem instead of requiring you to pre-treat with conditioner. Minwax Wood Finish and similar oil-based penetrating stains still give the richest, most traditional look on oak, ash, and other open-grained hardwoods, where blotching isn’t a concern because the grain absorbs stain uniformly.
Water-based stains are worth considering if the bookshelf lives in a bedroom or a room with limited ventilation – they carry far less odor and dry faster, though they raise the wood grain slightly, so plan on a light sanding with 320-grit between the first and second coat.
Prepping the Bookshelf
Empty the shelves and remove any adjustable shelf pins or hardware you can take out – stain drips find hinges and pin holes. Wipe down the whole piece with a tack cloth or a barely damp microfiber cloth to pull off dust; don’t skip this, since trapped dust under stain shows up as tiny dark specks once it dries.
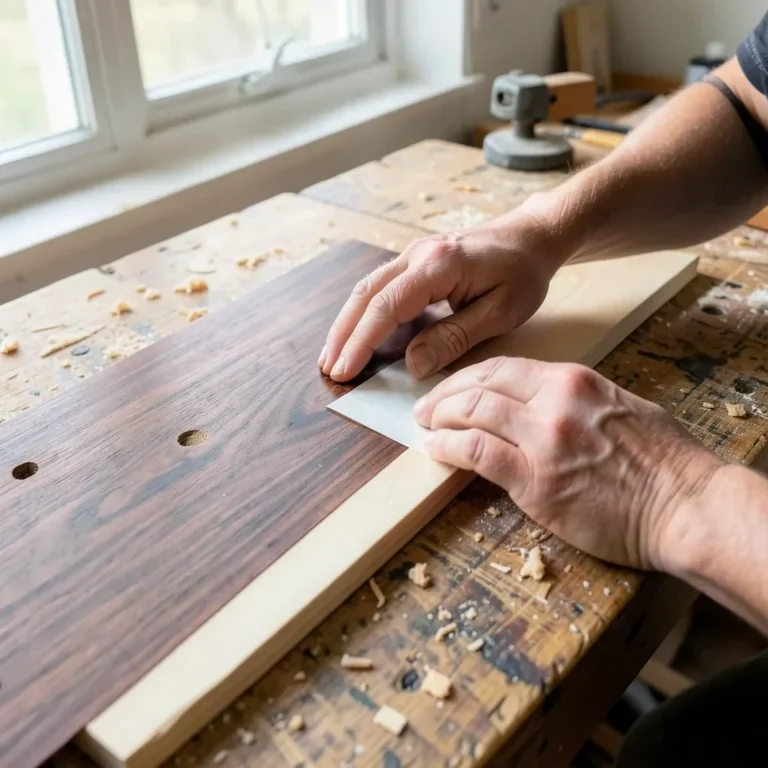
For bare, previously unfinished solid wood: sand with 120-grit to knock down mill marks, then 220-grit to smooth it, always moving with the grain, never across it. For a shelf that already has an old finish you’re stripping and redoing, you’ll need a chemical stripper or heavier sanding (100-grit) before you get back to bare wood. Vacuum the dust out of corners and joints afterward, then go over it once more with a tack cloth.
If It’s Pine (or Another Blotch-Prone Wood): Use a Conditioner
Pine, alder, birch, cherry, and maple all have tight, irregular grain that absorbs stain unevenly – that’s what causes the dark, splotchy patches you’ve probably seen on cheap pine furniture. A pre-stain wood conditioner (brushed or wiped on, left for the time printed on the can, usually 5-30 minutes, then wiped off before it dries) partially seals the wood so the stain that follows goes on more evenly. It’s an extra step and an extra can to buy, but it’s the difference between an even finish and a blotchy one on these species. Oak, ash, mahogany, and walnut have open, consistent grain and generally don’t need it.
Safety Setup
Oil-based stains and conditioners give off solvent fumes strong enough to cause headaches in a closed room, so work with a window open and a fan pulling air out, not just circulating it. Wear nitrile gloves (stain pigment stains skin as readily as wood) and safety glasses if you’re working overhead on a tall unit. Lay down a drop cloth; wiped-off excess stain drips more than people expect.
One safety detail that’s easy to overlook: oil-based stain rags are a genuine spontaneous-combustion fire risk as they dry, because the oxidation reaction that cures the oil generates heat. Never leave a balled-up oily rag in a trash can or a pile. Lay rags flat outside to dry completely, or submerge them in a sealed metal can of water, before disposing of them.
Applying the Stain
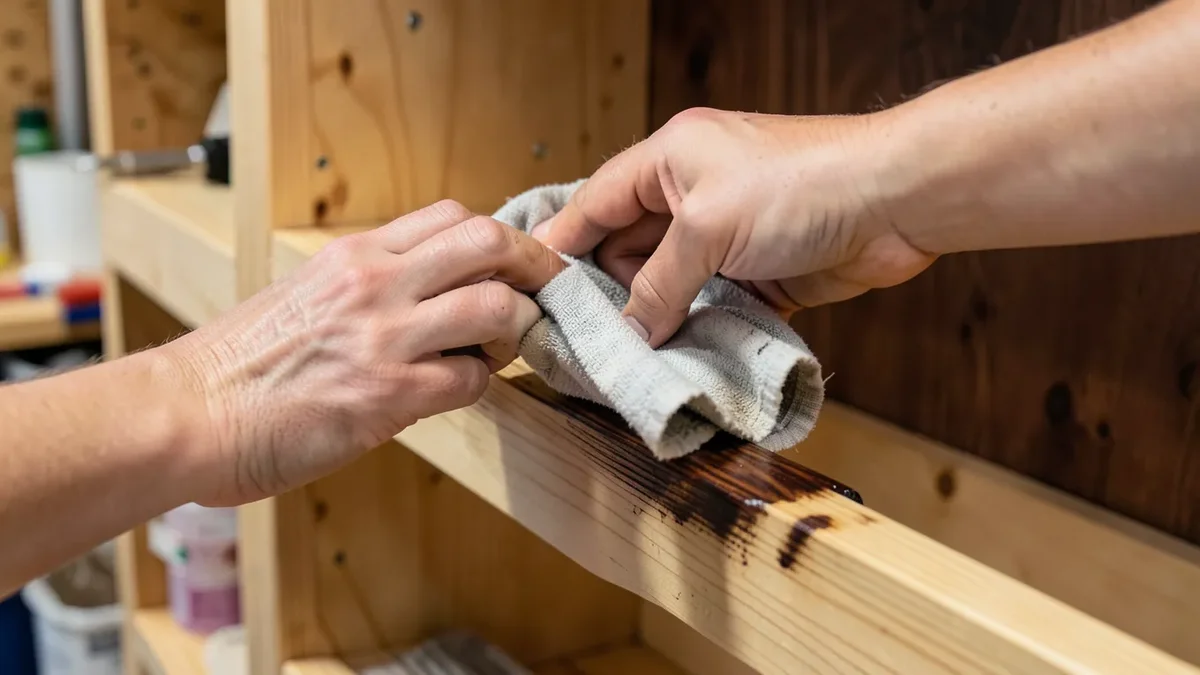
Work one shelf or panel at a time so you can control drying. Apply stain liberally with a rag, foam brush, or bristle brush, moving with the grain. Let it penetrate for the time listed on the can – typically 5 to 15 minutes for oil-based penetrating stains, less for gel stains – then wipe off every bit of the excess with a clean, dry rag before it starts to dry tacky on the surface. Leaving excess stain sitting on the wood instead of wiping it off is the most common cause of a sticky, uneven, or overly dark finish.
For a darker, richer color, apply a second coat after the first has dried fully (check the can, but usually 24 hours for oil-based) rather than trying to get there in one heavy coat. Two thin, properly wiped coats look more even than one thick one every time – and if you’re not sure how much stain a project this size actually needs, our wood stain coverage guide breaks down square-footage estimates by stain type.
Drying and Curing Times
“Dry” and “cured” aren’t the same thing, and mixing them up is why people put books back on a shelf too soon and end up with sticky rings or a musty solvent smell that lingers for weeks. Dry-to-the-touch and cure time vary by stain type:
| Stain Type | Dry to Touch | Full Cure (safe for heavy use) |
|---|---|---|
| Oil-based penetrating stain | 2-4 hours | 24-48 hours before topcoat; up to 30 days full cure |
| Water-based stain | 30-60 minutes | 2-4 hours before topcoat; ~7 days full cure |
| Gel stain | 2-4 hours | 24 hours before topcoat |
Low temperatures (below 65°F) and high humidity both slow these times down significantly – a basement workshop in winter can double an oil-based stain’s dry time. Good airflow across the surface, not just in the room, speeds things up more than heat does.
Sealing It: Why Bookshelves Need a Topcoat More Than Most Furniture
A bookshelf takes more abuse than people plan for: books get dragged across the surface instead of lifted, spines scuff the wood, and drinks get set down on it. Stain alone offers no physical protection, only color, so a clear topcoat isn’t optional the way it might feel for a decorative piece. Water-based polyurethane is a reasonable default – low odor, dries fast, won’t amber an already-dark stain over time. Oil-based polyurethane ambers slightly (which can actually deepen a warm stain color nicely) and is more scratch- and heat-resistant, a real advantage on the top shelf where people set things down.
Apply in thin coats with a natural-bristle brush (oil-based) or synthetic brush (water-based), lightly scuff-sanding with 320-grit between coats once each has dried, and plan on two to three coats for a shelf that’ll see daily use. If you’re unsure whether to sand between the final stain coat and the topcoat, this breakdown of sanding before poly covers when it helps and when it can strip color back off.
Fixing Streaks and Blotches After the Fact
If the stain dried blotchy, the fix depends on how far along you are. Caught early (stain still workable): wipe the area again with a rag dampened in mineral spirits (for oil-based stain) to lift some pigment and even it out. Already dry: light sanding with 220-grit to knock back the darkest spots, then a fresh, thin coat of stain over the whole panel – not just the blotch – blends it in far better than spot-touching one area, which almost always leaves a visible ring.
Streaks usually mean the excess wasn’t wiped off evenly or the rag was reused past the point it could absorb more stain. Switch to a fresh rag section every panel or two, and always wipe with the grain on the final pass, even if you applied across it.
Ongoing Care
Dust with a dry or barely damp microfiber cloth; avoid all-purpose sprays with ammonia or silicone, which can cloud a polyurethane topcoat over time. For scuffs once the finish is fully cured, a matching wood touch-up marker handles small marks; deeper gouges need wood filler, a color-matched stain touch-up, and a dab of topcoat over the repair to blend the sheen.
Frequently Asked Questions
Do I really need wood conditioner, or can I skip it?
You can skip it on oak, ash, walnut, or mahogany, since their open grain absorbs stain evenly on its own. On pine, birch, maple, alder, or cherry, skipping it is the most common reason DIY stain jobs come out blotchy, because those species have tight, irregular grain that soaks up pigment unevenly without a conditioner to partially seal it first.
What type of stain is best for bookshelves?
Gel stain is the most forgiving choice on softwoods like pine because it sits on the surface instead of penetrating unevenly. On oak or other open-grained hardwoods, a traditional oil-based penetrating stain like Minwax Wood Finish gives a richer, more traditional look with less risk of blotching, since the grain absorbs it uniformly.
How long does wood stain take to dry?
Oil-based stains are dry to the touch in 2 to 4 hours but need 24 to 48 hours before you can safely apply a topcoat, and up to 30 days to fully cure. Water-based stains dry to the touch in 30 to 60 minutes and are ready for a topcoat in 2 to 4 hours. Cold temperatures and high humidity slow all of these down considerably.
Can I use a brush or a rag to apply stain?
Both work. A rag gives you more control over how much stain goes on and makes it easier to wipe off excess evenly on flat shelf panels, which is why most experienced finishers prefer it for furniture-scale projects. A brush is useful for getting stain into corners, grooves, or carved details before you go back over the flat areas with a rag.
Conclusion
The difference between a bookshelf that looks professionally finished and one that looks patchy almost always comes down to two things: identifying whether you’re working with solid wood or veneer before you start, and using a conditioner on blotch-prone species instead of skipping straight to stain. Get those two decisions right, wipe off excess stain before it dries tacky, and give it a real topcoat since a bookshelf takes more daily wear than most furniture – and the result holds up for years instead of needing a touch-up within the first few months.
Sponsored / affiliate links. As an Amazon Associate I earn from qualifying purchases. I may earn additional commission from eligible campaigns.