Can You Install Wood Flooring Over Concrete? Your Guide
Thinking about updating your floors? You might be wondering, Can You Install Wood Flooring Over Concrete? It’s a popular question, especially for those new to home projects. Concrete floors can be a little tricky because of moisture and leveling. Don’t worry; it’s definitely something you can do yourself, and we’ll show you how! We’ll break down everything step-by-step so you can get the beautiful wood floors you’ve been dreaming of. Ready to get started?
Evaluating Your Concrete Slab
Before you even think about laying down that gorgeous wood flooring, you need to check your concrete slab. This base is super important; it needs to be in good shape and ready to receive your new floor. This initial assessment protects your investment and ensures a long-lasting, beautiful result. Many homeowners skip this critical step, leading to problems later. Assessing your concrete involves checking for several key issues that can cause big problems with wood flooring installations. These problems include moisture, levelness, and the overall condition of the concrete.
Moisture Testing
Concrete acts like a sponge, drawing moisture from the ground. This moisture can be a real enemy of wood floors, causing them to warp, buckle, or even rot. Moisture testing is how you check if the concrete is too wet for wood flooring. There are a few different ways to do this, including using a moisture meter, conducting a calcium chloride test, or using a relative humidity (RH) test.
- Moisture Meter: A moisture meter is a handheld device that gives you a quick reading of the moisture content in the concrete. The meter uses probes that you stick into the concrete to measure how wet it is. It’s an easy and fast method. However, these meters may only measure the surface moisture, not the moisture deep inside the concrete.
- Calcium Chloride Test: This test involves placing a small container with calcium chloride (a drying agent) on the concrete and covering it with a sealed dome. The calcium chloride absorbs moisture from the concrete over a period of time, usually 60 to 72 hours. You then weigh the container before and after the test to determine how much moisture was absorbed. This gives you a measurement of moisture vapor emission rate (MVER). This method helps in assessing the concrete’s ability to release moisture.
- Relative Humidity (RH) Test: This is considered a more accurate method, especially for installations where you need reliable moisture readings. It involves drilling a small hole into the concrete and inserting a probe that measures the relative humidity deep within the slab. This gives a better idea of the overall moisture content, not just the surface moisture. The RH test helps in preventing the issues arising from trapped moisture.
Proper moisture testing is not just a suggestion; it’s a necessity. It ensures that your hardwood floor will remain in good condition for many years. Ignoring moisture problems can lead to costly repairs down the line. It’s always best to be proactive and make sure that the concrete slab meets the required moisture levels before beginning the wood flooring installation.
Leveling and Surface Prep
Even if your concrete is dry, it still needs to be level. A wavy or uneven concrete surface can make your wood floor look bad and feel unstable. Unevenness also leads to premature wear and tear on your new floor. Leveling involves using self-leveling compounds to fill in any dips or low spots. Surface preparation is the process of getting the concrete ready to receive the wood flooring, by cleaning and sometimes grinding the surface. Leveling and surface prep are key to creating a solid, stable base for your wood floor installation. Many types of wood flooring, especially engineered wood, are susceptible to even minor unevenness.
- Checking for Levelness: Use a long level to identify any high or low spots. Place the level on the concrete in multiple areas and directions. Any gaps under the level mean you’ll need to level the concrete.
- Self-Leveling Compounds: These are cement-based mixtures that pour easily and spread out to create a flat surface. You simply mix them according to the directions, pour them on the floor, and they will naturally level themselves. These compounds can be applied at different thicknesses, from very thin layers to several inches, depending on the need.
- Surface Grinding: If the concrete has minor imperfections or is slightly uneven, grinding may be enough to prepare it. Grinding removes small bumps and imperfections. It improves the adhesion for adhesives and leveling compounds.
- Cleaning: Thoroughly clean the concrete to remove any debris, dust, oil, or loose particles before applying anything. Clean concrete ensures that any adhesives or leveling compounds can bond properly. It’s often necessary to vacuum, sweep, and sometimes even scrub the concrete to achieve the right surface.
Preparing the concrete might seem like extra work, but it’s essential to prevent problems like squeaks, unevenness, and premature damage to your new wood floors. Take your time, and make sure that the concrete is completely ready before you move forward with the installation.
Choosing the Right Wood Flooring
Not all wood flooring is created equal, especially when you’re installing over concrete. Choosing the right type of wood flooring will impact the look of your space and also the success of your installation. Factors like the wood type, construction, and installation method all play an important role. Many different options are available, so it’s essential to understand the differences to make the best decision for your needs. Various types of wood flooring work with concrete. Each has unique advantages and disadvantages to consider.
Solid vs. Engineered Wood
The primary difference between solid and engineered wood is how they are constructed. Solid wood is a single piece of solid wood, while engineered wood is made of multiple layers of wood, with a top layer of real wood. Both types offer the classic look and feel of wood. However, they have different levels of stability, especially when exposed to moisture. Choosing between solid and engineered wood depends a lot on your specific needs, the conditions of your concrete slab, and your budget.
- Solid Wood: Solid wood flooring is made from a single piece of hardwood, typically 3/4-inch thick. Solid wood is known for its durability and classic appearance, and it can be refinished multiple times. It is more prone to expansion and contraction with changes in humidity and temperature, making it less suitable for areas with moisture.
- Engineered Wood: Engineered wood flooring is constructed from multiple layers of wood, with a top layer of real hardwood bonded to a core of plywood or high-density fiberboard (HDF). This construction provides more stability and makes it less susceptible to changes in humidity. The core resists moisture better than solid wood, making it a good choice for concrete subfloors. It’s also often available in wider planks and easier to install.
- Pros and Cons Comparison:
Solid Wood Pros: Classic look, durable, refinishable. Cons: More susceptible to moisture, can cup or warp, requires more specific installation methods.
Engineered Wood Pros: More stable, less susceptible to moisture, easier installation, often more affordable. Cons: Can only be refinished a limited number of times, potentially a less ‘real’ feel.
Consider the environment where your wood flooring will be installed. If you live in an area with high humidity, or if the concrete slab might be exposed to moisture, engineered wood flooring is likely the better choice. If you prefer the look and feel of solid wood, be extra cautious with moisture testing and installation methods to prevent problems down the line.
Installation Methods
The method you choose to install your wood flooring over concrete affects its performance. There are three common ways to install wood flooring over concrete: glue-down, floating, and nail-down. Choosing the right one depends on the type of wood flooring you’ve selected, the condition of your concrete, and your personal preferences. Each method offers a different combination of benefits in terms of ease of installation, stability, and cost. Each of these methods uses specific materials and techniques, so understanding these is key for a successful installation.
- Glue-Down: With this method, the wood flooring is adhered directly to the concrete slab using a special adhesive. This method is common for engineered wood and offers a very secure bond. The adhesive must be compatible with both the wood and the concrete.
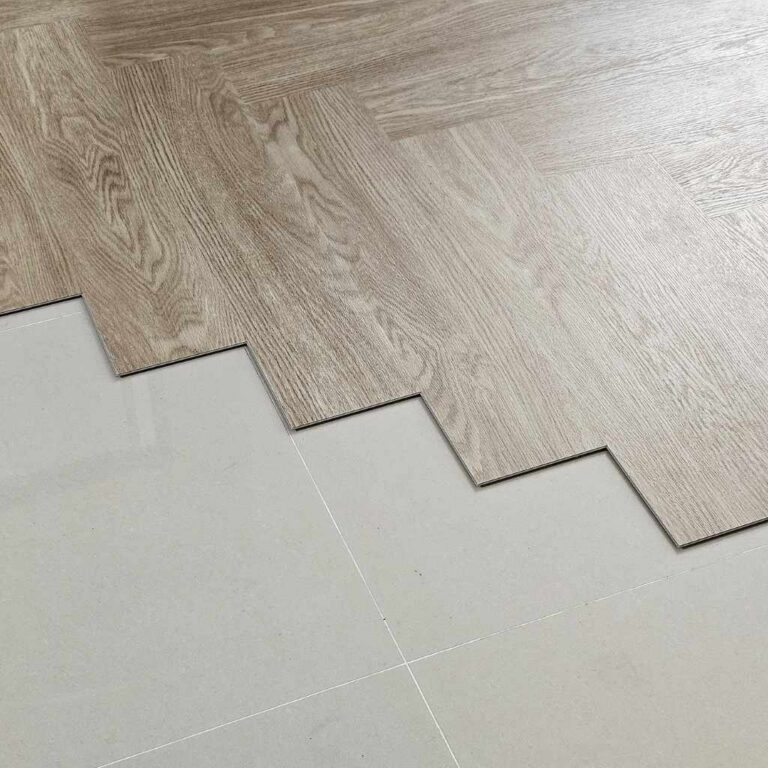
- Floating: In a floating floor installation, the wood flooring is not attached to the concrete. Instead, the planks or boards click together and “float” above the concrete. A moisture barrier and underlayment are used to protect the wood from moisture and provide some cushioning. This method works well with engineered wood and is generally easier to install than glue-down.
- Nail-Down: Nail-down installations are common for solid hardwood flooring. This method involves attaching the wood flooring to a wood subfloor that is secured to the concrete. The subfloor is typically made of plywood and provides a stable base for nailing the wood flooring. This can be complex for a concrete base and needs proper planning.
Make sure you understand the pros and cons of each installation method before you make a decision. Glue-down installations create a solid bond, but can be messy and hard to fix. Floating floors are easier for do-it-yourselfers, but can be less stable. Nail-down requires a subfloor, adding extra steps and cost. Consider the conditions of your concrete and the type of wood flooring you’ve chosen when making your final decision.
Detailed Installation Steps
Now that you’ve chosen your wood flooring and have the correct supplies, it’s time to start the installation. This is a step-by-step approach for a smooth and satisfying outcome. The process will vary slightly depending on whether you’re using a glue-down or a floating floor installation. The main goal is to create a durable, beautiful floor that will last for years. Take your time, follow these steps, and don’t skip any steps.
Preparing the Concrete (Revisited)
We covered this before, but it’s important enough to revisit. Good preparation of the concrete is the key to any successful wood flooring installation. Without proper preparation, your wood flooring is likely to suffer from issues like cupping, warping, and adhesive failure. Thorough prep protects your investment and ensures a beautiful, long-lasting floor. Skipping steps here can be a disaster.
- Cleaning: Start by sweeping and vacuuming the concrete surface to remove any dirt or debris. If there is any oil, grease, or other contaminants, you might need to use a concrete cleaner.
- Leveling: Use a self-leveling compound to fill in any dips or low spots in the concrete. Apply the compound according to the manufacturer’s directions, ensuring a flat and even surface.
- Moisture Barrier: Before installing any wood flooring, especially glue-down installations, you may need to apply a moisture barrier. This is often a liquid membrane or a sheet of polyethylene, and it prevents moisture from the concrete from reaching the wood. This step is critical to prevent the problems caused by moisture.
Never rush the preparation stage. A well-prepared concrete slab makes the rest of the installation easier and significantly increases the chances of a successful outcome. Thoroughly clean the concrete, level any uneven areas, and install a moisture barrier. These steps are worth the extra time.
Glue-Down Installation Guide
Glue-down installations offer a strong, direct bond between the wood flooring and the concrete. This method is often preferred for engineered wood, as it provides stability. It does require precision and the use of the right adhesive. Follow these steps for the best results.
- Prepare the Concrete: Make sure the concrete slab is clean, level, and dry. Apply a moisture barrier if necessary. This will help prevent issues caused by moisture from below.
- Spread the Adhesive: Using the manufacturer’s recommended trowel, spread the adhesive over a small section of the concrete at a time. Do not apply adhesive to the entire floor at once; this can cause it to dry out before you can lay the planks.
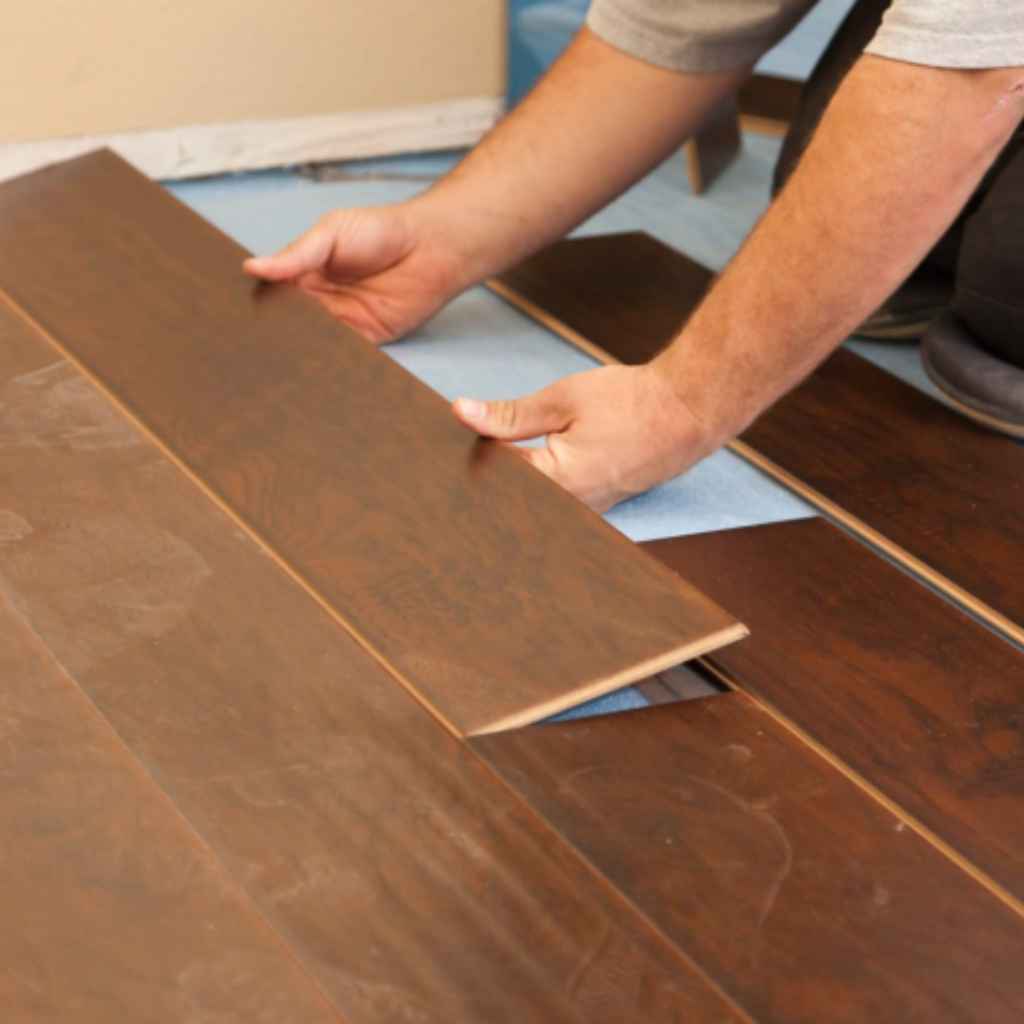
- Lay the Planks: Carefully place the wood flooring planks into the adhesive. Align them correctly, and gently press them down to ensure good contact. Work in small sections, one row at a time.
- Use Spacers: Insert spacers along the walls to allow for expansion gaps. These gaps are critical because wood expands and contracts with changes in temperature and humidity. These spacers give it room to move, preventing issues.
- Roll the Floor: Use a heavy roller to roll over the installed planks. This helps to ensure proper adhesion and remove any air pockets. Following the manufacturers’ recommendations is critical.
- Clean Up Excess Adhesive: Immediately wipe up any adhesive that gets on the surface of the wood. Use the solvent recommended by the adhesive manufacturer.
- Allow Curing Time: Let the adhesive cure completely, as indicated by the manufacturer’s instructions. This usually takes several hours or even days, depending on the adhesive. During the curing time, avoid walking on the floor.
Glue-down installations provide a secure bond, but you need to take your time. Proper prep, careful application of the adhesive, and giving it enough time to dry all are very important. Doing these steps correctly will result in a long-lasting, beautiful floor.
Floating Floor Installation Guide
A floating floor is a good option for DIYers because it is less complicated. This installation method doesn’t require adhesive and is typically used for engineered wood flooring. This floating system involves interlocking planks over a cushioned underlayment. These steps will guide you through the process.
- Prepare the Concrete: Make sure the concrete slab is clean, level, and dry. Install an underlayment that includes a moisture barrier. This provides cushioning and protection from moisture.
- Install the Underlayment: Roll out the underlayment, overlapping the seams slightly. Make sure the underlayment covers the entire floor area. This provides a base for the flooring and acts as a moisture barrier.
- First Row: Start by laying the first row of planks, leaving an expansion gap along the wall. Use spacers to maintain the gap. This prevents the planks from expanding too much.
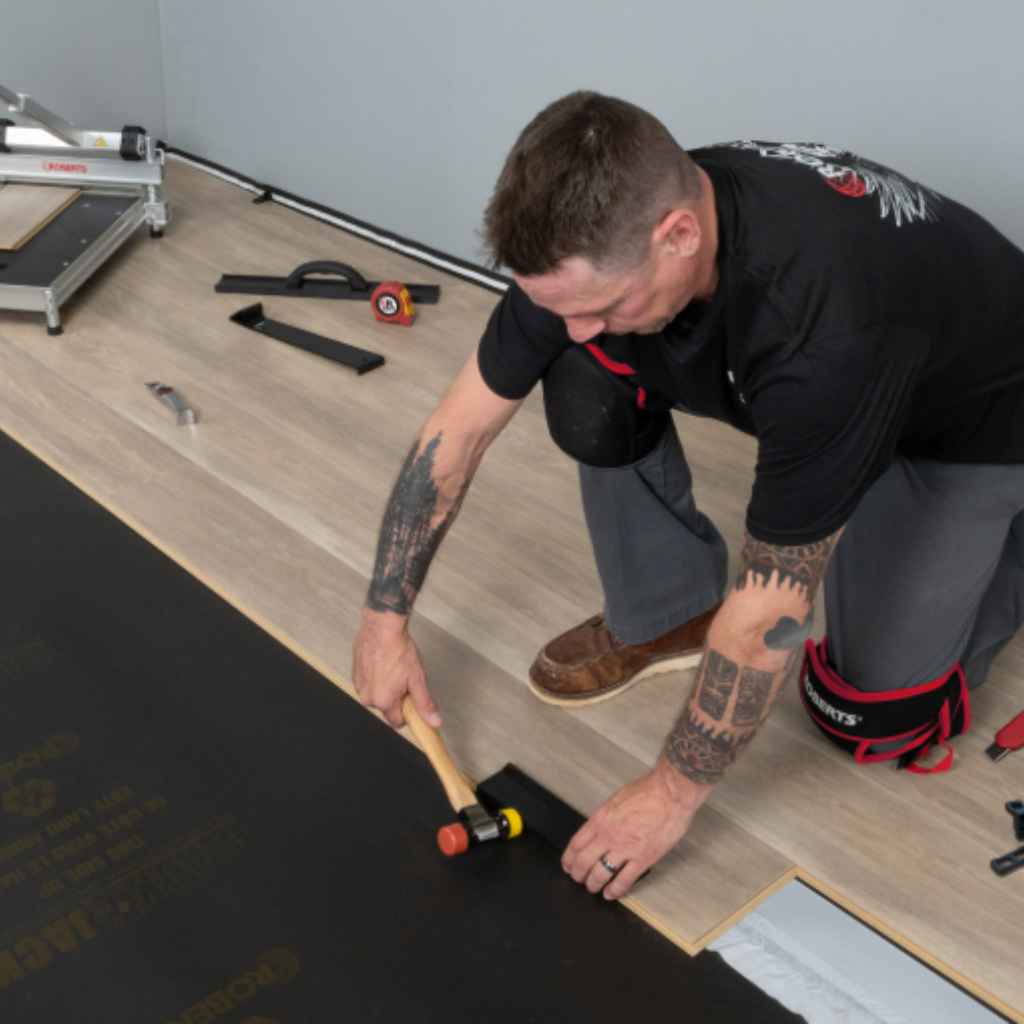
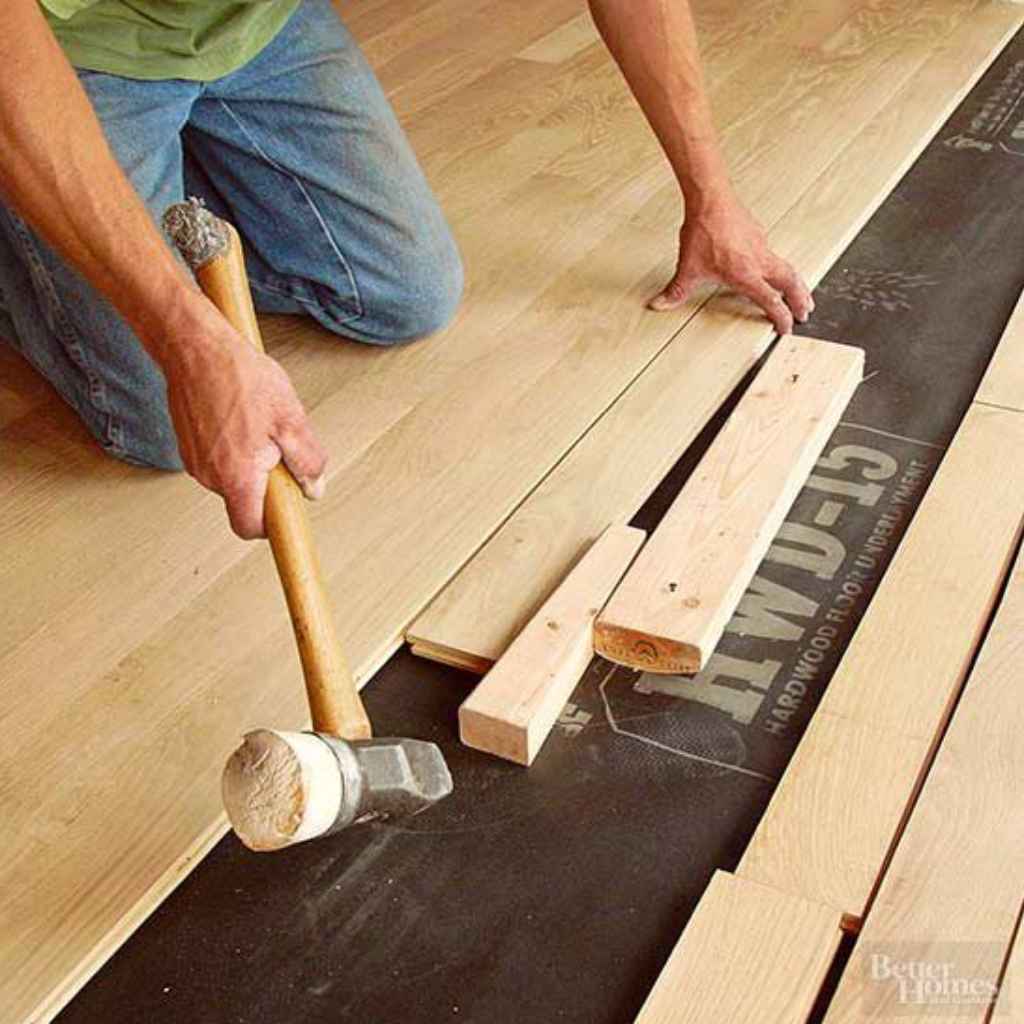
- Click the Planks: Click the planks together, following the manufacturer’s instructions. Work row by row, ensuring a tight fit.
- Stagger the Seams: Stagger the seams of the planks in each row to create a stronger floor and a more natural look. This distributes the weight and stress on the floor more evenly.
- Cut the Last Row: Measure and cut the planks for the last row to fit, leaving the expansion gap. Use a saw to get the perfect fit.
- Install Baseboards: Install baseboards to cover the expansion gaps. This gives the floor a finished look.
Floating floors are easier than glue-down installations. The steps are easier to follow, and require less specialized equipment. Careful preparation is still essential. Always read and follow the manufacturer’s instructions, and your new floor will look great.
Maintaining Your Wood Floors
Proper maintenance is essential to keeping your wood floors looking their best for many years. Regular cleaning and care will help protect the floors from damage and maintain their beauty. Keep up a maintenance schedule to help preserve your wood flooring investment. Regular maintenance helps you preserve and improve the lifespan of your flooring.
Cleaning and Care
The correct cleaning methods are critical to preserving your wood floors. Regular cleaning removes dirt, dust, and debris that can scratch and damage the finish. Use the right cleaning products to avoid harming the wood. Here’s a quick guide:
- Sweeping or Vacuuming: Sweep or vacuum your wood floors regularly to remove loose dirt and debris. Use a soft-bristled broom or a vacuum cleaner with a hardwood floor attachment to prevent scratches.
- Damp Mopping: Damp mop your floors with a cleaner specifically designed for wood floors. Avoid using excessive water, as this can damage the wood. Follow the product instructions for best results.
- Avoid Harsh Chemicals: Do not use harsh chemicals, abrasive cleaners, or wax-based products on your wood floors. These products can damage the finish and leave a residue.
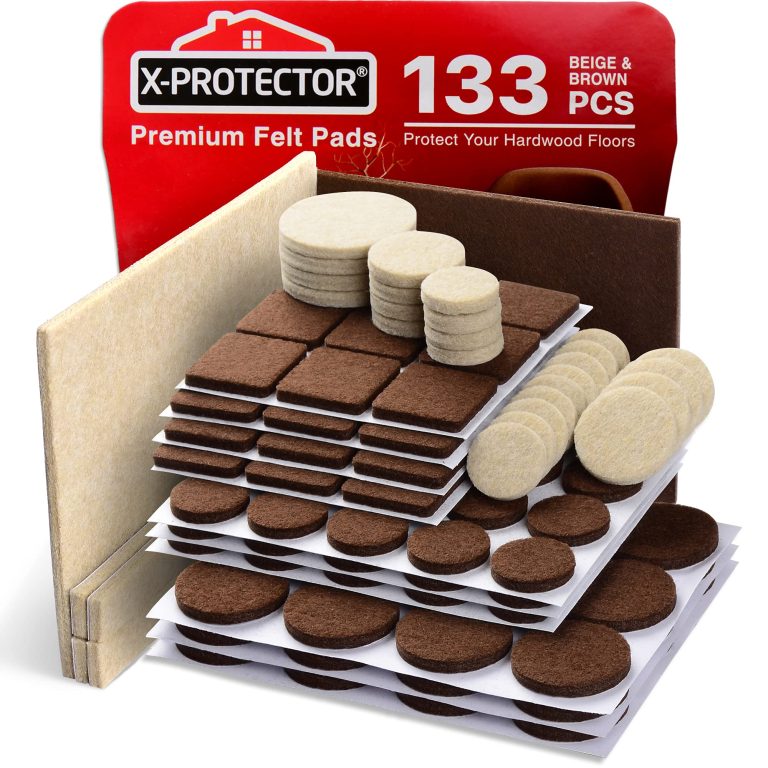
- Protect from Scratches: Place felt pads under furniture legs to prevent scratches. Use rugs in high-traffic areas and at entrances to catch dirt and grit.
- Clean Spills Promptly: Wipe up spills immediately to prevent water damage. Standing water can cause wood floors to warp and stain.
Proper cleaning will help your wood floors stay beautiful and protected for years. Make cleaning a regular part of your routine. These practices will protect your investment and maintain the beauty of your wood floors.
Addressing Common Problems
Even with the best care, problems can arise. Understanding how to handle these issues can prevent serious damage. Knowing what to do when problems appear, like scratches or moisture damage, means that you can prevent bigger problems.
- Scratches: Minor scratches can often be repaired with a wood floor repair kit. Deeper scratches may require refinishing. Always address scratches promptly.
- Water Damage: If you notice water damage (cupping, buckling, or discoloration), address the problem right away. Clean up the water. If the damage is severe, you might have to replace the damaged boards.
- Cupping and Crowning: Cupping happens when the edges of the planks are higher than the center. Crowning is the opposite. These issues often relate to moisture. Correcting the moisture issue is the first step, and the floor may need to be sanded or refinished.
- Squeaky Floors: Squeaks can happen as the floor ages. Tightening screws or adding adhesive can sometimes solve the problem. If squeaks persist, you may have an installation issue.
By taking care of common problems as they arise, you can extend the life of your wood floors. Always be ready to troubleshoot and fix these issues immediately. This will help you keep the floors looking their best.
Frequently Asked Questions
Question: Can I install wood flooring directly on concrete?
Answer: It’s generally not recommended to install wood flooring directly on concrete. You usually need a moisture barrier and, depending on the installation method, an underlayment or adhesive to ensure proper installation and protect the wood from moisture.
Question: What type of wood flooring is best for concrete?
Answer: Engineered wood flooring is often a great choice for concrete because it’s more stable and less susceptible to moisture damage. Solid hardwood flooring can be used if the concrete is properly prepared with moisture mitigation measures and the right installation method.
Question: Do I need a moisture barrier?
Answer: Yes, a moisture barrier is often critical when installing wood flooring over concrete. It protects the wood from moisture that can seep up from the concrete and cause problems such as warping or mold growth.
Question: How do I know if my concrete is too wet?
Answer: You can test the moisture content of your concrete using a moisture meter, a calcium chloride test, or a relative humidity test. The results will determine if the concrete is dry enough to install wood flooring.
Question: How long should I let the adhesive cure before walking on the floor?
Answer: The curing time depends on the adhesive you use. Always follow the manufacturer’s instructions, which typically range from a few hours to several days, depending on the product and conditions.
Final Thoughts
So, Can You Install Wood Flooring Over Concrete? Yes, absolutely! It’s a project that many homeowners tackle, and the results can be beautiful. We’ve explored the key steps, from checking the concrete for moisture and leveling to choosing the right wood flooring and the best installation methods. We also looked at how to take care of your new floor to keep it looking great. Taking the right steps from the start will give you results you’ll love. Remember to test for moisture, choose the correct flooring type for your needs, and follow the instructions carefully. By following these steps, you can create a warm and inviting space with wood floors that you’ll enjoy for many years. Get those beautiful floors now!