Can I Refinish an Old Wood Floor Myself? Step-by-Step Guide
Yes, most old solid hardwood floors can be refinished yourself – sand off the old finish and a thin layer of wood in progressively finer grits, then stain (optional) and apply several coats of finish. The project is very doable, but the single most common way DIYers ruin a floor isn’t picking the wrong stain – it’s a moving mistake with the sander that a lot of guides skip over entirely.
Is Your Floor A Good Candidate?
Best Finish For A DIY Refinish
 |
Varathane Diamond Water-Based Floor Polyurethane, Satin (1 Gal) – $78.22 A floor-specific polyurethane (not general wood polyurethane) is formulated for foot traffic and is a single-component product, so there’s no hardener to mix and no pot-life clock working against a first-time DIYer.
|
Solid hardwood is the classic refinishing candidate – it’s a single piece of wood from top to wear surface, so it can be sanded down multiple times over its life. Engineered wood can sometimes be refinished too, but only if its top veneer layer is thick enough (2mm or more); thinner veneers mean you’ll sand straight through to the plywood core. Laminate and vinyl can’t be refinished at all – they have to be replaced. Before starting, check for deep gouges, water damage, rot, or pest damage, all of which need repair or plank replacement before sanding makes sense, and check board thickness at the edges – a floor that’s already been sanded several times may not have enough wood left to do it safely again.
Tools And Materials You’ll Need
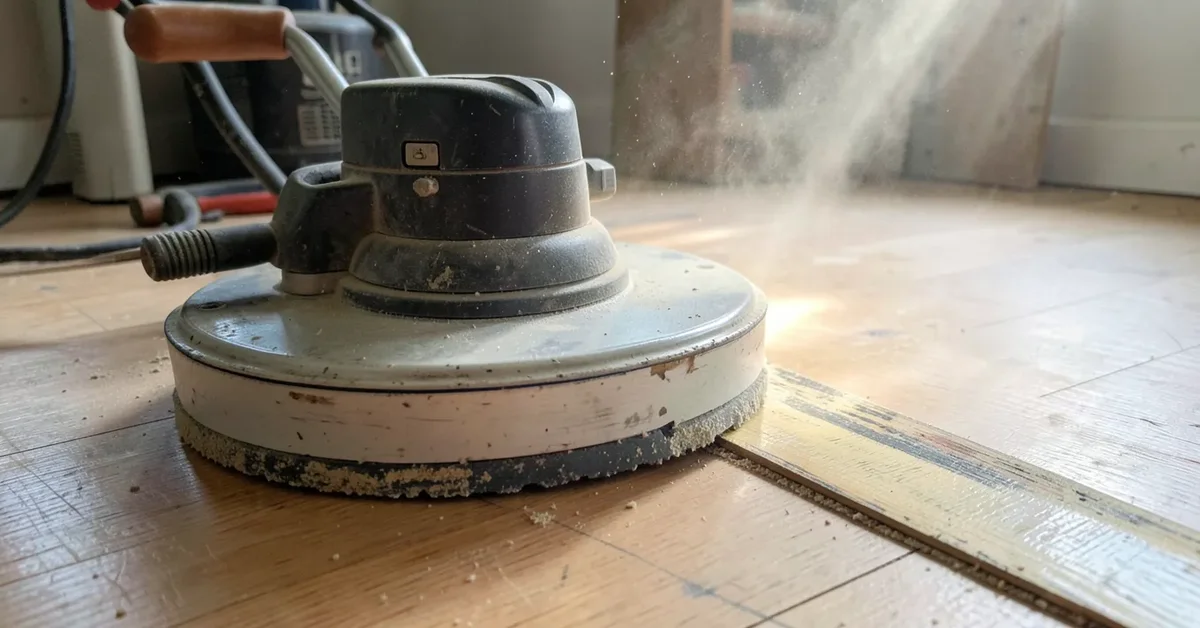
- Rented drum sander (main floor area) and edge sander (perimeter and corners)
- Sandpaper in a full grit progression: 36, 60, 100, 150
- Respirator, safety glasses, and hearing protection
- Shop vacuum and tack cloths
- Wood filler for gouges or nail holes
- Stain (optional) and a floor-rated finish (see above)
- Applicator pads or a lambswool applicator for the finish, plus painter’s tape and drop cloths
The Mistake Most Guides Don’t Warn You About
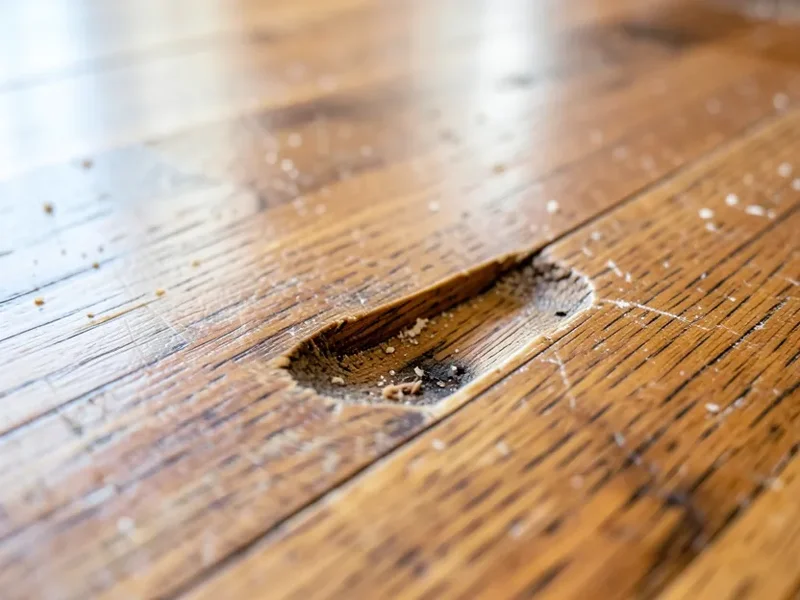
A drum sander’s spinning drum is aggressive by design – it has to be, to remove an old finish. That means it will cut a visible trough into the floor in seconds if you let it sit in one place while the drum is spinning, whether that’s because you paused to check something or tipped the drum down before you started moving. The rule professionals follow: never let the drum contact the floor unless the machine is already moving, and lift it before you stop. This single habit prevents the most common and most visually obvious DIY refinishing mistake – one that generic guides that just say “use a drum sander” almost never call out explicitly.
Sanding: Working Through The Grits
Start with 36-grit on the drum sander to remove the old finish and deep scratches, moving with the grain and overlapping passes slightly. Progress through 60, 100, and finally 150-grit, vacuuming thoroughly and wiping with a tack cloth between each grit. Use the edge sander with matching grit for the perimeter and any spots the drum can’t reach. Harder woods like oak tolerate more aggressive sanding than softer woods like pine, which gouge more easily – adjust your pressure and pace accordingly, and check your specific sander’s manual for recommended technique.
Cleaning, Filling, And Staining
After the final sanding pass, vacuum thoroughly (including the gaps between boards) and wipe down with a tack cloth – any dust left behind will show up as texture under the finish. Fill remaining gouges or nail holes with wood filler matched to your stain color, then sand the filled spots smooth once dry. If staining, test on a hidden area or scrap first, since different species and even different boards within the same floor can absorb stain unevenly. A pre-stain wood conditioner is worth using on soft, blotch-prone woods like pine or maple – it evens out absorption before you commit to the whole floor.
Applying The Finish
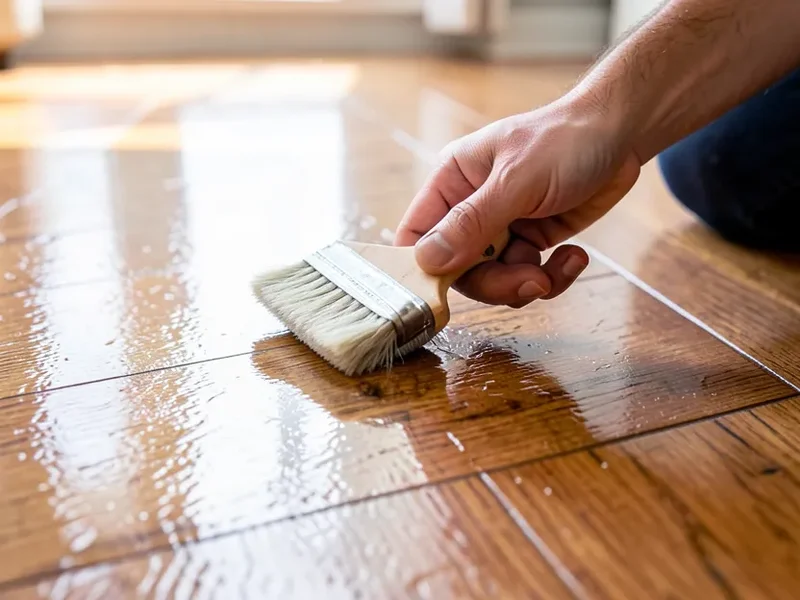
Apply in thin, even coats, working in the direction of the grain and keeping a wet edge to avoid lap marks. Between coats, lightly sand with fine-grit (220) paper or a screening pad and wipe with a tack cloth – this is what gives each subsequent coat something to grip. Most floors need at least three coats for adequate protection. Let the final coat cure fully (typically several days to a week) before returning furniture, even once it feels dry to the touch – foot traffic and dragged furniture during the cure window are a common cause of a finish that looks great on day one and shows wear within weeks.
Managing Dust
Seal the room with plastic sheeting and tape, run a HEPA air purifier if you have one, and turn off central air during sanding and finishing so dust doesn’t spread through the ductwork. Vacuum and tack-cloth between every sanding pass – it’s tedious, but skipped dust control is one of the more common reasons a DIY finish looks gritty under close inspection instead of glass-smooth.
Maintaining The Finished Floor
- Sweep or vacuum with the beater bar off (or a hard-floor attachment) to avoid grit scratching the finish.
- Damp-mop only, using a cleaner made for your specific finish type – never a steam mop.
- Use felt pads under furniture and doormats at entrances to cut down on tracked-in grit.
- Keep indoor humidity around 30-50% – swings outside that range cause the gaps and cupping that eventually call for another refinish.
Frequently Asked Questions
Can I refinish my existing hardwood floors myself?
Yes, most existing solid hardwood floors are a realistic DIY project. It takes patience, the right rented equipment, and a willingness to go slowly through the sanding steps, but it doesn’t require professional training – the most common DIY failure is rushing the sanding, not lacking skill.
How long does it take to refinish a wood floor?
Plan on 3-7 days for a standard room, factoring in sanding, staining (if used), multiple finish coats with dry time between each, and final curing. The finish curing fully (as opposed to just feeling dry) is usually the longest single wait, often several days to a week.
What is the most durable finish for wood floors?
Oil-based polyurethane has historically been considered the most durable, but modern water-based floor finishes (like 2-component products used by professionals) have closed much of that gap while drying faster and off-gassing less. For a DIY project, a quality single-component water-based floor polyurethane is durable enough for normal household traffic and easier to apply well on a first attempt.
Do I need to remove baseboards to refinish a floor?
No. Taping baseboards off carefully with painter’s tape protects them from sanding and finishing without the extra work of removing and reinstalling trim – most DIYers tape rather than remove.
How many times can a wood floor be refinished?
Solid hardwood can typically be refinished multiple times over its life, limited by how much wood thickness remains above the tongue-and-groove. Engineered wood can only be refinished if its top veneer layer is thick enough (generally 2mm or more) – thinner wear layers mean the floor can’t be sanded again without cutting through to the plywood core.
Conclusion
Refinishing an old wood floor yourself is genuinely achievable – solid hardwood in reasonable condition, a full grit progression, careful dust control, and patience through the finish coats get you most of the way there. The one habit worth internalizing before you start: never let a spinning drum sander sit still on the floor, even for a second.
Sponsored / affiliate links. As an Amazon Associate I earn from qualifying purchases. I may earn additional commission from eligible campaigns.