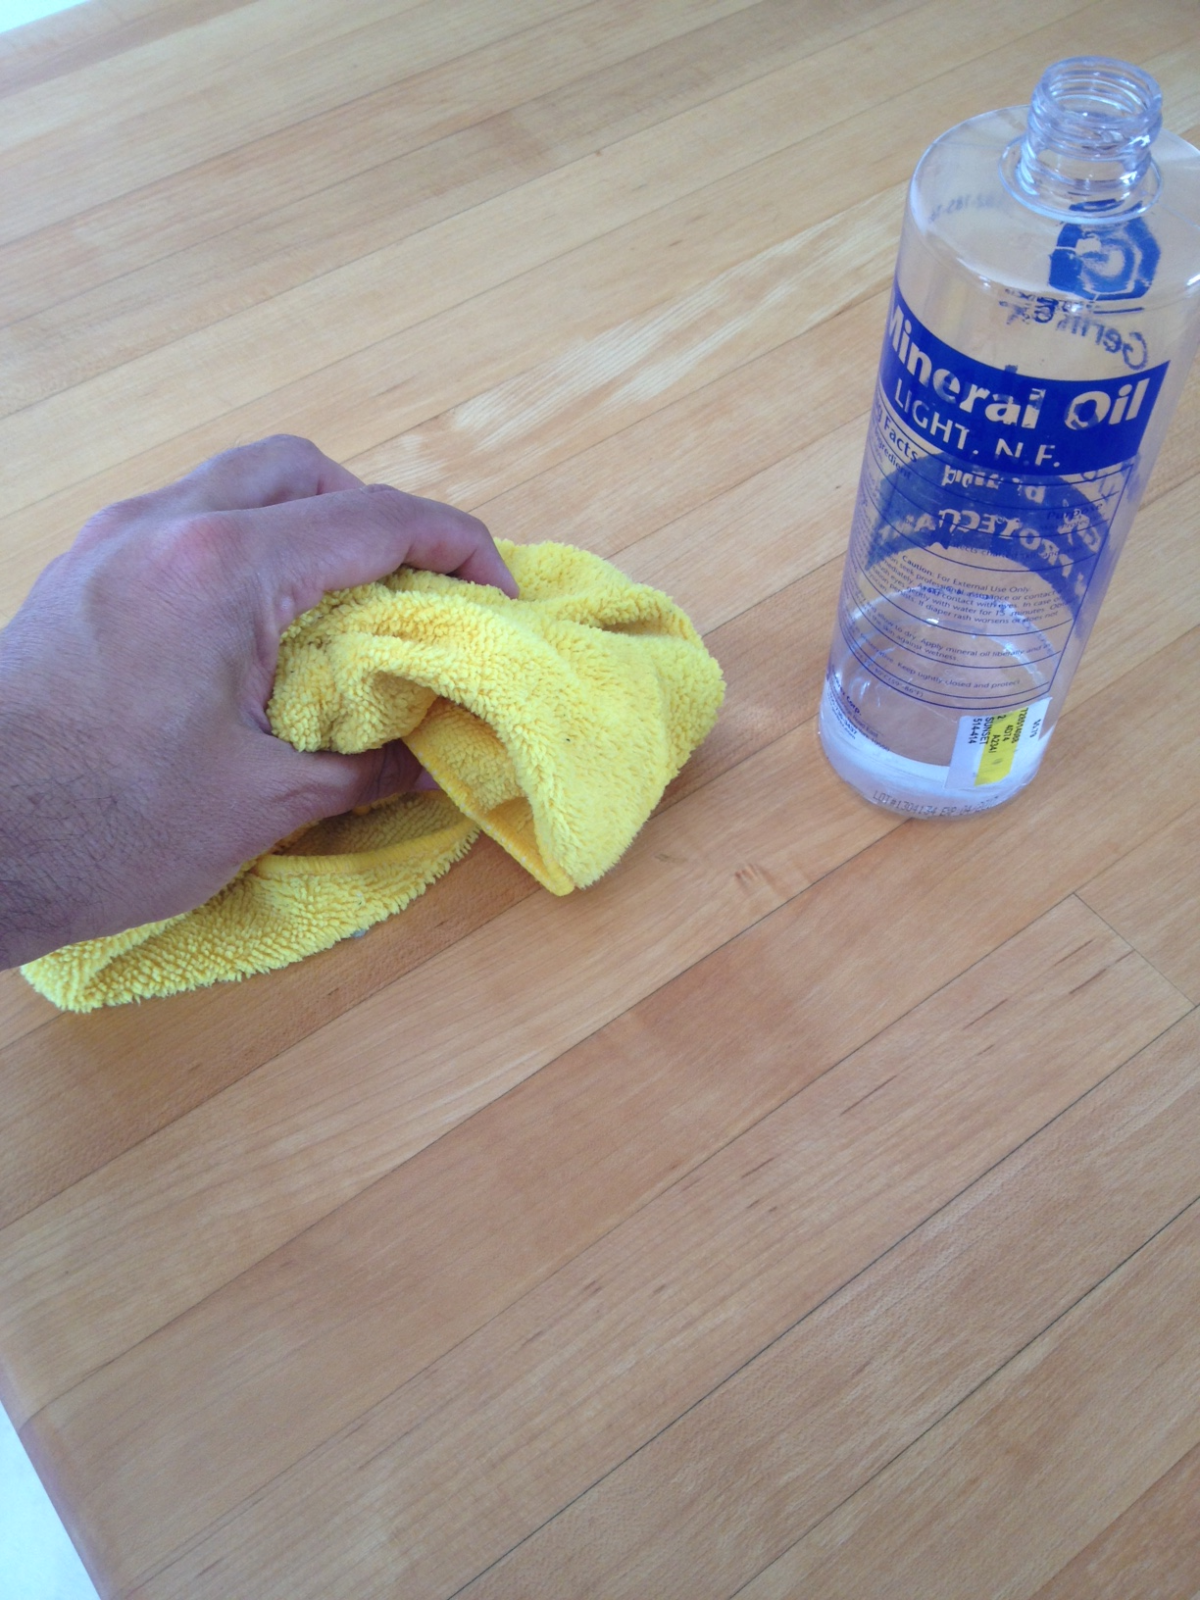
Can You Use Hardwood Flooring as a Countertop? Yes, Done Right
Quick Answer
Yes — solid hardwood flooring can be repurposed as a countertop, but only if you rip off the tongue-and-groove edges, glue the boards face-up into a slab, and seal the surface with a food-safe finish like mineral oil or beeswax conditioner. Polyurethane, the finish already on most prefinished flooring, is not food-safe for a cutting or food-prep surface until it fully cures for about 30 days, and even then it isn’t ideal near knives. Reclaimed oak or maple flooring can cut the material cost of a butcher-block-style counter by 60-80% compared to buying dedicated butcher block.
If you’ve got a stack of leftover oak or maple strip flooring from a remodel, turning it into a countertop is a legitimate, well-documented DIY technique — not the same thing as a standard store-bought butcher block. The wood, the joinery, and the finishing rules are all a little different, and getting any one of them wrong is how people end up with a counter that cups, splits at the sink, or leaches finish into food. Here’s how to do it correctly.
Why Hardwood Flooring Works as Countertop Material
Solid hardwood flooring — as opposed to engineered or laminate flooring — is milled from the same species used in furniture and butcher block: red oak, white oak, maple, hickory, and walnut are the most common. Because flooring boards are cut and kiln-dried to the same moisture-content standards as furniture-grade lumber (typically 6-9%), they are structurally suitable for a glued-up slab once the tongue-and-groove edges are removed.
The main reason woodworkers reach for flooring stock instead of buying dedicated butcher block wood is cost. Solid unfinished oak or maple flooring runs roughly $3-$10 per square foot for material, while a comparable butcher block countertop panel costs $50-$150 per square foot installed, or about $20-$30 per square foot even for a budget prefab DIY kit. If you already have leftover boards from a flooring job, the material cost of the countertop itself can be close to zero — you’re paying only for glue, sealer, and your time.
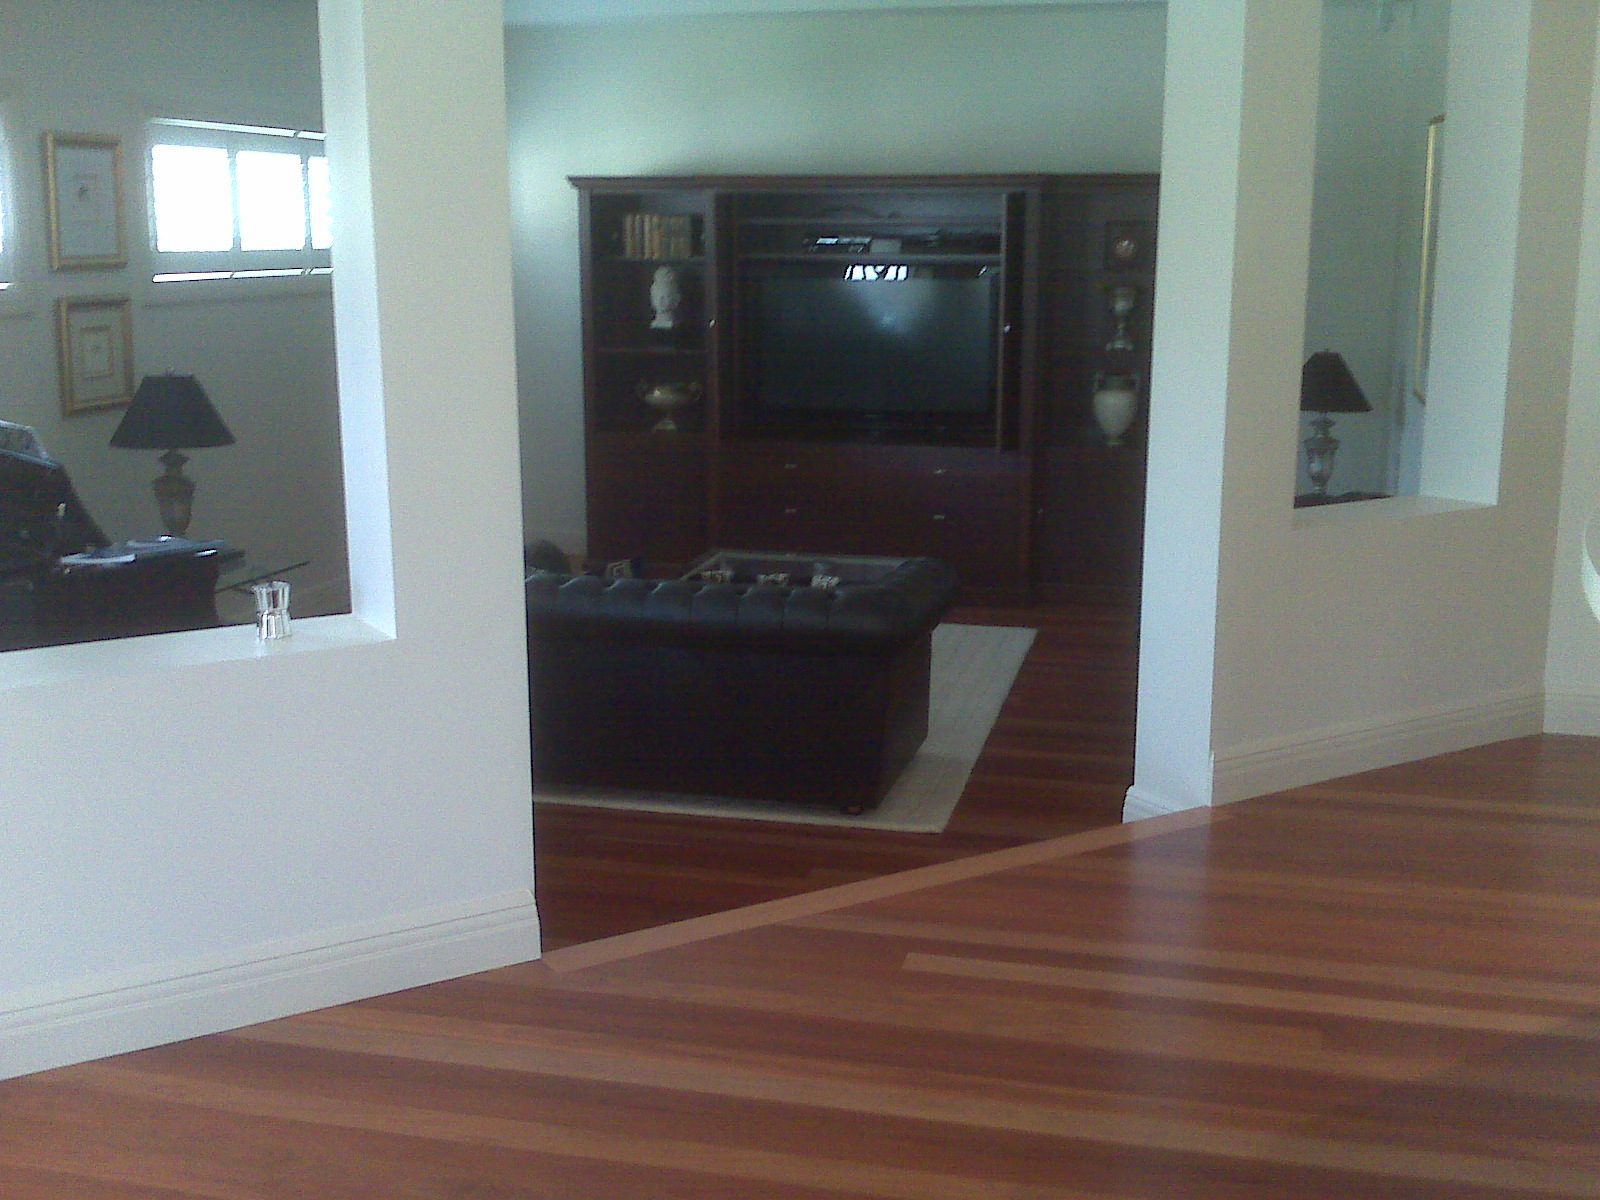
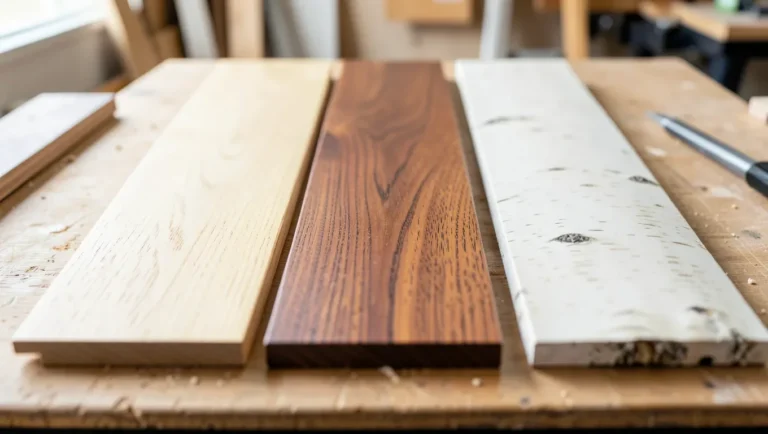
Solid strip flooring like this — not engineered or laminate flooring — is what you want for a countertop build. The tongue-and-groove edges get ripped off before gluing.
Edge-Grain vs. Face-Grain: Which Orientation to Use
This is the step most tutorials skip, and it’s the one that determines whether your countertop looks and wears like butcher block or like a floor standing on its side.
- Face-grain orientation keeps the wide, flat face of each board showing on top — the same look as the floor itself, with long grain lines running the length of the counter. This is the faster, more forgiving option and what most flooring-to-countertop projects use.
- Edge-grain orientation stands each board on its narrow edge, so the end-grain-like striping of true butcher block shows on top. This is more durable under a knife and closer to a “real” butcher block look, but it takes roughly 3x the number of boards to cover the same area, so it isn’t practical when you’re working from a limited stack of reclaimed flooring.
For a flooring-repurposing project, face-grain is almost always the right call — it uses your material efficiently and still produces a hard-wearing surface once sealed.
Tongue-and-Groove Joining: Turning Floorboards Into a Slab
Flooring boards can’t just be glued edge-to-edge with the factory tongue-and-groove profile intact — the joints are too uneven in thickness for a flat countertop. The standard process:
- Rip the tongue off one edge and the groove off the other on a table saw, leaving a clean square edge on each board.
- Cross-cut the boards to your finished counter length, staggering the joints (like a brick pattern) so seams don’t line up across the width.
- Dry-fit the full layout before gluing — flooring boards vary slightly in thickness even within the same box, and you want to catch that now, not after glue-up.
- Glue face-to-face in sections of 4-6 boards using a waterproof, food-contact-safe wood glue, then clamp with cauls to keep the surface flat while it cures.
- Once all sections cure, glue the sections together into the full slab and let it cure a full 24 hours before sanding.
A Type II water-resistant PVA wood glue is the standard choice here. Gorilla Wood Glue, for example, meets the ANSI/HPVA Type II water-resistance spec and is rated for both indoor and outdoor joinery — it holds up fine under the periodic water exposure a kitchen counter sees, though it is not a substitute for sealing the surface itself.
Food-Safe Sealing: Why Polyurethane Is the Wrong Answer
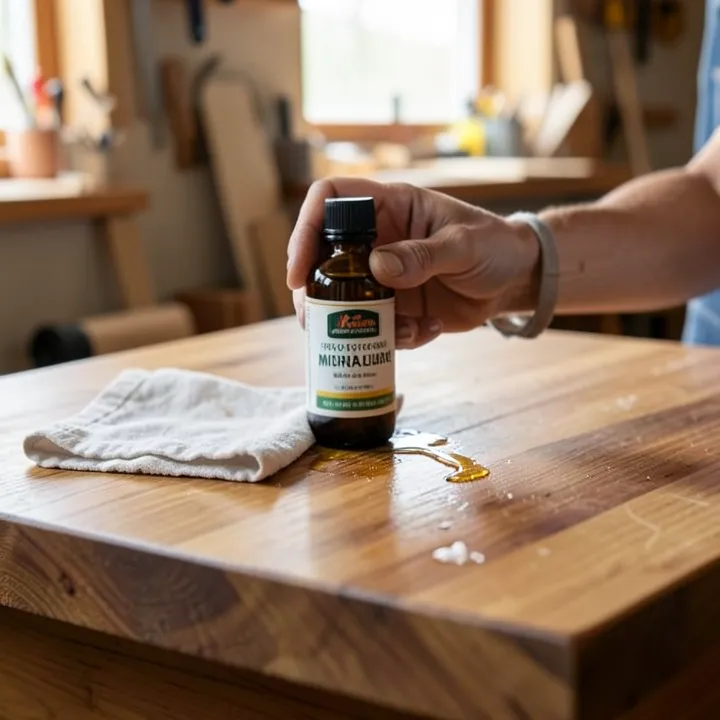
Mineral oil soaks into the wood instead of sitting on top of it — the reason it stays food-safe even after knife contact.
Most prefinished hardwood flooring comes from the factory with a polyurethane or aluminum-oxide finish, and that’s the first thing that has to change if the boards are going to touch food. Polyurethane forms a hard film on the surface rather than soaking in, and while it can be considered food-safe for indirect contact once fully cured — which takes about 30 days, not the 24 hours it feels dry — a poly film is a poor choice anywhere you’ll actually cut on the surface, since a knife will chip through the coating and create crumbs and gaps where bacteria can collect.
Real food-safe options, all covered in more detail in our guide to finishing a wood countertop food-safe:
- Food-grade mineral oil — the standard choice. It penetrates the wood, doesn’t add flavor or odor, and is safe from the first application. The tradeoff is that it’s a non-drying oil, so it needs reapplying every 3-4 weeks with regular use.
- Beeswax + mineral oil conditioner blends — add a wax layer on top of the oil for extra water resistance between oiling sessions.
- Pure tung oil — hardens when it cures, giving more durability than straight mineral oil, though it takes longer between coats.
- Shellac cut with pure (not denatured) ethanol — FDA-recognized as food-safe, though less common for full countertops.
Whichever finish you use, strip the original factory coating back to bare wood first by sanding through 120, then 150, then 220 grit — a food-safe oil can’t penetrate through an intact poly film underneath it. For the full oiling routine and reapplication schedule, see our guide on how to oil butcher block the right way, which applies the same way to a flooring-built counter.
Water Damage: Where Repurposed Flooring Counters Actually Fail
The most common failure point isn’t the field of the counter — it’s the sink cutout and the seams around it. Standing water at a sink edge will find its way into end grain and glue lines faster than almost anywhere else on the counter, and once it does, you get the same cupping (edges higher than the center) that causes hardwood floors to buckle after a spill sits too long.
Two things reduce this risk substantially:
- Seal the sink cutout edges separately with 3-4 extra coats of oil or a marine-grade sealer before the sink is installed — this end grain absorbs water far faster than the face of the board.
- Wipe standing water immediately rather than letting it sit. A wood counter near a sink needs more day-to-day attention than stone or laminate; that’s the tradeoff for the look and repairability.
The upside: unlike stone or laminate, a repurposed hardwood counter can be sanded and refinished if it does get damaged, the same way you’d handle scratch repair or refinishing on a hardwood floor.
Repurposed Flooring vs. Dedicated Butcher Block vs. Laminate
| Factor | Repurposed Hardwood Flooring | Dedicated Butcher Block | Laminate |
|---|---|---|---|
| Material cost/sq ft | $0-$10 (often on-hand leftovers) | $50-$150 installed | $20-$50 installed |
| Labor | High — ripping, joining, sanding, sealing | Low if buying a pre-glued panel | Low, often pro-installed |
| Food-safety once finished | High, with correct food-safe sealing | High | High (non-porous) |
| Water resistance | Moderate — needs reapplied oil, weak at seams/sink | Moderate, same as any solid wood | High |
| Repairability | Excellent — sand and reseal | Excellent — sand and reseal | Poor — chips/delaminates, usually replaced |
By the numbers: Red oak flooring material runs about $3-$6 per square foot and white oak $5-$10 per square foot, versus $50-$150 per square foot for an installed butcher block countertop — a roughly 85-95% material-cost gap that’s the entire economic case for repurposing flooring in the first place.
How to Turn Hardwood Flooring Into a Countertop: Step-by-Step
- Sort and inspect your boards. Discard anything cupped, cracked, or with visible water damage — those defects only get worse under a glue-up.
- Rip off the tongue-and-groove edges on a table saw so every board has two clean, square edges.
- Cross-cut to length and dry-fit the full layout, staggering seams.
- Glue up in sections of 4-6 boards with a Type II water-resistant wood glue, clamping with cauls to keep the surface flat.
- Join the sections into the full slab once each section has cured, and let the whole thing cure 24 hours.
- Sand through the grits — 120, then 150, then 220 — to remove the factory finish completely and level the seams.
- Cut the sink opening and seal that end grain with several extra coats of finish before the sink goes in.
- Apply food-safe finish — mineral oil or a beeswax/mineral oil conditioner — generously, let it soak in 4+ hours or overnight, then wipe off the excess.
- Re-oil every 3-4 weeks for the first few months, then as needed once the wood stops visibly absorbing oil.
From the shop: “The mistake I see most often is someone skipping the tongue-and-groove removal because it feels like extra work — they just glue the boards up in their factory profile. It never sits flat, and the seams telegraph through the finish within a season. Ripping clean edges first is the one step that isn’t optional.” — Md Meraj, Woodworking Advisor
Recommended Products for This Build
Food-safe finish and joinery supplies
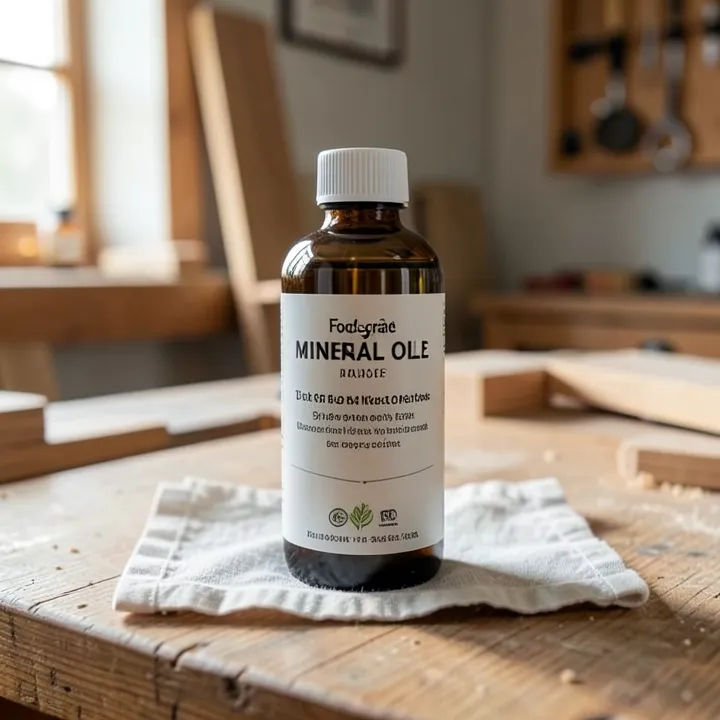
Thirteen Chefs Food Grade Mineral Oil, 12 oz
USP food-grade mineral oil for the initial sealing and every 3-4 week reapplication — apply generously, let sit several hours, wipe off excess.
Check Price on Amazon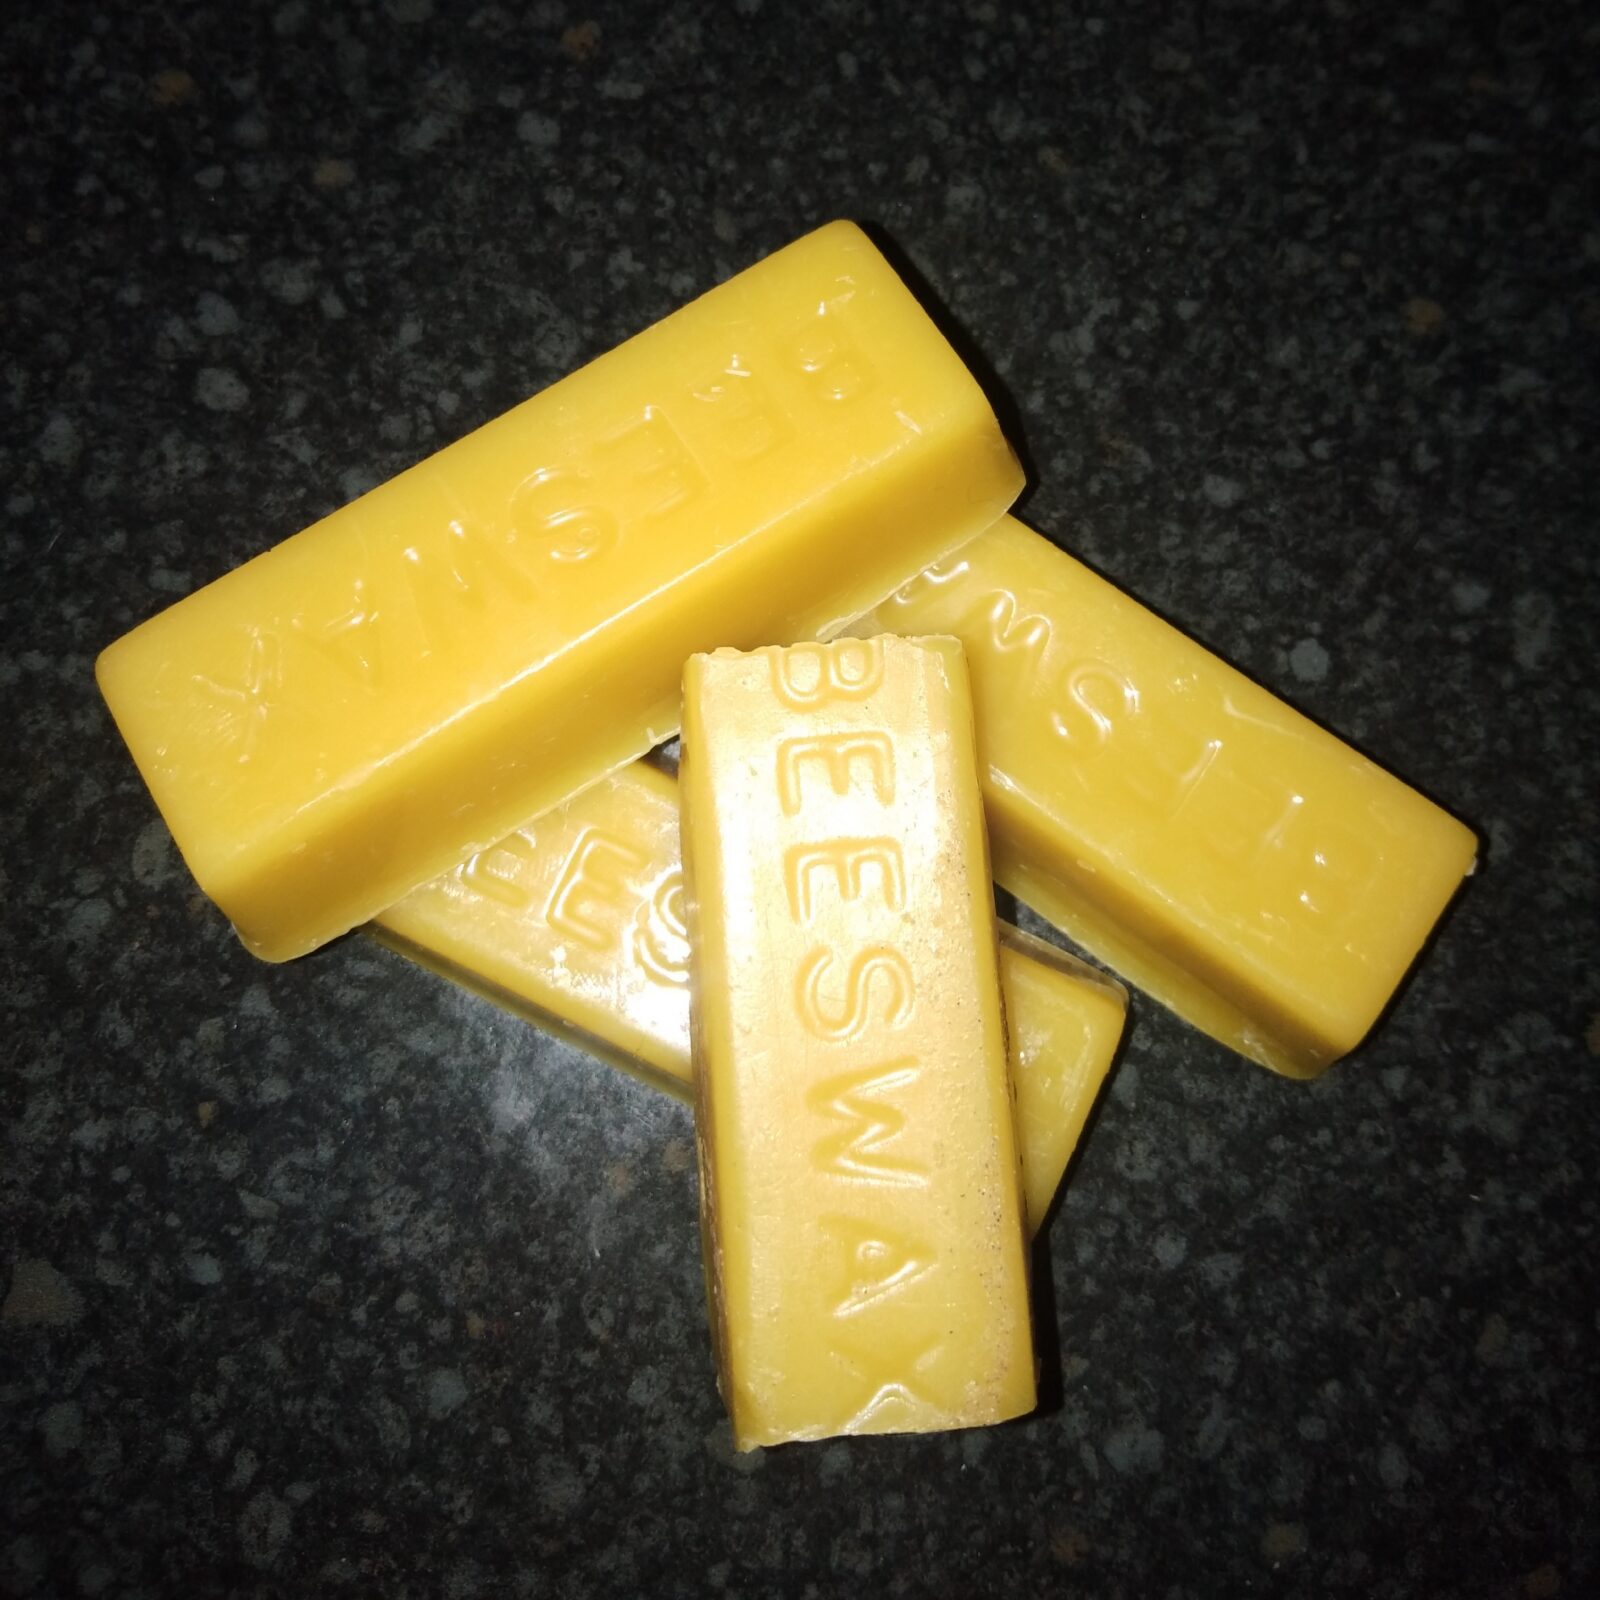
Howard Products Butcher Block Conditioner, 12 oz
Food-grade mineral oil blended with beeswax and carnauba wax — a second layer of water resistance between full oiling sessions.
Check Price on Amazon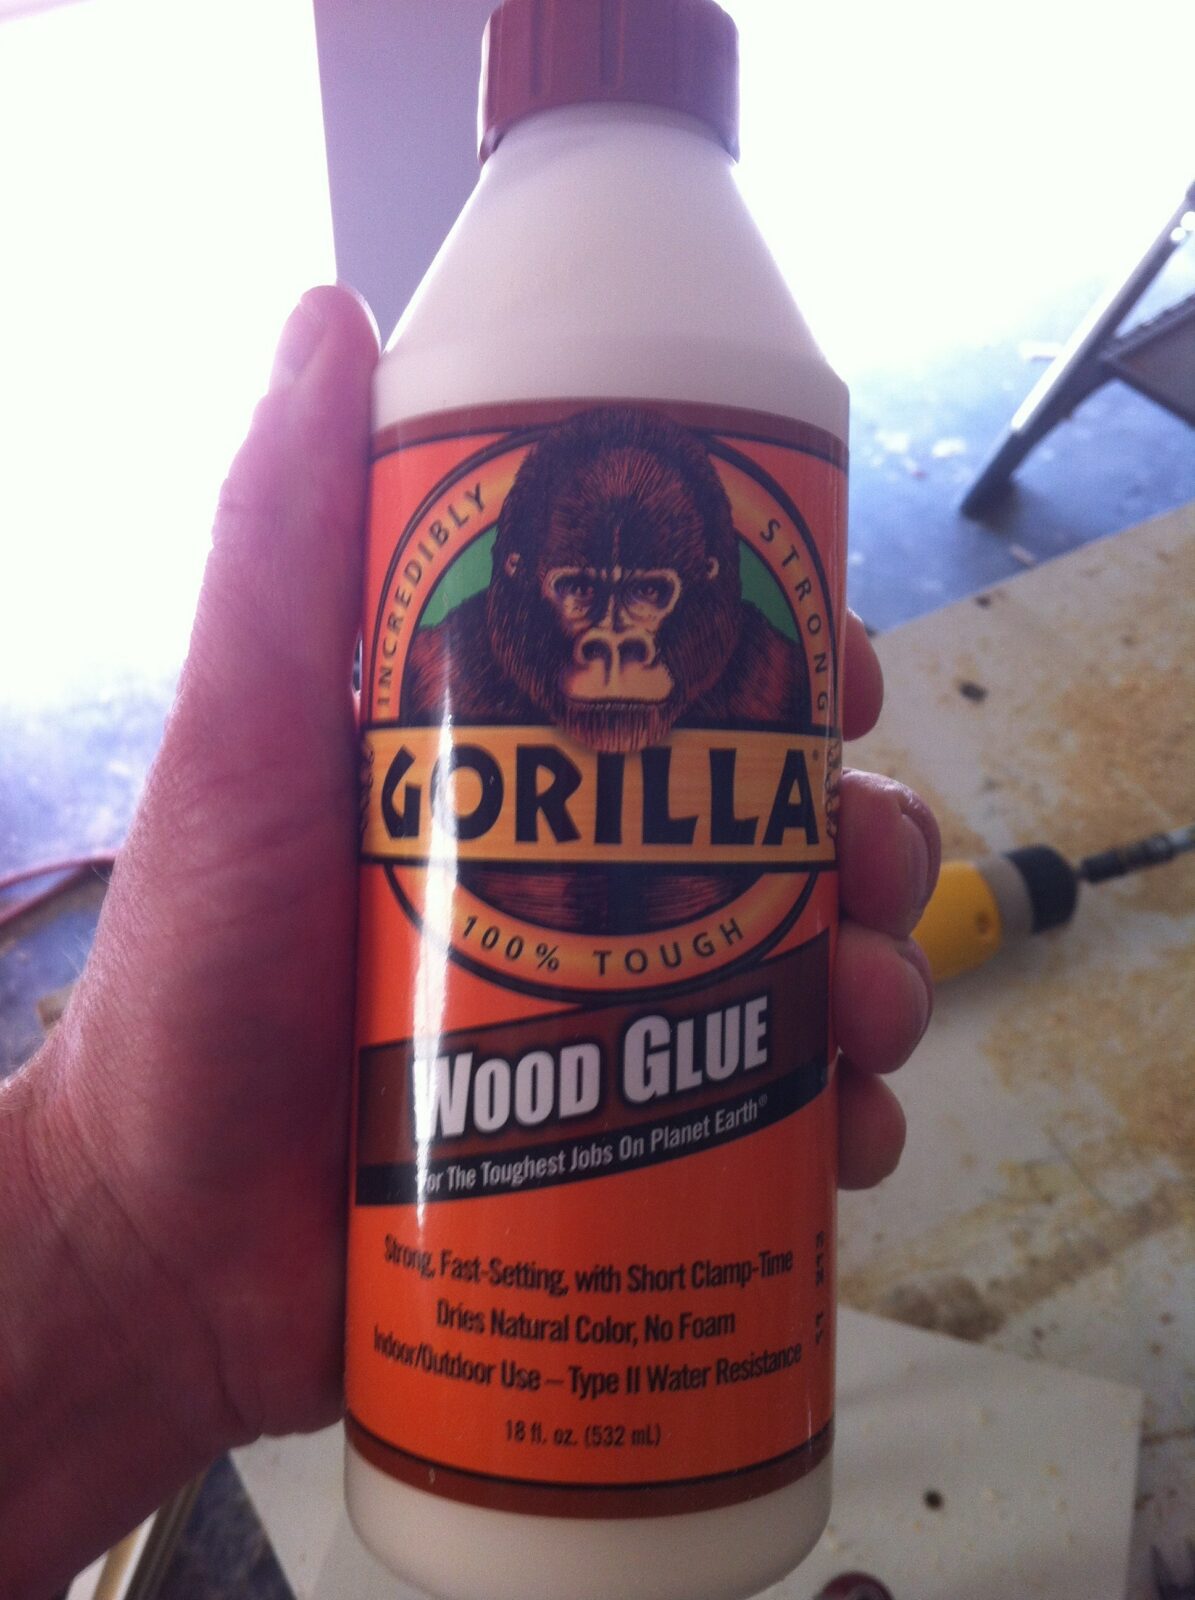
Gorilla Wood Glue, 18 oz
Type II water-resistant PVA glue rated for indoor/outdoor joinery — the standard choice for gluing up floorboard sections into a slab.
Check Price on AmazonFrequently Asked Questions
Can you use hardwood flooring as a kitchen countertop?
Yes. Solid hardwood flooring in species like oak or maple can be repurposed into a countertop once the tongue-and-groove edges are removed, the boards are glued face-up into a slab, and the surface is refinished with a food-safe sealer instead of the original factory poly coating.
Is polyurethane-finished flooring safe to use as a countertop?
Not as-is. The factory finish needs to be sanded off completely before food contact. Even a fresh coat of polyurethane needs about 30 days to fully cure before it’s considered food-safe for indirect contact, and it isn’t recommended for a surface you’ll actually cut on, since a knife chips through the film.
What’s the best finish for a hardwood flooring countertop?
Food-grade mineral oil is the standard, sometimes combined with a beeswax conditioner for extra water resistance. Pure tung oil and shellac cut with pure ethanol are also food-safe options, covered in detail in our butcher block finish options guide.
How much can you save using flooring instead of buying butcher block?
Solid oak or maple flooring material costs roughly $3-$10 per square foot versus $50-$150 per square foot for an installed butcher block countertop — if you’re starting from leftover flooring you already own, the material cost of the counter itself can be close to zero.
Do I need to worry about water damage at the sink?
Yes — this is the most common failure point. Seal the sink cutout’s end grain with extra coats before installing the sink, and wipe up standing water promptly rather than letting it sit, since end grain absorbs water far faster than the face of the board.
Sponsored / affiliate links. As an Amazon Associate I earn from qualifying purchases. I may earn additional commission from eligible campaigns.