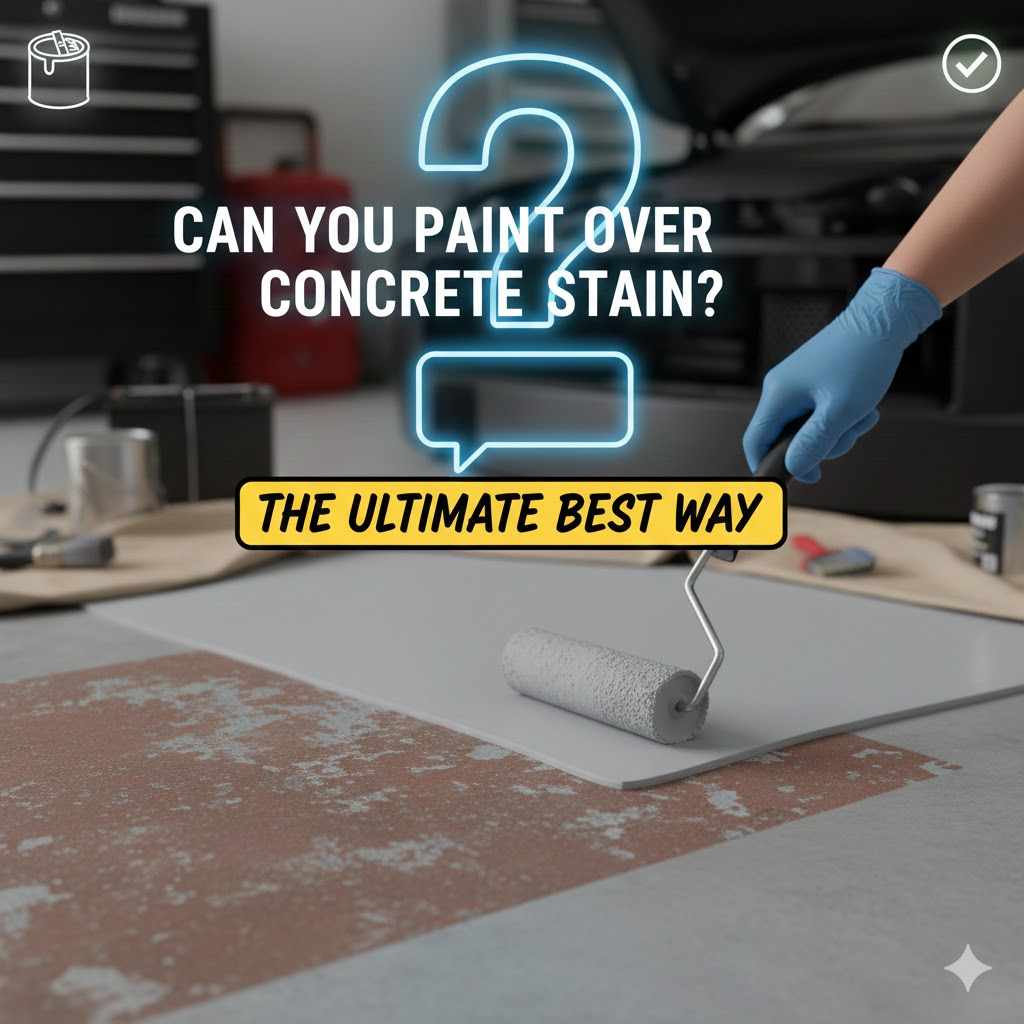
Can You Paint Over Concrete Stain? The Ultimate Best Way
Yes, you can absolutely paint over concrete stain, but success is all in the preparation. You cannot simply paint directly over it. For a durable, peel-free finish, you must thoroughly clean the concrete, remove any existing sealer, and use the right primer and paint designed for masonry surfaces. Proper prep is non-negotiable.
Have you ever looked at a stained concrete patio, basement floor, or garage and wished for a change? Maybe the color isn’t what you wanted, or perhaps it’s just faded and worn over time. It’s a common problem, and it can feel a little bit daunting. You might wonder if you’re stuck with it forever.
Well, I have some great news for you. You are not stuck! Painting over that old concrete stain is a project you can definitely tackle yourself. With a little bit of patience and the right steps, you can give that concrete a beautiful, fresh new look. This guide will walk you through everything, making it simple and clear. Let’s get started.
Understanding Concrete Stain: Why It’s Different from Paint
Before we grab a paint roller, it’s really helpful to understand what concrete stain is and how it works. Unlike paint, which creates a solid layer that sits on top of the concrete, stain is designed to soak into the concrete’s surface pores. It becomes part of the concrete itself, which is why it’s so durable and doesn’t chip or peel like paint can.
There are two main types of concrete stain you might be dealing with:
- Acid-Based Stain: This type of stain has a chemical reaction with the lime in the concrete. It creates a beautiful, mottled, translucent look that is unique to each slab. The colors are typically earthy tones like browns, tans, and soft blue-greens.
- Water-Based Stain: This stain works more like a traditional wood stain. It’s a blend of polymers and pigments that penetrate the concrete to deposit color. Water-based stains come in a much wider variety of colors, from bright reds to deep blacks, and tend to be more opaque and uniform than acid stains.
The key takeaway here is that the stain itself is deep within the concrete. So, when we talk about painting over it, our main challenge isn’t the stain itself—it’s often the protective sealer that was applied on top of it. Paint needs a clean, porous surface to grab onto, and a sealer does the exact opposite by creating a smooth, non-porous barrier.

First Things First: Can You Paint Over Your Stained Concrete?
So, the big question is whether your specific concrete floor is ready for paint. The answer depends almost entirely on one thing: is there a sealer on top of the stain? Most stained concrete, especially in garages or outdoor patios, will have a sealer to protect it from moisture, wear, and tear.
How can you tell if there’s a sealer? It’s easy! Just perform a simple water test.
Pour a small amount of water (a few tablespoons) onto the concrete in a few different areas. Now, watch what happens:
- If the water beads up like on a freshly waxed car, you definitely have a sealer on the surface. Paint will not stick to this. You must remove the sealer before you do anything else.
- If the water soaks in quickly and darkens the concrete, there is likely no sealer present, or it has completely worn away. This is good news! Your job will be much easier.
Use this simple table to help you assess what you’re up against.
| Condition of Stained Concrete | What it Means | Difficulty to Paint Over |
|---|---|---|
| Water beads up on the surface | A topical sealer is present and blocking the pores. | High. The sealer must be completely removed before proceeding. This is the most labor-intensive step. |
| Water soaks in, darkening the concrete | The concrete is unsealed and porous. | Low. Your concrete is ready for cleaning and priming. Your prep work will be much faster. |
| Stain is flaking or peeling | This isn’t a true stain. It’s likely a film-forming product, like a solid-color stain or a low-quality concrete paint. | Medium. All loose and peeling material must be scraped and sanded away before you can begin. |
The Ultimate Best Way: A Step-by-Step Guide to Painting Over Concrete Stain
Alright, you’ve assessed your floor and you’re ready to go. We’re going to follow a clear, step-by-step process that ensures your paint job will last for years. I know it seems like a lot of prep work, but trust me, every minute you spend on these early steps will pay off tenfold. Skipping them is the number one reason paint fails on concrete.
Step 1: Gather Your Tools and Materials
Having everything you need on hand before you start makes the whole process smoother. You won’t have to stop midway through to run to the store. Here’s a handy checklist:
- Safety Gear (Non-Negotiable!)
- Safety glasses or goggles
- Chemical-resistant gloves
- Respirator with organic vapor cartridges (especially if using strippers or etchers)
- Knee pads
- Long sleeves and pants
- Cleaning and Prep Supplies
- Push broom
- Shop vacuum
- Stiff-bristled scrub brush (on a long pole is great for your back!)
- Concrete degreaser
- Bucket
- Hose with a spray nozzle or a pressure washer
- Concrete sealer stripper (if needed)
- Paint scraper or putty knife
- Concrete etcher (like phosphoric acid or an eco-friendly alternative)
- Plastic sheeting and painter’s tape
- Painting Supplies
- High-quality masonry or epoxy-bonding primer
- Concrete and garage floor paint (epoxy or latex-acrylic based)
- Paint tray and liners
- 9-inch roller with a 1/2-inch nap for semi-smooth surfaces
- 2-inch angled paintbrush for cutting in edges
- Optional: Clear concrete topcoat sealer
Step 2: Safety First! Protect Yourself and Your Space
Before you open a single can, let’s talk safety. Working with chemical strippers, etchers, and even some paints requires good ventilation. If you’re indoors (like a basement or garage), open all windows and doors. Use a box fan to help circulate air out of the space. Always wear your safety glasses, gloves, and a respirator. Your safety is the most important part of any DIY project.
Use painter’s tape and plastic sheeting to protect walls, baseboards, and anything else you don’t want to get messy.
Step 3: Deep Clean the Concrete Surface
Your goal here is to get the concrete as clean as possible. Paint hates dirt, oil, and grime. Even if the floor looks clean, invisible residues can ruin your paint job.
- Sweep and Vacuum: Start by sweeping up all the loose dirt and debris. Follow up with a shop vacuum to get everything out of cracks and corners.
- Scrub with Degreaser: Mix your concrete degreaser in a bucket according to the manufacturer’s directions. Pour it over a section of the floor and scrub vigorously with a stiff-bristled brush. Really put some effort into any oily or stained spots.
- Rinse Thoroughly: Rinse the entire surface completely with a hose or pressure washer. It’s crucial to remove all the degreaser residue. Keep rinsing until the water runs clear and there are no more suds.
For large areas like a garage, a pressure washer can make this step much faster and more effective. You can often rent one from a local home improvement store.
Step 4: Deal with the Sealer (The Most Crucial Step!)
If your water test showed a sealer is present, you have to remove it. There’s no way around this. Painting over a sealer is like painting on glass—it just won’t stick. The most DIY-friendly method is using a chemical sealer stripper.
Read the product instructions carefully, as each brand is slightly different. Generally, the process is:
- Apply the stripper generously to the floor using a roller or sprayer.
- Let it sit for the recommended amount of time. You’ll see the sealer start to bubble and lift.
- Scrape off the softened sealer with a long-handled floor scraper or putty knife.
- Neutralize and clean the residue as directed by the manufacturer, which usually involves another round of scrubbing and thorough rinsing.
This step can be tough work, but it is absolutely essential for a lasting finish. Always wear your full safety gear, as these chemicals are powerful. The EPA’s Safer Choice program can help you find products that are safer for you and the environment.
Step 5: Etch the Concrete for Perfect Grip
Etching is the process of roughing up the surface of the concrete on a microscopic level. It opens up the tiny pores, creating a texture that primer and paint can bite into. Even if you didn’t have a sealer, etching is a great idea for any concrete you plan to paint.
Many hardware stores sell concrete etching solutions that are much safer and easier to use than traditional muriatic acid. Follow the directions on the product label.
- Dampen the concrete with water.
- Mix the etching solution and apply it evenly with a plastic watering can.
- Scrub the entire surface with your stiff-bristled brush. You should see it fizz and bubble—that’s the etcher at work!
- Let it sit for about 10-15 minutes, but don’t let it dry.
- Rinse the floor thoroughly, scrubbing as you go to remove all of the residue. Rinse at least two or three times. This step is critical; any leftover etcher can cause the paint to fail.
Step 6: Let it Dry… Completely!
This is where patience becomes your best tool. Concrete holds a lot of moisture, and if you trap that moisture under a layer of paint, it will eventually push the paint right off. The concrete needs to be 100% bone dry.
How long does it take? Plan on waiting at least 24 to 48 hours after your final rinse. In a humid basement, it could take even longer. To be sure, you can do a simple moisture test. Tape a 2×2 foot square of clear plastic sheeting to the floor on all four sides. Leave it for 24 hours. If you see condensation under the plastic or the concrete looks dark, it’s still too wet. Wait another day and test again.
Step 7: Apply a High-Quality Primer
Don’t be tempted to skip the primer! It’s the glue that holds your entire project together. A good primer solves three problems: it seals the porous concrete so your topcoat doesn’t soak in unevenly, it bonds tightly to the masonry, and it provides a perfect, uniform surface for your paint to adhere to.
Choose a primer specifically designed for concrete, like an epoxy-bonding primer or an acrylic masonry primer. Start by using your paintbrush to “cut in” around the edges of the room. Then, use a roller to apply a thin, even coat over the entire floor. Avoid leaving any puddles or thick spots.
Let the primer dry completely according to the manufacturer’s instructions, which is usually 4 to 6 hours.
Step 8: Time to Paint! Applying Your Topcoat
This is the moment you’ve been working towards! Now that all the hard prep work is done, applying the paint is the easy and rewarding part. The key is to choose the right paint for the job and apply it in thin coats.
Here’s a breakdown of common paint types to help you choose:
| Paint Type | Best For | Pros | Cons |
|---|---|---|---|
| 1-Part Epoxy Paint | Garage floors, basements, high-traffic areas. | Very durable, easy to apply (pre-mixed), chemical resistant. | Not as tough as 2-part epoxy. |
| 2-Part Epoxy Paint | Heavy-duty areas like workshops and garages with hot tires. | Extremely tough, professional-grade finish, resistant to almost everything. | Short working time after mixing, more expensive, stronger fumes. |
| Latex Acrylic Masonry Paint | Patios, porches, basement walls, low-traffic floors. | Easy to apply and clean up, breathable, flexible, good for vertical surfaces. | Not as durable for high-traffic floors or vehicle traffic. |
Just like with the primer, start by cutting in the edges with your brush. Then, use your roller to apply a thin, even coat of paint. A thin coat is always better than a thick one! Most projects will need two coats for the best color and durability.
Let the first coat dry completely before applying the second. Check the paint can for the recommended recoat time. Don’t rush it!
Step 9: Seal the Deal (Optional but Recommended)
For the ultimate protection, especially in a garage or on an outdoor patio, consider applying a clear topcoat sealer. A good sealer will protect your beautiful new paint job from scuffs, scratches, hot tire pickup, and spills. It also adds a nice sheen and makes the surface easier to clean.
Choose a clear, non-yellowing sealer that is compatible with your paint (check the labels). Urethane and clear epoxy sealers are excellent choices. Apply one or two thin coats with a clean roller, following the manufacturer’s directions for dry times.
After your final coat of paint or sealer is applied, you need to let it cure. This is different from drying. Curing is the process where the paint hardens to its maximum durability. This can take anywhere from 3 to 7 days, or even longer for some epoxy systems. Avoid heavy foot traffic during this time, and don’t park your car on it for at least a week.
Common Mistakes to Avoid When Painting Over Stained Concrete
We all make mistakes, but here are a few common ones you can easily avoid to ensure your project is a success from the start:
- Inadequate Cleaning: Simply sweeping the floor isn’t enough. Any grease, oil, or grime left behind will cause the paint to bubble and peel.
- Painting Over a Sealer: This is the cardinal sin of concrete painting. If you don’t remove the sealer, your paint is guaranteed to fail.
- Skipping the Etching Step: Smooth, hard-troweled concrete is too dense for paint to stick to. Etching creates the necessary profile for a strong mechanical bond.
- Using the Wrong Products: Regular interior wall paint is not designed for the wear and tear a floor takes. Always use a paint specifically formulated for concrete floors.
- Not Allowing Proper Dry Time: Painting over damp concrete traps moisture, leading to bubbles and peeling. Rushing between coats can also cause problems.
- Applying Paint Too Thickly: Thick coats of paint don’t dry properly and are more prone to chipping and peeling. Two thin coats are always better than one thick coat.

Frequently Asked Questions (FAQ)
Do I always have to etch the concrete before painting?
It’s highly recommended. Even if your concrete feels rough, etching ensures the surface is uniformly porous and free of any contaminants that could interfere with paint adhesion. It’s a cheap and easy insurance policy for a long-lasting paint job.
What’s the best primer for painting over stained concrete?
The best choice is an epoxy-bonding primer. These primers are designed to penetrate the concrete and create an incredibly strong bond that a topcoat can adhere to reliably. For less demanding areas like a porch, a high-quality acrylic masonry primer also works well.
Can I use regular wall paint on my concrete floor?
No, you should never use regular interior latex paint on a concrete floor. It is not formulated to withstand foot traffic, moisture from the slab, or the abrasion that floors endure. It will peel and chip in a very short time. Always use paint labeled specifically for concrete, masonry, or garage floors.
How long will the paint last on my concrete floor?
If you do the preparation correctly, a high-quality concrete floor paint or epoxy system can last for many years. For a garage floor, a good 2-part epoxy system can last 10-15 years. For a patio or basement, you can expect 5-7 years before you may need to consider a touch-up or a new topcoat.
Why is my new paint peeling off the concrete?
Peeling is almost always a sign of a preparation problem. The most common reasons are: 1) The surface wasn’t cleaned properly. 2) You painted over an old sealer. 3) The concrete was still damp when you painted. 4) You skipped the primer. 5) You used the wrong type of paint.
Can I just apply another coat of stain instead of painting?
Sometimes, yes! If you like the stained look and just want to refresh it or change the color slightly, re-staining can be an option. However, this only works if you don’t have a topical sealer. If a sealer is present, it will prevent the new stain from penetrating, and you’ll need to strip it off first—just as you would for painting.
What if my concrete stain is peeling or flaking?
If your “stain” is peeling, it isn’t a true penetrating stain. It’s a film-forming coating, like a solid-color stain or an old coat of paint. For this situation, you must scrape, sand, and remove all loose and peeling material before you begin the cleaning and priming process.
Conclusion: A Fresh Start for Your Concrete Surface
Giving your old, stained concrete a brand new look with paint is one of the most transformative and satisfying DIY projects you can do. It can completely change the feel of a basement, garage, or patio. While it does require a good amount of work up front, the secret is not in the painting—it’s in the preparation.
By following these steps—thoroughly cleaning, removing any sealer, etching the surface, and using the right primer and paint—you are setting yourself up for a beautiful and incredibly durable finish. You’re creating a surface that won’t just look good for a few months, but for years to come. Take your time, be patient, and trust the process. You’ve got this, and the end result will be well worth the effort.