How to Stain Pine to Look Like Oak (Gel Stain + Grain Tricks)
Stain alone will not turn pine into oak: color is the easy part, and grain gives the game away. Pine is a closed-grain softwood that blotches, while oak is a hardwood with open pores. A tan-brown gel stain plus lightly roughed-up grain gets close, though not on every board. This guide covers the stain to buy, six steps, and the fixes that matter.
Best Stain for Making Pine Look Like Oak
Best Gel Stain Pick for the Oak Look on Pine | |
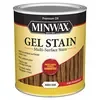 |
Minwax Gel Stain, Aged Oak, Quart A thick, semi-transparent oil-based gel that sits on the surface instead of soaking in, so pine’s soft and hard growth rings take color far more evenly than with a thin liquid stain.
|
As an Amazon Associate we earn from qualifying purchases. | |
A gel stain is the most forgiving way to do this because pine takes liquid stain unevenly: the soft, porous earlywood drinks it up while the dense latewood barely absorbs any. Gel stays on top, so color goes down evenly. For the tone, pick a neutral brown. If you want to see how different tones read on pine before you buy, our wood stain colors on pine page compares them, and gel stain vs oil stain explains the trade-offs of each type.
Why Pine Does Not Look Like Oak (Even After Staining)
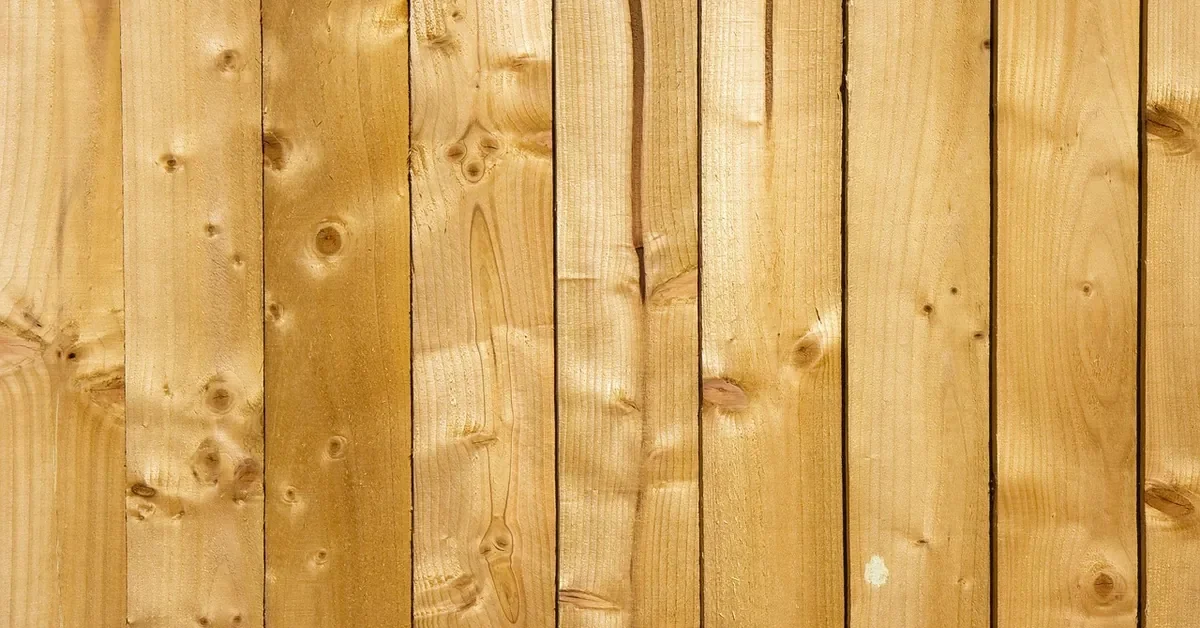
Most guides treat this as a color-matching problem. It is really a structure problem, and knowing the difference tells you which parts you can fake. Oak is ring-porous, meaning it has large open vessels that show up as the fine dark flecks and cathedral patterns people recognize. Pine is a softwood with no vessels at all, just tightly packed fibers and resin canals. Stain can change color, but it cannot add pores.
| Property | Pine | Oak (red and white) |
|---|---|---|
| Wood type | Softwood, no pores | Hardwood, ring-porous with open vessels |
| Hardness (Janka) | About 380 lbf (eastern white pine) to 870 lbf (longleaf pine) | About 1,290 lbf (red oak) to 1,360 lbf (white oak) |
| Natural color | Pale yellow to orange-yellow, darkens toward orange with age | Tan to light brown; red oak has a pinkish cast, white oak a grayish tan |
| Reaction to stain | Blotches; soft earlywood soaks up color | Takes stain evenly; pores hold extra pigment |
| Fakeable with stain? | Color and tone: yes | Pore texture: only partly, by brushing the grain |
The practical takeaway is that you can copy oak’s color and its darker grain lines. You cannot copy its hardness, so pine will still dent far more easily. If the piece will see hard use, such as a tabletop, plan on a tough topcoat. For a deeper look at the two grains side by side, see our oak grain vs pine grain comparison.
Tools and Materials
- Pine boards with as much visible grain and as few large knots as you can find
- Sandpaper in 120 and 150 grit (180 at most)
- Gel stain in a neutral tan-brown such as Aged Oak
- Stiff nylon or soft brass-bristle brush for opening the grain (optional)
- Lint-free cotton rags and a foam or bristle brush
- Dewaxed shellac or a shellac-based sealer for knots
- Oil-based or water-based clear topcoat
- Nitrile gloves and a respirator rated for organic vapors
How to Stain Pine to Look Like Oak: 6 Steps
- Choose and inspect the boards: Pick boards with strong, straight grain. Large knots and very pale, plain boards are the hardest to pass off as oak.
- Sand to 150 grit: Start at 120 to remove mill marks, then finish at 150 with the grain. Going to 220 burnishes pine and makes it take stain poorly.
- Seal the knots: Brush a thin coat of dewaxed shellac over knots and resin streaks so pitch cannot bleed through the stain later. Let it dry, then scuff lightly.
- Open the grain (optional): Drag a stiff nylon or soft brass brush along the grain with light pressure to wear away a little of the soft earlywood. This creates shallow grooves that hold extra stain and read as oak’s pores. Vacuum the dust thoroughly.
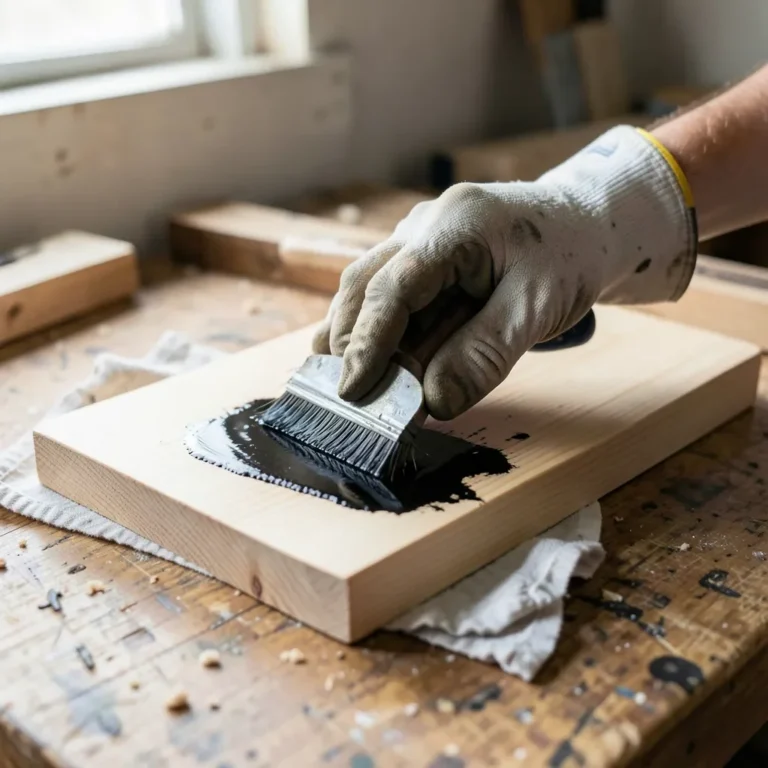
- Wipe on the gel stain: Apply a thin coat with a rag or brush, working with the grain, then wipe back the excess with a clean rag after the time on the can. Leave a bit more in the brushed grooves and wipe the flat faces cleaner.
- Dry, then top-coat: Let the stain dry fully, usually overnight, following the can. Only then apply a clear finish, since a topcoat over tacky gel will stay soft and streak.
Fixing the Three Giveaways
Orange or Yellow Tone
Fresh pine reads yellow-orange, and red-leaning stains push it further toward orange. Oak reads tan, so favor a stain with more brown and less red. If a coat has already come out too warm, a thin second coat of a darker neutral brown gel, applied after the first dries, will pull it back. If it went badly wrong, see our guide to removing wood stain before you start over.
Blotchy Patches
Blotching comes from uneven absorption across pine’s growth rings. Gel stain minimizes it, and a pre-stain wood conditioner helps if you are using a liquid stain. Conditioner reduces how much color the wood takes, so the finish comes out lighter and you may need a darker stain to compensate. Our can you stain pine article walks through the mechanism in more detail.
Knots That Look Like Pine Knots
Oak has knots too, but pine’s are larger, rounder and often darker with resin. Seal them with shellac as in step 3, and choose boards where knots are small and tight. Very large knots will not disappear under any stain.
Myth: More Coats Will Make Pine Look Like Oak
A common piece of advice is to keep adding coats, or to layer a light stain and then a dark stain on top. Once pine has absorbed all it can, further coats of a penetrating stain barely change the color, and stacked gel coats build a film that can turn gummy and hide the grain you are trying to show. A better route to deeper color is a darker, brown-based stain in one properly wiped coat. Our page on how many coats of stain pine needs explains why, and how to make stain darker on pine covers the safe ways to deepen color.
Safety: Oily Rags Can Ignite
Rags soaked with oil-based stain or oil finishes can heat up as the oil cures and catch fire on their own. Never bunch them up or throw them in a trash bin. Lay them flat outdoors to dry completely, or store them submerged in water in a sealed metal container until you can dispose of them properly. Work with good ventilation and wear a vapor-rated respirator with oil-based products.
Frequently Asked Questions
Can pine be stained to look like oak?
Yes, for color and general look, but not perfectly. Stain can match oak’s tan-brown tone, while pine’s closed grain lacks oak’s open pores. Gel stain, a light brushing of the grain, and a neutral brown color get close enough that most people will not notice at arm’s length.
What color stain makes pine look like oak?
Choose a neutral tan-brown such as Aged Oak, Golden Oak or Early American rather than a red or orange-leaning tone. Pine is already yellow-orange, so a red-based stain pushes it toward orange instead of oak. Always test on a scrap from the same board first.
Do I need wood conditioner before gel stain on pine?
Usually no, because gel stain sits mostly on the surface and blotches far less than a liquid stain. A pre-stain conditioner is still worth using on knotty or very uneven boards, but it lightens the final color, so test both ways on scrap before committing.
How many coats of stain does pine need to look like oak?
One wiped-on coat is usually enough. Extra coats of a penetrating stain add little color once the wood is saturated, and extra gel builds a film. If the color is too light, darken it with a second thin gel coat only after the first has fully dried.
Should I sand pine before staining?
Yes, but stop at 150 or 180 grit. Sanding pine finer than that burnishes the surface and reduces how much stain it absorbs, giving a pale, patchy result. Sand with the grain and vacuum every trace of dust before you stain.
Conclusion
Pine can pass for oak if you fake the right things: an even, neutral tan-brown from a gel stain, a little grain relief from brushing, and sealed knots. For a broader walkthrough of staining softwood, see how to stain pine wood like a pro. Test everything on a scrap from your own board first, since every piece of pine takes color a little differently.
Sponsored / affiliate links. As an Amazon Associate I earn from qualifying purchases. I may earn additional commission from eligible campaigns.