Can You Stain Birch Plywood? Yes, But It Blotches
Yes, you can stain birch plywood, but there’s a real catch most guides skip: birch has a tight, closed grain that absorbs stain unevenly, so a straight liquid stain applied without prep almost always comes out blotchy instead of the smooth, even color you’d get on an open-grained wood like oak. The fix isn’t a different stain color – it’s a pre-stain step that evens out how the wood absorbs pigment in the first place. Here’s why birch blotches, what actually stops it, and how to get a clean, even finish the first time.
Yes, Birch Plywood Takes Stain – But It Blotches Without Prep
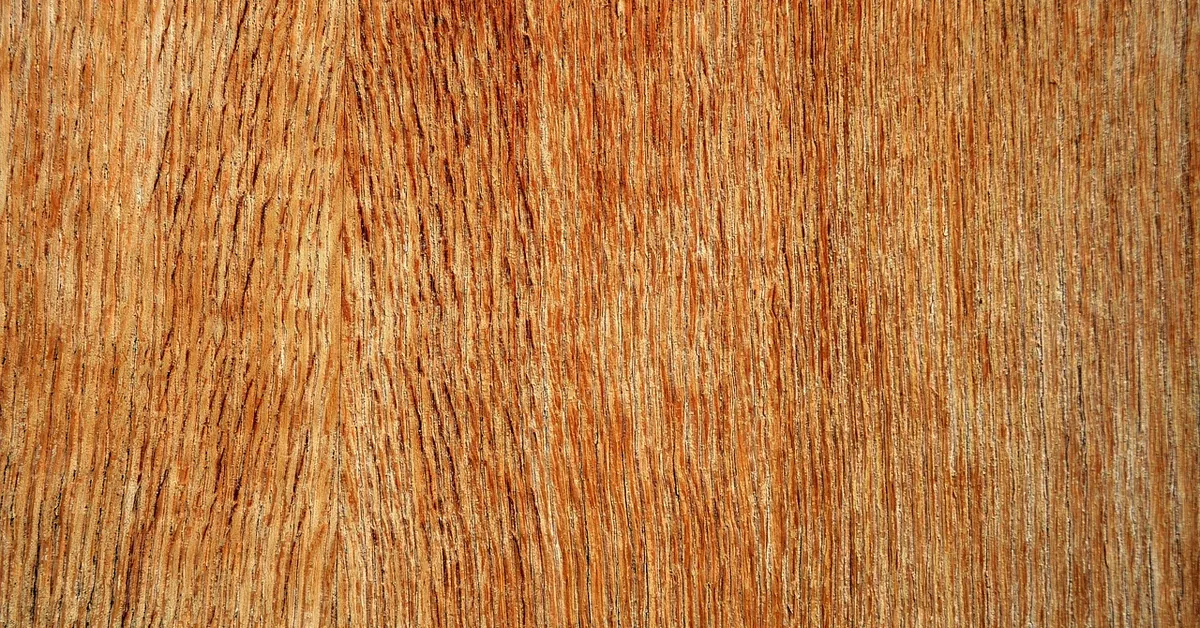
Birch plywood’s face veneer has a fine, tight, closed grain, and that’s exactly what causes the problem. Tight-grained woods like birch, maple, and pine don’t have large, uniform pores the way oak or ash do, so when liquid stain hits the surface, it soaks into small, inconsistent pockets of end grain and soft early-wood at different rates. The result is dark blotches and streaks next to lighter patches, even though you applied the stain evenly across the whole board. This is a wood-chemistry issue, not something you can fix by switching to a different color or brand of stain – the fix has to happen before the stain goes on.
Best Pre-Stain Conditioner for Birch
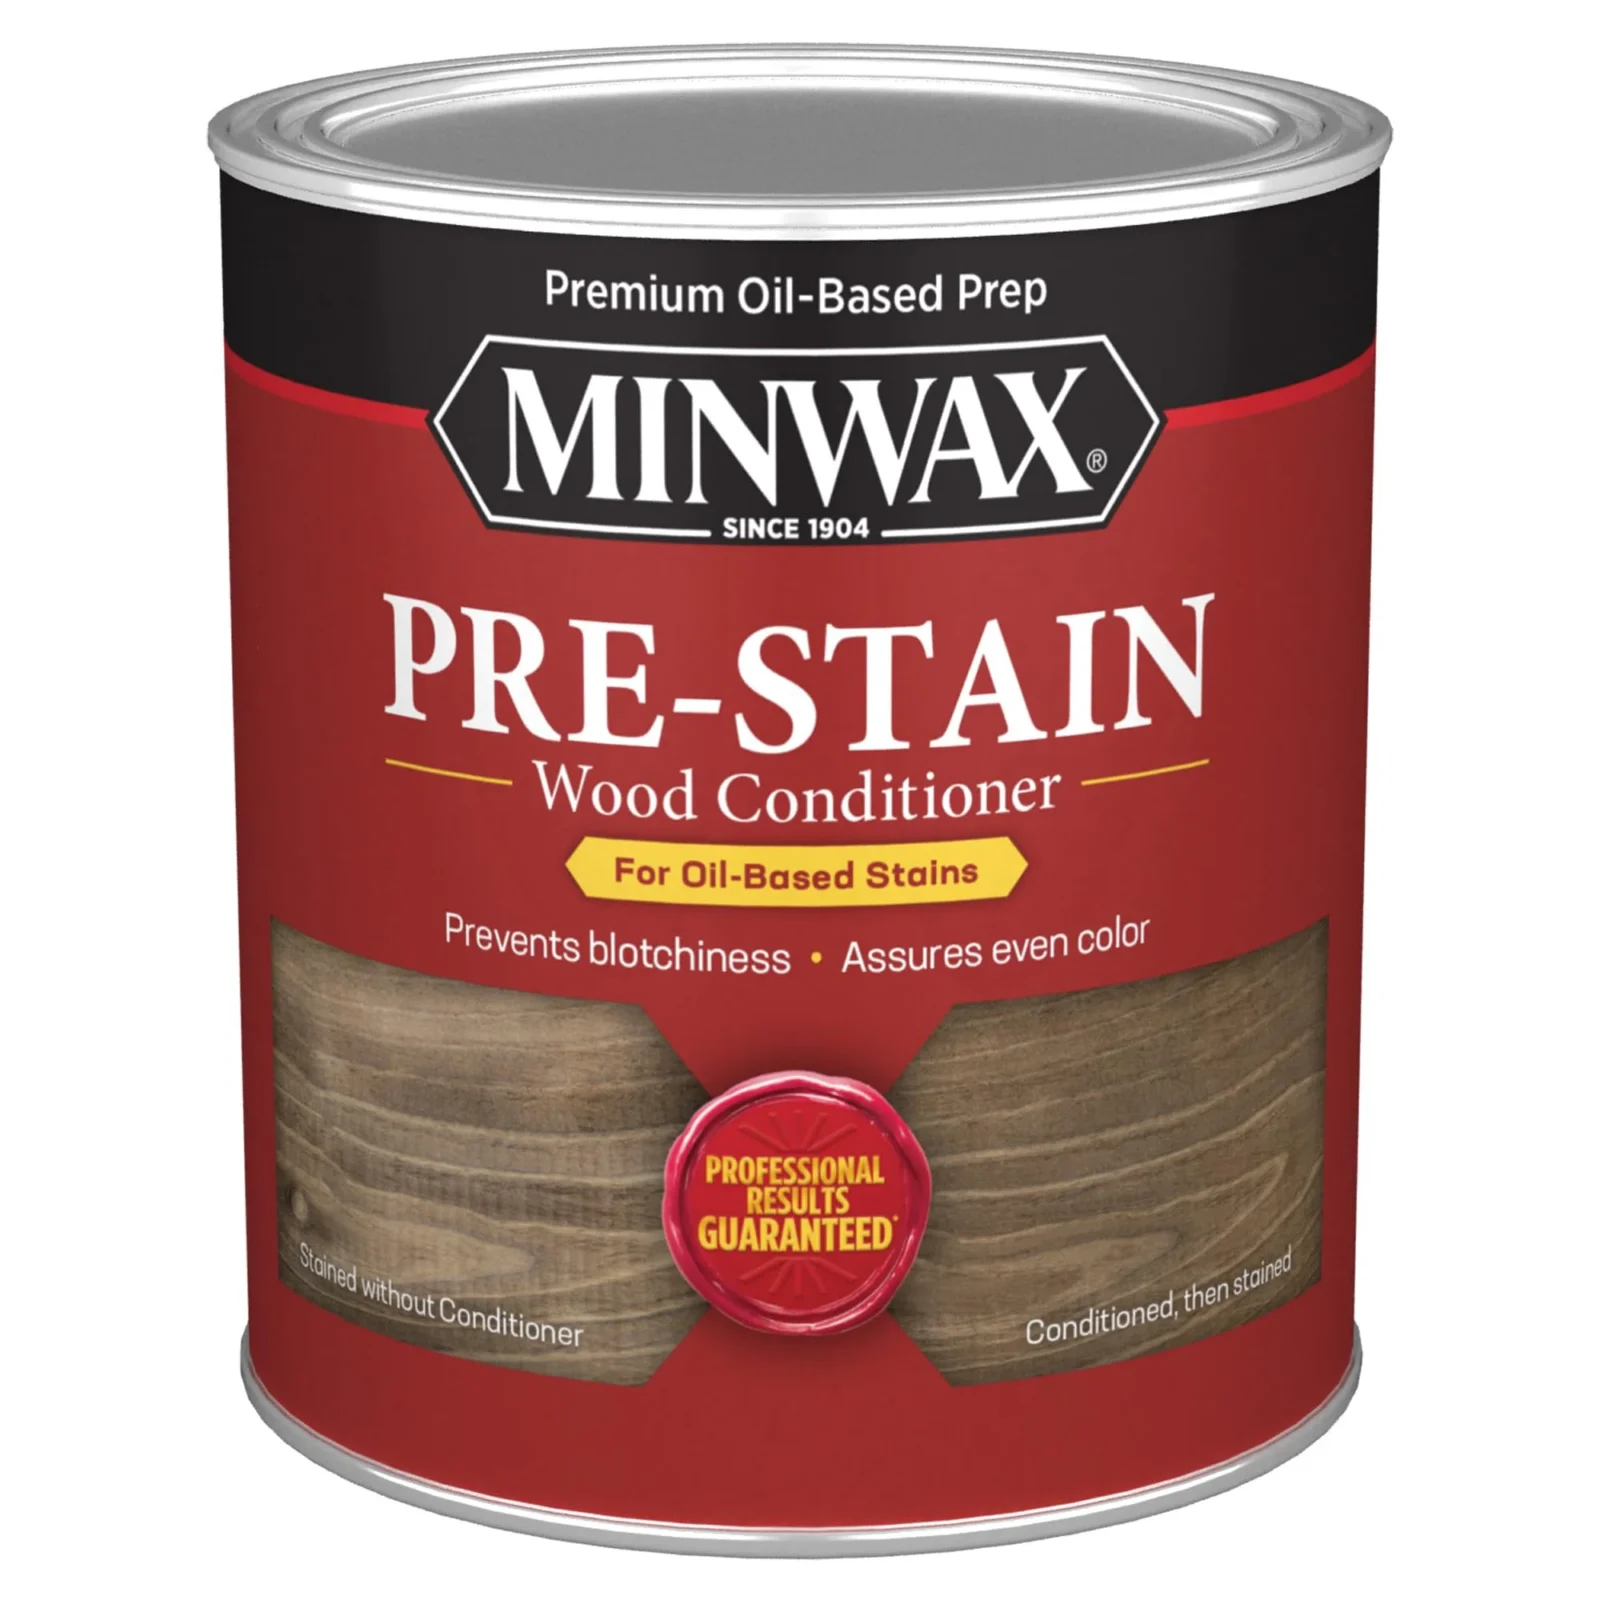 |
Minwax Pre-Stain Wood Conditioner, Oil-Based, 1 Quart – from $21 Evens out absorption before you stain – the exact step that stops birch plywood’s tight grain from blotching.
|
The Two Real Fixes: Pre-Stain Conditioner or Gel Stain
There are two proven ways to stop birch plywood from blotching, and they work on different principles. A pre-stain wood conditioner (the product above) is a thin oil that partially fills the wood’s pores before you stain, so the actual stain has less room to over-absorb in the softer spots. Apply it, let it sit 5–15 minutes, then stain within about two hours while the wood is still conditioned. The alternative is gel stain, which is thick enough to sit on top of the wood rather than soaking in, so it sidesteps the absorption problem instead of correcting it – our full gel stain guide covers how that works and when it’s the better call. Either one solves the blotching; you don’t need both.
If you’d rather not buy a dedicated conditioner, a thinned mix of boiled linseed oil and mineral spirits does the same pore-filling job for a fraction of the cost – we cover the exact ratio and application steps in our DIY wood conditioner guide. A third option worth knowing, and one most articles on this topic skip entirely: a thin wash coat of dewaxed shellac, cut 1:1 with denatured alcohol, does the same job as a commercial conditioner. Brush or wipe it on, let it dry 20–30 minutes, then scuff-sand lightly with 320-grit before staining. It’s a common cabinet shop trick because it dries faster than oil-based conditioner and doesn’t limit your staining window the way conditioner’s two-hour recoat rule does.
Pick the Right Stain Type for Birch
Oil-based stains and dyes generally give more predictable results on birch than water-based pigment stains. Oil-based stain penetrates more slowly and evenly, which gives the pre-stain conditioner time to do its job; water-based stains flash-dry faster and tend to re-expose blotching even after conditioning. A wiping dye is the most blotch-resistant option of all, since dye molecules are small enough to color the wood fibers themselves rather than pooling in surface pores – it’s worth considering if you’re staining a large, visible panel like a cabinet door or tabletop face.
How to Stain Birch Plywood Step by Step
- Sand progressively, and stop at 220. Work through 120, then 150, then 180, then 220 grit. Birch plywood’s face veneer is thin – often well under 1/32 inch – so there’s very little material to work with. Sanding past 220 or bearing down hard can sand straight through the veneer, and unlike solid lumber, there’s no way to sand out that mistake.
- Remove all dust. Vacuum the surface, then wipe it down with a tack cloth or a rag barely dampened with mineral spirits. Any dust left behind gets trapped under the conditioner and shows up as a rough or hazy patch.
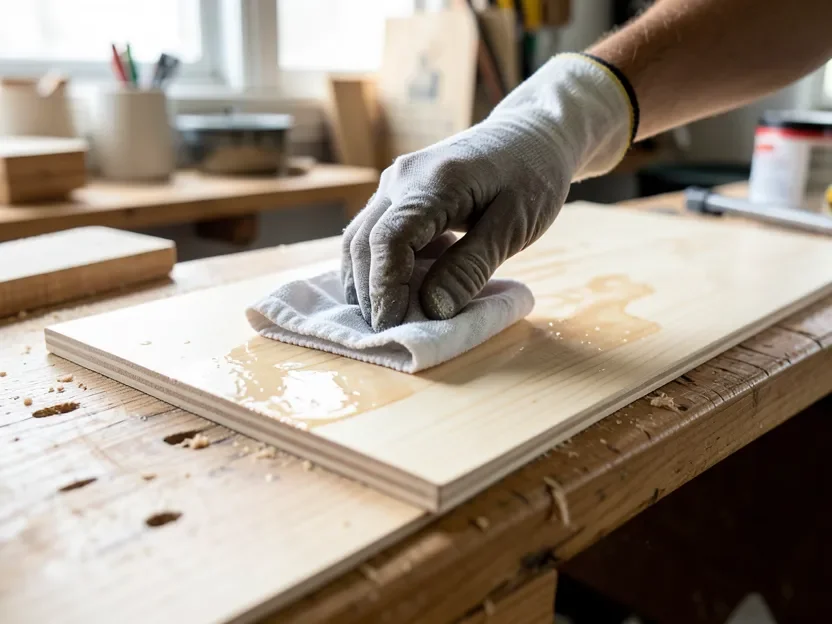
- Apply pre-stain conditioner (or your chosen alternative). Brush or wipe it on generously, following the grain, and let it penetrate for 5–15 minutes per the label.
- Wipe off the excess conditioner before it dries tacky. A dry lint-free rag, worked with the grain, removes the pooled excess and levels out the wood’s absorbency.
- Test the stain on a scrap piece first. Use an actual offcut from the same sheet, conditioned the same way – birch’s blotching tendency varies enough between sheets that a swatch from a different board isn’t a reliable preview.
- Apply stain within the conditioner’s working window. Most oil-based conditioners need the stain applied within about two hours, or the pore-filling effect fades and blotching can return. Stir the stain thoroughly, apply with a brush or rag, then wipe off the excess after a few minutes with the grain.
- Let it dry fully before topcoating. Most oil-based stains need 4–6 hours minimum, longer in cool or humid conditions, before a clear topcoat goes on. Our full birch plywood finishing guide covers the sanding-to-topcoat sequence in more detail, including which clear finishes hold up best.
Why Birch Behaves Differently From Oak or Ash
It helps to know why some woods need this extra step and others don’t. Oak and ash are ring-porous woods – they have large, open pores running through the grain that soak up stain at a fairly consistent rate across the whole board, which is why they take a straight liquid stain evenly with no prep. Birch, along with maple, pine, cherry, and alder, is a diffuse-porous or tight-grained wood: its pores are small and irregular, and the ratio of dense summer-wood to soft early-wood varies more from spot to spot. That inconsistency is what grabs stain unevenly. It’s also why the same pre-stain conditioner recommended here works on maple and pine projects, and why a “just wipe on more stain” fix that works fine on an oak table leg makes a birch panel look worse, not better.
This also explains why birch plywood specifically blotches more than solid birch lumber sometimes does. Plywood’s face veneer is rotary-peeled – sliced off the log in a continuous sheet – which exposes more of that inconsistent early-wood/summer-wood mix across a single flat panel than a quarter-sawn or plain-sawn solid board typically shows. A large flat sheet of birch plywood is, in effect, a worst-case scenario for blotching, which is exactly why skipping conditioner is riskier on plywood cabinet sides and shelving than it might be on a smaller solid-wood accent piece.
Common Mistakes That Cause Blotching Anyway
Skipping conditioner because the wood “looks smooth” is the most common one – blotching is about grain porosity, not surface smoothness, so a perfectly sanded panel can still blotch badly without it. A close second is letting too much time pass between conditioning and staining; once the conditioner’s working window closes, the wood behaves almost like it was never treated. Flooding the stain on heavy and leaving it to sit too long before wiping is the third – on tight-grained wood like birch, more stain sitting longer just means more uneven absorption, not richer color. A thin, even coat wiped back promptly gives a more consistent result than a heavy coat left to soak.
Frequently Asked Questions
Can birch plywood be stained without blotching?
Yes, but only with a pre-stain step. Birch’s tight, closed grain absorbs stain unevenly on its own, so a pre-stain wood conditioner, gel stain, or a dewaxed shellac wash coat is what actually prevents blotching – skipping that step is the main reason birch stain jobs go wrong.
What is the best stain for birch plywood?
An oil-based stain or a wiping dye, applied after a pre-stain conditioner, gives the most even results. Gel stain is a solid alternative because it sits on the surface instead of soaking in unevenly. Water-based pigment stains are the most likely to blotch, even over a conditioned surface.
Should I sand birch plywood before staining?
Yes, sand progressively from 120 up to 220 grit, but stop there. The face veneer on birch plywood is thin, and sanding beyond 220 or applying heavy pressure risks sanding through it – a mistake that can’t be corrected the way it can on solid wood.
How long does stain take to dry on birch plywood?
Most oil-based stains need 4 to 6 hours to dry before a topcoat, though cooler or more humid conditions can extend that. Always check the manufacturer’s label, since dry times vary by product and formula.
Bottom Line
Birch plywood stains just fine – the wood itself isn’t the problem, the grain’s uneven absorption is. Condition it first with a pre-stain conditioner, a DIY oil mix, or a shellac wash coat, choose an oil-based stain or dye over a water-based pigment stain, and stop sanding at 220 grit to protect the thin face veneer. Skip any one of those three and blotching is the most likely result, no matter how careful the rest of the job is.
Sponsored / affiliate links. As an Amazon Associate I earn from qualifying purchases. I may earn additional commission from eligible campaigns.
 Baltic Birch Plywood Sheets Box of 45 - Laser Engraving Cutting, Scroll Saw Nature Veneer Color, Stronger Than Basswood, A/A Grade,12 x 12 x 1/8”, 3mm Thickness Perfect for Wood Burning
 LISHINE 8 Pack 12 x 12 x 1/4 Inch Baltic Birch Plywood 6mm Wood Sheet, Baltic Birch Sheets for Cricut Maker, Architectural Models, Drawing Painting, Wood Burning Laser