Can You Put Hardwood Floors in a Bathroom? Explained
Thinking about putting new floors in your bathroom? You might be wondering, Can You Put Hardwood Floors in a Bathroom? It’s a common question because bathrooms have a lot of water and moisture. This can make wood floors tricky. Don’t worry, we’re here to help! This guide will break down everything you need to know, making it super easy to decide. We will look at things you need to know before you start. Let’s get started!
Considering Hardwood in Your Bathroom?
Choosing the right flooring for your bathroom can feel like a big decision. Many people love the look and feel of hardwood, but they worry about how it will handle the moisture often found in bathrooms. While it’s true that traditional solid hardwood isn’t always the best choice, modern options and careful planning can make it possible to have beautiful hardwood floors in your bathroom. This section will help you explore the pros and cons of this flooring choice, as well as the important factors you need to think about.
Types of Hardwood for Bathrooms
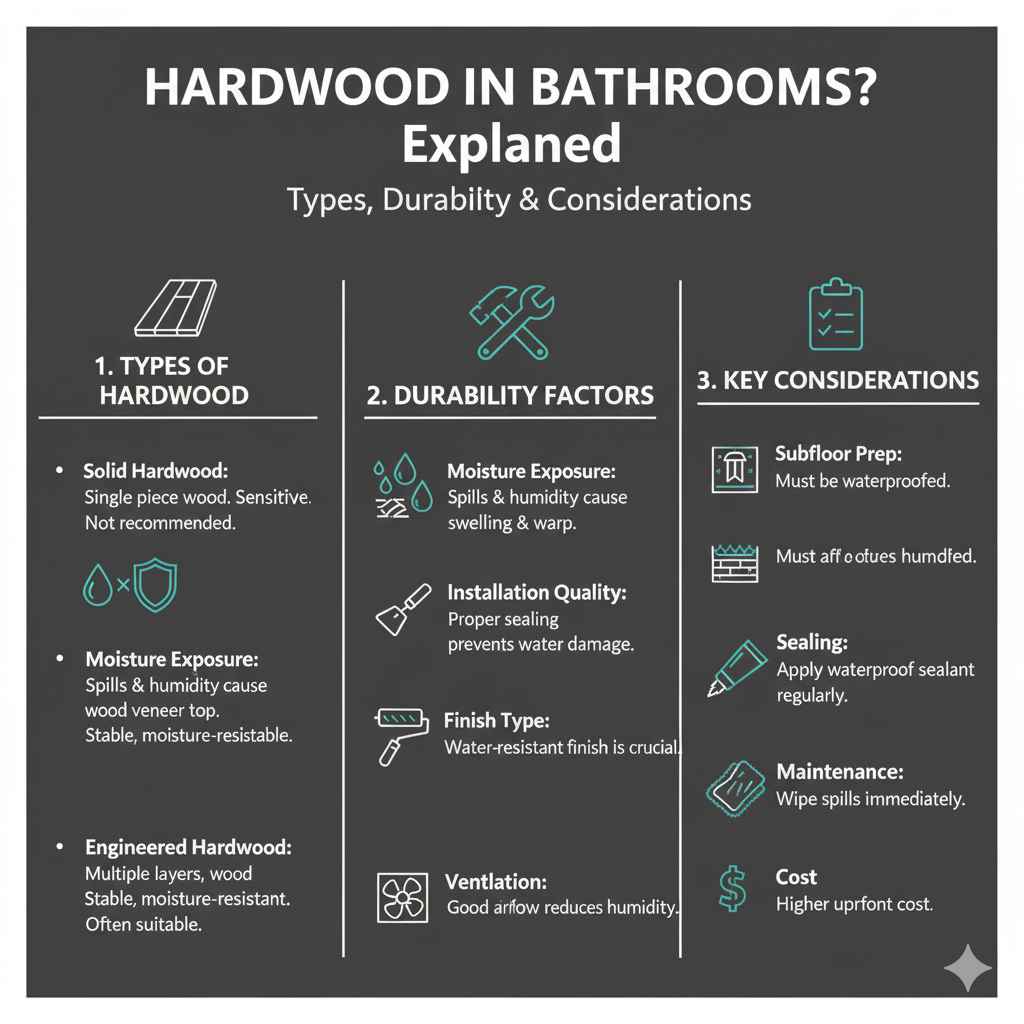
When considering hardwood flooring for a bathroom, the type of wood and its construction are key. Solid hardwood, made from a single piece of wood, is generally more susceptible to moisture damage. Engineered hardwood, which consists of layers of wood with a top veneer of real hardwood, is often a better choice. The layered construction makes it more stable and less prone to warping or cupping. Different wood species also have varying degrees of water resistance. Some are naturally more durable than others. For example, woods like teak and ipe are often used outdoors because they resist moisture well. However, they may not be the most common choice for interior flooring due to cost or aesthetic preferences.
- Solid Hardwood: This is traditional hardwood made from a single piece of wood. It can be beautiful but is very sensitive to moisture and humidity changes, making it risky for bathrooms. Solid hardwood is not usually recommended for areas with a high chance of spills or dampness.
- Engineered Hardwood: Engineered hardwood is made with multiple layers of wood, with a top layer of real hardwood. This construction makes it more stable and less likely to warp or buckle with changes in humidity. The multiple layers help the floor resist moisture damage and are often a good choice for bathroom use.
- Water-Resistant Hardwood: Some manufacturers offer hardwood options specifically designed for high-moisture areas. These floors are treated or constructed to provide added protection against water damage. Always carefully examine the manufacturer’s specifications to make sure it’s the right choice.
Factors Affecting Hardwood Durability
Several things affect how well hardwood holds up in a bathroom. Moisture is the biggest challenge. Water from showers, sinks, and spills can seep into the wood, causing it to swell, warp, and even rot. The humidity level in the bathroom is another important factor. High humidity over a long time can lead to the same problems as direct water exposure. Proper installation and sealing are also very important. A good seal prevents water from getting under the flooring. The type of finish also makes a big difference. Certain finishes are more water-resistant than others. Finally, ventilation in the bathroom is crucial. Good airflow can help reduce moisture and keep the floors in good shape.
- Moisture Exposure: The amount of water and humidity the floor is exposed to. Bathrooms get a lot of water from showers, sinks, and spills.
- Humidity Levels: High humidity, even without direct water, can make wood floors swell and warp over time. Good ventilation helps manage humidity.
- Installation Quality: The installation method is key. A poor installation can leave gaps where water can get in. Proper sealing is necessary.
- Finish Type: The finish on the wood provides a protective layer. Some finishes are better at resisting water than others.
- Ventilation: Good ventilation removes moisture from the air, which helps protect the hardwood. An exhaust fan is essential.
Preparing Your Bathroom for Hardwood
Before you install hardwood in your bathroom, some important preparation steps must be followed. These steps help protect the flooring and ensure it lasts a long time. They include checking the subfloor for any damage, like rot or unevenness. Next, make sure your bathroom has good ventilation. This usually means installing a working exhaust fan to remove excess moisture after showers and baths. Also, carefully plan the layout of the flooring, including where it will meet fixtures like toilets, sinks, and tubs. Finally, choose the right type of hardwood and sealant designed for bathroom use. Doing these things properly makes a huge difference.
Subfloor Evaluation and Preparation
The subfloor is the layer underneath the hardwood flooring. It must be in good condition. Begin by checking for any signs of water damage, such as mold, mildew, or rot. These issues need to be fixed before installing the new floor. The subfloor should also be level. An uneven surface can cause the hardwood to buckle or squeak. If there are any imperfections, use a self-leveling compound to create a smooth, even base. Make sure the subfloor is clean and dry before installing the hardwood to ensure the adhesive bonds properly. A well-prepared subfloor provides the support needed to extend the life of your hardwood flooring. A poorly prepared one will cause problems down the road.
- Check for Water Damage: Look for mold, mildew, or rot. These issues need to be fixed before installation.
- Ensure Level Surface: The subfloor needs to be flat. Use a level to check for any dips or high spots.
- Repair or Replace: Repair any damage and replace any rotten sections of the subfloor.
- Clean and Dry: Make sure the subfloor is clean and completely dry before the hardwood is installed.
- Consider Underlayment: An underlayment can provide extra protection against moisture and add cushioning for comfort.
Ventilation and Moisture Control
Good ventilation is key to keeping hardwood flooring in a bathroom safe. Bathrooms naturally accumulate a lot of moisture from showers and sinks. The best method to get rid of this moisture is by using an exhaust fan. An exhaust fan removes the humid air, preventing it from damaging the wood. Make sure the exhaust fan is the correct size for the bathroom. Also, use it consistently, especially after showering or bathing. Keeping the fan running for at least 20 minutes after use can help keep the humidity down. Regular checks and maintenance of the fan are also a good idea. This includes cleaning the fan and checking for any problems to ensure it works correctly.
- Install an Exhaust Fan: Make sure you have a working exhaust fan installed and that it’s the correct size.
- Use the Fan Regularly: Turn on the exhaust fan every time you shower or take a bath.
- Run the Fan Afterward: Let the fan run for at least 20 minutes after showering to remove excess moisture.
- Check for Proper Ventilation: Make sure your bathroom has sufficient ventilation, and that air can flow freely.
- Regular Maintenance: Clean the exhaust fan regularly to make sure it’s working at its best.
Installing Hardwood Flooring in a Bathroom
Installing hardwood floors in a bathroom requires careful planning and precise techniques to make sure the flooring lasts. Proper sealing is the most important element for protecting against water damage. Before you start, measure and cut the hardwood planks. Make sure you use waterproof adhesive and caulk where the floor meets the walls and fixtures. Using a moisture meter can help check for leaks during and after installation. Remember, the goal is to create a water-resistant seal to guard against water exposure. The best result requires preparation, patience, and attention to detail.
Sealing and Waterproofing Techniques
Sealing the hardwood properly is essential for protecting it from moisture. Begin by applying a high-quality, water-resistant sealant to all sides and edges of the hardwood planks before installation. Once installed, caulk around the perimeter of the floor, where it meets the walls and fixtures like the toilet and sink. This caulk will create a barrier that stops water from seeping underneath the flooring. Consider using a clear, waterproof sealant to protect the flooring’s finish. Inspect the flooring regularly for any signs of damage or wear, especially around areas prone to water exposure. Reapply the sealant as needed to keep the floor’s water resistance strong.
- Pre-Seal the Planks: Apply a waterproof sealant to all sides and edges of the hardwood planks before installation.
- Use Waterproof Adhesive: When installing the flooring, use a high-quality, waterproof adhesive.
- Caulk Around Fixtures: Caulk around the toilet, sink, and other fixtures to create a watertight seal.
- Apply a Topcoat: Consider applying a clear, waterproof topcoat after installation for added protection.
- Regular Inspections: Check the sealant and caulking regularly, and reapply as needed.
Installation Methods and Considerations
The installation method matters when installing hardwood in a bathroom. Engineered hardwood floors are typically installed using a floating floor method or by gluing them down. A floating floor doesn’t attach directly to the subfloor. The planks click together to create a cohesive surface. This method is often easier to install and allows for some movement, which can be useful in areas where humidity changes. For glue-down installations, the planks are glued directly to the subfloor. Glue-down installations can provide a more secure fit, but they can be more challenging to remove or repair. Regardless of the method, make sure to follow the manufacturer’s instructions for the flooring. Professional installation is always a good idea.
- Choose the Right Method: Decide between a floating floor or glue-down installation based on your needs and skill level.
- Follow Instructions: Always follow the manufacturer’s instructions for the specific flooring type.
- Professional Help: Consider hiring a professional installer to ensure the job is done correctly.
- Expansion Gaps: Leave expansion gaps around the perimeter of the room to allow for movement due to humidity changes.
- Test for Leaks: Use a moisture meter to check for leaks.
Maintenance and Care for Your Bathroom Hardwood
To keep hardwood floors in your bathroom looking great and lasting a long time, regular care is important. Simple steps, like cleaning up spills immediately, can make a big difference. Avoid using excessive water when cleaning the floors. Instead, use a damp mop or a cleaner specifically made for hardwood. It’s also important to protect the floor from scratches. Use rugs in high-traffic areas and place felt pads under furniture. Proper care not only makes your floors look better but also protects them from damage caused by moisture and wear. It’s a small investment in maintaining the beauty and durability of your bathroom flooring.
Cleaning and Spill Management
Taking care of hardwood floors in a bathroom means managing water and cleaning them properly. Always clean up spills right away to prevent moisture from seeping into the wood. Use a damp mop or a hardwood floor cleaner specifically designed for wood floors. Avoid using too much water. Too much water can damage the flooring. Regularly sweep or vacuum the floor to remove dirt and debris. This helps prevent scratches. Regularly clean the floor, following the cleaning product’s instructions. Keep an eye out for any changes in the floor’s appearance, such as swelling or discoloration. If you see anything like this, address the problem right away.
- Immediate Spill Cleanup: Always clean up spills as soon as they happen.
- Use a Damp Mop: Use a damp mop or a hardwood floor cleaner.
- Avoid Excess Water: Never pour water directly onto the floor.
- Regular Sweeping/Vacuuming: Sweep or vacuum the floor frequently to remove dirt and debris.
- Inspect Regularly: Keep an eye out for any signs of damage or wear.
Protecting Your Hardwood Floors
Protecting your hardwood floors is essential to keeping them in good condition. Use rugs, especially in front of the sink, shower, and toilet, to protect high-traffic areas from water and wear. Make sure rugs have a non-slip backing to prevent them from moving and potentially scratching the floor. Use felt pads under furniture legs to stop scratches. Trim pet nails regularly to prevent them from scratching the floors. Avoid harsh chemicals and abrasive cleaners that can damage the finish. Consider applying a new coat of sealant to your hardwood floors every few years to renew the protective layer. All of these steps will protect the life of your flooring.
- Use Rugs: Place rugs in high-traffic areas to protect against water and wear.
- Non-Slip Backing: Use rugs with non-slip backing to prevent movement.
- Felt Pads: Place felt pads under furniture legs to prevent scratches.
- Trim Pet Nails: Trim your pet’s nails regularly to prevent scratches.
- Avoid Harsh Chemicals: Don’t use harsh chemicals or abrasive cleaners.
Comparing Bathroom Flooring Options
Choosing the right flooring for your bathroom depends on how you want your space to look. While Can You Put Hardwood Floors in a Bathroom? is a popular question, it’s also important to consider other options. The best choice balances your style preferences, the room’s function, and your budget. This section looks at different flooring choices, so you can see the pros and cons of each.
Hardwood vs. Engineered Hardwood vs. Alternatives
Deciding between hardwood, engineered hardwood, and other alternatives requires careful thought about your needs and what you like. Solid hardwood is beautiful, but it can be more challenging in bathrooms because it’s sensitive to moisture. Engineered hardwood has multiple layers and is more stable. It’s often a good choice, but it still requires careful installation. Alternatives like tile, vinyl, and laminate offer different advantages. Tile is a water-resistant option that is extremely durable and stylish. Vinyl is also very water-resistant, making it a good choice for bathrooms, and it’s easy to clean. Laminate is another option that can look like hardwood, but it is not as resistant to moisture as other choices. Each material has its own benefits and drawbacks.
| Flooring Type | Pros | Cons |
|---|---|---|
| Hardwood | Classic look, increases home value | High maintenance, water damage risk, high cost |
| Engineered Hardwood | More stable than hardwood, still beautiful | Moisture sensitivity, costlier than alternatives |
| Tile | Waterproof, durable, many styles | Cold underfoot, grout needs cleaning |
| Vinyl | Waterproof, affordable, easy to install | Can be less durable, less attractive than wood |
| Laminate | Looks like wood, affordable, easy to clean | Less water resistant, can warp |
Considering Cost and Practicality
When choosing bathroom flooring, think about the cost, but also how practical it is for everyday use. The cost includes the price of the materials and the labor for installation. Different materials vary in price. Hardwood is usually one of the more expensive choices, while vinyl and laminate are often more budget-friendly. Durability and maintenance costs should also be considered. Hardwood needs more care, including sealing and regular cleaning.
Tile is durable and requires less upkeep. Consider the amount of traffic your bathroom gets, as well as the risk of water exposure. Vinyl and tile can be the best choices for bathrooms that are used frequently by multiple people or have a high risk of water exposure. Selecting the right flooring means balancing your aesthetic tastes with your budget and daily life.
- Budget Analysis: Get quotes from different installers and compare material costs.
- Durability Assessment: Consider how long the flooring will last based on your usage.
- Maintenance Review: Think about how much time and money you want to spend on cleaning.
- Water Resistance: Prioritize waterproof materials if water exposure is a concern.
- Resale Value: Consider how the flooring choice will affect your home’s value.

Frequently Asked Questions
Question: Is hardwood flooring in a bathroom a good idea?
Answer: It can be, but it depends on factors like the type of hardwood, proper sealing, and how much moisture the bathroom has. Engineered hardwood is often better than solid hardwood in this case.
Question: How can I protect hardwood floors in a bathroom?
Answer: You can protect hardwood floors by using waterproof sealant and caulk, installing an exhaust fan, cleaning up spills immediately, and using rugs in high-moisture areas.
Question: What type of hardwood is best for bathrooms?
Answer: Engineered hardwood is generally better than solid hardwood. Look for options specifically designed for bathrooms or those that are water-resistant.
Question: What are some alternatives to hardwood for bathroom flooring?
Answer: Some good alternatives include tile, vinyl, and laminate. Tile is waterproof and durable, vinyl is affordable and easy to install, and laminate can mimic the look of hardwood.
Question: How often should I reseal hardwood floors in my bathroom?
Answer: Reseal your hardwood floors every few years, or when you notice the sealant wearing down. This helps to maintain water resistance.
Final Thoughts
So, Can You Put Hardwood Floors in a Bathroom? The answer is yes, with the right planning and care! As we’ve explored, the key to success is selecting the right type of hardwood, often engineered hardwood, and taking precautions against moisture. Good ventilation and proper sealing, along with a good installation method, are all very important. Careful cleaning and maintenance will also make a difference. These steps can protect the flooring.
If you’re hoping for that beautiful look of hardwood, while also keeping your bathroom safe and practical, this guide provides a great starting point. Armed with this knowledge, you can now consider the pros and cons, prepare your bathroom space, and plan the installation process. The reward is a warm, inviting bathroom that will bring you joy for years to come. Now you are ready to make a decision about your bathroom floors!