Creative Wood Burning Designs for Beginners: 15 Ideas Ranked by Difficulty
The fastest way to end up with a wood burning project you’re actually happy with is picking a design that matches your skill level, not just one that looks good in a photo. This guide ranks 15 beginner-friendly wood burning designs from easiest (straight-line borders and simple geometric shapes you can finish in under 30 minutes) to hardest (shaded animal portraits that trip up even careful beginners), with realistic time estimates and the wood each one works best on.
What You Need Before You Start Burning Designs
Every design on this list assumes two things: a wood burning pen with adjustable temperature control, and a soft, light-colored wood like basswood or pine that shows clean, even burns without extra prep. Skip either one and even the easiest design here gets harder than it needs to be — a fixed-temperature pen scorches instead of shading, and hardwoods like oak or maple char unevenly along the grain no matter how steady your hand is.
Best All-In-One Kit For These Designs
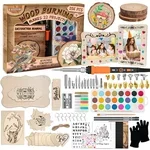 |
K KERNOWO 156-Piece Wood Burning Kit – $29.99 Covers every design category on this list with one pen: 26 interchangeable tips, adjustable temperature, and traceable practice surfaces so you’re not guessing on your first burn.
|
For a deeper breakdown of temperature settings, burn speed, and stroke technique for each pattern type, our wood burning patterns guide covers the mechanics step by step. This page focuses on which actual designs to burn first, and how long each one realistically takes once you know the basics.
Easiest Designs to Start With (Under 30 Minutes)
Start here even if you’re impatient to try something more ambitious. These four designs use only straight lines, dots, or a single repeated shape, so a shaky first attempt still looks intentional.
- Straight-line borders and frames. A simple burned border around the edge of a cutting board or coaster. No curves to fight, and any small wobble reads as “rustic” instead of “mistake.”
- Dot-and-line geometric bands. Alternating rows of dots and short dashes around a circular slice. Teaches consistent pen pressure without demanding any drawing skill.
- Single bold initials. One large letter, burned with a wide chisel tip rather than outlined and filled. Faster and more forgiving than a full monogram.
- Basic leaf silhouette. One solid-outline leaf shape, no vein detail. Good practice for smooth curved lines before attempting the botanical designs below.
Nature & Botanical Designs (30–60 Minutes)
Botanical designs are the most forgiving way to practice shading and fine linework, because real leaves and branches are already irregular — there’s no perfectly straight edge to compare your burn against.
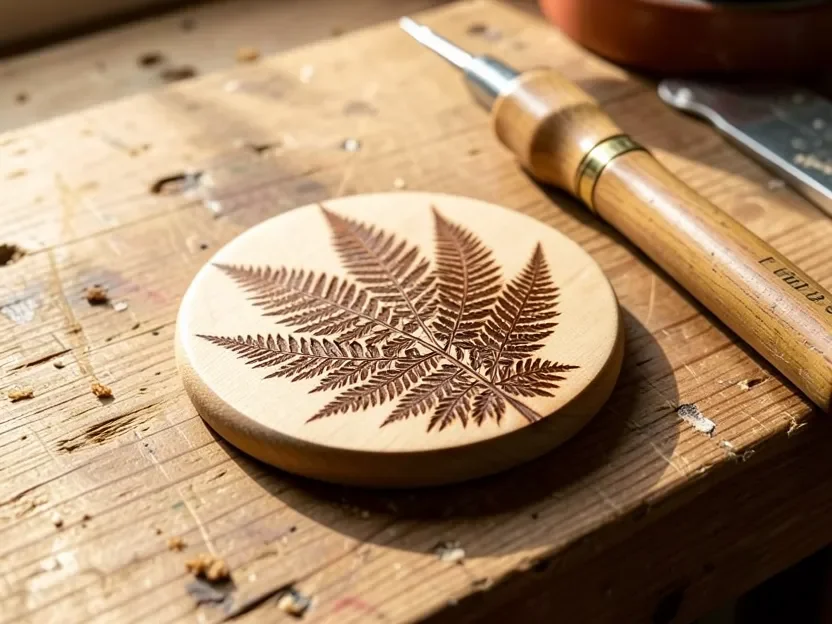
- Fern or leaf vein patterns. Burn the central stem first, then add angled side veins working outward — this order keeps the proportions even, where starting with the outline first tends to make the veins crowd toward one end.
- Single flower line art. An outlined flower with two or three petals shaded darker at the base than the tip, which is the easiest place to practice graduated shading.
- Tree silhouette with bare branches. A solid trunk with thin branching lines. Works on almost any wood shape, including irregular live-edge slices.
- Mountain ridge line art. Overlapping triangular ridgelines in varying shades of brown, popular on cabin-style decor and easy to scale to any panel size.
Mandala & Geometric Symmetry Designs (45–90 Minutes)
Symmetrical designs are less about drawing skill and more about patience with a compass or a printed stencil — the burning itself uses the same straight lines and dots from the easiest tier, just repeated more times.
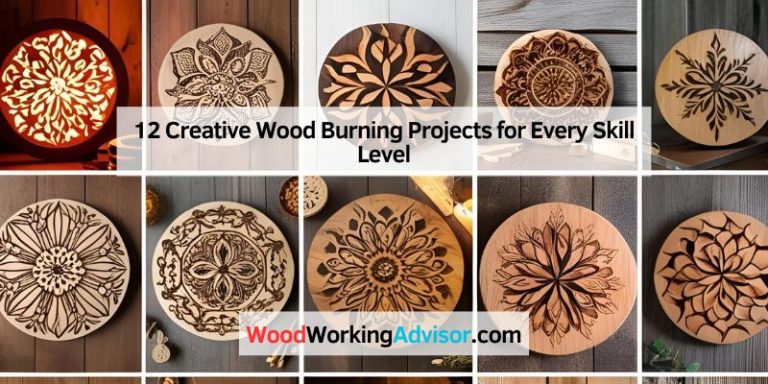
- Compass-point mandala. Built from a center point outward in repeating petal or triangle segments. A pencil-and-compass guide first prevents the segments from drifting uneven by the time you reach the outer ring.
- Hexagon or honeycomb pattern. Repeating six-sided cells, useful for covering a larger flat panel like a serving tray without needing fine detail work.
- Repeating triangle band. A simple border pattern of alternating filled and outlined triangles, good for framing a monogram or centerpiece design.
Animal & Portrait Designs (Save These for Later)
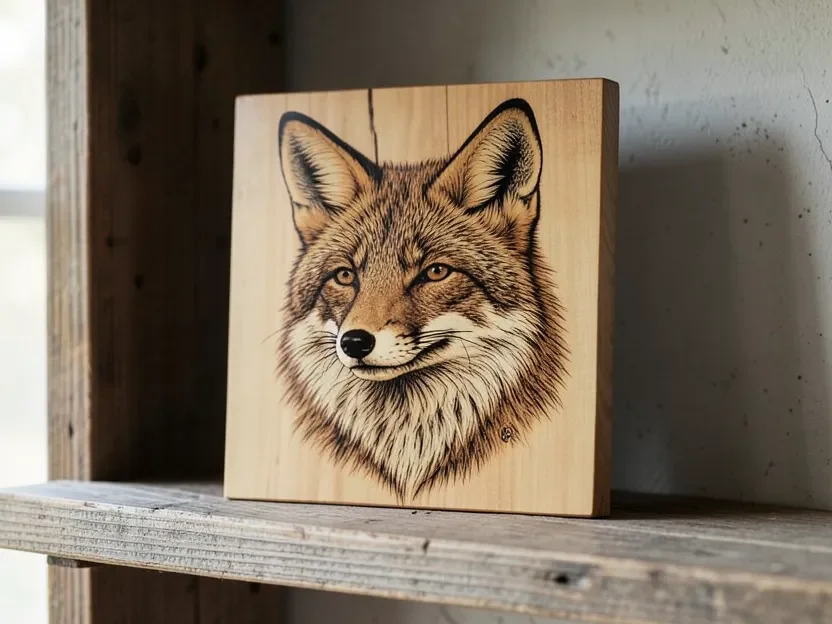
These are the designs most beginners want to try first and the ones most likely to end in a scorched, muddy-looking result. Fur, feathers, and facial shading all require layering dozens of short, controlled strokes at slightly different pen angles and temperatures — a skill that geometric and botanical designs help build up to, rather than one you can shortcut on a first attempt.
- Simple pet silhouette. A solid-outline version of an animal shape, no fur texture. This is the reasonable beginner entry point into the animal category.
- Feather or fur-textured portrait. Full shading and directional strokes. Practice the stroke pattern on a scrap offcut first — the same wood the final piece will use, since grain behaves differently between species.
- Wildlife scene with background shading. Combines portrait shading with the mountain or tree techniques above. Realistically a multi-session project, not a single afternoon.
Lettering, Monograms & Gift Designs
Personalized pieces make the most practical gifts, and most of the lettering styles below reuse the same straight-line and dot skills from the easiest tier — the difficulty comes from spacing and layout, not the burning itself.
- Personalized monogram coasters. A single letter or two-letter combination centered on a round slice, often paired with the triangle border pattern above.
- Name or family signs. Cursive or block lettering on a rectangular plank, typically the largest single-session project on this list at 60–90 minutes for a full name.
- Short quote or word art. A single word or short phrase, sized to fill a cutting board or sign blank. Sketch the letter spacing in pencil first — the most common mistake here is running out of room for the last letter.
- Recipe box or spice jar labels. Small-scale lettering, good practice for controlling a fine-point tip before moving to larger lettering projects.
Design Difficulty & Time, Ranked
Realistic time estimates assume a beginner working at a careful, unhurried pace on a project-sized piece (roughly 4–6 inches across) — not a rushed first attempt, and not a production-speed pace an experienced pyrographer would use.
| Design | Difficulty | Time Estimate | Best Wood |
|---|---|---|---|
| Straight-line border/frame | Easy | 15–20 min | Basswood, pine |
| Dot-and-line geometric band | Easy | 20–30 min | Basswood, pine |
| Single bold initial | Easy | 15–25 min | Basswood, poplar |
| Leaf silhouette | Easy | 20–30 min | Basswood, birch |
| Fern/leaf vein pattern | Medium | 30–45 min | Basswood, birch |
| Single flower line art | Medium | 30–50 min | Basswood, pine |
| Tree silhouette, bare branches | Medium | 35–60 min | Basswood, live-edge slices |
| Compass-point mandala | Medium–Hard | 45–90 min | Basswood, birch plywood |
| Hexagon/honeycomb pattern | Medium | 40–70 min | Basswood, poplar |
| Name or family sign | Medium–Hard | 60–90 min | Pine plank, basswood |
| Simple pet silhouette | Medium | 30–45 min | Basswood, birch |
| Feather/fur-textured portrait | Hard | 90–150 min | Basswood (fine, even grain) |
| Wildlife scene with background | Hard | 2–4+ hours | Basswood, birch plywood |
Mistakes That Ruin a Beginner Design
Most ruined first attempts trace back to one of four fixable habits, not a lack of artistic skill:
- Burning too fast. A quick pass scorches a dark, uneven line instead of a smooth shaded one. Slower, steady strokes at a lower temperature give you more control than fast strokes at a high one.
- Starting on hardwood. Oak, maple, and walnut all have dense, irregular grain that catches the tip and chars unevenly. Save hardwood for after you’re comfortable on basswood or pine.
- Skipping a practice piece. Testing your exact tip and temperature on a scrap offcut of the same wood takes two minutes and prevents the single most common first-project mistake: finding out your settings are wrong on the actual piece.
- Starting before the pen is fully heated. A pen that hasn’t reached its set temperature yet burns inconsistently for the first several strokes, leaving a visibly lighter patch at the start of the design.
Frequently Asked Questions
What’s the Easiest Wood Burning Design for a Complete Beginner?
A straight-line border or a dot-and-line geometric band on basswood. Both use only straight strokes and consistent pressure, with no curves or shading to control, so they’re the most forgiving starting point on this list.
What Is the Difference Between Pyrography and Wood Burning?
They’re the same technique — pyrography is the formal name (from the Greek for “fire writing”), and wood burning is the everyday term for the same process of using a heated tip to burn a design into wood.
What Wood Is Best for Wood Burning Designs?
Basswood is the standard choice for beginners because its fine, even grain burns smoothly at low temperatures. Pine and birch are workable alternatives; avoid dense hardwoods like oak, maple, and walnut until you have more practice, since their grain scorches unevenly.
How Do You Seal a Finished Wood Burning Design?
A matte or satin water-based polyurethane, or food-safe mineral oil and beeswax for kitchen items like cutting boards and coasters. Avoid dark oil-based finishes, which tend to darken the wood around your burn lines and reduce the contrast that makes the design stand out.
Final Thoughts
Pick a design from the easiest tier first, even if an animal portrait or a mandala is the one you actually want on your wall. The geometric and botanical designs above teach the exact pen control and shading skills the harder designs depend on, so working through them in order gets you to a good portrait or mandala faster than jumping straight there would.
Sponsored / affiliate links. As an Amazon Associate I earn from qualifying purchases. I may earn additional commission from eligible campaigns.