Crosscut Saw Sharpening Tools: A Buying and Comparison Guide
Sharpening a crosscut saw comes down to picking the right tools for the job — a triangular file, a saw set, and a raker gauge do almost all the work, but the wrong size or type of any of them wastes an afternoon and can ruin a good saw’s teeth. This guide focuses on the tools themselves: what each one actually does, which sizes and types match your saw, and what to buy if you’re starting from scratch. (If you want the full hand-sharpening walkthrough with no machine involved, our step-by-step guide to sharpening a hand saw covers that in more depth.)
Crosscut Saw Sharpening Tools You Need
Best For Setting Saw Teeth Before Filing
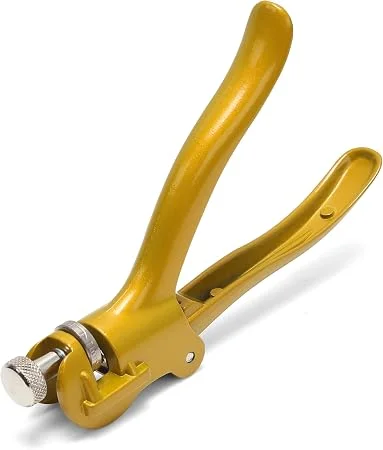 |
GreatNeck SS7 Saw Set Tool – $17.84 A dull, dragging cut is often a set problem, not a sharpness problem — this tool bends every other tooth to the correct angle before you ever pick up a file.
|
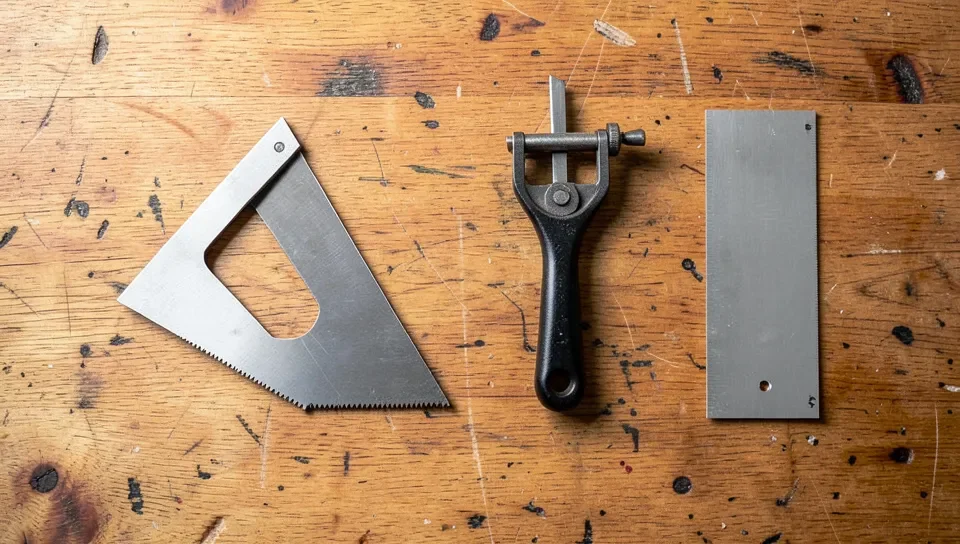
Three tools cover nearly every crosscut sharpening job:
- Triangular saw file: shapes and sharpens each tooth. Size has to match tooth count — a 6-inch slim taper file suits fine saws (10-12 TPI), a 7-inch fits mid-range saws (8-9 TPI), and an 8-inch handles coarser saws (4-7 TPI). Using a file that’s too small for the tooth wears it out fast and rounds the tooth points.
- Saw set: bends alternating teeth outward so the cut is wider than the blade, which keeps the saw from binding in the kerf. A dial-adjustable set (like the pick above) is worth the extra few dollars over a fixed one because it can be tuned to your saw’s actual tooth count instead of a single fixed bend.
- Raker/depth gauge: a thin notched gauge you lay across the teeth to check that every tooth is exactly the same height. Skipping this step is the single most common reason a freshly-filed saw still cuts unevenly — one tall tooth does all the work and dulls first.
Tools Comparison: What’s Best for Your Saw
Not every file or gauge fits every saw. Match the tool to your saw’s actual tooth count and material before buying:
| Tool | Best For | Typical Cost | Why Use It |
|---|---|---|---|
| 6″ slim taper file | Fine-tooth saws, 10-12 TPI (backsaws, dovetail saws) | $6-$12 | Small enough to shape narrow gullets without over-filing |
| 7-8″ slim taper file | General crosscut saws, 6-9 TPI | $8-$15 | Standard size for most hardware-store hand saws |
| Diamond file | Hardened/impulse-hardened teeth | $20-$40 | Cuts hardened steel that a regular steel file can’t touch |
| Adjustable saw set | Any saw, 5-11 point range | $15-$25 | Repeatable tooth bend instead of eyeballing it with pliers |
| Raker/depth gauge | All saws, checked after every filing | $8-$15 | Catches uneven tooth height before it cuts crooked |
One distinction that trips people up: a saw with hardened or “impulse-hardened” teeth — common on cheap modern hardware-store saws — can’t be touched by a standard steel file at all. Check your saw’s packaging or spec sheet first; filing a hardened-tooth saw with a regular file just wears the file down with no effect on the teeth. Only a diamond file, or in some cases nothing, will touch them (more on that below).
Step-by-Step: Using These Tools Together
Once you have the right file, set, and gauge, the process itself is short:
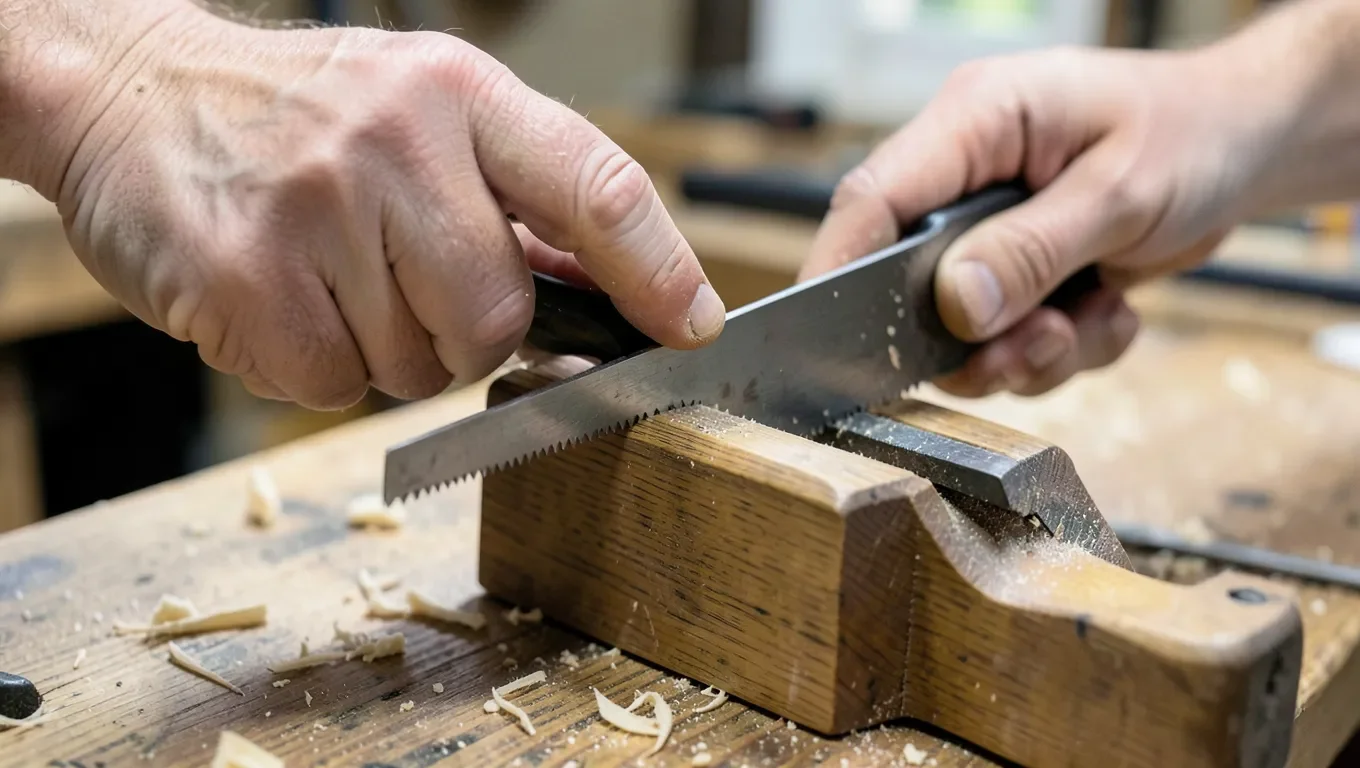
- Clamp the saw in a vise or between two boards so the teeth sit just above the jaws and the blade can’t flex.
- Check the rakers first with the depth gauge, before filing — fix any tall teeth now so you’re not chasing a moving target later.
- File every other tooth at roughly 15 degrees off square (this is the crosscut-specific angle — rip saws are typically filed straight across at 0 degrees), pushing on the forward stroke only, then flip the saw and file the remaining teeth from the other side.
- Set the teeth using the saw set, matching the dial to your saw’s actual point count — over-setting bends teeth too far and can snap them off.
- Test on scrap wood. A properly sharpened and set crosscut saw should track straight with light pressure and clear its own sawdust.
Common Mistakes and How to Fix Them
| Mistake | How to Fix It |
|---|---|
| Filing at the wrong angle | Use a 15-degree paper or plastic angle guide taped to the file until the angle becomes muscle memory |
| Uneven raker height | Check every tooth with the depth gauge before AND after filing, not just once |
| Using a file too small for the teeth | Match file size to TPI using the comparison table above — a too-small file rounds tooth points instead of sharpening them |
| Trying to file hardened teeth with a regular file | Check for “impulse-hardened” on the packaging first; switch to a diamond file or replace the saw |
DIY Tools vs. Professional Sharpening: Cost Comparison
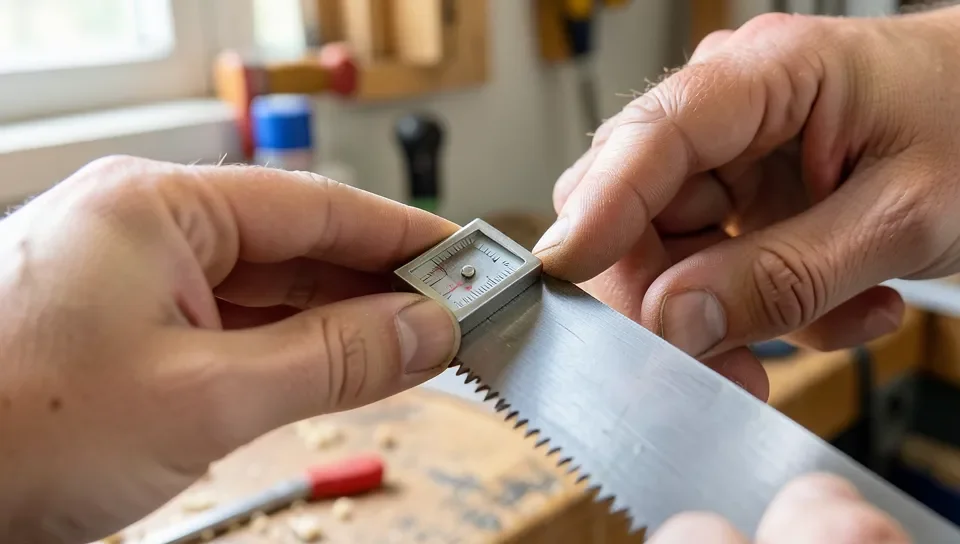
A full DIY toolkit — file, saw set, and raker gauge — typically runs $30-$50 total and lasts for years of saw maintenance. A single professional sharpening usually costs $15-$30 per saw, so the tools pay for themselves after two or three saws. The tradeoff is time and practice: your first few sharpening attempts will be slower and less precise than a professional’s, and a badly hardened or heavily damaged saw is often better sent out rather than practiced on. For a saw you use often, owning the tools makes sense; for a single antique or specialty saw you’ll rarely sharpen, a one-time professional sharpening can be the more practical choice.
Frequently Asked Questions
What Tools Do You Need to Sharpen a Crosscut Saw?
A triangular saw file sized to your saw’s tooth count, an adjustable saw set to bend the teeth outward, and a raker/depth gauge to check that every tooth is the same height. These three tools handle nearly every crosscut sharpening job.
What Size File Do I Need for My Saw?
Match file size to teeth per inch (TPI): a 6-inch slim taper file for fine saws around 10-12 TPI, a 7 to 8-inch file for general crosscut saws around 6-9 TPI. Using a file too small for the tooth size rounds the tooth points instead of sharpening them.
Can You Sharpen a Hardened-Tooth Saw?
Not with a standard steel file. Hardened or “impulse-hardened” teeth, common on many modern hardware-store saws, resist regular files entirely. Check the saw’s packaging first — only a diamond file can touch hardened teeth, and even then results vary.
What Angle Should I File a Crosscut Saw?
Around 15 degrees off square. This is specific to crosscut saws — rip saws are typically filed straight across at 0 degrees, since they cut with the wood grain rather than across it.
Conclusion
The right tools make crosscut saw sharpening straightforward: a properly sized file, an adjustable saw set, and a raker gauge cover nearly every situation you’ll run into. Match the file to your saw’s tooth count, check raker height before and after filing, and watch for hardened teeth that need a diamond file instead of steel. Once you have the toolkit, each sharpening session takes about 20-30 minutes and saves the cost of professional service after just a couple of uses.
Sponsored / affiliate links. As an Amazon Associate I earn from qualifying purchases. I may earn additional commission from eligible campaigns.