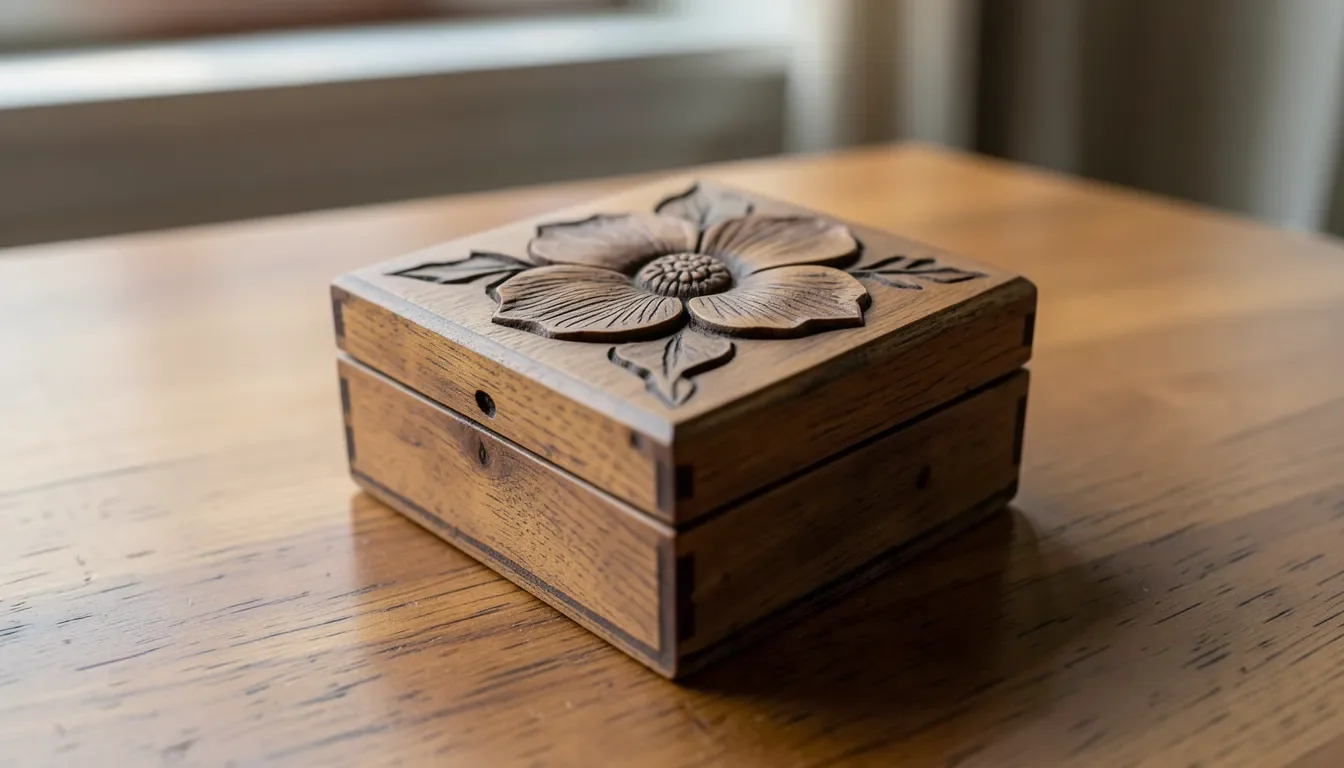
DIY Wood Gifts for Mom: Unique Handmade Treasures
A handmade wood gift for Mom carries more weight than a store-bought one because it shows the time and thought that went into it — and most of these projects are genuinely doable in a single afternoon, even for a first-time woodworker.
Below are five real project ideas, what they actually take to build, and how to personalize each one so it feels like it was made for her specifically.
Essential Tools And Materials
Most of these projects share a common toolkit: a saw for cutting to size, a measuring tape and pencil, sandpaper (120-grit through 220-grit), wood glue, clamps, and a finish of your choice (stain, oil, or paint). Pine is the easiest wood to work with for a first project; oak and maple are more durable and take stain more evenly if you want a higher-end look.
Wear safety glasses and, if you’re using power tools, hearing protection. Keep your work area clear of clutter, and read the instructions for any tool you haven’t used before starting.
Best For Personalizing Any Of These Gifts
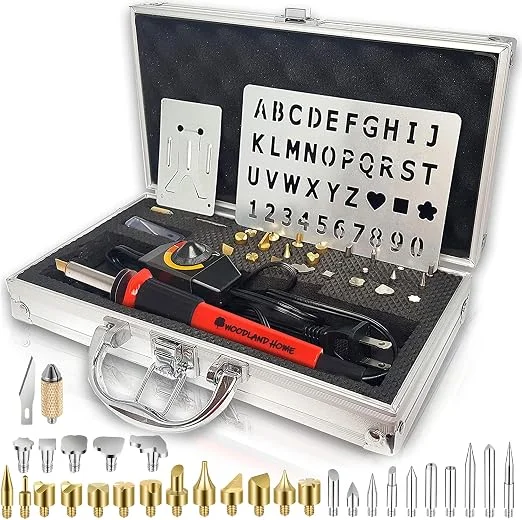 |
Woodland Home Professional Wood Burning Kit, 27 Tips – $47.69 Adds a name, date, or message directly into the wood — the one detail that turns any of these projects into something clearly made for her.
|
Personalized Wooden Jewelry Box
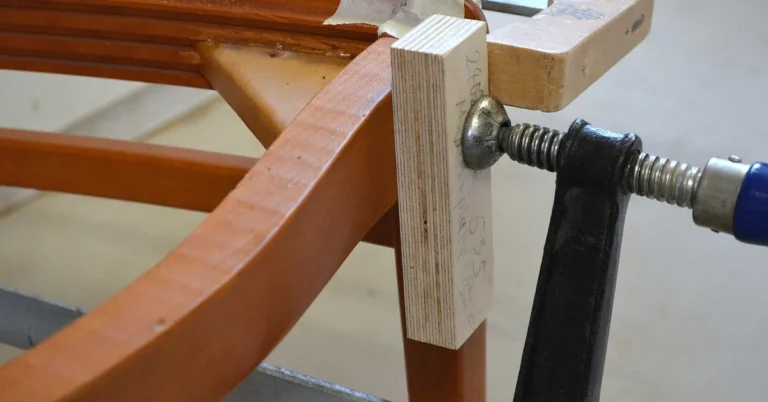
Cut four sides, a bottom, and a lid from 1/2-inch pine or plywood, sized to whatever jewelry collection it needs to hold (a 6x4x3 inch box is a versatile starting size). Sand every piece to 220-grit before assembly — it’s much easier to sand flat pieces than a finished box with corners. Glue and clamp the box together, let it dry fully, then stain or paint.
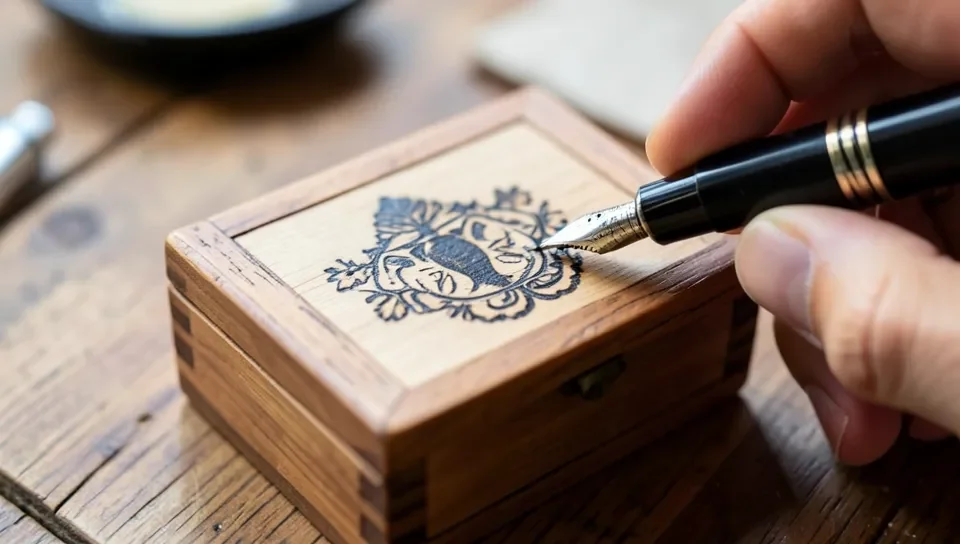
Burn her name or a meaningful date into the lid once the finish has fully cured. A thin layer of felt or fabric glued into the bottom gives it a finished, store-quality interior.
Custom Wooden Picture Frames
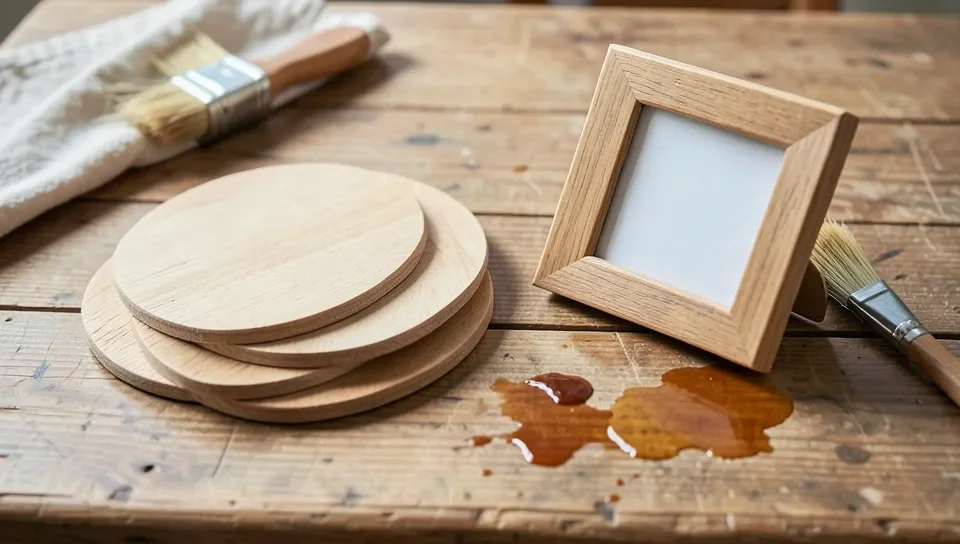
Choose the wood based on the look you want: pine takes paint well and is the easiest to cut cleanly, while oak or maple show a more polished grain under a clear finish. Cut the frame pieces at 45-degree miters so the corners meet cleanly — a miter box makes this far more accurate than a straight cut and eyeballed angle.
Glue and clamp the mitered corners, then sand the whole frame once assembled to blend the joints. Stain, paint, or wood-burn a border pattern before sealing with a clear finish to protect it.
Rustic Wooden Candle Holders
Start with a block of wood at least 3 inches thick and wide enough for the candle size you’re using. Mark the candle’s diameter on top, then drill a hole slightly wider than the candle to about half the block’s depth using a spade or Forstner bit for a clean, flat-bottomed hole.
Sand the block smooth, round over the edges slightly for a softer look, and finish with oil or a matte sealant. Leaving the wood grain visible (rather than painting it) tends to read as more genuinely “rustic” than an over-decorated finish.
Handcrafted Wooden Coasters
Cut 4-inch squares or circles from 3/4-inch stock (a hole saw makes clean circles quickly). Sand all edges smooth, since coasters get handled constantly and rough edges will be noticed right away. Keep the design simple — a wood-burned monogram or a single thin painted line around the edge reads as intentional rather than fussy.
Apply a clear polyurethane or food-safe sealant in at least two coats, since coasters see regular moisture exposure and need real protection, not just a cosmetic finish.
Wooden Plant Stands
Base the size on the specific pot it needs to hold — measure the pot’s diameter and height before cutting anything, since an ill-fitting stand is the most common mistake with this project. A simple four-legged stand with a flat top platform is the most beginner-friendly design; X-shaped or hairpin legs look more modern but need more precise angle cuts.
Assemble the base and legs, sand thoroughly, and finish with an outdoor-rated sealant if it will live outside or near a sunny window where moisture and UV exposure are real factors.
Tips For Perfecting Your Craft
The most common mistake on these projects isn’t the joinery, it’s rushing the sanding — every visible surface should be smooth to the touch before any finish goes on, since stain and paint make rough spots more visible, not less. Practice any new technique (miter cuts, wood burning, drilling) on scrap wood first, especially before working on the final piece.
Quality wood is worth the small extra cost for a gift piece — cheap, knotty lumber is harder to get a clean finish on and more likely to have hidden defects that show up mid-project.
Presenting And Packaging Your Gifts
Let the piece itself be the centerpiece — simple kraft paper or a plain ribbon shows off a handmade wood gift better than busy wrapping does. A short handwritten note explaining the project (what it is, maybe a specific memory tied to it) adds real meaning that the object alone doesn’t convey.
Frequently Asked Questions
What Is A Good First Wood Project To Make For Mom?
Wooden coasters or a simple picture frame are the best starting projects — they use basic cuts, forgive small imperfections, and still make a genuinely useful, personal gift.
How Do You Personalize A Wood Gift?
Wood burning is the most durable way to add a name, date, or message without paint fading over time. Carving, stenciled paint, or a small engraved plaque are other options depending on the tools you have.
What Wood Should A Beginner Use?
Pine is the most forgiving choice for beginners — it’s inexpensive, cuts and sands easily, and takes paint well. Oak or maple are better if you want a more polished, stained finish and have some experience with hand tools.
How Do You Protect A Wooden Coaster From Water?
Apply at least two coats of a clear polyurethane or a food-safe sealant, letting each coat dry fully. A single thin coat isn’t enough protection for something that will see regular moisture contact.
Conclusion
Any of these five projects makes a genuinely meaningful gift, and none of them require advanced skills — just careful measuring, thorough sanding, and a personal detail like a wood-burned name or date. Start with whichever one matches a tool you already have, and don’t rush the finishing steps.
Sponsored / affiliate links. As an Amazon Associate I earn from qualifying purchases. I may earn additional commission from eligible campaigns.