How to Install Hinges on a Wooden Box (Fix Lid Alignment)
To install hinges on a wooden box, first position the hinges on the edges where the lid meets the box. Then, use screws to secure the hinges in place.
Installing hinges on a wooden box is a straightforward task that enhances functionality. Proper hinge installation ensures smooth opening and closing, adding convenience to your storage solution. Whether you’re making a new box or repairing an old one, the right hinges can make a significant difference.
This guide will walk you through the steps to achieve a secure fit. With a few simple tools and careful measurements, you can create a durable and attractive wooden box. Follow these steps to ensure your hinges are installed correctly for optimal performance and longevity.
Introduction To Hinge Installation
Choosing the right hinges is very important for your wooden box. Good hinges ensure smooth operation and long-lasting durability. They also affect the box’s appearance and functionality. Select hinges that match the box’s style and weight.
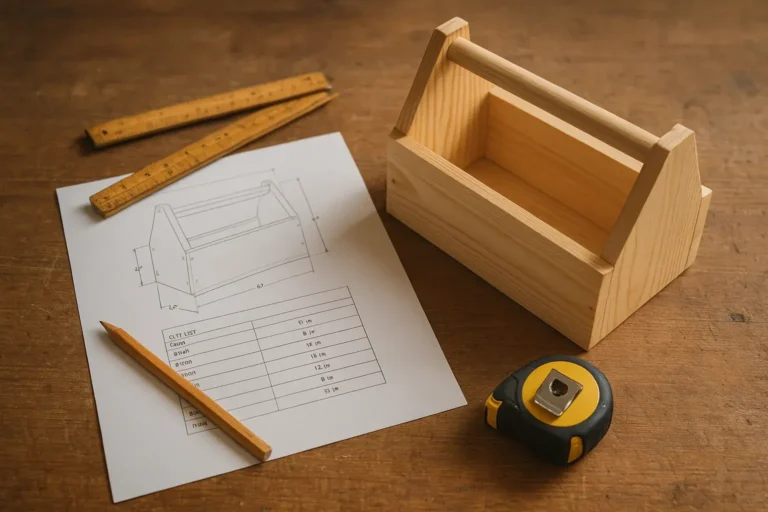
Before starting, gather the necessary tools and materials. Below is a list of what you will need:
| Tools | Materials |
|---|---|
| Drill | Hinges |
| Screwdriver | Screws |
| Measuring tape | Wood glue |
| Pencil | Sandpaper |
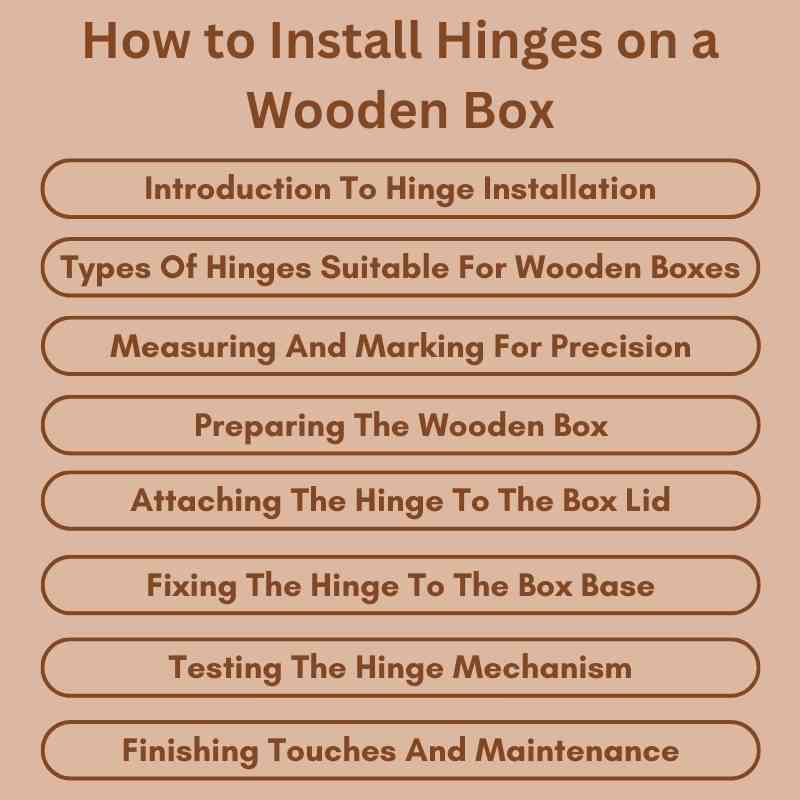
Types Of Hinges Suitable For Wooden Boxes
Butt hinges are a common choice for wooden boxes. They consist of two plates, making them strong. These hinges are easy to install and provide a smooth opening and closing action. They work well for most wooden box projects.
Concealed hinges are another option. These hinges hide inside the box, making them invisible when closed. This creates a clean and polished look. They are also great for saving space, as they do not protrude.
Piano (continuous) hinges run the full length of the lid instead of sitting at two points. This spreads the weight of the lid evenly across the whole seam rather than concentrating it at two hinge points, which is why they’re the standard choice for toy boxes, tool boxes, and other lids that get opened and leaned on a lot – some are rated for lids up to around 70 lbs. They’re also surface-mounted, so there’s no mortise to chisel out: you cut the hinge to length and screw it straight onto the surface, which makes them the easiest option if you don’t want to do the mortising steps below.
Both hinge types offer durability and functionality. Choose the one that best fits your design needs. Consider the style and purpose of your wooden box when making a selection.
Our Pick: Hinge Hardware & Tools
Surface-mounted, no mortise needed – the easiest hinge option for a box lid.
- Best for: toy boxes, tool boxes, and lids that get leaned on
- Why we picked it: cut to length and screw on, no chisel work required
- Main drawback: less discreet-looking than a pair of small butt hinges


As an Amazon Associate, we earn from qualifying purchases at no extra cost to you.
Measuring And Marking For Precision
To install hinges properly, start by measuring the box. Use a ruler to find the right spot for the hinges. Mark the top and bottom of the box where the hinges will go.
Next, determine hinge placement. Place the hinge flat against the box and mark its edges. This shows where the hinge will sit. Make sure the hinge is level to avoid problems later.
Now, it’s time for marking the screw holes. With the hinge in place, use a pencil to mark the screw holes on the wood. These marks guide where the screws will go. Ensure the holes are spaced evenly for a strong hold.
Preparing The Wooden Box
Start by measuring the hinge placement on the wooden box. Use a chisel to cut a mortise. This creates a space for the hinge to fit.
Make sure the mortise is deep enough for the hinge. Use a straight edge to guide your cuts. Check that the mortise is smooth and even.
Next, sand the edges of the box. Use fine-grit sandpaper for a smooth finish. This helps the box look nice and protects it from splinters.
Pay attention to corners and edges. Sanding well ensures a clean appearance. Take your time to make everything perfect.
Attaching The Hinge To The Box Lid
To attach the hinge to the box lid, first, position it on the edge. Ensure the hinge is aligned properly. Use a pencil to mark the screw holes. This helps in accurate drilling.
Next, drill pilot holes for the screws. This prevents the wood from splitting. Place the hinge back and line it up with the marks. Then, secure the hinge with screws. Tighten them gently to avoid damage.
Always check that the lid opens and closes smoothly. Adjust the hinge if needed to ensure proper alignment. A well-aligned hinge makes the box functional and aesthetically pleasing.
Fixing The Hinge To The Box Base
Start by ensuring the lid and base of the wooden box are perfectly aligned. This step is crucial for smooth operation. Use a level to check the alignment. Adjust the lid as needed.
Once aligned, securely attach the hinge to the box base. Use a drill to create small pilot holes. This prevents the wood from splitting. Insert the screws into the holes, tightening them gently.
Next, check the movement of the lid. It should open and close easily. If it sticks, adjust the hinge position slightly. Finally, install the screws on the lid side of the hinge. Ensure everything is tight and secure for long-lasting use.
Why Won’t My Box Lid Sit Flush? (Fixing Hinge Alignment)
If the lid doesn’t close flush – often showing up as the back panel sitting slightly taller than the lid, or a visible step where they meet – the usual cause isn’t a bad hinge. It’s that the two mortises weren’t cut to matching depths, or the box wasn’t perfectly square before you started installing hinges. Wood movement after finishing can shift things slightly too.
Instead of measuring the top and bottom hinge positions independently and hoping they match, measure from a single fixed reference point – the outside back edge of the box – to the edge of each hinge. Both the lid-side and base-side measurements should come out identical; if they don’t, that gap is your mismatch.
- Dry-fit before committing to screws: put a small dab of 5-minute epoxy on the hinge instead of driving screws right away. This holds it in place long enough to test the fit, and you can still adjust before it’s permanent.
- Use a flat reference board: place a strip of double-sided tape in the mortise, hold a flat scrap against the inside wall of the box, and press the hinge leaf against it before sticking it down. This sets the hinge exactly flush with the inside wall instead of eyeballing it.
- If a small gap remains at the back: some thicker hinges leave a slight gap when set perfectly flush, simply because of the hinge knuckle’s thickness. A light chamfer on the outside corners where the lid meets the box body minimizes how visible this is.
This step matters more than it looks like it should – a hinge that’s a few millimeters off on one side is one of the most common reasons a finished box never quite closes right.
Testing The Hinge Mechanism
Testing the hinge mechanism is essential for a wooden box. First, open and close the box several times. This ensures the hinges operate smoothly without any sticking. Listen for any unusual sounds during this process.
Check the alignment of the hinges. Misalignment can cause problems with the box’s operation. If the box does not close properly, adjustments may be necessary. Loosen the screws slightly to adjust the hinge position.
If the hinges still do not work well, consider replacing them. Sometimes, old or damaged hinges can cause issues. Choose high-quality hinges for better performance and durability.
Finishing Touches And Maintenance
Applying a protective coating on your wooden box is essential. Use a high-quality varnish or wood sealer. This helps protect the wood from moisture and damage. Apply the coating with a brush or spray for even coverage. Allow it to dry completely before using the box.
Regular care for your hinges keeps them working well. Lubricate hinges every few months with machine oil or silicone spray. Wipe away any excess oil to avoid dirt buildup. Check for rust or damage regularly. Replace any broken hinges to ensure the box functions properly.
Frequently Asked Questions
How Do I Choose The Right Hinges For A Wooden Box?
Choosing the right hinges depends on the box size and weight. For lightweight boxes, small butt hinges work well. Heavy boxes may require larger, more robust hinges. Consider the hinge’s material too. Brass or stainless steel options are durable and rust-resistant, enhancing your box’s longevity.
What Tools Do I Need To Install Hinges?
To install hinges, you’ll need a drill, screwdriver, and measuring tape. A chisel can help for precise cuts on the wood. Additionally, a level ensures the hinges are aligned perfectly. Having clamps can also stabilize the box while working, making the process smoother and more efficient.
How Do I Measure For Hinge Placement?
Measure about 3 to 4 inches from the top and bottom edges of the box. This spacing provides optimal support and functionality. Ensure both hinges are aligned at the same height for a balanced look. Use a measuring tape and mark the spots clearly for accurate drilling.
Can I Use Decorative Hinges For My Wooden Box?
Yes, decorative hinges can enhance the aesthetic appeal of your wooden box. They come in various styles and finishes, allowing you to match your design vision. Just ensure they are sturdy enough for the box’s weight. Proper installation is key to maintaining both functionality and style.
Do I Need To Cut A Mortise For A Piano Hinge?
No. Unlike butt hinges, piano (continuous) hinges are surface-mounted – you cut them to the length of your lid and screw them straight onto the wood, no chisel or mortise required. They also spread the lid’s weight evenly along the whole seam, which makes them a good pick for toy boxes and tool boxes that see heavy use.
Why Is There A Gap Or Mismatch When My Box Lid Closes?
Usually the two hinge mortises weren’t cut to the same depth, or the box wasn’t perfectly square before hinging. Measure from the outside back edge of the box to the hinge edge on both the lid and base – if those two measurements don’t match, that’s your mismatch. A light chamfer on the outside corners can hide a small remaining gap caused by hinge knuckle thickness.
Conclusion
Installing hinges on a wooden box can elevate its functionality and style. Following the steps outlined ensures a secure and smooth operation. With the right tools and patience, anyone can achieve professional results. Enjoy your newly enhanced wooden box, and don’t hesitate to explore other DIY projects for your home!
Sponsored / affiliate links. As an Amazon Associate I earn from qualifying purchases. I may earn additional commission from eligible campaigns.