How to Decorate Wooden Ornaments
Pick the decoration method from the blank’s surface and the ornament’s job: smooth, sealed wood takes paint, vinyl, or markers best; rough or porous blanks work better with stain, glue, or dimensional accents; for kids’ projects, use low-mess materials and quick-dry finishes. Use the wrong method and you get smudged details, peeling layers, or ornaments that crack when handled or stored. This guide compares paint, markers, decoupage, vinyl, glitter, woodburning, and sealers so you can match the method to skill level, drying time, and durability.
This guide is part of our Christmas Woodworking Projects: Ornaments, Gifts and Decor series.
Choose the right decoration method


The best method comes down to three things: the blank’s surface, how the ornament will be used, and how much drying or handling time you can give it. A smooth, finished blank behaves differently from a raw laser-cut piece, and a keepsake for gifting needs a different finish than a kid craft or tree filler.
Match the method to the blank
Unfinished wooden ornaments absorb paint and glue more readily, which helps adhesion but can also cause bleed, rough edges, or uneven color. Prefinished blanks have a smoother surface and are better for paint pens, vinyl, and clean lettering, but some paints may bead if the finish is too slick.
Match the method to the final use
If the ornament will hang on a tree indoors, paint or vinyl may be enough. If it will be handled often, mailed as a gift, or stored with other decorations, plan on a protective topcoat or a method with better built-in durability, such as woodburning or well-bonded layered embellishments.
Match the method to the skill level
Simple stencils, solid paint coats, and paint pens suit beginners. Woodburning, watercolor fills, and layered decoupage need more control. Mixed embellishments sit in the middle, they are easy to apply, but they need a sensible adhesive and enough drying time before hanging.
Wooden ornament surfaces and prep
Prep matters because wood surface behavior changes the finish. Smooth blanks hold crisp lines better, while rough grain can pull moisture from paint and make thin details look fuzzy. A few minutes of sanding and dust removal often prevents the most common failures.
Unfinished vs prefinished blanks
Unfinished ornaments are usually the better choice for paint, woodburning, decoupage, and layered embellishments. Prefinished ornaments are easier for vinyl and paint pens, especially if the surface is already smooth and fully cured. Common holiday shapes such as stars, trees, snowflakes, and hearts can be found in both styles.
Sand and clean before decorating
Decoratick advises fine-grit sanding before painting, and that is the right starting point for most blanks. After sanding, brush or wipe away dust so the first layer bonds cleanly. If the blank feels rough to the touch, paint lines and adhesive edges will usually look rough too.
Fix rough grain and edge fibers
Laser-cut ornaments often have charred edges or fuzzy fiber lift, especially on thin wood. Light sanding around the perimeter helps. If the blank is especially porous, a thin basecoat or sealer can reduce the chance that paint or adhesive sinks unevenly into the grain.
Which decoration method should you use?
Use acrylic paint for opaque coverage, paint pens for clean outlines, woodburning for etched line art, watercolor for soft color washes, decoupage for patterned layers, and vinyl for crisp lettering on smooth surfaces. Mixed embellishments work best when you want texture, but they are less suitable for heavy handling.
Acrylic paint
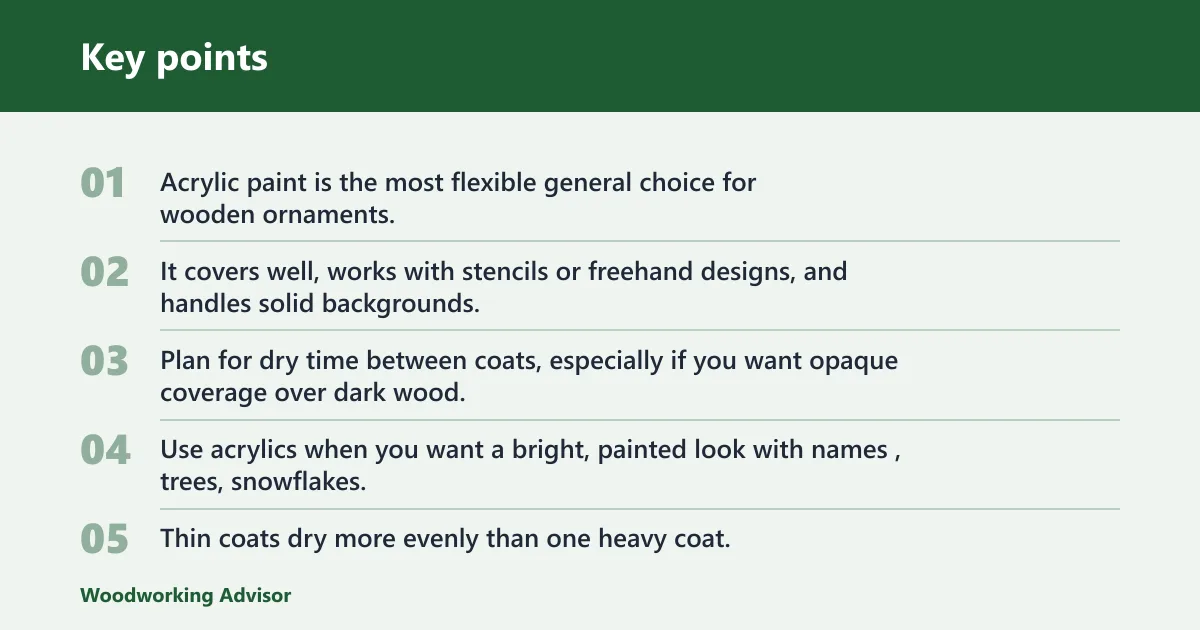
Acrylic paint is the most flexible general choice for wooden ornaments, and Wood Fixes recommends it for decoration. It covers well, works with stencils or freehand designs, and handles solid backgrounds, stripes, and simple motifs. Plan for dry time between coats, especially if you want opaque coverage over dark wood.
Use acrylics when you want a bright, painted look with names, trees, snowflakes, or stars. Thin coats dry more evenly than one heavy coat, and they are less likely to trap brush marks or crack as they dry.
Paint pens
Paint pens are best for outlines, lettering, and small details. Fine-tip options make it easier to write names, initials, or simple kid-friendly patterns without masking tape or a brush. They work best on smooth, sealed wood where the tip can glide rather than catch on grain.
Woodburning and watercolor
Woodburning creates etched line art, but the tool is hot and needs appropriate safety precautions. It pairs well with watercolor fill because the burned outlines help contain the wash. Watercolor can soak into the grain, so test the color flow on the same wood type before filling a detailed design.
Do not treat burning as a finishing step for stained wood. If you want both stain and burn effects, keep them separate in your planning, because burned wood and stain can behave unpredictably and create safety concerns.
Decoupage, vinyl, and mixed embellishments
Decoupage uses paper or fabric layers and is commonly sealed with Mod Podge or another clear coat. It works well for collage looks, patterned scraps, and holiday prints. Vinyl gives crisp edges and clean lettering, but it needs a smooth, clean surface for strong adhesion.
Mixed embellishments include glitter glue, beads, sequins, buttons, ribbon, and twine. Wood Fixes includes glitter glue as a decoration option. These details are useful when you want texture or a rustic finish, but they depend on strong glue bonds and should be sealed only if the adhesive and material allow it.
Wooden ornament decision table
| Method | Best blank type | Difficulty | Dry time | Durability | Best use case | Sealing notes |
|---|---|---|---|---|---|---|
| Acrylic paint | Unfinished or lightly sealed wood | Easy to moderate | Needs dry time between coats | Good when fully cured | Opaque color, stencils, freehand shapes, holiday motifs | Optional for display; helpful for handling or gifting |
| Paint pens | Smooth prefinished or sanded blanks | Easy | Fast to touch-dry | Good on smooth surfaces | Names, initials, outlines, simple patterns | Use a compatible clear coat only if the pen label allows it |
| Woodburning | Raw wood blanks | Moderate to advanced | No paint dry time | High for line detail | Etched art, rustic looks, watercolor outlines | Seal only after the wood is fully cool and clean |
| Watercolor | Raw or lightly sealed wood | Moderate | Needs dry time; may soak into grain | Moderate | Soft washes, layered color, burned outlines | Seal cautiously; test compatibility first |
| Decoupage | Smooth, sanded wood | Easy to moderate | Requires glue and sealant dry time | Good when fully sealed | Patterned papers, fabric pieces, collage styles | Usually sealed with Mod Podge or a clear topcoat |
| Vinyl | Smooth, clean, prefinished wood | Easy to moderate | Very little drying time | Good indoors | Clean lettering, labels, crisp holiday graphics | Skip sealing unless the vinyl maker says the topcoat is compatible |
| Mixed embellishments | Any sturdy blank with enough surface area | Easy to moderate | Depends on adhesive | Varies by glue and placement | Rustic ornaments, layered texture, kid-friendly accents | Seal only if it will not loosen the added pieces |
How do you decorate wooden christmas ornaments?
Start with a base color or a clean blank, then add your main design with paint, pens, vinyl, or stencils. For many Christmas ornaments, simple shapes work well: stars, trees, snowflakes, and hearts can keep the design readable at a small size and leave room for names or dates.
Basecoat and stencil methods
Acrylic paint is the best choice when you want full-color coverage. Use a thin basecoat first, then add a stencil or a taped-off shape. This works well for stars and trees because the silhouette stays clear even at a distance on the branch.
Say your snowflake ornament has a rough cut edge and a pale base. A thin white or blue basecoat will hide the wood tone better than one heavy coat, and the stencil lines will stay cleaner once the surface dries evenly.
Freehand patterns and simple motifs
Freehand dots, stripes, plaid, and small leaf or snowflake motifs are easy to repeat across a set of ornaments. Paint pens can help with thin borders, while acrylic paint works better for larger blocks of color. Keep the design scaled to the blank so the edges do not feel crowded.
Names, initials, and date marks
For personalization, paint pens and fine brushes give the cleanest results. Initials fit well on round or heart-shaped ornaments, while full names usually need a tree or oval with a little more width. Let the first layer dry before adding the name so the letters stay sharp.
How do you decorate wooden ornaments for kids?
For kids, choose low-mess materials, broad shapes, and fast-drying finishes. Paint pens, simple acrylic blocks, stickers, and glued-on embellishments are easier to control than deep layering or wet watercolor. Keep the design simple so the ornament can dry and be handled without smearing.
Kid-safe materials and simple patterns
Use water-based paints, blunt brushes, and large shapes such as stars, hearts, and trees. Avoid hot tools and skip anything that needs repeated heat or sharp handling. Glitter glue and large buttons can add interest without requiring fine motor control.
Drying time and handling limits
Kid projects need enough drying time that the ornament can be moved without leaving fingerprints. If the design uses multiple coats, let each layer set before adding the next. A finished ornament should feel dry on the surface before ribbon or twine is threaded through it.
Easy embellishments that stay put
Glue on ribbon, twine, or one large button instead of many tiny loose parts. That keeps cleanup simpler and reduces the chance of pieces falling off later. Mixed embellishments are fine here, but only if the adhesive is strong enough for the item’s weight.
What supplies do you need?
You do not need a large supply list to get started. Most ornament projects only need a blank, a prep tool, a decoration medium, an adhesive or sealer if the method calls for it, and hanging hardware such as ribbon or twine.
Paints, pens, and brushes
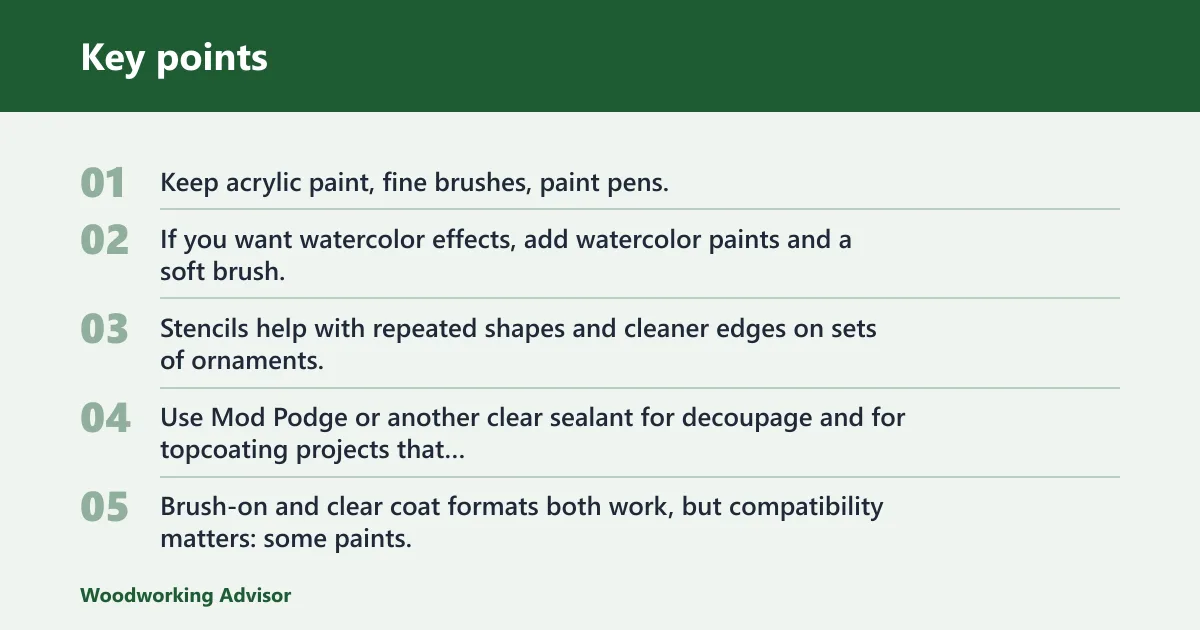
Keep acrylic paint, fine brushes, paint pens, and a small palette on hand for most designs. If you want watercolor effects, add watercolor paints and a soft brush. Stencils help with repeated shapes and cleaner edges on sets of ornaments.
Glue, sealant, and hanging hardware
Use Mod Podge or another clear sealant for decoupage and for topcoating projects that need protection. Brush-on and clear coat formats both work, but compatibility matters: some paints, vinyls, and pens should not be covered until they are fully dry and rated for that finish. Add ribbon, twine, or cord for hanging.
Do wooden ornaments need to be sealed after painting? Not always. Sealing is often optional for ornaments that will hang indoors and be handled lightly, though it can be more useful if you want to help protect paint, reduce scuffing, or give the piece as a gift. For watercolor, paint pens, and vinyl, check compatibility before sealing.
Optional machine-cut blank supplies
If you are cutting your own blanks, a Cricut Maker can cut thin basswood. The machine project used 1/16-inch basswood, a Knife Blade, and a StrongGrip mat, with masking tape around the wood edges. That setup helps keep thin stock from shifting during cutting.
How do you stop paint from bleeding on wooden ornaments?
Bleed usually comes from porous wood, too much paint, or a rough edge that wicks color outward. To reduce it, sand first, clean the dust, and use thin coats. A low-tack stencil or a sealable base layer can help on especially porous blanks, but heavy paint is still the main problem.
Picture a snowflake ornament cut from raw wood with open grain near the edge. If you press down a loaded brush, the paint can spread into the grain and blur the fine points. Two light coats with full dry time will usually look sharper than one thick pass.
How do you make wooden ornaments look rustic and natural?
Rustic ornaments work best when the wood texture stays visible. Leave some grain exposed, use muted colors, and choose simple materials such as twine, kraft paper, or one or two small embellishments. Woodburning, watercolor washes, and lightly brushed paint all suit that look.
For a natural finish, avoid fully covering the blank. A thin paint wash, a burned outline, or a small jute bow can keep the ornament from looking overworked. Hearts, trees, and snowflakes all suit this approach because the shape itself already carries the design.
Frequently asked questions
What is the best way to decorate wooden ornaments?
The best method is the one that matches the blank and the use case. Acrylic paint is the most versatile choice for beginners, paint pens are best for lettering, and woodburning or watercolor are better for decorative line work on raw wood. Smooth, sealed surfaces favor vinyl.
What paint should I use on wooden ornaments?
Acrylic paint is the most common craft choice for wooden ornaments because it covers well and works with stencils or freehand designs. Use thin coats and allow dry time between layers. If the surface is very slick, test adhesion first before painting the whole blank.
Do wooden ornaments need to be sealed after painting?
Not every painted ornament needs a topcoat, but sealing helps preserve the finish when the ornament will be handled, gifted, or stored for years. Use a compatible clear coat after the paint is fully dry. Do not assume every pen, vinyl, or watercolor finish should be sealed the same way.
Can you use vinyl on wooden ornaments?
Yes, vinyl works well on smooth, clean wooden ornaments. It is best on prefinished blanks or sanded wood with little grain lift. Wipe away dust before application, press the vinyl firmly, and avoid heavy sealing unless the vinyl and topcoat are known to be compatible.
How do you decorate wooden snowflake ornaments?
Snowflake ornaments need crisp lines, so paint pens, stencils, and woodburning work especially well. A pale basecoat can make the branches stand out, while watercolor or glitter glue can add a softer look. Keep the pattern centered so the shape reads clearly from both sides.
What supplies do I need to decorate wooden ornaments?
Most projects need unfinished or prefinished blanks, sandpaper, a dust brush or cloth, acrylic paint or paint pens, glue if you are adding embellishments, and ribbon or twine for hanging. Add Mod Podge or another clear sealant when the finish needs extra protection or when decoupage is part of the design.
Sponsored / affiliate links. As an Amazon Associate I earn from qualifying purchases. I may earn additional commission from eligible campaigns.