DIY Wooden Crafts: Transform Your Home with Handmade Charm
DIY wooden crafts are one of the few hobbies where a beginner’s first project and a hardware-store trip can both cost under $20 and still produce something worth keeping. The difference between a craft that looks handmade-nice and one that looks handmade-rough almost always comes down to wood choice, joinery, and finish — not artistic talent.
If you want a craft that produces repeatable art rather than a one-off piece, try woodblock printing — you carve one block, then print it as many times as you like. For everything else, here’s what actually separates a craft that holds together and looks intentional from one that falls apart after a season on a shelf.
Picking Wood For A Craft, Not A Structure
Best Wood Burning Kit For Beginners
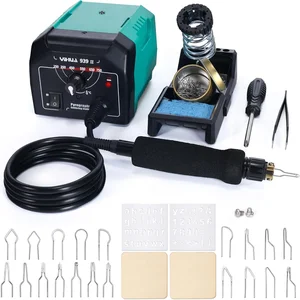 |
YIHUA 939-II Wood Burning Kit Station – $39.99 Adjustable 250–750°C temperature control with 20 wire nibs, plus scrap wood and stencils included to practice on before your real project.
|
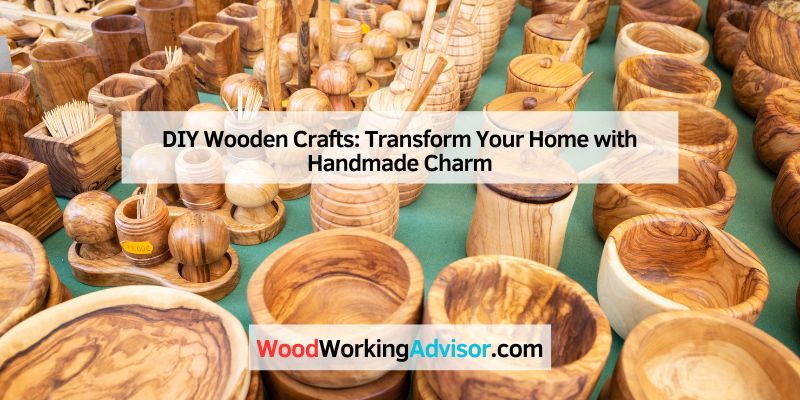
Craft wood has different priorities than structural lumber — you care more about how it takes paint, glue, and detail work than raw strength. Pine is the default beginner choice because it’s cheap and forgiving to cut and sand. Birch plywood takes paint exceptionally evenly and resists warping better than solid pine, which makes it a better pick for anything with a flat painted surface, like signs or frames. Basswood is the standard choice specifically for carving and wood burning because it’s soft, has almost no visible grain pattern to fight against, and doesn’t split easily under a burning pen or carving knife.
Whatever you pick, sight down the board for warping and check for loose knots before you buy — a knot that’s still tight and solid is fine for rustic-look projects, but a loose or cracked one will eventually fall out and take a chunk of the surrounding wood with it.
Tools Worth Having Before You Start
- Hand saw or a small crosscut/miter saw for clean, square cuts
- Sandpaper in at least two grits (80 for shaping, 220 for finish)
- Wood glue and clamps — a glued joint clamped properly is stronger than most nailed joints
- Safety glasses, always, even for “just sanding”
- A wood-burning tool if you want to add detail without paint (see below)
Projects Worth Building, By Skill Level
True Beginner
Coasters: cut small squares, sand the edges round, and finish with a food-safe oil or a coat of polyurethane. The entire skill test is a clean, square cut and even sanding — good practice before anything more ambitious.
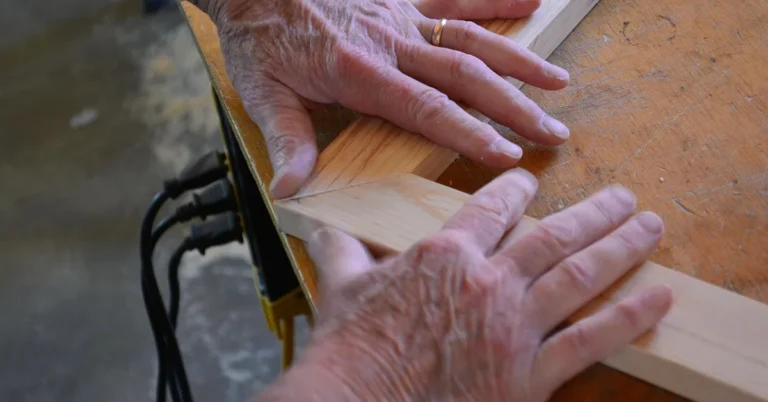
Picture frames: four pieces joined at 45-degree miters. This is genuinely the hardest part for a first-timer — a miter saw or a miter box makes a huge difference over trying to cut 45s by hand.
One Step Up
Wooden birdhouses: a handful of flat panels, glued and nailed at the seams, with a hole saw for the entry hole. Predrill anywhere you’re nailing near an edge — thin panel wood splits easily without it.
Wall art from scrap pieces: arranging offcuts into a shape or pattern, glued to a plywood backer, then painted. This is the best use for the “too small to be useful” scraps that pile up from other projects.
Adding Real Skill
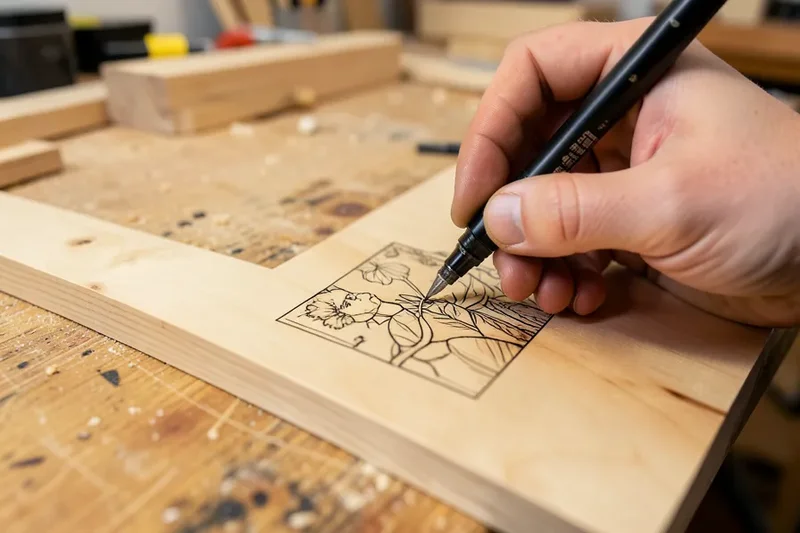
Wood burning (pyrography): a temperature-adjustable pen lets you get fine detail lines at a lower setting and broader shading strokes at a higher one — a fixed-temperature cheap pen makes both jobs harder. Always work on basswood or another light, even-grained wood for your first pieces; dense or heavily-grained wood burns unevenly and fights the pen.
Basic joinery without nails: a simple lap joint (notching two pieces so they overlap flush) or a pocket-hole joint (drilled at an angle and screwed) both give a stronger, cleaner-looking connection than face-nailing, and neither requires the precision of a full dovetail or mortise-and-tenon joint to get right.
Finishing And Personalizing
Paint hides grain and gives full color control; wood stain keeps the grain visible while adding tone, and needs a topcoat (polyurethane or a wipe-on finish) to actually protect the surface long-term — stain alone doesn’t seal the wood. Wood burning adds permanent, detailed line work that neither paint nor stain can replicate, and it’s genuinely a hard skill to correct if you go too deep, so practice on scrap first. For mixed-material accents, wood glue holds most porous add-ons (felt, thin fabric) fine, but metal, glass, and smooth plastic need a stronger adhesive like epoxy or a specialty wood-to-metal glue since standard wood glue’s bond depends on soaking into porous fibers.
Keeping Finished Pieces Looking Good
Dust with a barely damp cloth, never a soaking one — excess water works into seams and joints and can cause swelling or warping over time. Keep finished pieces out of direct sunlight, which fades stain and paint noticeably within a year or two, and away from heat sources like radiators or sunny windowsills, which dry wood out and can cause cracking at glued joints. A light coat of furniture polish or wax every few months keeps a finished surface looking fresh and adds a small amount of extra moisture resistance.
Frequently Asked Questions
What Wood Crafts Sell Well?
Cutting boards, picture frames, birdhouses, small furniture, and wooden toys tend to sell consistently at craft fairs and online, largely because they’re practical items people actually use rather than pure decor.
What Can I Make Out Of Wood Easily?
Coasters, picture frames, and small shelves are the easiest starting projects — they need minimal tools, forgive small mistakes, and teach the core skills (square cuts, sanding, basic joinery) you’ll reuse in every later project.
What Are Some Adult Crafts That Pair Well With Woodworking?
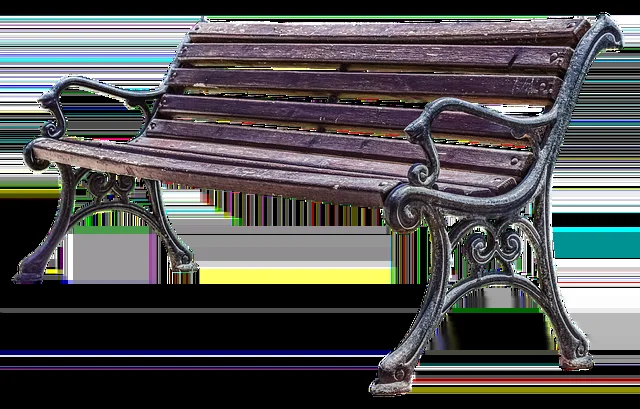
Wood burning, hand-painting, and basic upholstery (adding a cushion to a wooden stool or bench) all pair naturally with woodworking projects and use overlapping tools and skills.
What Do You Call A Person Who Crafts With Wood?
Someone working at this project scale is usually called a woodworker or hobbyist crafter; “carpenter” more specifically refers to structural and building work rather than small decorative crafts.
Bottom Line
Start with a project that only tests one or two skills — a square cut, a clean sand, a simple glued joint — and build up from there. The wood, the joinery method, and the finish matter far more to the final result than any particular tool or talent, and every one of those is a skill you get better at with the very next piece.
Sponsored / affiliate links. As an Amazon Associate I earn from qualifying purchases. I may earn additional commission from eligible campaigns.