How Do You Get Glue Off Of Leather: The Ultimate Safe Fix
To get glue off leather, first gently scrape away any excess with a dull edge, like a credit card. Then, dab the spot with a soft cloth dampened with warm, soapy water. For tougher glues, use a mix of white vinegar and water or a touch of rubbing alcohol. Always test any method on a hidden area first and finish by applying a leather conditioner.
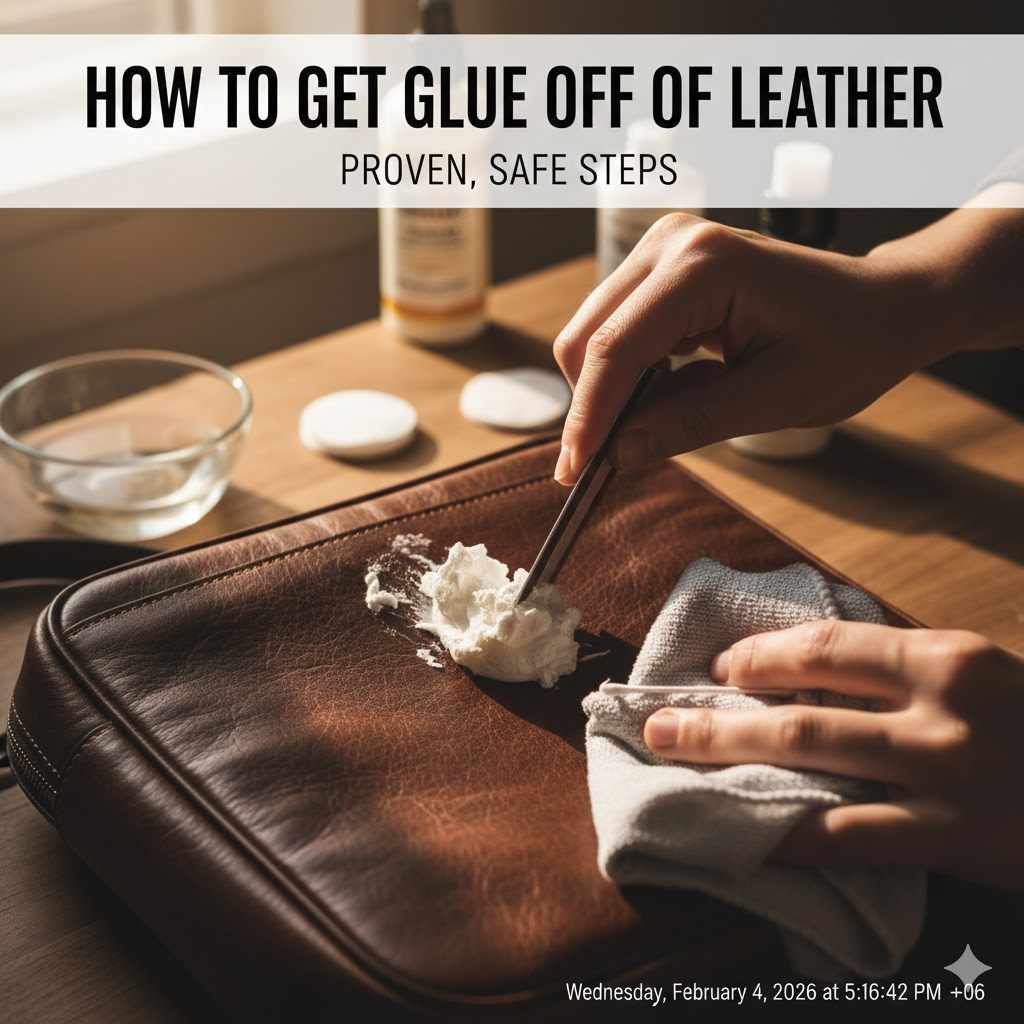
Hello there! It’s Md Meraj, your friendly guide in the world of DIY. We’ve all been there. You’re in the middle of a project, things are going great, and then—oops. A drop of glue lands right on your favorite leather chair, jacket, or shoes. Your heart sinks a little. It feels like a permanent mistake, but I’m here to tell you it’s usually not.
Fixing this is much easier than you think. You don’t need harsh chemicals or professional help most of the time. With a little patience and the right gentle approach, you can lift that glue right off without harming your beautiful leather. Let’s walk through the steps together and make that accident disappear.
First Things First: Prepare for a Safe and Successful Glue Removal
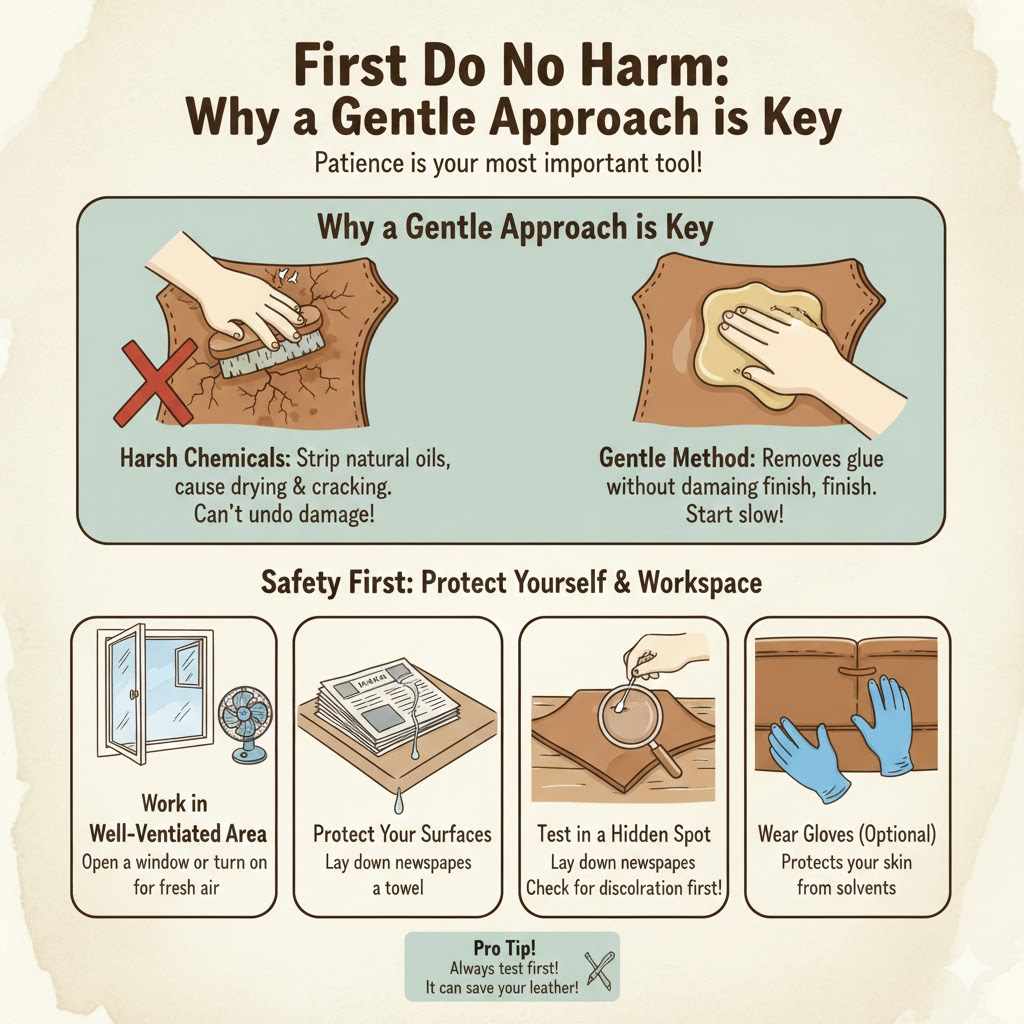
Before we jump into scrubbing or scraping, let’s get our mindset and our workspace ready. A successful repair is all about preparation. Rushing can turn a small spot into a bigger problem, but a few minutes of prep work will ensure your leather looks as good as new.
The golden rule when working with any kind of leather is simple: Test first, always. Leather can be sensitive. Dyes can run, and finishes can be damaged by cleaning agents, even gentle ones. Find a hidden spot on your item—the underside of a cushion, inside a shoe tongue, or a seam on the back. Apply a tiny amount of the cleaning solution you plan to use with a cotton swab. Wait a few minutes, wipe it away, and let it dry. If there’s no discoloration or damage, you’re good to go.
Understand Your Leather Type
Not all leather is the same. Knowing what you’re working with helps you choose the safest cleaning method. Most common household leather goods fall into one of these categories.
| Leather Type | How to Identify It | Best Approach for Glue |
|---|---|---|
| Finished/Protected Leather | Has a light sheen and protective coating. A drop of water will bead up on the surface. This is common for sofas, car seats, and bags. | The most durable. It can handle mild cleaners like soapy water or vinegar solutions safely. |
| Aniline/Unfinished Leather | Feels very soft and natural. It has no protective coating, so a drop of water will soak in and darken the spot. | Very sensitive. Start with only mechanical removal (gentle scraping). Avoid liquids if possible or use them very sparingly. |
| Suede or Nubuck | Has a fuzzy, velvety texture. It’s very absorbent and stains easily. | Extremely delicate. Do not use liquids. Stick to mechanical methods like a suede eraser or gently brushing with a suede brush. For glue, professional help is often the safest bet. |
Gather Your Gentle Toolkit
You probably already have everything you need right at home. We’re going to create a gentle “first aid” kit for your leather. Having these items ready makes the process smooth and stress-free.
- Soft, clean cloths: Microfiber cloths are perfect because they are lint-free and non-abrasive.
- A dull-edged tool: A credit card, a plastic scraper, or even your own fingernail will work. Avoid anything sharp like a razor blade that can cut the leather.
- Cotton swabs or Q-tips: These are great for applying solutions precisely to small glue spots.
- Mild dish soap: Choose a gentle, dye-free soap.
- White vinegar: Its mild acidity is great for breaking down some glues.
- Rubbing alcohol (Isopropyl): A stronger option for tougher glues, but must be used with caution as it can dry out leather.
- A good quality leather conditioner: This is a non-negotiable final step to restore moisture and protect your leather.
Identifying the Glue: Your Key to the Right Removal Method
The secret to getting glue off leather is knowing what kind of glue you’re up against. A kid’s school glue requires a much different approach than a drop of industrial-strength super glue. Let’s figure out what we’re dealing with.
Type 1: Water-Based Glues (The Easy Ones)
This category includes common household glues like Elmer’s school glue, PVA wood glue, or craft glue. The good news? These are the easiest to remove because they are designed to be water-soluble. If the glue is white and rubbery when dry, it’s likely water-based.
Type 2: Super Glue (The Tricky One)
Super glue, or cyanoacrylate, creates a very strong, brittle bond. It hardens quickly and can seem impossible to remove. It forms a hard, clear, or white-ish crust on the surface. This one requires a more chemical approach, but we still have to be incredibly careful.
Type 3: Strong Adhesives (The Toughest Challenge)
This group includes things like epoxy, construction adhesives, or Gorilla Glue. These are designed for permanent bonding and are very resistant to cleaners. They often form a thick, hard, and sometimes foamy residue. For these, a physical approach is often the only option, and you must be prepared for the possibility of some damage.
| Glue Type | Primary Removal Method | Key Thing to Remember |
|---|---|---|
| Water-Based Glue (Wood glue, school glue) | Warm Soapy Water or Vinegar Solution | Patience and gentleness are key. It will dissolve. |
| Super Glue (Cyanoacrylate) | Acetone (with extreme caution) or Rubbing Alcohol | Always test first! Acetone can remove color and finish. |
| Epoxy / Strong Adhesives | Mechanical Scraping / Professional Help | High risk of damaging the leather. Avoid solvents. |
Step-by-Step Guide: How to Safely Remove Glue From Leather
Alright, you’ve done your prep work, identified your leather and glue, and have your tools ready. Let’s get that glue off! We will always start with the gentlest method first.
The Foundational Step for ALL Glue Types: Mechanical Removal
No matter what kind of glue you have, the first step is always the same: remove as much of it as you can without using any liquids.
- Wait for the glue to dry: Trying to wipe away wet glue will only smear it and push it deeper into the leather’s pores. Let it dry completely.
- Gently scrape: Take your dull-edged tool, like a credit card, and hold it at a low angle. Gently push against the edge of the glue blob to see if you can flake it off. Be patient. If it doesn’t lift easily, don’t force it. The goal is to pop the glue off the surface, not scrape the leather itself.
- Pick at it: For smaller, harder bits, you might be able to carefully pick them off with your fingernail.
For some glues, especially on finished leather, this might be all you need to do! If a residue remains, move on to the appropriate method below.
Method 1: The Warm Soapy Water Technique (For Water-Based Glues)
This is your go-to method for school glue, wood glue, and other simple adhesives. It’s the safest liquid method for your leather.
- Mix your solution: Add a few drops of mild dish soap to a cup of warm water. Stir it gently to create some suds.
- Dampen your cloth: Dip a small corner of your soft cloth into the soapy water. Squeeze it out thoroughly—you want it damp, not wet. Dripping water is bad for leather.
- Blot and dab gently: Press the damp cloth onto the glue residue. Hold it there for about 30 seconds to a minute to let the warm water soften the glue. Then, use gentle dabbing or small circular motions to work the glue loose.
- Wipe clean: Once the glue is gone, take a separate clean, damp cloth (with just water, no soap) and wipe the area to remove any soap residue.
- Pat dry: Use a dry, soft cloth to pat the area dry. Do not use a hairdryer or heat source, as this can shrink or crack the leather. Let it air dry completely.
- Condition the leather: Once dry, apply a small amount of leather conditioner to restore moisture. This is a crucial step!
Method 2: Using Rubbing Alcohol (For More Stubborn Glues)
If soapy water didn’t quite do the trick, or you’re dealing with something a bit stronger than school glue, rubbing alcohol can be effective. But remember, alcohol is a solvent and can be very drying to leather, so caution is key.
- Do your spot test! This is especially important with alcohol. Make sure it doesn’t lift any of the dye from your leather in a hidden spot.
- Apply with a cotton swab: Pour a small amount of rubbing alcohol onto a cotton swab. You want to be very precise and only touch the glue, not the surrounding leather.
- Dab, don’t rub: Gently dab the alcohol onto the glue stain. Let it sit for a moment to start breaking down the adhesive. You may see the glue start to dissolve.
- Gently wipe away: Use a clean, damp cloth to gently wipe away the loosened glue and any remaining alcohol.
- Dry and Condition: Pat the area dry and let it air dry fully. Alcohol evaporates quickly. It’s extra important to apply a good leather conditioner after using alcohol to replenish the oils it may have stripped away.
According to safety guidelines from institutions like Princeton University’s Environmental Health and Safety department, it’s always important to work with solvents like alcohol in a well-ventilated area.
Method 3: How to Tackle Super Glue (The Acetone Approach)
Super glue can be a real headache, but it can often be defeated. The most common weapon is acetone, the main ingredient in most nail polish removers. However, acetone can and will damage leather finish and color if you’re not careful. This method is a last resort and requires your full attention.
TEST. TEST. TEST. I cannot say this enough. Find the most hidden spot on your leather item and apply the tiniest speck of acetone with the tip of a Q-tip. If it strips the color immediately, stop. This method is not for your item. If it seems okay, proceed with extreme caution.
Apply with precision: Use a cotton swab and apply a very small amount of acetone directly onto the hardened super glue. Avoid touching the leather around it as much as possible.
Let it work: Acetone works by dissolving the cyanoacrylate. Let it sit on the glue for a minute. The glue should start to turn white and soften.
Gently lift and wipe: As the glue softens, you should be able to gently wipe it away with a clean cloth. You may need to apply a little more acetone to stubborn bits. Work slowly and in small sections.
Neutralize and clean: Once the glue is gone, immediately wipe the area with a cloth dampened with the mild soap and water solution from Method 1. This helps to neutralize the acetone and clean the surface. Then, wipe with a cloth dampened with plain water.
Dry thoroughly and condition heavily: Pat the area dry and let it air dry completely. Acetone is extremely drying. Apply a high-quality leather conditioner. You may even need to apply a second coat after the first one has soaked in to properly rehydrate the leather.
What Not to Do: Common Mistakes That Can Ruin Your Leather
Sometimes knowing what not to do is just as important as knowing what to do. Avoid these common pitfalls to keep your leather safe.
- Don’t Use Sharp Objects: Never reach for a razor blade, a sharp knife, or a steel wool pad. You will almost certainly scratch or gouge your leather permanently.
- Don’t Soak the Leather: Never submerge your leather item in water or drench it with a cleaning solution. This can lead to water stains, warping, and cracking once it dries.
- Don’t Use Heat: Applying heat from a hair dryer or heat gun might seem like a good way to melt glue, but it will do irreversible damage to the leather, causing it to shrink and become brittle.
- Don’t Use Harsh Chemicals Blindly: Avoid reaching for bleach, ammonia-based cleaners, or furniture polish. These are not designed for leather and can strip the color and finish.
- Don’t Scrub Aggressively: Leather is a skin. If you scrub it too hard, you can wear away the finish and texture. Always use gentle, patient motions.
The Final, Essential Step: Conditioning Your Leather
I’ve mentioned it after every method, but it deserves its own section because it’s that important. Any time you use a cleaning agent on leather—even just soap and water—you strip away some of its natural oils. Without these oils, leather will dry out, get stiff, and eventually crack.
Think of it like washing your hands. You use soap and water to clean them, but they get dry afterward, so you use a moisturizer. Leather conditioner is moisturizer for your leather.
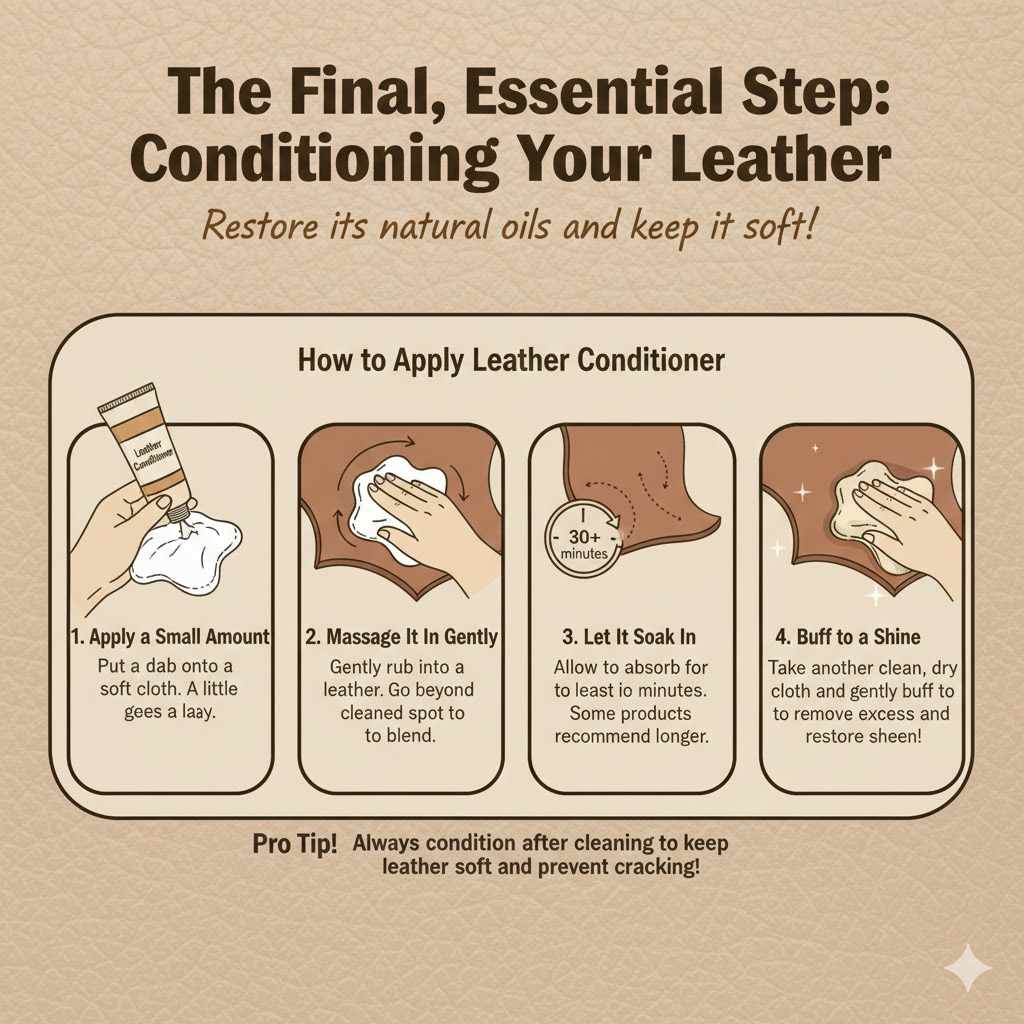
How to Apply Leather Conditioner:
- Ensure the area is clean and dry: Make sure all the glue and cleaning solution residue is gone and the spot has fully air-dried.
- Apply a small amount: Put a dab of conditioner onto a clean, soft cloth. A little goes a long way.
- Massage it in gently: Using a circular motion, gently rub the conditioner into the leather. Go a little beyond the spot you cleaned to help it blend in.
- Let it soak in: Allow the conditioner to absorb into the leather for at least 30 minutes. Some products may recommend several hours.
- Buff to a shine: Take another clean, dry cloth and gently buff the entire area to remove any excess conditioner and restore a nice, even sheen.
Frequently Asked Questions (FAQ)
Can I use nail polish remover to get glue off leather?
You can, but with extreme caution. Most nail polish removers contain acetone, which is a powerful solvent that can strip the dye and finish from leather. Always test it on a completely hidden area first. If you must use it, apply it sparingly with a cotton swab only on the glue itself.
What is the absolute safest method to try first?
The safest method is always mechanical removal with a dull edge (like a credit card), followed by the warm, soapy water technique. This approach uses the gentlest agents and is highly unlikely to cause any damage to most types of finished leather.
How do I remove glue from a leather car seat?
You follow the exact same steps. Start by scraping off what you can, then move to a damp, soapy cloth. The most important thing for car interiors is to work in a well-ventilated area (open the car doors) and be very careful not to let any liquid soak into the seams of the seat cushions.
Will glue leave a permanent stain on my leather jacket?
Not necessarily. If you act quickly and use the right method, you can often remove glue without a trace. The risk of a permanent mark increases if the glue is left for a long time, if a harsh chemical is used incorrectly, or if the glue itself contains a dye.
What if the glue is very old and hard?
Old, dried glue can be tough. Your best bet is to try and soften it first. Lay a cloth dampened with warm water over the spot for a few minutes. This can sometimes make the glue pliable enough to be scraped off more easily. Do not over-soak the leather.
Can I use something like olive oil or baby oil?
Some people have success using oil to loosen certain adhesives. The oil can get under the glue and break the bond. However, oil can also darken leather and leave a stain of its own. If you try this, test it in a hidden spot first and use only a tiny amount on a cotton swab.
What about suede or nubuck leather?
Suede and nubuck are very different. Do not use liquids like water, alcohol, or acetone on them, as they will almost certainly stain and mat the delicate texture. For these materials, try a special suede eraser and a suede brush. If that doesn’t work, it is highly recommended to seek professional help from a leather cleaning specialist.
Conclusion: Patience and Care Are Your Best Tools
A glue spill on your favorite leather item can feel like a small disaster, but it rarely has to be. By staying calm and following these gentle, methodical steps, you have the power to fix it yourself. Remember the core principles we discussed: identify your leather and glue, start with the gentlest method first, always test in a hidden area, and never, ever forget to recondition the leather afterward.
Every little repair you make builds your confidence and skill. You’ve learned not just how to fix a single problem but how to care for a material that can last a lifetime. So the next time a DIY project goes a little sideways, you’ll know exactly what to do. You’ve got this!