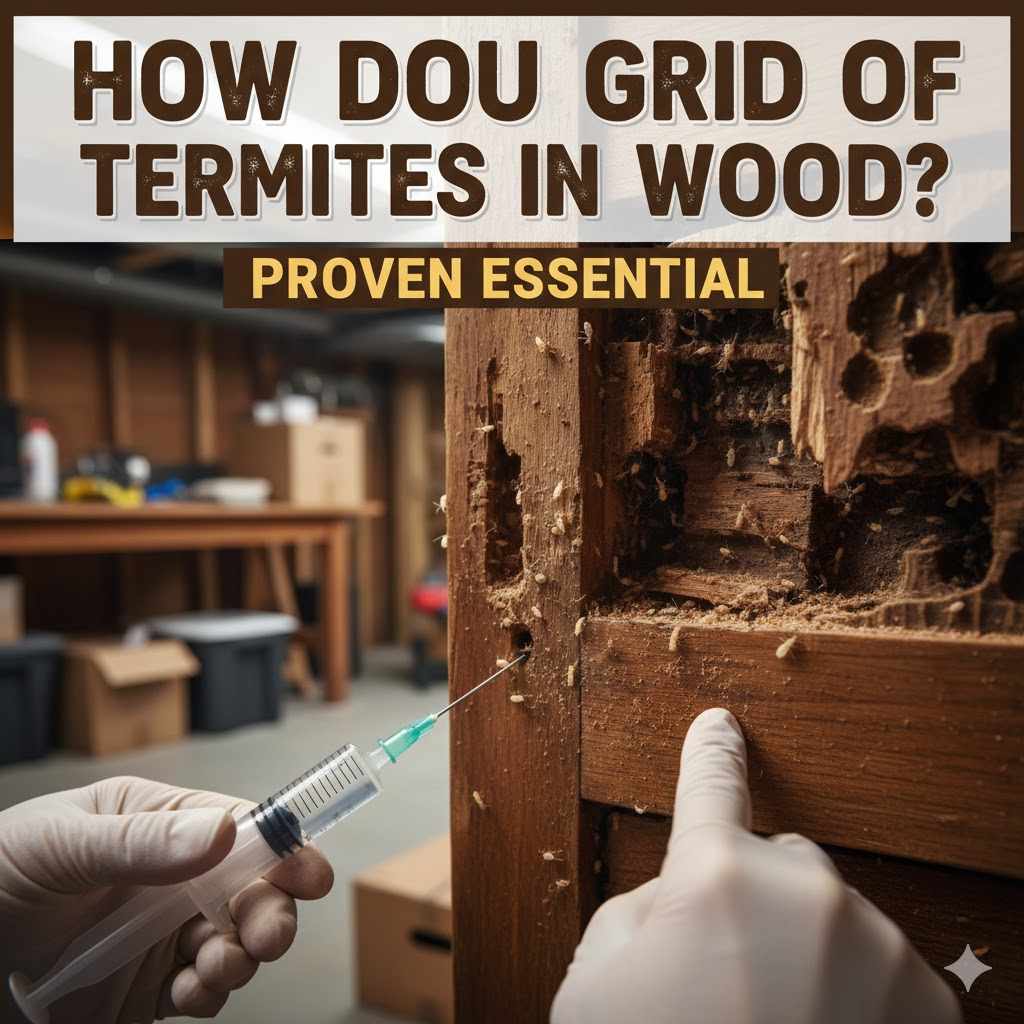
How Do You Get Rid of Termites in Wood? Proven Essential
To eliminate termites in wood, you must first confirm the infestation. Treatment options range from professional fumigation to DIY methods like boric acid treatments, heat exposure, or replacing badly damaged wood. Always prioritize safety and consult an expert for severe or structural damage.
Dealing with termites can feel like a massive headache, especially when you love your wood projects and home structure. Seeing tiny tunnels or piles of ‘sawdust’ (termite frass) is never a fun discovery for a DIY enthusiast. Don’t worry; you aren’t alone, and taking action now can save you a lot of trouble later. We are going to walk through proven, step-by-step methods that turn this scary problem into a manageable DIY task. Let’s learn how to reclaim your wood and keep those pests out for good!
Identifying the Enemy: How to Know if Termites Are Eating Your Wood
Before we grab any tools or treatments, we must be sure we are dealing with termites. Many pests, like ants, can look similar, and treating the wrong pest wastes time and money. Positive identification is the first, crucial step in knowing how do you get rid of termites in wood effectively.
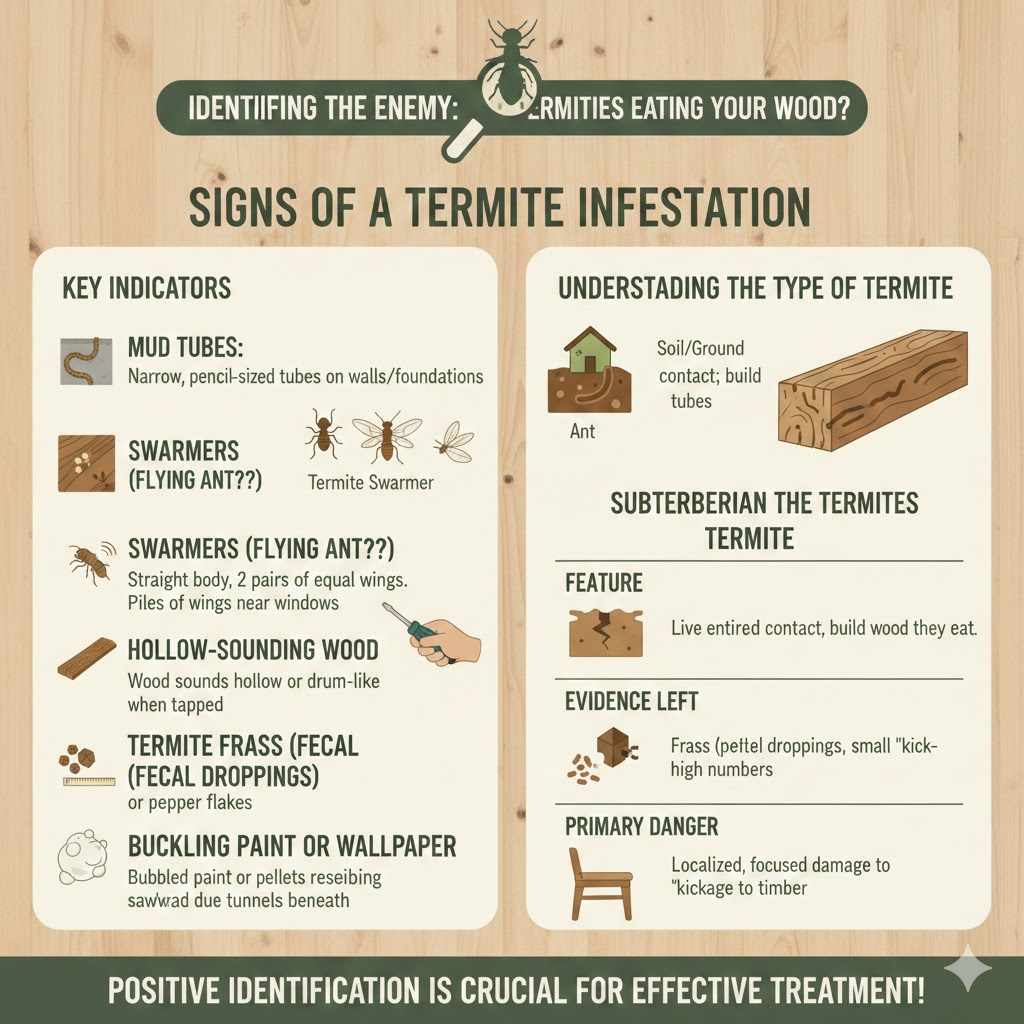
Signs of a Termite Infestation
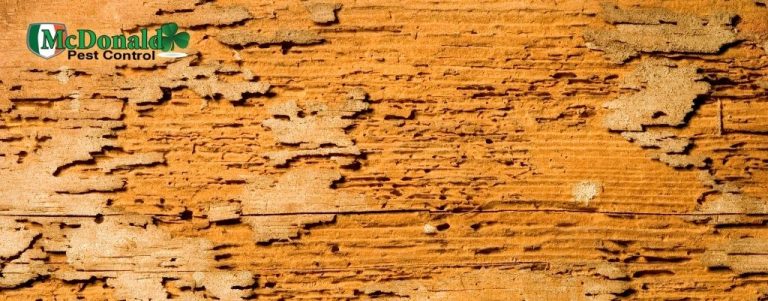
Termites are masters of stealth. They eat wood from the inside out, so you often don’t see them until the damage is noticeable. Look closely at your baseboards, door frames, structural lumber, and wooden furniture.
Key indicators to watch for:
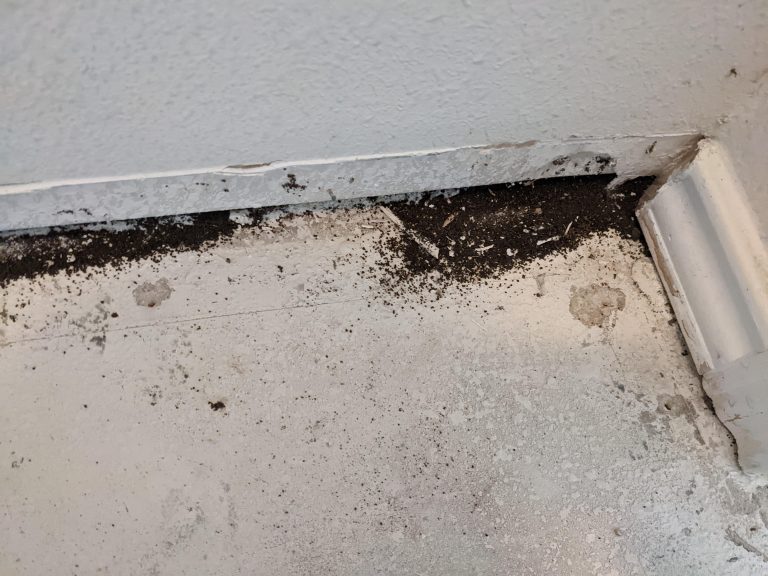
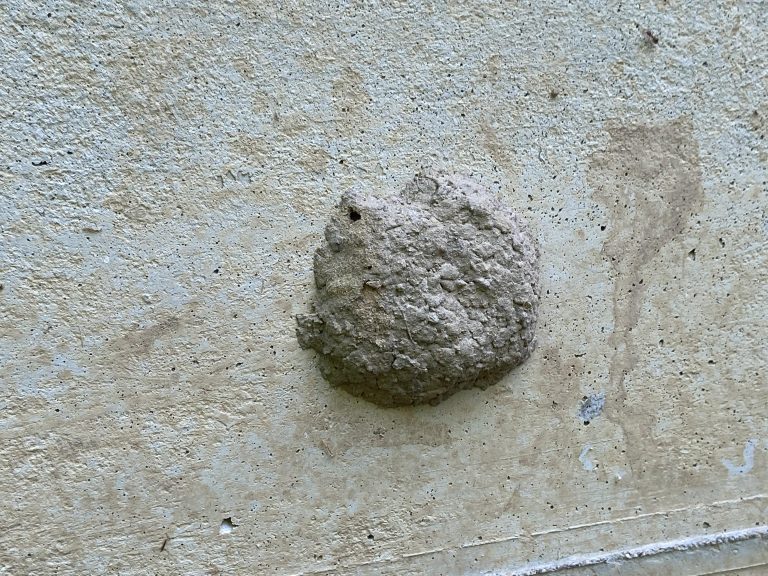
- Mud Tubes: Subterranean termites build narrow, pencil-sized tubes made of mud and dirt running up walls or foundations to travel between the soil and your wood structure.
- Swarmers (Flying Ants?): Termites swarm in large numbers, usually during warmer months, looking for new places to colonize. Swarmers have straight bodies and two pairs of equal-length wings. They often leave behind piles of wings near windowsills.
- Hollow-Sounding Wood: Tap suspicious wood with the handle of a screwdriver or a wooden dowel. If it sounds hollow or drum-like instead of solid, termites may have eaten the interior.
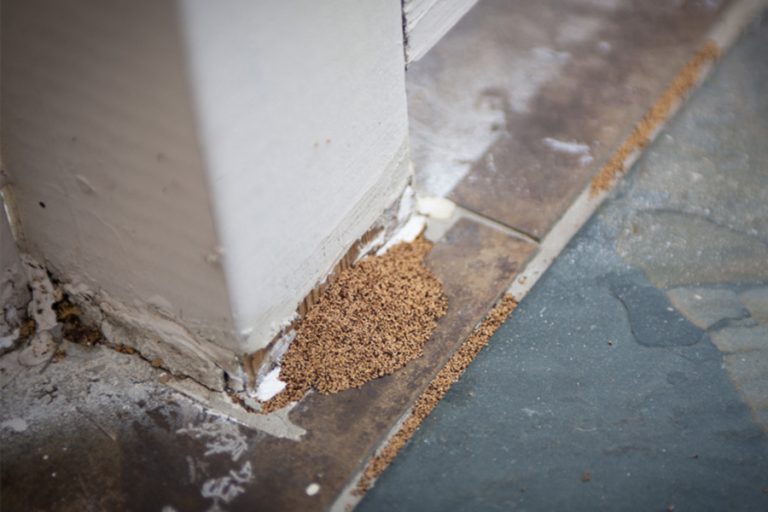
- Termite Frass (Fecal Droppings): Drywood termites leave behind small, six-sided pellets that look like coarse sawdust or pepper flakes. This is their actual waste. Finding piles of this material is a big red flag.
- Buckling Paint or Wallpaper: If paint appears bubbled or wallpaper seems loose for no clear reason, it might indicate termites tunneling just beneath the surface, pushing the finish away.
Understanding the Type of Termite
The treatment you choose depends heavily on whether you have subterranean termites (living in the soil) or drywood termites (living entirely inside the wood).
Here is a quick comparison to help you focus your attack:
| Feature | Subterranean Termites | Drywood Termites |
|---|---|---|
| Habitat | Soil/Ground contact; build mud tubes | Live entirely within the wood they eat |
| Evidence Left | Mud tubes, moisture damage | Frass (pellet droppings), small “kick-out” holes |
| Primary Danger | Structural damage due to high numbers | Localized, focused damage to timber |
Step 1: Choosing Your Essential Treatment Approach
Once you know what you are fighting, you must select a method. For DIY enthusiasts, treating localized wood—like a piece of furniture or a small section of sill plate—is often manageable. If the infestation is widespread in your main supports, please call a licensed pest control professional (PCP). We must always prioritize safety and structural integrity.
DIY Treatment Options for Accessible Wood
If the damage is limited to non-structural items or small, localized areas you can safely treat, these methods are accessible and highly effective for the wood itself.
Option A: Boric Acid (The Woodworker’s Friend)
Boric acid (often sold as a white powder) is fantastic because it acts as both a contact poison and a stomach poison when termites ingest it while grooming. It’s often one of the first things I recommend because it’s relatively low-toxicity to humans (keep away from pets and children, though!) and great for direct application.
How to Apply Boric Acid:
- Preparation: Purchase a commercial boric acid solution or mix the powder with water to create a weak solution, following label instructions carefully.
- Direct Spraying: For visible termites or tunnels, spray the solution directly onto them or inject it into small gallery holes using a syringe or pressurized sprayer.
- Soaking (For Small Items): If the infected piece is portable (like an old cabinet or decorative beam), soaking it completely in a boric acid solution for several hours can penetrate deep enough to kill the colony inside.
- Painting/Sealing: For accessible structural wood, you can brush or spray a stronger boric acid solution directly onto the bare wood surface. This leaves a protective residue that kills any termites attempting to tunnel through it later.
Option B: Heat Treatment (Natural Eradication)
Termites die rapidly when exposed to sustained high temperatures. This is incredibly effective for furniture or beams you can remove and transport.
The Goal: Expose the wood to temperatures above 140°F (60°C) for at least 30 minutes throughout the entire piece.
- Solar Heating (Covering): Wrap the infected wood (if portable) tightly in black plastic sheeting on a very hot, sunny day. This traps heat, potentially raising the temperature enough for smaller infestations. Monitor the internal temperature with a reliable thermometer.
- Commercial Heating Units: Professional exterminators use massive heaters to raise the temperature of an entire room or house. This is usually beyond the scope of simple DIY, but useful to know as a non-chemical option.
Option C: Freezing (For Small, Beloved Items)
Similar to heat, extreme cold can kill termites, though it requires patience.
- Seal the wooden item in a heavy-duty plastic bag, making sure no moisture gets in or out (we don’t want ice crystals damaging the wood grain).
- Place the bag in a freezer set below 0°F (-18°C).
- Leave it there for a minimum of 72 hours—though a full week is better for deeper penetration.
- Allow the item to thaw slowly indoors to prevent shock to the wood structure.
Step 2: Addressing Structural Wood with Chemical Barriers (Use with Caution!)
When termites have invaded the structure of your home—like sill plates, floor joists, or framing lumber—non-repellent chemical treatments are often necessary. These treatments create a zone of lethal exposure that termites cannot detect, allowing them to pass through and contaminate the rest of the colony.
Understanding Non-Repellent Termiticides
Modern pest control often relies on non-repellent chemicals, like those containing fipronil or imidacloprid, which are widely used by licensed professionals. For DIYers tackling minor structural wood, formulations specifically designed for homeowner use are available.
How Termiticides Work: Unlike old barrier sprays that termites could avoid, these new formulas allow workers to pick up the chemical without realizing it and carry it back to the colony, effectively eliminating the nest over time.
If you find a termite infestation within wood that touches the foundation or supports significant weight, this is where contacting a licensed professional becomes essential to ensure proper soil treatment according to Environmental Protection Agency (EPA) guidelines. Applying these chemicals incorrectly can be ineffective or dangerous.
Step 3: Prevention—Keeping Them Out of Your Workshop and Home
Getting rid of the current termites is only half the battle. As wood lovers, our long-term goal is making our homes and workshops unattractive targets. Prevention is key to long-lasting craftsmanship!
Moisture Control: Termites’ Best Friend
Termites, especially subterranean types, need moisture to survive. Eliminate dampness near or under your home, and you remove their major motivation to invade.
- Fix Leaks Immediately: Repair any leaky plumbing, dripping AC units, or faulty gutters that allow water to pool near the foundation or against wooden structures.
- Ensure Proper Drainage: The ground surrounding your home should slope away from the foundation so that rainwater moves outward, not inward toward the wood.
- Ventilation is Crucial: Make sure crawlspaces, attics, and basements have proper ventilation. Stagnant, damp air is a welcome sign for pests.
Creating a Physical and Chemical Barrier
Termites hate crossing difficult or treated barriers.
- Wood Sealing: Use high-quality sealants, paint, or varnish on any bare wood surfaces that might be exposed to moisture, like outdoor sheds or firewood stacks.
- Remove Food Sources: Never stack firewood, scrap lumber, or dead branches directly against your house. Keep a gap of at least 18 inches between stored wood and the foundation.
- Inspect Mulch: Wood mulch or excessive landscaping debris piled high against the house siding creates a moist, shaded environment—perfect for termites. Keep mulch a few inches away from the foundation wall.
- Install Barriers: For new construction or major renovations, installing physical barriers (like specialized termite shields or treated wood barriers) beneath the slab or against the foundation is the most permanent prevention method.
Tools and Supplies for DIY Termite Eradication
As a fellow woodworker, you know that having the right gear makes all the difference. Here are the essential items you might need, depending on the treatment chosen. Remember safety gear first!
| Tool/Supply | Primary Use | Safety Note |
|---|---|---|
| Safety Goggles & Gloves | Protect eyes and skin from dust/chemicals | Non-negotiable for any treatment |
| Dust Mask/Respirator | For applying boric acid powder or working in dusty areas | Protect lungs from fine particles |
| Small Syringe or Injector | Applying liquid treatment directly into termite tunnels | Allows precision placement of chemicals |
| Stiff Wire Brush or Screwdriver | Probing wood and cleaning out galleries | Helps expose hidden activity |
| Heavy Plastic Sheeting & Tape | Used for heat treatments (solar warming) or containing treated materials | Must be completely sealed for heat retention |
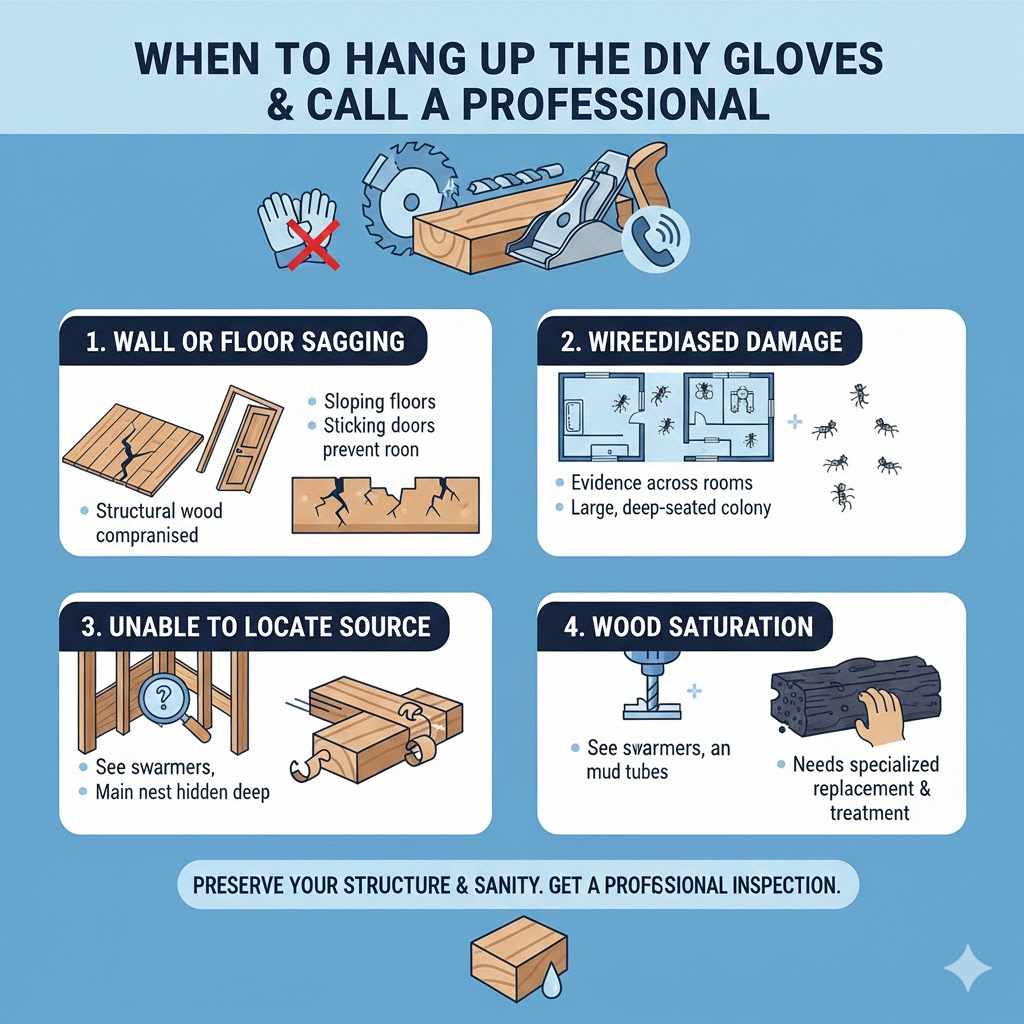
When to Hang Up the DIY Gloves and Call a Professional
Sometimes, the problem is too big or too hidden for us to tackle safely on our own. Knowing when to admit the fight is best left to the experts preserves your structure and sanity.
Call a professional immediately if:
- Wall or Floor Sagging: If you notice floors sloping, doors sticking severely, or visible cracks in plaster or foundations, major structural wood is compromised.
- Widespread Damage: If you find evidence of termites across multiple rooms or levels of the house, the colony is large and deep-seated.
- Inability to Locate the Source: If you see swarmers but cannot find the primary mud tubes or main infestation points, the main nest is likely deep within the foundation or walls.
- Wood Saturation: If large beams or sills are soft, spongy, or crumble easily upon light pressure, the wood may need specialized replacement alongside treatment.
A good professional will offer a detailed inspection and discuss options like trenching and rodding with liquid termiticides or full structure baiting systems. Don’t wait when the damage looks serious!
FAQ: Beginner Questions About Termite Wood Treatment
Q1: Can I really kill an entire termite colony by just treating one piece of wood?
A: Sometimes, yes, if you have drywood termites and you thoroughly treat or remove that specific piece of wood. If the termites are subterranean (coming from the soil), treating just one spot won’t stop the main colony; you need to treat the soil barrier surrounding the house.
Q2: How long does it take for boric acid treatment to actually work?
A: Boric acid is not instant death. When applied directly, you might see results in a few days or weeks as the termites consume it or contact it repeatedly. For prevention (painted on wood), it works over a much longer period as a deterrent.
Q3: Is it safer to use heat treatment or chemical treatment on my wooden porch posts?
A: For small, isolated wood like porch posts, heat treatment (if you can safely heat the wood internally above 140°F) is chemically safer. Chemical treatments are highly effective but require careful reading of all labels and often need to be applied by someone familiar with building codes near concrete or utilities.
Q4: What is the biggest mistake homeowners make when trying to get rid of termites themselves?
A: The biggest mistake is treating only the visible activity. Termites retreat easily when sensing danger. If you just spray the surface, the colony underneath will likely just move to a different, untreated part of the structure, making the long-term problem worse.
Q5: Should I use commercial sprays labeled for ‘ants and termites’ from the hardware store?
A: Those general sprays are generally effective only for killing termites you see actively crawling on the surface (contact killing). They rarely penetrate deep into the galleries or soil barrier needed to eliminate the source. They are fine for quick clean-up but poor for eradication.
Q6: If I replace the damaged wood, do I still need to treat the area?
A: Absolutely, yes! Replacing the damaged wood removes their current meal, but it doesn’t remove the colony that caused the damage. If you don’t treat the remaining nearby wood and the soil connection, new termites will simply move into the nice, untreated replacement wood you just installed.
Final Touches: Restoring and Reinforcing Your Wood Projects
Now that you understand how do you get rid of termites in wood using various reliable methods, your focus shifts to restoring your craftsmanship and fortifying your structure. Remember, every treatment takes time, especially those that rely on secondary transfer within a colony.
Once treatment is complete and you are certain the activity has ceased (monitor for at least 6 months), you can proceed with restoration. This is where your woodworking skills shine!
- Remove Debris: Clear away all frass, dead termites, and any debris related to the infestation.
- Inspect Thoroughly: Re-probe all suspect wood one last time, looking for new hollow spots. If new spots appear, reapply your preferred localized treatment.
- Repair and Replace: If damage is minimal, infill voids with epoxy wood filler designed for structural repair, ensuring it cures fully. If the wood has lost its structural integrity (i.e., it crumbles), it must be safely cut out and replaced with pressure-treated lumber appropriate for that structural load.
- Seal Everything: Paint, stain, or seal all newly repaired and surrounding bare wood. This final step is your proactive barrier, ensuring that any future pests face a sealed, unattractive meal.
Taking control of a termite issue requires careful observation and steady application of the right method. By isolating the source, choosing targeted treatments like boric acid for small jobs, ensuring excellent moisture control, and knowing when to bring in the professionals for large structural threats, you can effectively banish termites and get back to enjoying your sturdy, beautiful wood projects. You’ve got this!