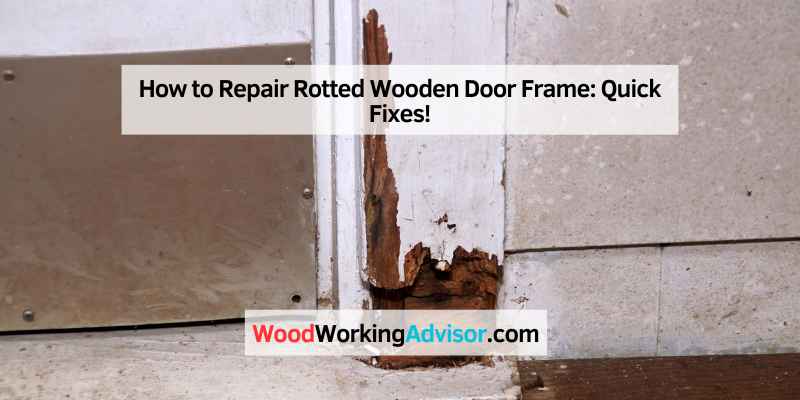
How to Repair Rotted Wooden Door Frame: Quick Fixes!
You can repair a rotted wooden door frame without replacing it using wood hardener and two-part epoxy filler — as long as at least 50% of the wood is structurally sound. Skipping the repair lets rot spread to the door jamb and subfloor, turning a $40 fix into a $400+ replacement job. This guide covers the full repair for exterior door frames, bottom rot, and dry rot.
Remove all rotted wood with a chisel or utility knife. Brush on wood hardener and let it soak in fully (1–2 hours). Mix and press in two-part epoxy filler, shape to match the frame profile, and let cure (4–6 hours). Sand smooth, prime, and paint. Total cost: $30–$60 in materials. Total time: 1 day including cure time.
Identifying The Rotted Areas
Finding all the rot before you start is critical — miss a patch and it will spread back into your repair within a season. Check these four indicators:
- Discoloration: Dark staining, graying, or black streaks in the wood grain signal moisture damage and early rot.
- Soft spots: Press a screwdriver into suspect areas — sound wood resists firmly, rotted wood compresses or crumbles.
- Crumbling texture: Wood that breaks apart in chunks or powder when probed has advanced rot and needs full removal.
- Paint bubbling: Paint lifting or blistering over the frame indicates trapped moisture underneath — often the first visible sign of rot beginning.
| Tool | Purpose |
|---|---|
| Moisture meter | Readings above 19% indicate active rot risk |
| Screwdriver / awl | Probe soft spots — penetration over ¼ inch means remove |
| Flashlight | Illuminates dark corners and the bottom of the frame |
| Utility knife | Cut test — firm wood resists, rotted wood cuts like foam |
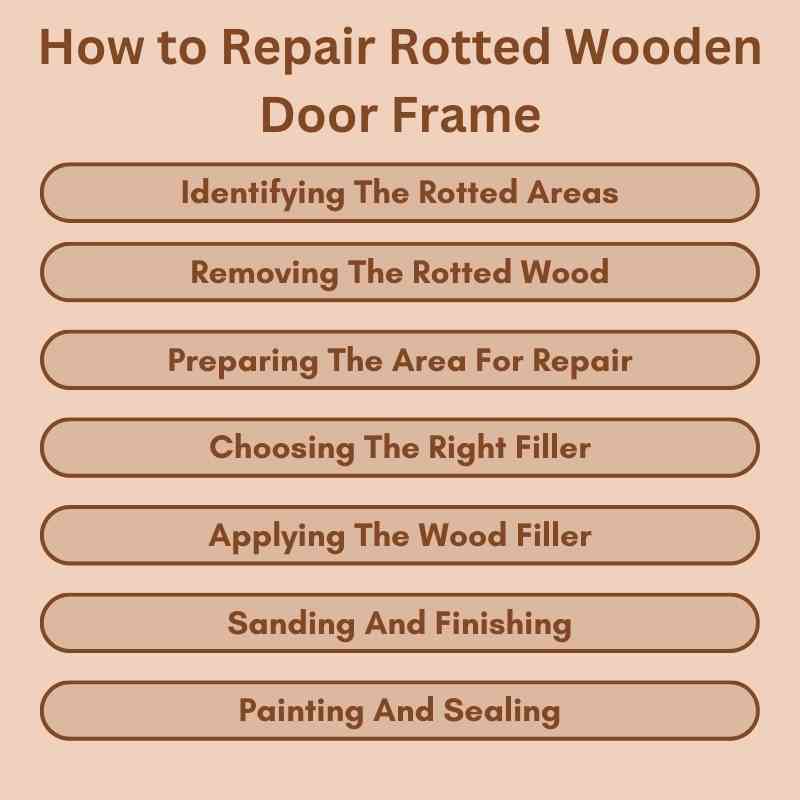
Removing The Rotted Wood
Wear gloves and a dust mask before starting — rot spores can irritate lungs. Remove all damaged wood, not just the visible surface. Rot that’s left behind will re-infect the new filler within months.
- Use a utility knife or chisel to cut away soft, crumbling sections. Go back until you hit firm, sound wood.
- For stubborn rotted pockets, a wire brush or oscillating tool clears debris from irregular cavities.
- Vacuum or blow out all dust and debris before applying hardener — loose particles prevent adhesion.
Preparing The Area For Repair
Once rot is removed, brush away all dust and wipe the cavity with a dry cloth. The wood surface must be clean and dry before hardener goes on — moisture trapped under hardener causes delamination later.
Apply wood hardener generously with a paintbrush, saturating all exposed wood fibers. Let it soak in fully — typically 1–2 hours at room temperature. The hardener consolidates remaining soft fibers and gives the epoxy filler a solid substrate to bond to. Don’t rush this step.
Choosing The Right Filler
For exterior door frames, two-part epoxy filler is the correct choice — it’s waterproof, doesn’t shrink, and bonds to hardened wood permanently. Avoid standard latex or water-based fillers on exterior repairs: they absorb moisture, swell, and crack within one freeze-thaw cycle.
| Filler Type | Best Use | Exterior OK? |
|---|---|---|
| Two-part epoxy filler | Large repairs, structural areas | ✅ Yes |
| Polyester filler | Deep holes, hardens fast | ✅ Yes |
| Latex filler | Small indoor gaps | ❌ No |
| Wood putty | Interior finish work | ❌ No |
DAP Plastic Wood Rot Repair Kit — includes liquid hardener + two-part epoxy filler in one kit. Sandable, paintable, and rated for exterior use. Around $20–$25 at most hardware stores.
Check Price on Amazon →Applying The Wood Filler
Mix the two-part epoxy on a scrap board using separate sticks for each component — contaminating the hardener side ruins the batch. Mix only what you can apply in 5–10 minutes; epoxy begins setting fast.
- Press filler firmly into the cavity with a putty knife, working it into corners and edges to eliminate air pockets.
- Overfill slightly — it’s easier to sand down than to add a second coat.
- Shape the filler roughly to the frame profile before it sets hard. Epoxy becomes difficult to carve after 20–30 minutes.
- Full cure: 4–6 hours at 70°F. Don’t sand or paint before full cure.
Repairing a Rotted Exterior Door Frame
Exterior door frames face the worst rot conditions — direct rain, UV exposure, ground splash, and seasonal moisture cycling. The repair process is the same as interior rot, but with two additional steps:
- Use exterior-grade epoxy only. Interior fillers won’t hold through freeze-thaw cycles. Two-part epoxy or polyester filler are the only appropriate choices for exterior repairs.
- Prime before painting. Bare epoxy absorbs paint unevenly. Apply an exterior wood primer over the repair before topcoating — this prevents paint failure within one season.
- Seal all edges. After painting, run a bead of exterior-grade caulk along the joint between the repaired section and surrounding wood. This is where water re-enters and restarts the rot cycle.
- Check the drip cap. Missing or damaged drip cap (the metal flashing above the door) is the #1 cause of exterior frame rot. Replace it if it’s absent or bent away from the frame.
For more detail on treating and preventing exterior wood rot, see our guide on how to fix wood rot.
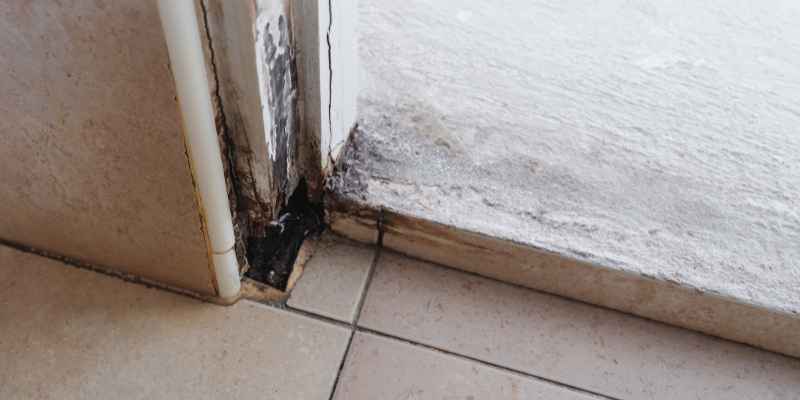
Door Frame Rotting at the Bottom
Bottom-of-frame rot is the most common failure point — it’s where rain splash, standing water, and ground moisture concentrate. The repair approach depends on how deep the damage goes:
- Surface rot only (less than ½ inch deep): Remove, harden, and fill with epoxy as described above. This is a straightforward repair.
- Through-and-through rot (full depth of frame section): Cut out the rotted section entirely with a circular saw and splice in a new piece of matching lumber, secured with construction adhesive and screws. Prime and paint all six faces of the new piece before installation.
- Sill rot: If the rot extends into the door sill, address the sill separately — a rotted sill can’t support door weight and needs full replacement, not filler.
After any bottom repair, add a door sweep to redirect water away from the frame base, and ensure the threshold sits slightly above the exterior ground level to allow drainage.
Sanding And Finishing
Once fully cured, sand the repair starting with 80-grit to shape, then 120-grit to smooth, then 220-grit for a finish-ready surface. The epoxy should feel as hard as the surrounding wood — if it dents under fingernail pressure, it hasn’t fully cured yet.
Apply exterior wood primer over the repair and the surrounding bare wood. Let dry fully before topcoating. A quality primer seals the epoxy and creates uniform paint adhesion across both the old and new surfaces.
Painting And Sealing
Use exterior-grade paint with moisture resistance. Apply two coats, letting each dry fully between coats. After painting, seal all seams and edges where the repair meets original wood using paintable exterior caulk — this is the step most DIYers skip, and it’s the reason repairs fail within a year.
Preventing Future Rot
- Inspect door frames every spring — catch soft spots before they spread.
- Keep paint and caulk intact — bare or cracked wood absorbs moisture within weeks.
- Ensure proper drainage around the door threshold — ground sloping toward the door accelerates bottom rot.
- Install or replace the drip cap above the door frame if missing.
- Add a door sweep to keep rain from pooling at the base.
Frequently Asked Questions
How do you fix wood rot in a door frame?
Remove all rotted wood until you reach firm material. Apply wood hardener and let it soak in for 1–2 hours. Mix and press in two-part epoxy filler, shape to the frame profile, and let cure 4–6 hours. Sand smooth, prime, and paint with exterior-grade paint.
Can you fix rotted wood without replacing the frame?
Yes — if at least 50% of the wood is structurally sound. Wood hardener consolidates remaining fibers; epoxy filler rebuilds the missing material. If the rot has gone through the full cross-section of the frame, cut out that section and splice in new lumber instead.
What is the best filler for a rotted door frame?
Two-part epoxy filler (such as DAP Plastic Wood Rot Repair or Minwax High Performance Wood Filler) is best for exterior door frames. It’s waterproof, doesn’t shrink, and bonds permanently. Avoid latex or water-based fillers outdoors — they fail in freeze-thaw conditions.
How do you repair a door frame rotting at the bottom?
For surface rot under ½ inch deep: remove, harden, and fill with epoxy. For through-rot at the bottom section: cut out the damaged area with a circular saw and splice in pressure-treated lumber. After any bottom repair, add a door sweep and seal all edges with exterior caulk.
How do you fix dry rot on a door frame?
Dry rot (caused by the fungus Serpula lacrymans) requires more aggressive removal than wet rot — it can spread through wood that looks intact. Remove at least 1 inch beyond the last visible damage. Treat all surrounding wood with a borate-based wood preservative before applying hardener and filler. Then repair as normal.
How long does a door frame rot repair last?
A properly done epoxy repair lasts 10–20 years or longer — epoxy doesn’t rot, shrink, or absorb moisture. The repair fails only if paint or caulk is left to crack and water re-enters the wood around the repair. Inspect and re-caulk seams every 2–3 years.
Conclusion
Repairing a rotted wooden door frame costs $30–$60 in materials and takes one day including cure time — far cheaper than full frame replacement. The key steps are total rot removal, full wood hardener saturation, and proper two-part epoxy fill. For exterior frames and bottom rot, seal all edges after painting and address the drainage cause to prevent the same rot returning next season. For a similar repair on posts and structural wood, see our guide on repairing a rotting wood post without replacing it.