How Much Wood to Buy? Deck Wood Calculation Guide
Figuring out How Much Wood Do I Need for My Deck? can feel tricky when you’re just starting out. It’s a common question, and getting the right answer helps you avoid wasting money or ending up with a deck that’s not quite right. Don’t worry, though! This guide will break down the process into easy-to-follow steps. We’ll explore the basics of deck planning, from measuring your space to estimating lumber quantities. Get ready to build a fantastic deck with confidence!
Planning Your Deck Project: Getting Started
Before you even think about picking out wood, you need a plan. This includes deciding the deck’s size, shape, and height. A well-thought-out plan will save you a lot of headaches later. It’s like having a map before you start a road trip; it helps you reach your destination without getting lost. Careful planning also helps you stick to your budget and avoid unnecessary waste. You will explore critical elements before jumping into calculations.
Deck Design Elements to Consider
Your deck’s design has several elements that impact how much wood you’ll need. These choices influence the structural integrity and aesthetics. A rectangular deck is easier to build than one with curves, which demands specialized cuts and waste. Similarly, the height determines post lengths and railing needs. Carefully consider all these factors before purchasing materials.
- Shape: Rectangular or square decks require less material planning than designs with angles, curves, or multi-level features. These complex shapes can lead to more cuts, waste, and, therefore, higher material costs.
- Size: The overall dimensions (length and width) are the primary drivers of lumber needs. Calculate the total square footage to get a base for wood calculations. This means multiplying the length by the width of the deck.
- Height: The deck’s height from the ground dictates the length of support posts, the amount of material required for railings, and potential need for stairs. Higher decks usually need more posts and longer lumber.
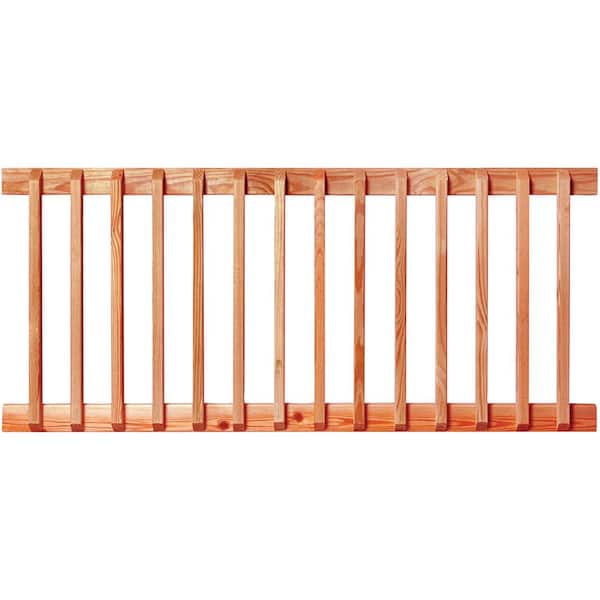
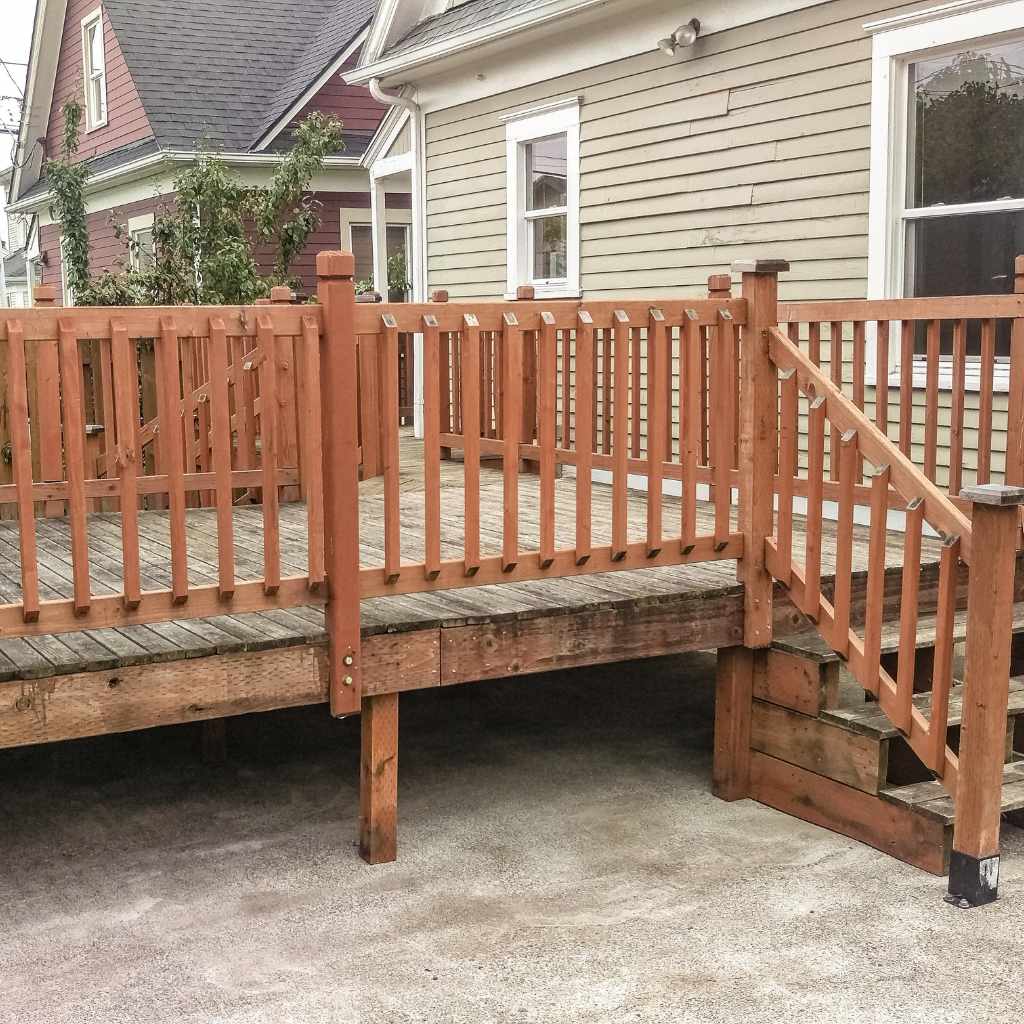
- Railing: The style and length of railings will dictate how much lumber you need. Consider standard rails, decorative balusters, or other design choices, as they all affect material quantity and, as a consequence, your budget.
Consider the total area your deck will cover. A bigger deck means you will need more wood. However, you can make these calculations easier by breaking the project into smaller sections. If you plan a multi-level deck, figure out the dimensions of each level individually. Once you have the dimensions, you can move onto the next step.
Building Codes and Permits
Before you start any construction, check local building codes. Your city or county might require permits for decks, ensuring it meets safety standards. These regulations dictate structural requirements like post spacing, ledger board attachments, and guardrail heights. Ignoring these rules could result in fines, project delays, or needing to rebuild part of the deck.
Building codes vary from place to place. Codes are usually created to prevent accidents and ensure long-term durability. Permits can be obtained from your local building department. The permit process usually involves submitting plans and specifications. In some regions, inspections will occur during and after the construction to make sure the work meets the code.
- Safety: Building codes are in place to ensure your deck is safe. Requirements often cover aspects like the spacing of deck boards and the strength of the guardrails.
- Permitting Process: Permits usually mean you provide detailed plans to your local building department, including dimensions, materials, and construction methods. The goal is to make sure your deck meets safety regulations.
- Inspections: Building inspectors will check the project at various stages of construction. These inspections help catch any mistakes early on and guarantee that the deck meets local standards.
- Staying Legal: Getting the required permits and following building codes is essential. Failure to do so can result in hefty fines, project delays, or the requirement to rebuild.
Calculating Lumber Requirements for Your Deck
Once you’ve planned your deck and taken care of any permits, it’s time to start calculating the wood needed. This involves measuring, understanding lumber dimensions, and accounting for waste. By carefully performing these calculations, you can get an accurate material list and save yourself from running short or buying too much.
Measuring Your Deck Area
The first step in calculating lumber is to measure the area. Accurate measurements are the foundation of your material estimation. This includes the deck’s overall dimensions and any features like steps or built-in benches. Using these measurements allows you to determine how much wood is required for the deck boards, frame, and other components.
- Measure the Length and Width: Use a measuring tape to find the deck’s length and width, measuring from outside edge to outside edge. Make sure your measurements are in feet and inches (or meters).
- Calculate the Total Area: Multiply the length by the width to find the total square footage of your deck. If your deck is rectangular, this is a straightforward calculation.
- Account for Irregular Shapes: If the deck has an unusual shape, break it down into simpler geometric forms. For instance, you could separate an L-shaped deck into two rectangles. Calculate the area of each section separately and then add them together.
- Measure Stairs and Railings: Also, consider the area covered by any stairs or built-in elements such as benches. Stairs will require additional calculations. Railings require accurate measurements of their total linear footage and height.
Make a drawing of your deck, including all these measurements. This visual plan will be helpful as you move forward. Double-check all measurements to make sure you are accurate. Remember, precise measurements will result in a more accurate wood estimate.
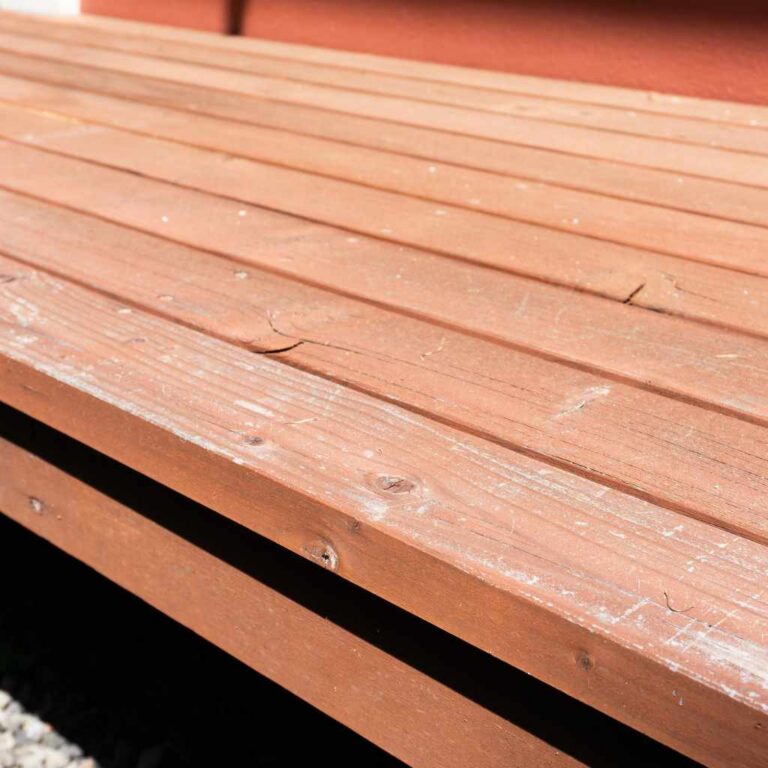
Estimating Lumber for Decking Boards
Decking boards are the surface you walk on. Calculating the amount needed depends on the board width, the spacing between boards, and the total deck area. Proper calculations prevent gaps that are too big or too small. This section will guide you through the process of calculating the decking lumber required to complete the project.
- Board Width and Spacing: Decide on the width of your decking boards (e.g., 5/4×6, 2×6). Also, pick the amount of space you will put between the boards (usually 1/8 to 1/4 inch).
- Board Coverage: Find out the actual coverage of a single board. A 2×6 board might be 5.5 inches wide, which means each board covers that much width. Take the spacing between boards into account.
- Calculate Boards Needed: Divide the deck’s total width by the board’s coverage width. Multiply this result by the deck’s length to find the total linear feet of decking needed.
- Account for Waste: Add around 5-10% to account for waste. When cutting the boards to fit, some material gets discarded. This extra lumber makes sure you have enough to finish the project.
Let’s use an example to illustrate the process. Imagine a deck is 12 feet long and 10 feet wide and uses 2×6 boards with a 1/8-inch spacing. Each 2×6 covers approximately 5.5 inches of space. To calculate, you would first figure out how many boards are needed along the 10-foot width (approximately 21 boards). Multiply that by the 12-foot length of the deck to get 252 linear feet of decking needed. Add extra for waste to the figure. These steps will ensure an accurate estimate.
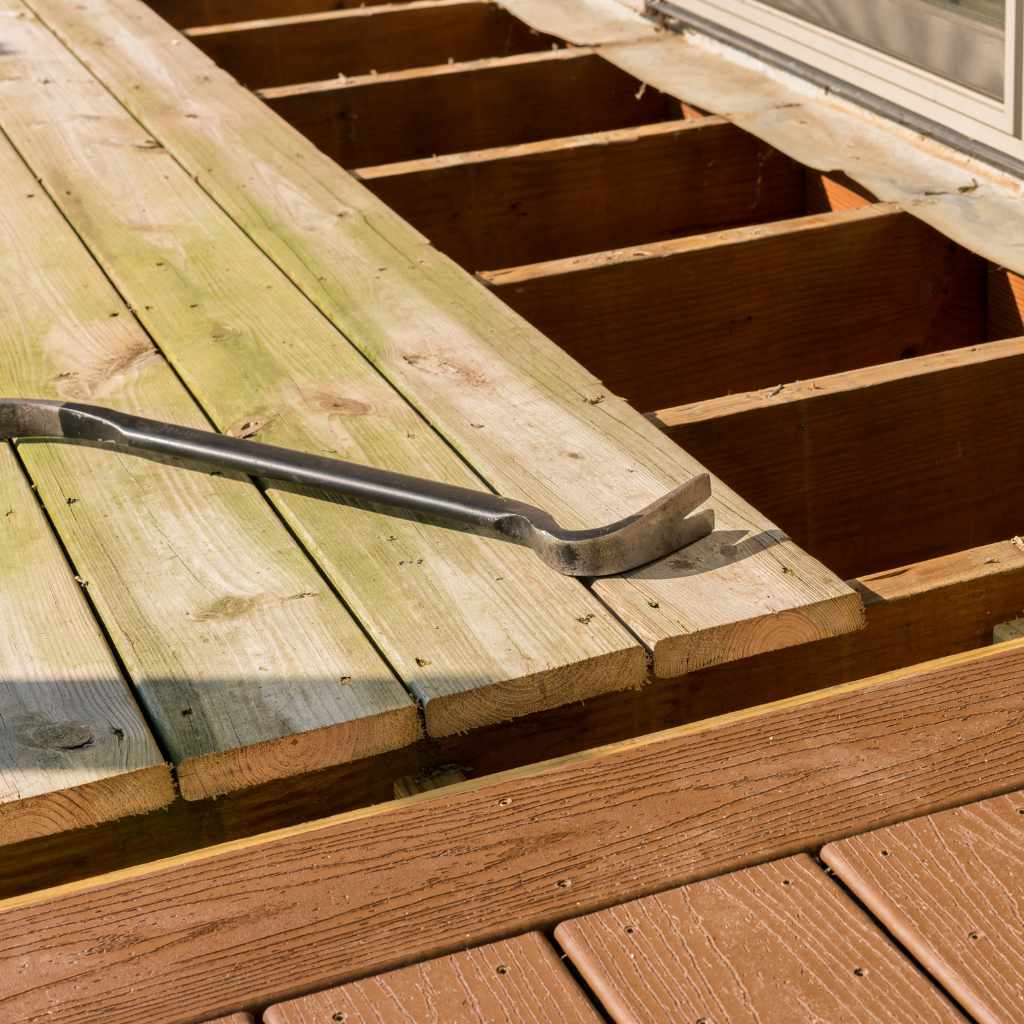
Estimating Lumber for Framing and Support
The deck’s frame and support structure are essential for the overall strength. This framework includes the joists, beams, and posts. Accurate calculations for these elements are crucial to guarantee that your deck can safely bear the weight of people, furniture, and any other items you plan to have on your deck. This process demands a different approach than calculating decking materials.
- Joist Spacing and Span: The distance between the joists is usually determined by the decking material used and local building codes. You will need the distance the joists span to choose the right lumber size.
- Beam Calculations: Beams are horizontal members that support the joists. Their size depends on the joist span, the load the deck needs to support, and the spacing. Review local guidelines to figure out the right dimensions.
- Post Placement and Height: The posts are the vertical supports for the deck, determining the deck’s height and structural integrity. The height of the posts depends on the height of your deck. Post spacing is dictated by load requirements and local codes.
- Material Calculations: Based on the spacing and dimensions of each part, calculate the total length of lumber required for joists, beams, and posts. Be sure to consider the number of pieces required for each component.
For example, to calculate the amount of wood needed for joists, you’ll need the total deck width and the spacing between each joist. You would estimate the lumber needed by multiplying the total length required by the number of joists you need. To figure out the amount of lumber needed for beams, consider the total length of each beam. Finally, determine the number of posts based on how many you need to support the beams and comply with building codes. Always add waste for cutting. These methods will help ensure the deck’s frame has all the support it needs.
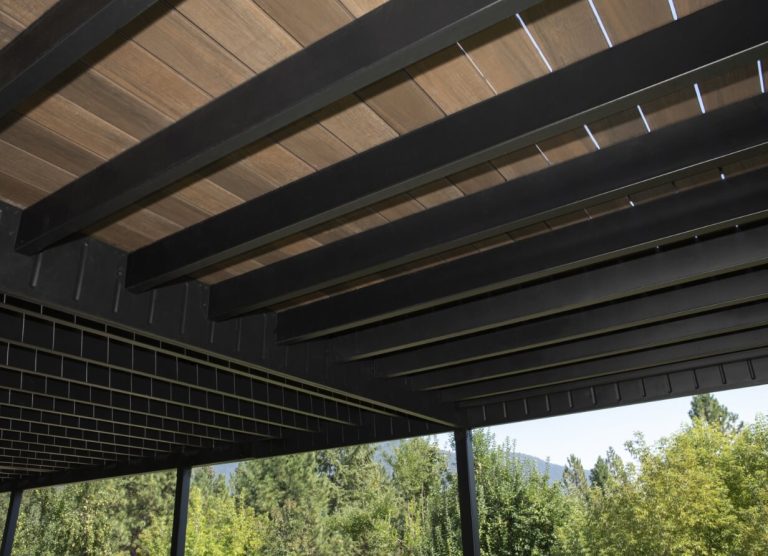
Choosing the Right Wood for Your Deck
Selecting the right wood is important for the deck’s lifespan and aesthetics. Different types of wood have different properties, such as resistance to weather, durability, and cost. Exploring wood types will assist you in making the right choices for your project. You will review common woods and the factors that influence which is best.
Common Decking Wood Options
Several wood species are popular for decks. They have different properties, like durability and look. The best option depends on your climate, budget, and aesthetic preferences. Each type of wood has its advantages and disadvantages. This information helps in making informed decisions for your deck.
- Pressure-Treated Lumber: This is a very common choice for framing and decking. It is treated with chemicals to resist rot, decay, and insect damage. It is budget-friendly. However, it can be prone to warping and requires regular maintenance.
- Redwood and Cedar: These softwoods are naturally resistant to rot and insects. They offer a beautiful, warm appearance. They are often more expensive than pressure-treated wood. They can require more maintenance to maintain their appearance over time.
- Composite Decking: Made from a mix of wood fibers and plastic, composite decking is designed to be low-maintenance. It resists fading, staining, and insect damage. It is usually more expensive than wood options, but does not need to be stained or sealed.
- Tropical Hardwoods (Ipe, Tigerwood): These woods are incredibly durable and weather-resistant. They have a rich look and can last for many years. They are more expensive than other options and can be harder to work with.
Pressure-treated wood is great for the deck’s frame due to its affordability and resistance to rot. Redwood and cedar are good choices for decking if you like a natural look. Composite decking is ideal if you want low maintenance. Tropical hardwoods can be a great option for a long-lasting and beautiful deck. Review the pros and cons of each type before making a decision.
Understanding Wood Grades and Treatment
Wood grades affect the wood’s quality and appearance. Wood treatment provides the wood with durability against the weather and pests. Grasping these factors allows you to choose materials that will meet your performance goals and aesthetic preferences. This is important for deck longevity.
- Wood Grades: Wood grades are determined by factors like knots, straightness, and appearance. Higher grades have fewer knots. These grades look better and have a more uniform appearance. Lower grades are usually more affordable.
- Pressure Treatment: Pressure-treated lumber is graded based on the level of protection it provides. The level of treatment depends on the ground contact and local climate conditions. The more protection, the longer the wood lasts.
- Treatment Types: Look for wood treated with appropriate preservatives. ACQ (Ammoniacal Copper Quaternary) is a standard treatment option for decks. Be aware of the specific chemicals used.
- Selecting the Right Grade: Select wood grades based on your needs. For visible areas like decking, you may want to spend more for a higher grade with fewer knots. For framing, you may opt for a lower grade to reduce costs.
The grade of the wood will affect its appearance and how well it holds up over time. Make sure you use the appropriate wood treatment methods for your location. This will help protect the wood from the weather, pests, and rot. When picking out your wood, think about where the wood will be used. This will help you select the right wood for your project.
Taking Measurements and Minimizing Waste
Accurate measurements and cutting techniques will limit material waste. Taking the time to plan your cuts and avoid mistakes will save money and resources. This section gives essential techniques and ideas to help with lumber measurements.
Accurate Measurement Techniques
Accurate measurements are the foundation of a successful deck building project. Proper measuring prevents waste and ensures everything fits together correctly. Proper measurements are more important than any other step when planning your deck build. This is how to get the correct measurements.
- Use a High-Quality Measuring Tape: Get a good measuring tape that is easy to read. A tape that locks and retracts smoothly helps ensure precision. Measure from the same point each time.
- Double-Check Your Measurements: Always measure twice before you cut. A second measurement prevents mistakes. Always write down your measurements clearly and keep a detailed plan.
- Account for Kerf: The kerf is the width of the cut made by the saw blade. This small detail can affect the fit of your pieces. Make small adjustments in your measurements to account for this.
- Use a Speed Square and Framing Square: These tools help you ensure square corners and accurate angles. A speed square is great for marking angles and making straight cuts. A framing square is ideal for checking that corners are square.
When measuring, make sure the tape measure is straight and taut. Record all your measurements clearly. Always double-check each measurement before cutting. These habits will improve the accuracy of your measurements and lower the risk of mistakes.
Tips for Minimizing Material Waste
Reducing material waste helps keep costs down and is better for the environment. You can minimize waste by planning cuts carefully and using every part of a piece of wood. Following these tips will improve material usage.
- Plan Your Cuts: Before you begin cutting, map out your cuts on paper. Think about the order you will make cuts in to maximize material usage.
- Use a Circular Saw or Miter Saw: A circular saw is helpful for making straight cuts on large pieces. A miter saw is great for crosscuts and angle cuts. Having the right tools can save time and reduce waste.
- Make Use of Scrap Pieces: Save any scraps and use them for smaller tasks, such as blocking or reinforcing joints.
- Order Extra Material: Always order a little extra material to allow for mistakes and waste. Add 5–10% extra for decking and framing to avoid running short.
When you have a plan, you can avoid mistakes that lead to wasted materials. Using the right cutting tools can also make a big difference. Plan ahead and think about how you will use each piece of wood. These ideas will help you to lower waste and improve the economy and efficiency of your building process.
Putting It All Together: A Step-by-Step Example
Now, let’s put it all together to calculate the lumber requirements for a sample deck project. This section gives a detailed, step-by-step example. These calculations will show you how to apply the information you’ve learned. The step-by-step example should help you better understand the overall procedure.
Scenario: Building a 12′ x 16′ Deck
Let’s create a 12′ x 16′ deck, with a standard height of 3 feet off the ground. The deck uses 2×6 decking boards with a 1/4-inch spacing. The joists are placed 16 inches on center (OC). This information will allow us to estimate the materials you need for the project.
- Determine Decking Area: Multiply the deck’s length by its width: 12 feet * 16 feet = 192 square feet.
- Calculate Decking Board Coverage: Use the 2×6 decking board, which covers 5.5 inches (the actual width after accounting for the nominal dimension and the kerf). Each board is 5.5/12 = 0.458 feet wide.
- Estimate Decking Boards Needed: To estimate the number of boards, divide the deck’s width by the effective coverage of the board, considering the spacing. (16 ft / 0.48 ft) = 33.33 boards. You will require approximately 34 boards to account for the width. Multiply that by the deck length to determine the amount of board feet you need (34 boards * 12 ft = 408 linear feet).
- Joist Calculations: The joists are placed 16 inches on center (OC), so you will need 13 joists for the 12-foot span. 12 feet * 12 inches per foot = 144 inches, divided by 16 inches on center = 9. You need 10 spaces and 11 joists to frame the deck. You will need to order enough 2×6 lumber for the length of the deck to build the joists.
- Beam Calculations: Determine the number of beams you need. Assume you use two beams, spaced evenly under the deck. Each beam will span 16 feet (the deck’s width), and you will need 32 feet of lumber for the beams.
- Post Calculations: Posts are usually placed every 8 feet. Assume that you’ll need four posts. You will have to calculate the length of your posts, which will depend on the height of your deck.
- Account for Waste: Increase each lumber measurement by 10%.
This example simplifies the process, but shows the basics. Using this method, you can calculate the quantities of wood for a more complex project. Remember to adjust these calculations to fit the specific features of your deck design. This method provides the tools you need to do the calculations yourself.
Creating a Material List
Creating a materials list is essential before going to the lumberyard. An organized list ensures you have everything needed to complete the project without delays. This also helps with staying within your budget. This section will guide you to create a complete list.
- List All Materials: Detail all materials you need, including decking boards, joists, beams, posts, railings, and hardware. Don’t forget items like screws, nails, and any other connectors needed to build your deck.
- Specify Dimensions and Quantities: Indicate the size, grade, and amount of each piece of lumber you require. Use the calculations you have made. Add the measurements for railings, stairs, and other deck features.
- Include Hardware and Fasteners: Itemize all hardware like screws, nails, brackets, and any other items you require to assemble the deck. Use recommended fasteners for your project to ensure structural safety.
- Account for Extras: It’s always a good idea to buy a little extra material to allow for cutting mistakes and waste. Add 5-10% to the quantities to cover for mistakes.
A well-made material list will act as a checklist as you prepare your project. It will also help you budget properly and avoid any last-minute trips to the store. This detailed list will make sure your deck build goes smoothly. Keep your material list with you when buying materials.
Frequently Asked Questions
Question: How do I know the correct spacing for deck boards?
Answer: Board spacing depends on the wood type and climate. For most decking materials, a 1/8-inch to 1/4-inch gap is recommended to allow for wood expansion and contraction. Always consult manufacturer guidelines for specific recommendations.
Question: Can I use different wood types on the same deck?
Answer: Yes, you can. Many decks combine different wood types or use composite materials for decking and pressure-treated lumber for the framing. Make sure the materials are compatible in terms of treatment, lifespan, and maintenance requirements.
Question: How much extra wood should I order for waste?
Answer: It’s a good idea to order 5–10% extra material for both decking and framing. This accounts for cutting waste, mistakes, and any damaged boards. The percentage can vary depending on the complexity of your deck design.
Question: What is the best way to estimate the number of posts needed for a deck?
Answer: Post placement depends on your deck design, span, and local building codes. Consult local regulations and a structural engineer if needed. A rule of thumb is to place posts no more than 8 feet apart, supporting the beams adequately.
Question: What do I need to calculate for stairs?
Answer: For stairs, you will need to determine the rise and run of each step. The rise is the height, and the run is the depth. You will need to calculate the total vertical height from the ground to the deck surface. Then, divide it by the desired rise per step. Use the run for the overall stair length.
Final Thoughts
Calculating How Much Wood Do I Need for My Deck? doesn’t have to be a confusing task. By starting with a clear deck plan, using the right measurements, and choosing the right wood, you can make an accurate estimate. Remember to consider all the key parts: area, board spacing, and waste. Take the time to create a detailed materials list to ensure you have what you need before you start building. Understanding the materials and design is the first step toward a successful build.
Now, use what you’ve learned. Review your deck plans, grab your measuring tape, and start calculating the wood you need. With careful preparation, you can confidently build a deck. Enjoy the process of creating your perfect outdoor space!