How To Curve Molding: 3 Real Methods (Kerf-Cutting, Flexible, Steam)
The fastest real way to curve molding is kerf-cutting – cutting a series of shallow saw slots into the back of a stiff, straight piece of molding so it bends smoothly around a curve. Steam-bending and heat-softening solid wood both work too, but each method fits a different situation: how tight the curve is, whether the molding is paint-grade or stain-grade, and how much time you actually have. This guide covers all three, with the actual numbers – kerf spacing, bend radius, heat settings – that most guides skip.
Pick Your Method: Kerf-Cutting, Flexible Molding, Or Steam-Bending
Best Heat Gun For Bending Molding
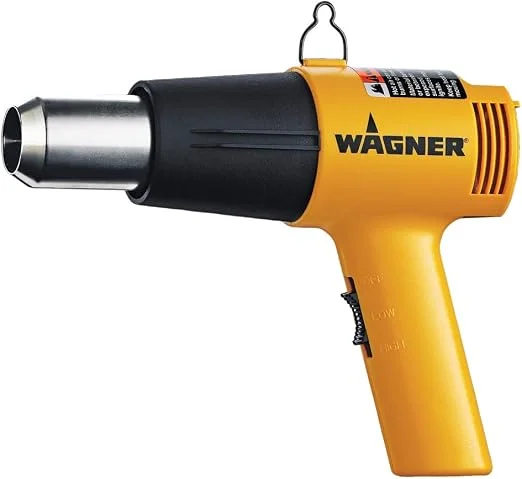 |
Wagner Spraytech HT1000 Dual-Temperature Heat Gun – $24.99 Both softening PVC/resin flexible molding and easing kiln-dried solid wood need controlled, even heat – this dual-setting gun (750°F/1000°F) is sized right for molding work without scorching the material.
|
Three real approaches exist, and picking the wrong one for your curve is the most common way this project goes badly:
- Kerf-cutting – you cut most of the way through the back of a solid or MDF molding in a repeating pattern, which lets the board flex like a hinge. Works on almost any profile you already own, paint-grade only (the kerfs show on close inspection, so this is a paint-and-caulk finish, not stain-grade).
- Flexible/bendable molding – a purpose-made PVC or flexible-resin molding profile that ships pre-flexible, no cutting or heating required. Costs 2–4x more per foot than standard wood molding, but it is the most reliable option for a tight radius (under 24″) and it takes paint well.
- Steam or heat-bending solid wood – softening the wood fibers with moisture and heat so a thin, straight strip bends and holds its new shape as it dries. This is the only method that gives you real solid-wood grain for a stain-grade curve, but it is the slowest and least forgiving of the three.
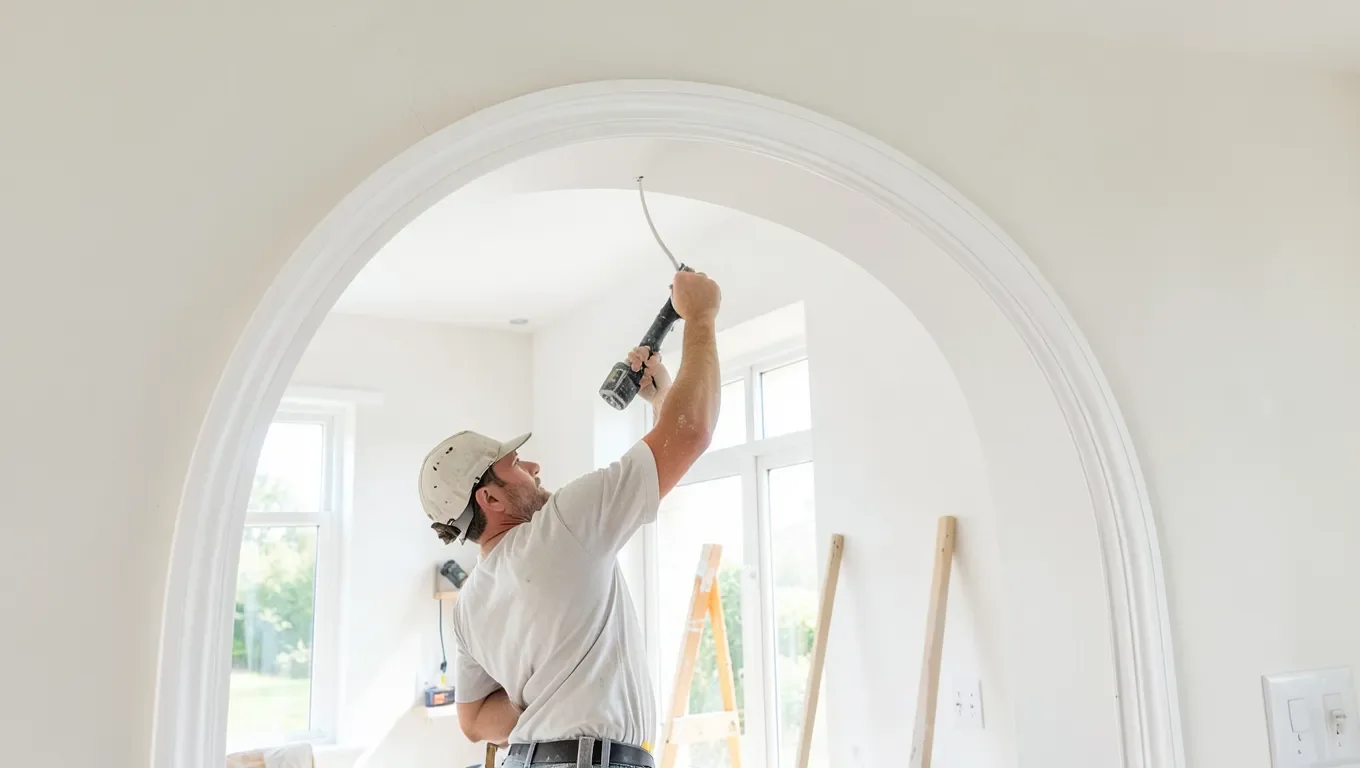
For a curve tighter than about a 3-foot radius (a typical archway), kerf-cutting or flexible molding will get you there faster and more reliably than trying to steam-bend solid stock that thin.
Method 1: Kerf-Cutting (Fastest For Paint-Grade Curves)
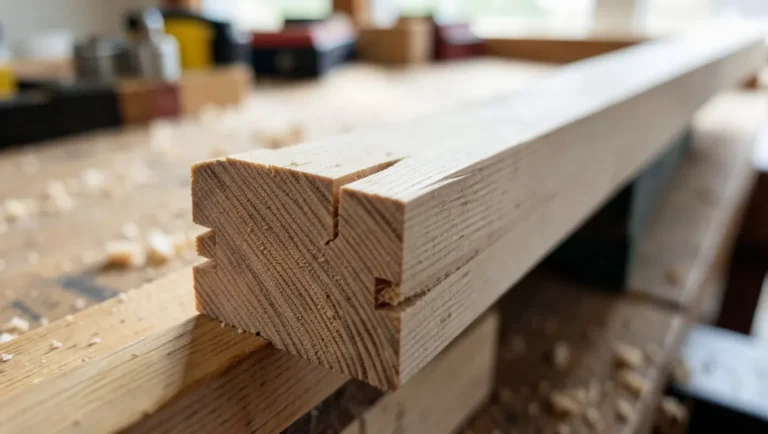
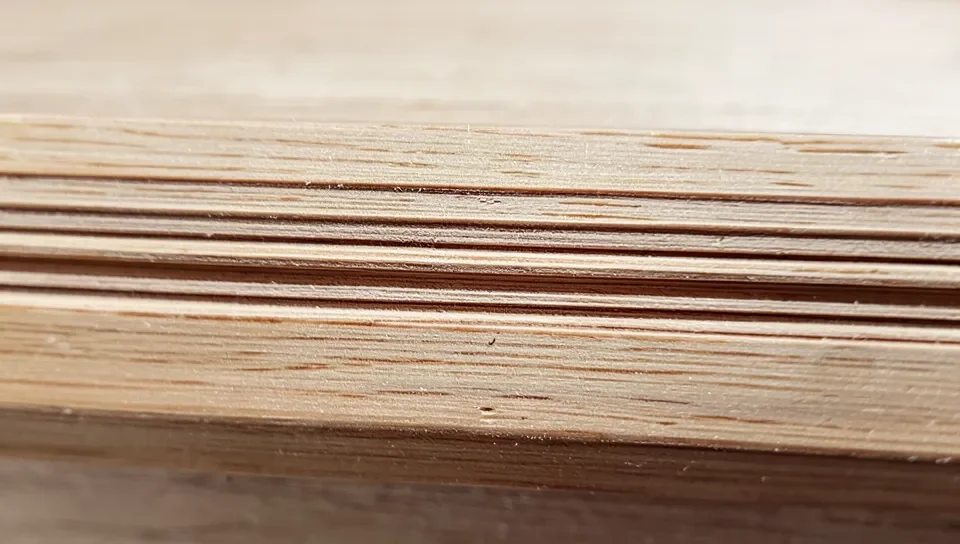
Kerf-cutting turns a rigid board into a hinge by removing most – not all – of its thickness at regular intervals along the back face.
- Set a table saw or circular saw blade depth to roughly two-thirds of the molding’s thickness (a 3/4″ thick molding gets kerfs about 1/2″ deep).
- Space the kerf cuts closer together for a tighter curve and farther apart for a gentler one: about 1/2″ apart for a radius under 12″, up to 1″ apart for a radius of 24″ or more.
- Cut kerfs across the full width of the back face, perpendicular to the length, using a stop block so every cut lands at the same spacing.
- Test-bend a scrap offcut first with your actual spacing before committing to the full-length piece – if it cracks at the kerf line instead of flexing, your spacing is too wide for that radius.
- Once bent to shape, back the kerfed section with a thin layer of wood filler or flexible caulk before priming, since the open kerf gaps will telegraph through paint otherwise.
Method 2: Flexible Molding (No Cutting, No Heat)
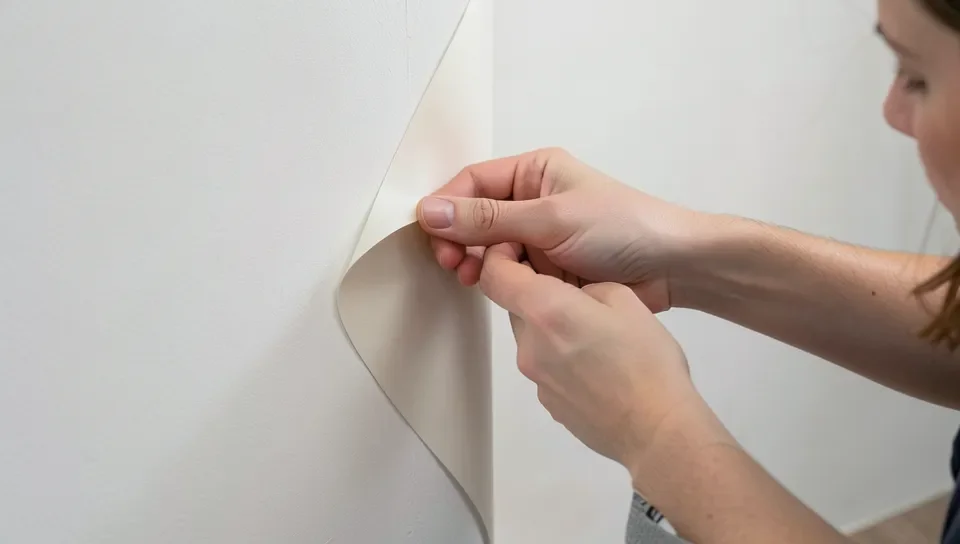
Flexible molding is manufactured from PVC or a flexible polymer resin specifically so it ships pre-bendable straight out of the box – you unroll or unbend it by hand and tack it into the curve, no kerfing or heat-softening step at all. It costs more per linear foot than standard wood or MDF trim, but for a tight radius it removes the single biggest failure point in this whole project: a kerf or steam-bend cracking partway through installation. It also takes primer and paint exactly like standard trim once installed, so it blends in seamlessly on a painted curve.
Method 3: Steam Or Heat-Bending Solid Wood
This is the method for a stain-grade curve where you need real wood grain, not a painted finish. It works because moisture and heat temporarily soften the lignin holding wood fibers together, letting a thin strip flex without snapping; as it dries and cools in the bent position, the lignin re-hardens and locks in the new shape.
Steam-Bending
- Rip the molding into thin strips – generally under 1/4″ thick for anything but the gentlest curve. A full-thickness molding profile will not steam-bend without cracking.
- Steam the strip for roughly 1 hour per inch of thickness using a steam box or a wallpaper steamer directed into a wrapped length of PVC pipe.
- Bend the hot strip around a form or jig immediately after steaming and clamp it in place until fully cool and dry, which can take 24 hours or more.
Heat-Gun Bending
- Best for thin strips or flexible molding that needs a little extra softening, not full-thickness solid stock.
- Keep the heat gun moving constantly a few inches from the surface – holding it in one spot scorches the wood or, on PVC-based flexible molding, can blister the surface.
- Bend gradually as the material warms, and hold the curve in place with clamps or a form until it cools back to room temperature.
A common myth is that hardwoods like oak and ash can’t be bent at all – in reality, thin strips of straight-grained oak and ash are the classic steam-bending species (used for boat ribs and chair backs for centuries) precisely because their long, straight fibers flex well when thin and properly steamed. The wood that actually resists bending is a board with a lot of runout or knots in the grain, regardless of species.
Which Method Fits Which Curve
| Method | Best Radius | Finish | Relative Cost | Skill Level |
|---|---|---|---|---|
| Kerf-cutting | 12″–36″+ | Paint-grade only | Low (uses existing molding) | Beginner–intermediate |
| Flexible molding | Under 24″ (tightest curves) | Paint-grade | Highest (2–4x per foot) | Beginner |
| Steam-bending | 24″+ (gentle curves) | Stain-grade (real wood) | Low material, high time cost | Advanced |
Common Mistakes That Ruin A Curved Molding Job
- Spacing kerf cuts too far apart for the radius – the board cracks at one kerf line under the bending stress instead of flexing evenly across all of them.
- Skipping the test-bend on scrap – the first time you find out your spacing or heat setting is wrong should never be on the full-length piece.
- Rushing the cooling/drying time – releasing clamps before a steam-bent or heat-bent piece is fully cool lets it spring back toward straight.
- Using a single-temperature heat source on flexible resin molding – too much heat blisters the surface; a dual-setting gun on its lower setting is safer for a first pass.
Frequently Asked Questions
What’s The Easiest Way To Curve Molding For A Beginner?
Flexible molding is the easiest option for a beginner because it needs no cutting, heating, or steaming – you bend it into place by hand and it takes paint just like standard trim. Kerf-cutting is the next easiest if you already own standard molding and don’t want to buy a flexible profile.
Can Solid Wood Molding Be Curved Without Steam?
Yes, thin strips of solid wood can be bent with a heat gun alone if the curve is gentle and the strip is thin (under 1/4″). For a tighter curve or a thicker profile, steam is what actually softens the wood enough to bend without cracking.
How Far Apart Should Kerf Cuts Be Spaced?
Space kerf cuts about 1/2″ apart for a tight radius under 12″, and up to 1″ apart for a gentler radius of 24″ or more. Always test the spacing on a scrap piece before cutting the final board.
Does Kerf-Cutting Work On Stain-Grade Molding?
No. Kerf-cutting leaves visible saw slots on the back of the board that need to be filled and painted, so it’s a paint-grade technique only. For a stain-grade curve where the wood grain has to show, steam-bending solid wood is the method to use instead.
Conclusion
Match the method to the job: kerf-cutting for a quick paint-grade curve from molding you already have, flexible molding when the radius is tight and you want zero cutting or heating risk, and steam-bending only when the project genuinely needs real wood grain on a stain-grade curve. Test your spacing or heat setting on scrap first every time – that one step is what separates a clean curve from a cracked, wasted piece of trim.
Sponsored / affiliate links. As an Amazon Associate I earn from qualifying purchases. I may earn additional commission from eligible campaigns.