How to Install a Blade on a Circular Saw (Arbor Nut Direction Explained)
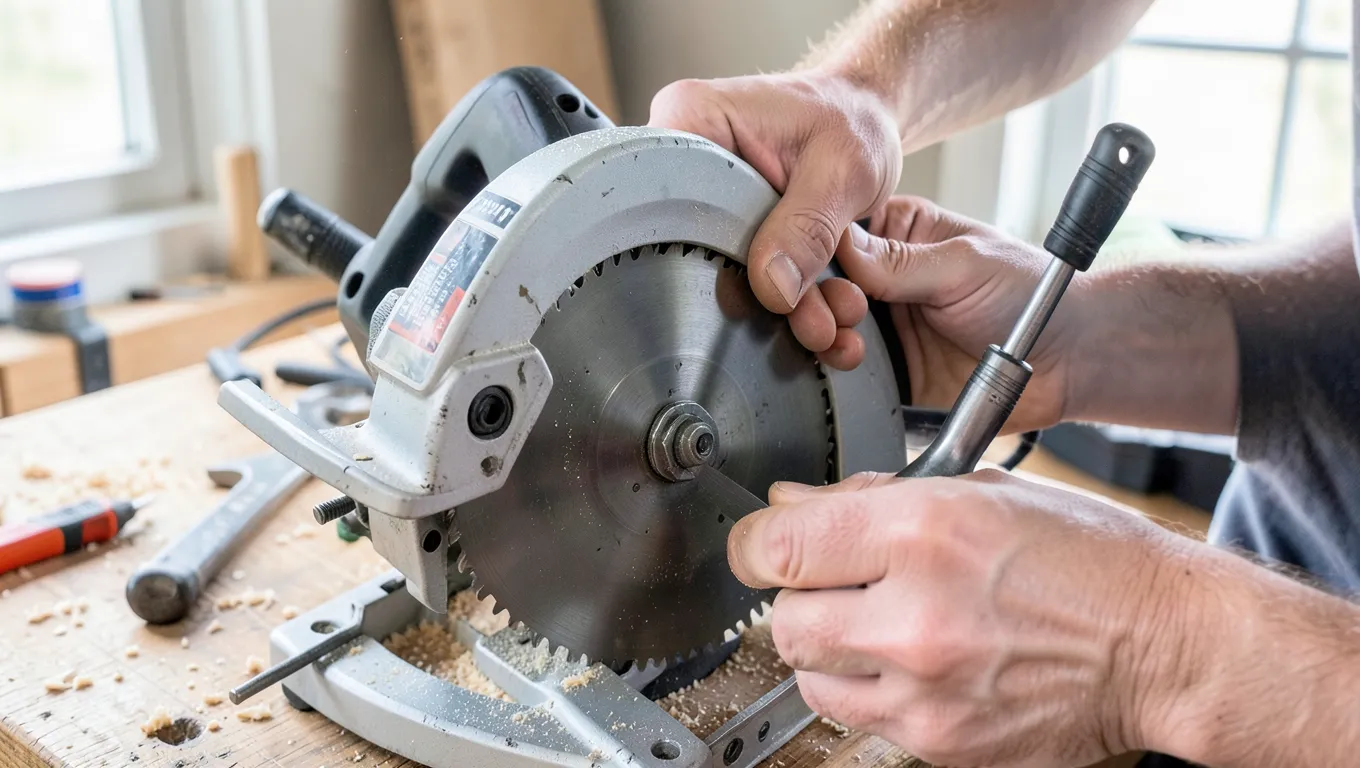
Unplug the saw, engage the spindle lock, and loosen the arbor nut – on most circular saws that means turning the wrench the same direction the blade spins during a cut, not the direction you’d expect from ordinary “righty-tighty” logic. That reversed threading is deliberate: it’s a safety feature so the blade’s own rotational force tightens the nut further instead of loosening it while you’re cutting.
Why the Arbor Nut Direction Trips People Up
Best Replacement Framing Blade
 |
Diablo D0724X 7-1/4″ 24-Tooth Framing Blade – $14.03 The standard-size blade this guide’s install steps apply to directly – fits the vast majority of full-size circular saws.
|
Manufacturers thread the arbor nut so that normal cutting rotation can never work it loose – if a saw’s blade spins counterclockwise (as seen from the blade side, which is typical on a right-bladed sidewinder saw), the nut is threaded so you tighten it clockwise and loosen it counterclockwise, meaning you loosen by turning the wrench the same way the blade normally rotates. Left-bladed saws and worm-drive saws can differ. Rather than trying to reason this out from scratch every time, look for the small arrow stamped directly on the blade guard or arbor washer – most saws mark the loosening direction right on the housing, and that stamped arrow is more reliable than any general rule, including this one.
Remove the Old Blade
- Unplug the saw or remove the battery. Don’t skip this for “just a quick check” – a saw that powers on unexpectedly during a blade change is a serious injury risk.
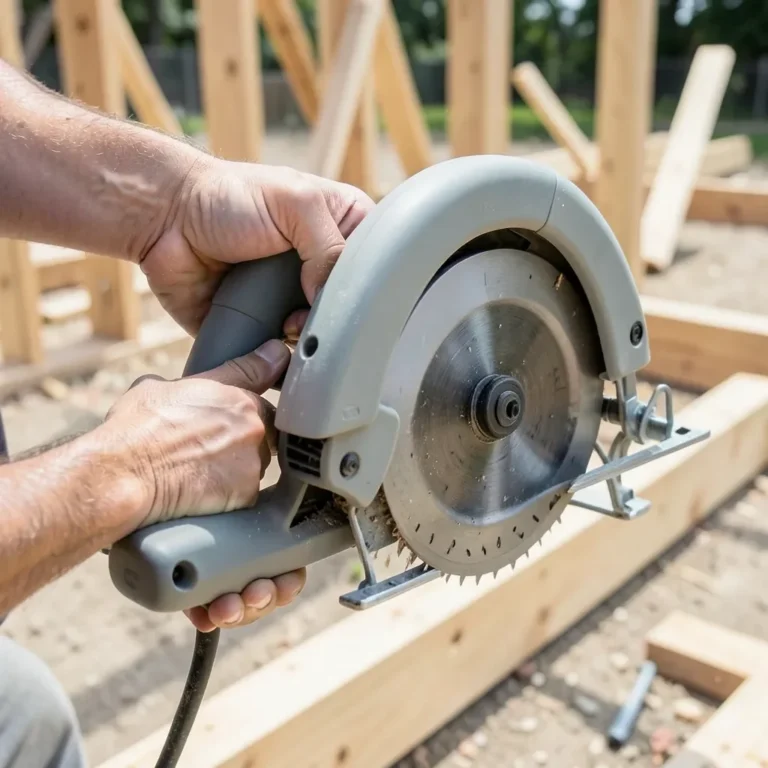
- Engage the spindle lock button, usually located near the blade housing, to keep the arbor from spinning while you work the wrench.
- Fit the blade wrench onto the arbor nut and turn it in the loosening direction (check the stamped arrow on the housing if your saw has one).
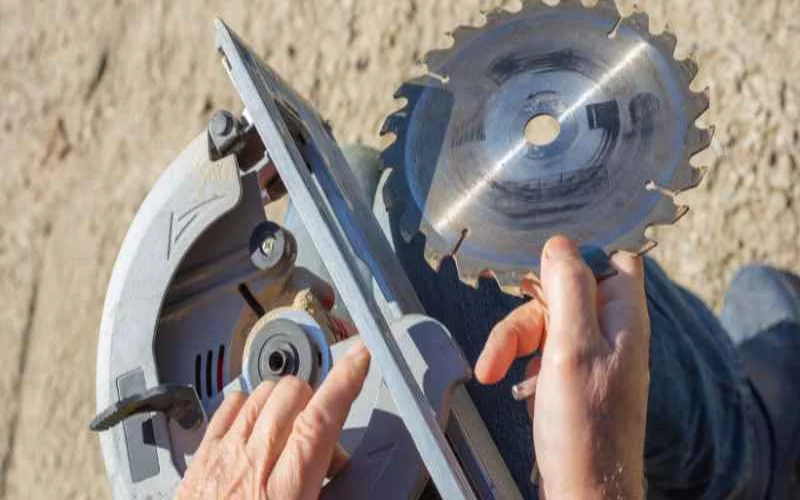
- Remove the nut and the outer blade washer, then lift the old blade off the arbor pin.
Inspect and Prep the New Blade
Before installing anything, wipe both blade washers clean of built-up resin and sawdust – a washer with debris trapped under it won’t seat flat against the blade, and a blade that isn’t seated flat wobbles slightly even when the nut is fully tight. Check the new blade for cracked or missing teeth, a warped plate, or a widened arbor hole from a previous mismatch; any of those is a reason to use a different blade, not just cut carefully around it.
Install the New Blade Correctly
Every blade has a rotation arrow stamped on its plate. That arrow needs to point the same direction as the rotation arrow on the saw’s blade guard – install it backward and the teeth will be dragging through the cut rather than slicing into it, which produces burning, poor cuts, and real kickback risk rather than a clean result. Slide the blade onto the arbor pin, replace the outer washer in its original orientation, and thread the arbor nut back on by hand before reaching for the wrench.
With the spindle lock engaged again, tighten the nut firmly in the tightening direction – snug and secure, not maximum force, since overtightening can warp thin washers or make the nut difficult to remove next time. A blade that doesn’t spin freely by hand before you’ve applied full torque usually means something isn’t seated correctly; back off and check the washers and blade orientation again rather than forcing it.
Test Before You Cut Anything Real
Plug the saw back in, aim it away from yourself and anyone else, and give it a brief test run with no material in contact with the blade. Listen for grinding, rattling, or wobble – any of those means stop and recheck the installation rather than proceeding to a real cut. Once it sounds and looks right, make a test cut in a scrap piece before moving to your actual project.
Frequently Asked Questions
Which way do you turn the wrench to loosen a circular saw blade?
On most sidewinder saws, you loosen the arbor nut by turning the wrench the same direction the blade rotates during cutting – a deliberate reverse-thread design so cutting forces can’t loosen the nut. Always check for a stamped arrow on the blade guard or arbor washer first, since worm-drive and left-bladed saws can differ.
What happens if you install a circular saw blade backward?
The teeth drag through the material instead of cutting into it, producing burn marks, rough or stalled cuts, and a real increase in kickback risk. Always match the rotation arrow on the blade to the arrow on the saw’s blade guard before tightening anything.
Do I need a spindle lock to change a blade?
Most circular saws have one built in, and it makes the job much easier by keeping the arbor from spinning while you work the wrench. If your saw lacks one, wedging a scrap piece of wood against the blade’s teeth to hold it still works as a substitute.
How do I know if the blade is installed correctly?
The blade should spin freely by hand before final tightening, the rotation arrows on the blade and saw should match, and a brief test run (with nothing being cut) should sound smooth with no grinding or wobble. Confirm all of that before making a real cut.
Bottom Line
Blade installation comes down to three things: unplug the saw and lock the spindle before touching the arbor nut, match the blade’s rotation arrow to the saw’s, and check the stamped arrow on the housing rather than guessing at loosening direction. Get those right and the rest of the process is just careful, methodical assembly.
Sponsored / affiliate links. As an Amazon Associate I earn from qualifying purchases. I may earn additional commission from eligible campaigns.