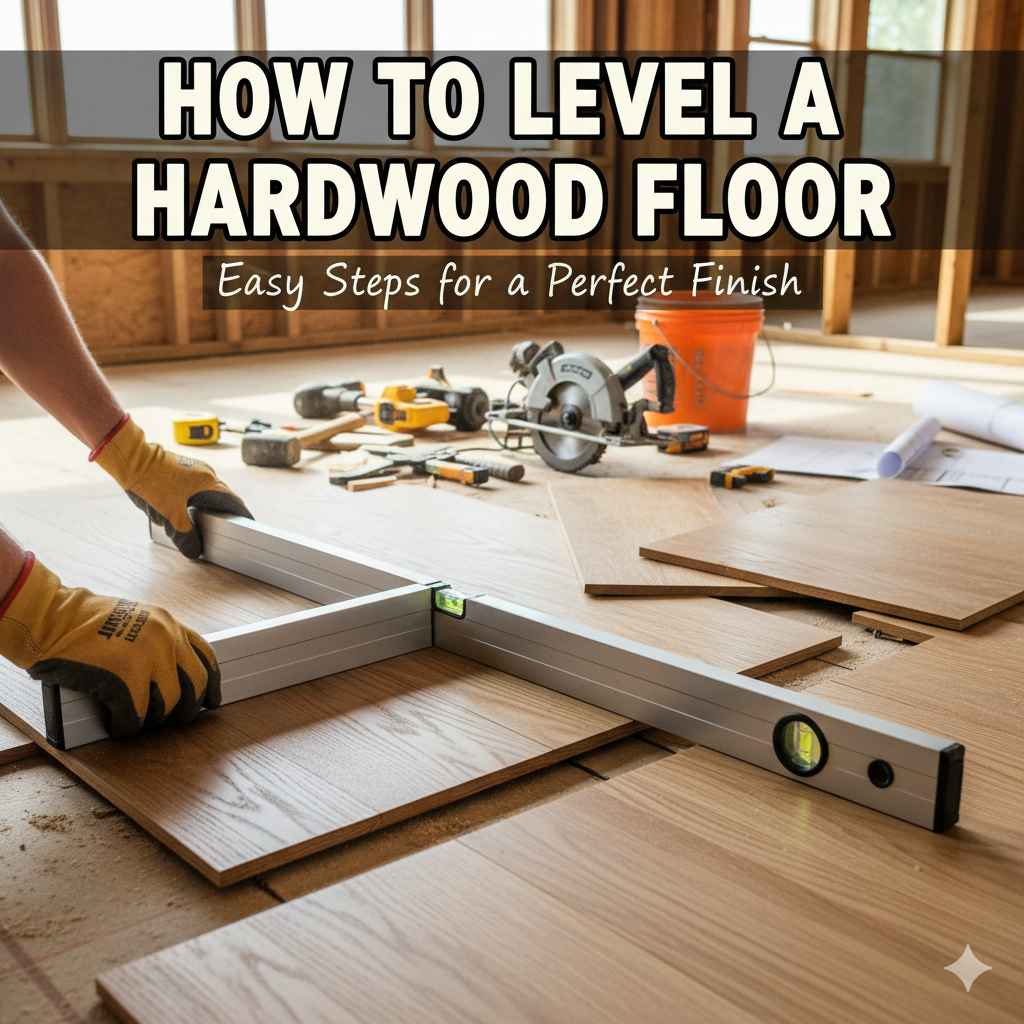
How to Level a Hardwood Floor: Easy Steps for a Perfect Finish
Is your hardwood floor uneven, causing you to trip or making your furniture wobble? You’re not alone, and the good news is that leveling your hardwood floor is easier than you might think.
Whether you want a smooth surface for a fresh look or to fix annoying bumps, this guide will show you simple steps to get your floor flat and flawless. Keep reading, and you’ll discover practical tips that save you time and money—making your home safer and more beautiful.
Ready to transform your floor? Let’s get started!
Tools And Materials Needed
Leveling a hardwood floor requires the right tools and materials. Using proper equipment makes the job easier and ensures good results. Prepare everything before starting the work to avoid delays. Here is a list of what you will need.
Essential Tools
- Carpenter’s level – checks the floor’s flatness
- Tape measure – measures room size and gaps
- Hammer and nails – secures loose boards
- Floor sander – smooths high spots
- Chisel – removes old glue or debris
- Pry bar – lifts floorboards if needed
- Drill with screws – fixes boards firmly
- Putty knife – applies wood filler
- Vacuum cleaner – cleans dust and dirt
Recommended Materials
- Wood shims – fills low spots under boards
- Wood filler – fills cracks and holes
- Floor leveling compound – for major uneven areas
- Wood glue – secures loose joints
- Sandpaper – smooths small rough spots
- Protective finish – seals and protects the floor
- Safety gear – gloves, mask, and goggles
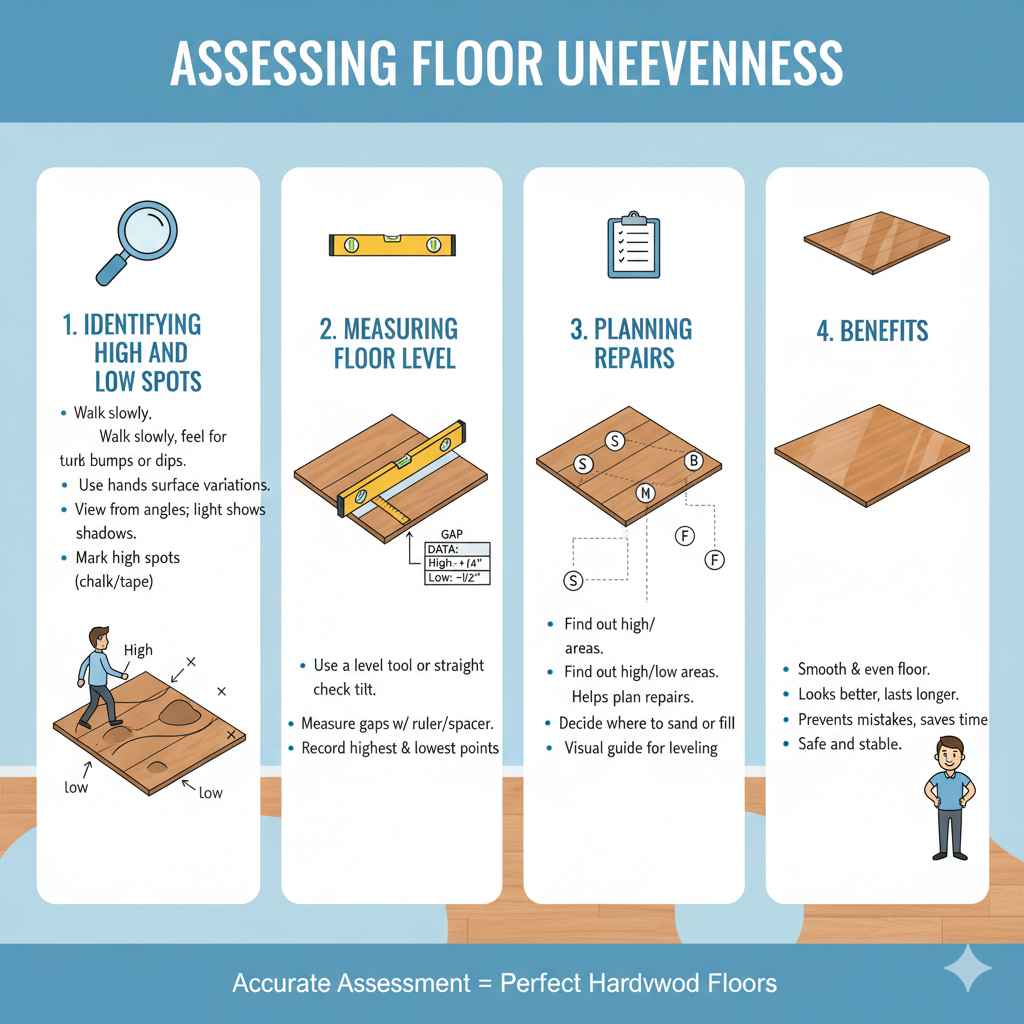
Assessing Floor Unevenness
Assessing floor unevenness is the first step to level a hardwood floor. You must find out where the floor is higher or lower. This helps to plan the repairs. A smooth and even floor looks better and lasts longer.
Careful checking prevents mistakes and saves time. It also avoids wasting materials. Use simple tools to check the floor’s condition. Start by seeing and feeling the floor surface.
Identifying High And Low Spots
Walk across the floor slowly. Pay attention to places that feel bumpy or sunken. Use your hands to feel the surface. Look at the floor from different angles. Light can show shadows on uneven spots.
Mark high spots with chalk or tape. Mark low spots the same way. This visual guide helps during the leveling process. Knowing these spots helps decide where to sand or fill.
Measuring Floor Level
Use a level tool or a straight board to check the floor. Place the tool on the floor and see if it tilts. Use a small ruler or spacer to measure gaps under the tool. This shows how much the floor is uneven.
Measure many spots across the floor. Record the highest and lowest points. This data helps to fix the floor correctly. Accurate measuring makes the floor safe and stable to walk on.
Preparing The Floor
Preparing the floor is the first key step in leveling a hardwood floor. A clean and clear surface helps you see any issues clearly. This stage sets a solid foundation for all the work ahead.
Clearing The Area
Remove all furniture and rugs from the room. This gives you space to work freely. Clear small items like toys and decorations too. A free floor allows for better inspection and easier movement.
Cleaning And Inspecting
Sweep the floor to remove dust and dirt. Use a vacuum to get into corners and cracks. Clean floors help spot damage or uneven spots. Look closely for cracks, holes, or bumps. Check for any loose or squeaky boards. Mark these areas for repair before leveling.
Leveling Methods
Leveling a hardwood floor is important for a smooth, safe surface. Uneven floors can cause problems with furniture and walking. Different methods help fix high or low spots. Choose the right one based on the floor’s condition and tools you have. Here are three common ways to level hardwood floors effectively.
Using Floor Leveling Compound
Floor leveling compound is a liquid mix that fills low spots. It spreads easily and hardens fast. Clean the floor well before applying. Pour the compound on the low areas. Use a trowel to spread it evenly. Let it dry completely before sanding or finishing.
Sanding High Areas
Sanding removes bumps and high spots on the floor. Use a floor sander or hand sander for small areas. Sand slowly and evenly to avoid damage. Check the floor with a level tool often. Stop sanding when the surface is flat and smooth.
Shimming Low Areas
Shimming adds thin pieces of wood under the floorboards. This lifts low spots to match the rest of the floor. Remove the floorboards carefully. Place shims under the joists or subfloor where needed. Reinstall the boards and check the level again. Shimming is good for small dips and uneven spots.
Applying Leveling Compound
Applying leveling compound is a key step in making a hardwood floor smooth and even. It fixes dips, cracks, and uneven spots. This step prepares the floor for a perfect finish. The process is simple but requires care and attention.
Mixing The Compound
Start by reading the instructions on the compound package. Use clean water and a mixing bucket. Pour the powder into water slowly. Stir with a drill mixer or a stick. Mix until you get a smooth, lump-free paste. The consistency should be like thick paint.
Spreading Techniques
Pour the mixed compound onto the low areas of the floor. Use a trowel or a wide putty knife to spread it evenly. Work quickly before the compound starts to set. Push the compound into cracks and holes. Smooth the surface to avoid high spots. Check for a level finish using a straightedge.
Drying Time
Let the compound dry fully before walking on it. Drying time varies by product and room temperature. Usually, it takes 2 to 4 hours for thin layers. Thicker layers may need 24 hours or more. Avoid rushing this step to prevent cracks or damage.
Sanding And Finishing
Sanding and finishing are key steps to level a hardwood floor. They smooth out uneven areas and prepare the wood for a perfect finish. Proper sanding removes old coatings and rough spots. Finishing protects the floor and enhances its natural beauty.
Careful sanding creates an even surface. Choosing the right sandpaper and following the correct process ensure good results. After sanding, inspect the floor to catch any missed spots. Then, apply the finish to protect the wood and add shine.
Choosing The Right Sandpaper
Select sandpaper grit based on the floor’s condition. Start with coarse grit (36-40) for deep scratches or uneven spots. Use medium grit (60-80) for smoothing rough areas. Finish with fine grit (100-120) to create a smooth surface. Avoid skipping grits to prevent scratches. Use high-quality sandpaper for better results.
Sanding Process
Begin sanding along the wood grain to avoid scratches. Use a drum sander for large areas and an edge sander for corners. Move the sander steadily and avoid staying in one spot. Sand the entire floor evenly, changing sandpaper as needed. Clean dust between sanding steps to avoid rough patches.
Final Inspection
Check the floor in good light after sanding. Look for scratches, dents, or uneven spots. Walk on the floor to feel rough areas. Use a hand scraper to fix small issues. Vacuum dust thoroughly before applying finish. A smooth, clean floor ensures a flawless finish.
Preventing Future Unevenness
Preventing future unevenness in hardwood floors is key to keeping them smooth and beautiful. Uneven floors can cause problems with furniture and create tripping hazards. Taking steps to avoid these issues helps protect your investment and keeps your home safe. Simple habits and regular care make a big difference in floor health.
Maintaining Humidity Levels
Hardwood floors react to moisture changes. Too much moisture can cause the wood to swell and warp. Too little moisture can make it shrink and crack. Keep indoor humidity between 35% and 55%. Use a humidifier in dry months and a dehumidifier in humid months. This balance helps wood stay stable and flat.
Regular Floor Checks
Check your floors often for signs of unevenness. Look for raised boards, gaps, or soft spots. Catching problems early prevents bigger damage. Tighten loose boards and fix small issues quickly. Routine inspections keep your floor level and extend its life.

Frequently Asked Questions
How Do I Check If My Hardwood Floor Is Level?
Use a long level or straightedge to check for dips or high spots. Mark uneven areas for repair.
What Tools Are Needed To Level Hardwood Floors?
You need a level, sanding tools, wood filler, and a floor sander for smoothing uneven spots.
Can I Level Hardwood Floors Myself?
Yes, simple unevenness can be fixed DIY. For major issues, consult a professional.
How Long Does It Take To Level A Hardwood Floor?
Small repairs take a few hours. Larger jobs may require one to two days.
Conclusion
Leveling a hardwood floor takes time and patience. Start by finding high and low spots carefully. Use the right tools for sanding and filling gaps. Check your progress often to keep the floor even. A level floor feels smooth and looks great.
It also helps protect your furniture and walls. Follow these steps, and your floor will stay strong for years. Small efforts now save big problems later. Keep your hardwood floor safe and beautiful with simple care.