Repair a Glued Hardwood Floor: Fix Loose Boards & Gaps
A glued-down hardwood floor loosens for one of three reasons: the adhesive lost its grip to moisture cycling through the subfloor, the boards were laid over an uneven substrate that flexes underfoot, or the wrong adhesive type was used for the wood species in the first place. Knowing which one you’re dealing with changes how you fix it.
Most glued hardwood is installed with a moisture-cured urethane adhesive troweled directly onto a concrete or plywood subfloor – there’s no tongue-and-groove nailing to fall back on if a board lifts. That’s good news for soundproofing and radiant-heat compatibility, but it means a failed bond shows up as a hollow-sounding board rather than a simple squeak. Below is how to diagnose what’s actually wrong, re-glue loose boards without wrecking the finish, fill gaps that open up seasonally, and know when the damage is past a weekend fix.
Signs Of Damage
BEST GLUE FOR RE-GLUING LOOSE FLOOR BOARDS
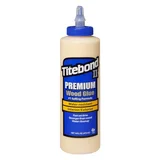 |
Titebond II Premium Wood Glue – $7.57 A water-resistant PVA glue suited to re-bonding a loose board-to-board seam on an interior hardwood floor once old adhesive is scraped away.
|
Glued floors fail quietly at first. A board that sounds hollow when you tap it with a knuckle has already separated from the subfloor, even if it looks perfectly flat. Catching that early means a simple re-glue job instead of pulling and replacing an entire section.
Common Issues With Glued Floors
The most common complaint is a “clicking” or “popping” sound near seams – that’s two boards rubbing where the adhesive between them and the subfloor has broken down. Gaps between boards usually trace back to low indoor humidity in winter, when wood shrinks across the grain; those same gaps often close up again by summer. If a gap doesn’t close seasonally, the adhesive bond (not just the wood) has likely failed permanently in that spot.
How To Spot Loose Planks
Walk the floor in socks and listen – a loose board gives a dull, hollow thud instead of the solid tap of a well-bonded one. Press down firmly near suspected edges; visible flex or a slight rise when you lift your foot both confirm the adhesive has let go underneath. Mark suspect boards with painter’s tape as you go so you’re not hunting for them again once you’re back with tools.
Identifying Moisture Problems
Dark staining along seams, cupped boards (edges higher than the center), or a musty smell coming up through the floor all point to moisture reaching the adhesive from below – usually a concrete slab without an adequate vapor barrier. Re-gluing a board without solving the moisture source underneath it is a temporary fix at best; the new adhesive will fail the same way within a season or two.
Tools And Materials
Repairing a glued floor properly means matching the adhesive to what’s already down, not just grabbing the strongest glue on the shelf.
Essential Repair Tools
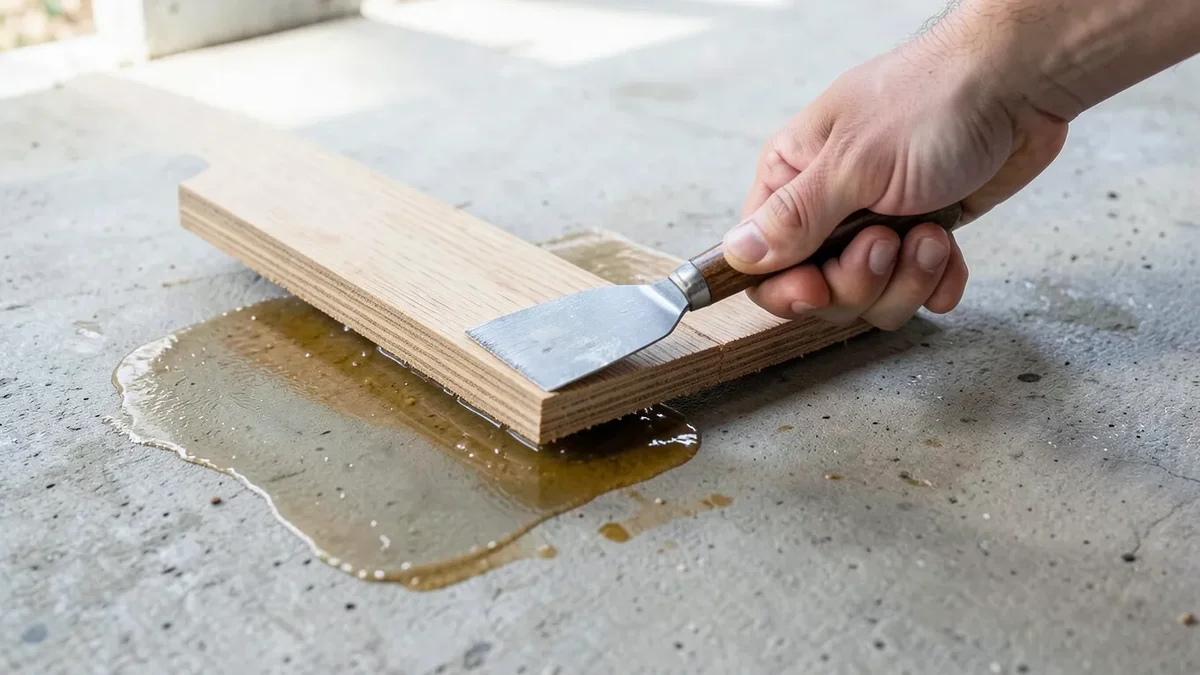
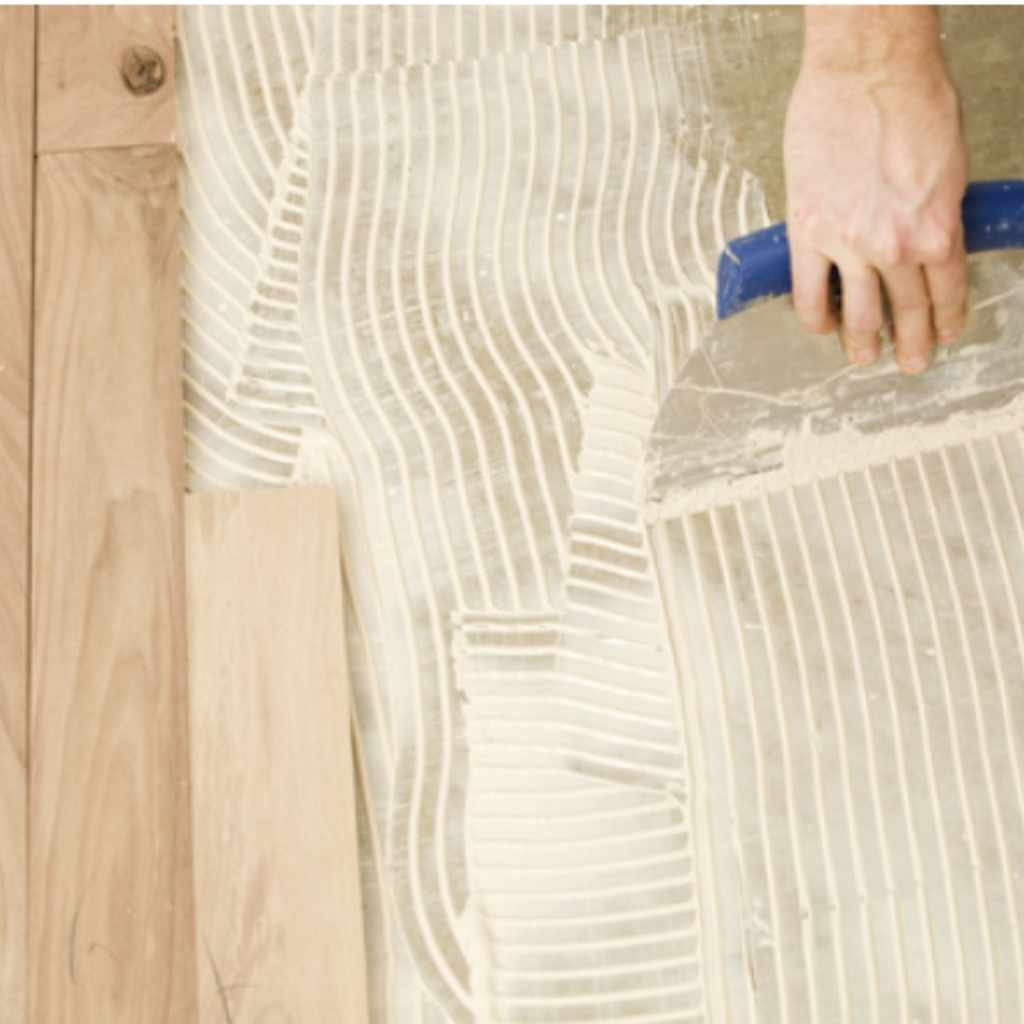
A stiff putty knife or 5-in-1 painter’s tool lifts a loose board without gouging its neighbor. A cold chisel and a rubber mallet clear old, cured adhesive from both the board’s underside and the subfloor – skipping this step is the number one reason re-glue jobs fail again within months. A notched trowel (1/16″ V-notch for most engineered flooring adhesives) spreads new adhesive at the right thickness; too much adhesive squeezes out and telegraphs through the finish, too little leaves voids that sound hollow again in a year.
Choosing The Right Adhesive
If the floor was originally installed with a urethane adhesive (most solid and engineered hardwood glued to concrete is), stick with a urethane repair adhesive – mixing adhesive chemistries can prevent proper bonding. For small board-to-board re-gluing rather than board-to-subfloor work, a waterproof PVA wood glue is usually sufficient and far easier to clean up. Check the original installation paperwork or ask the flooring manufacturer if you’re not sure which adhesive is underneath – guessing wrong here is the most common reason a “repaired” board comes loose again.
Safety Gear For Repairs
Urethane adhesives release isocyanate vapors while curing, so ventilate the room and wear nitrile gloves – the adhesive doesn’t wash off skin with soap and water once it starts curing. Safety glasses matter more than usual here because chiseling out old dried adhesive throws small, sharp chips. A dust mask rated for fine particulates covers the sanding step later.
Preparing The Floor
Rushing this stage is the single biggest reason DIY floor repairs don’t hold. Old adhesive left in place stops new adhesive from reaching bare wood or subfloor, so the “repair” is really just gluing a board to a thin film of failed glue.
Cleaning And Clearing The Area
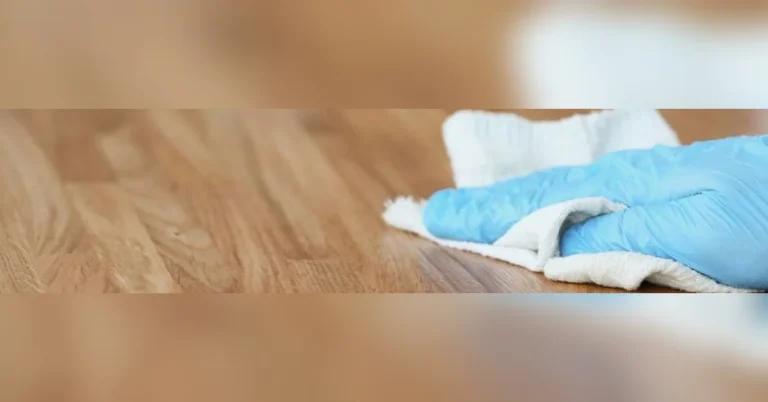
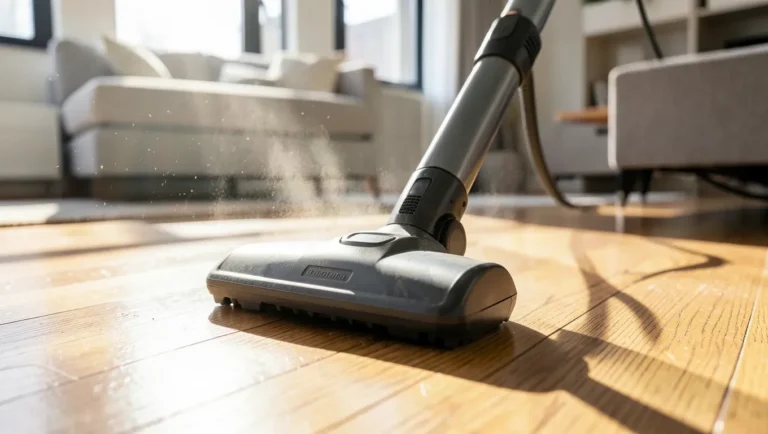
Clear the room down to bare floor, including rugs and furniture pads that can trap grit against the wood. Vacuum thoroughly, then wipe with a barely damp cloth – standing water on hardwood, even briefly, can start a new moisture problem while you’re fixing the old one.
Removing Damaged Sections
Work a putty knife into the seam of the loose board and gently pry upward, moving along its length rather than levering hard from one spot, which can crack the board. If a board is too damaged to reuse, cut across its width with an oscillating multitool before prying – it’s far easier to remove in two pieces than to fight one long, warped board out intact.
Assessing Subfloor Condition
With the board out, look and smell for mold, soft or crumbling concrete, or a subfloor that flexes when you press on it. A moisture meter reading above roughly 4.5% for concrete (or per your adhesive manufacturer’s spec) means the slab isn’t dry enough to re-glue yet, no matter how good the new adhesive is. Fix the subfloor issue first; every hour spent here saves a repeat repair later.
Fixing Loose Planks
Once the old adhesive is scraped away and the subfloor checks out, re-gluing a loose plank is a straightforward job that most homeowners can do in an afternoon.
Re-gluing Techniques
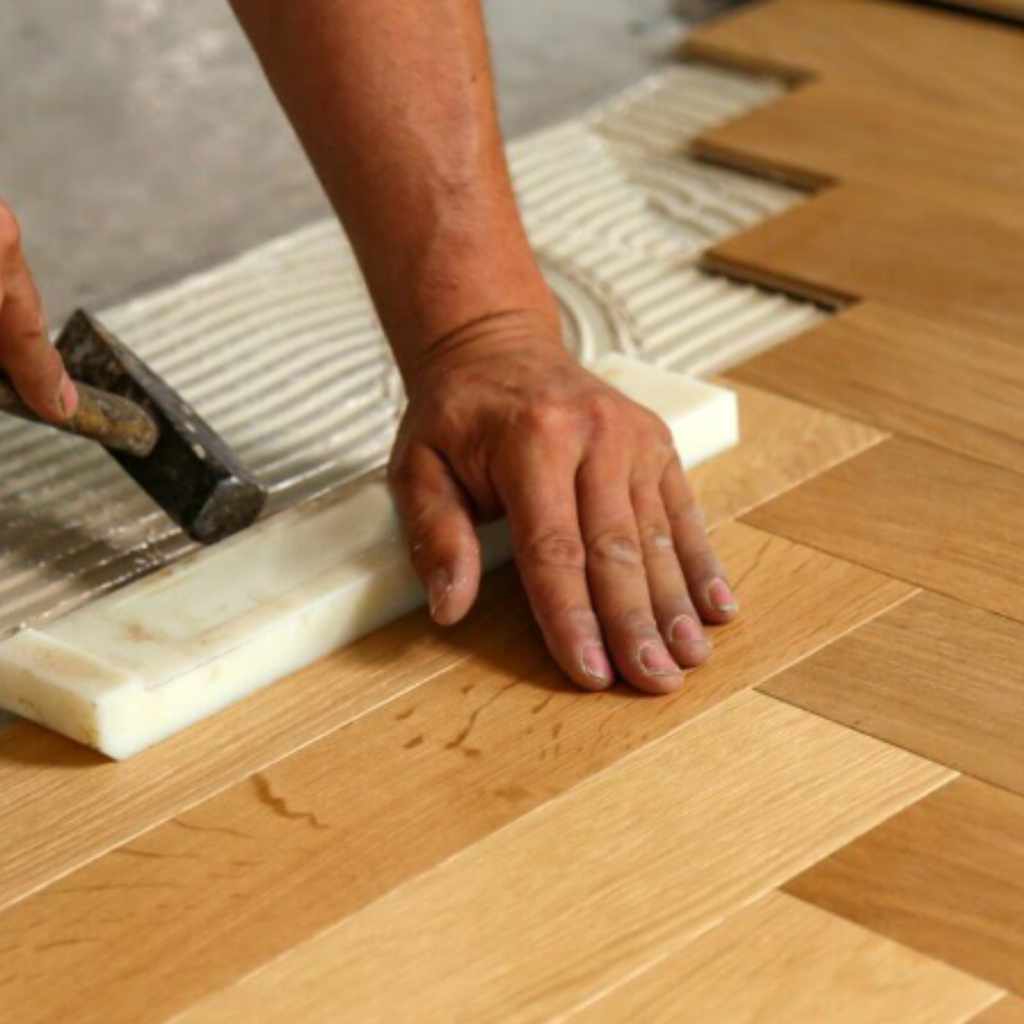
Spread adhesive with the notched trowel matching your product’s spec sheet – more isn’t better, since excess adhesive squeezes up through seams and hardens as visible ridges. Set the board back into place and slide it slightly side to side to fully wet out the adhesive against both surfaces, then seat it with a rubber mallet and a wood block to protect the edge.
Clamping And Securing
Weight works better than clamps for a floor board – stack a few unopened paint cans or a heavy toolbox on a scrap board laid over the repair to spread the load evenly. Painter’s tape across the seam to a neighboring board keeps it from creeping while the adhesive grabs. Leave the weight on for the full time your adhesive’s data sheet specifies, not just until it “feels” set.
Drying Time And Tips
Urethane flooring adhesives typically need 24 to 48 hours before foot traffic and up to a week to reach full cure strength – check your specific product, since cure time depends on humidity and temperature. Wipe any squeeze-out while it’s still wet; cured urethane adhesive has to be scraped and sanded off, which risks damaging the finish around the repair.
Repairing Gaps And Cracks
Not every gap needs a full board replacement (and if the real issue is leftover sticky flooring adhesive rather than a gap between boards, see our guide on how to remove adhesive from a hardwood floor). Seasonal gaps under about 1/8 inch that close up in summer are normal wood movement and usually don’t need filling at all – filling them can actually cause buckling when the wood expands again.
Filling Small Gaps
For gaps that stay open year-round, a color-matched wood filler or a flexible, stainable wood-flooring caulk (not rigid latex caulk, which cracks out under foot traffic) both work. Pack the gap fully rather than skimming the surface, since a hollow-filled gap will crack again within a season.
Replacing Damaged Boards
When a board is cracked through, deeply gouged, or has failed adhesive across most of its length, replace it rather than patch it. Source a replacement from the same batch or lot if you kept leftover boards from the original install – hardwood color varies noticeably between production runs, and a mismatched board stands out far more than the original damage did.
Sanding And Blending Repairs
Hand-sand a repaired area rather than running a drum sander over one spot, which can dish the floor unevenly. Work through 120, then 150, then 220 grit, feathering out several inches past the repair so the sheen blends instead of leaving a visible sanded patch. Match the topcoat exactly – oil-based and water-based polyurethane don’t bond reliably to each other, so identify what’s already on the floor before recoating. If more than a room’s worth of finish is worn through, a full DIY refinish may make more sense than patch-blending one section.
Preventing Future Damage
Since moisture is behind most glued-floor failures, controlling humidity does more to prevent repeat repairs than any adhesive choice does.
Maintaining Proper Humidity
Keep indoor relative humidity between roughly 35% and 55% year-round – a cheap digital hygrometer from a hardware store is enough to track it. Run a humidifier in heating season and a dehumidifier or A/C in summer; the goal isn’t a fixed number so much as avoiding big swings that stress the adhesive bond repeatedly.
Regular Cleaning Tips
Dry sweep or vacuum with a hard-floor head regularly, and wipe spills up immediately rather than letting them sit. Skip steam mops and wet mopping entirely on glued hardwood – standing water works its way into seams and reaches the adhesive layer faster than most people expect.
Protecting High-traffic Areas
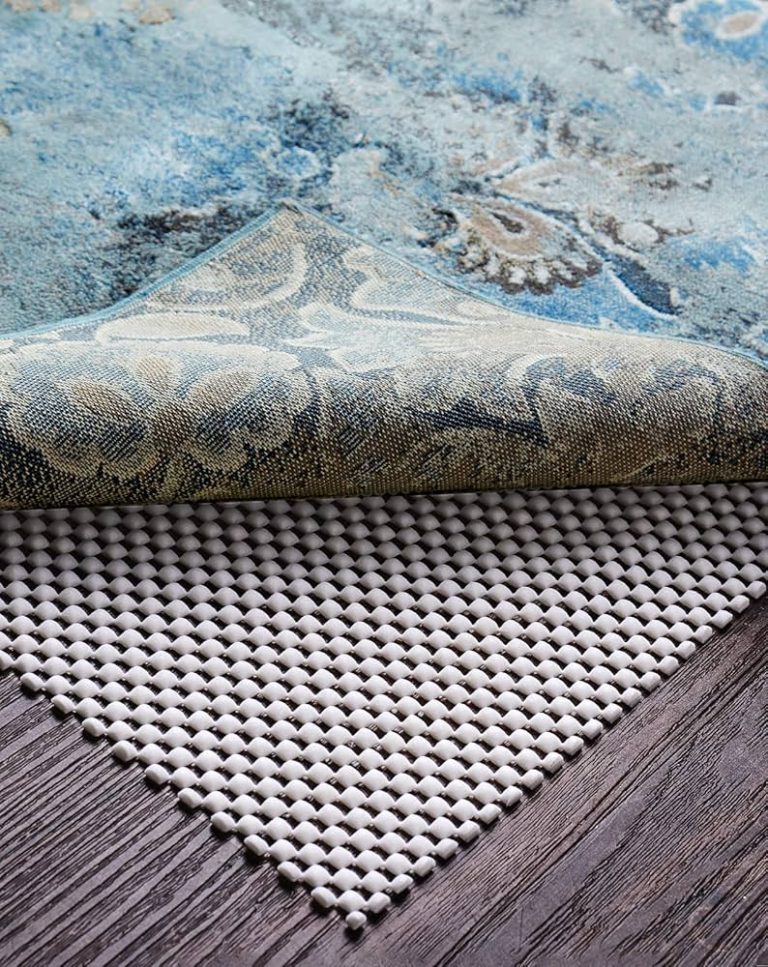
Felt pads under furniture legs and a doormat at entry points cut down on the grit that acts like sandpaper under foot traffic. Rotate area rugs occasionally so wear and UV fading happen evenly rather than leaving a rug-shaped outline in the finish.
When To Call A Professional
DIY repair covers most single-board and small-gap issues. A few situations are worth handing to a flooring contractor instead.
Complex Damage Indicators
Widespread cupping or buckling across multiple rooms usually means a moisture problem in the slab itself, which needs a moisture test and possibly a vapor barrier fix before any flooring work makes sense. Mold smell coming from beneath the floor is a health issue, not just a flooring one, and is worth a professional moisture inspection before you start pulling up boards.
Cost Vs. Diy Considerations
A single-board repair kit runs well under $50 in materials. Once you’re replacing more than a handful of boards or dealing with a subfloor moisture source, professional labor and equipment (moisture testing tools, a proper floor sander) often costs less overall than a DIY attempt that has to be redone.
Finding Reliable Experts
Look for a contractor certified by the National Wood Flooring Association (NWFA) or a similar trade body – certification means they’ve been trained specifically on adhesive selection and moisture testing, not just general flooring installation. Ask to see their moisture meter readings before and after any subfloor work, not just an estimate.
Frequently Asked Questions
How Do I Fix A Glued Hardwood Floor Board?
Pry the loose board free, chisel off every trace of old adhesive from both the board and subfloor, then spread new adhesive matching the original type (usually urethane) with a notched trowel. Set the board, weight it down for the time your adhesive specifies, and sand and refinish once fully cured.
What Causes Hardwood Floor Glue To Fail?
Moisture reaching the adhesive from a concrete subfloor is the most common cause, followed by using an adhesive not rated for the wood species or subfloor type, and inadequate trowel notch size leaving too little adhesive contact. Temperature swings during the original installation can also weaken the cure.
Can I Repair Glued Hardwood Floors Myself?
Yes – a single loose board or a small filled gap is a reasonable weekend DIY project with basic tools. Widespread cupping, a moisture source under the slab, or damage across many boards is better handled by a certified flooring professional who can test and fix the underlying cause.
How Long Does Hardwood Floor Glue Take To Dry?
Most urethane flooring adhesives are ready for light foot traffic in 24 to 48 hours but need up to a week for full cure strength, so hold off on furniture and rugs until then. Always check your specific adhesive’s technical data sheet, since cure time shifts with room temperature and humidity.
Conclusion
Most glued hardwood floor problems trace back to moisture, not age – fix the moisture source and the repair actually holds. Scrape old adhesive completely before re-gluing, match the new adhesive to what’s already down, and give it the full cure time before walking on it. For anything beyond a board or two, a moisture reading and a certified flooring pro will save you from repeating the same fix next year.
\n\n\n\n\nSponsored / affiliate links. As an Amazon Associate I earn from qualifying purchases. I may earn additional commission from eligible campaigns.