How to Paint a Hardwood Floor Without It Peeling Fast
Clean the floor, scuff or fully sand it depending on the existing finish, prime with a bonding primer, then apply two coats of an actual floor enamel (not regular wall paint or a can labeled “polyurethane” alone). Skipping the bonding primer or using the wrong product category is why most DIY painted floors chip within a year.
Want to see the paint we’d actually reach for before you commit to a color? Our best paint for wood floors roundup compares specific products by real cost and cure time. This guide focuses on the process – getting the prep, priming, and coating order right so whatever paint you choose actually stays put. If you’re working with a softwood or engineered floor rather than solid hardwood, the same core process applies — see our broader can you paint wood floors guide for that version.
Floor Enamel And Polyurethane Are Two Different Things
Best Actual Floor Enamel For This Project
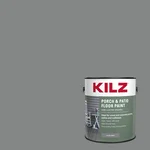 |
KILZ Porch & Patio Floor Paint – $55.22 A true floor-rated enamel built for foot traffic, not a wall paint pressed into service or a clear coat mislabeled as color.
|
A lot of confusion around this project comes from mixing up two separate products. Floor paint (often labeled “porch and floor enamel”) is a pigmented coating that gives you color. Sherwin-Williams sells its own dedicated Porch & Floor Enamel line in three formulas, though it is sold only through Sherwin-Williams stores rather than home centers. Polyurethane is a clear, hard topcoat – it’s not paint, and it’s not a substitute for it. The two-step system that actually holds up is color from a real floor enamel, followed by a clear polyurethane topcoat over it once the paint has cured, for extra scratch and scuff resistance. Buying a can labeled simply “polyurethane” expecting it to double as your floor’s color coat is a common and avoidable mistake.
Do You Actually Need To Sand Down To Bare Wood?
Not always – and this is worth checking before you rent a sander. Full sanding to bare wood is necessary if the existing finish is heavily worn, waxed, or you’re repairing real damage. But if the floor’s finish is intact and just glossy, a thorough cleaning followed by a liquid deglosser (or a light scuff-sand with fine 150-220 grit, just enough to dull the sheen) is often all you need before priming. This matters most on engineered hardwood, where the real wood veneer on top can be surprisingly thin – an aggressive full sand with a drum or belt sander can cut straight through it, and there’s no fixing that short of replacing the board. Solid hardwood tolerates sanding much better, but even there, full sanding is a repair step, not a mandatory part of painting.
Preparing The Floor
Clear the room completely and vacuum thoroughly, then damp-mop with a mild cleaner and let the floor dry fully – any residue left behind will telegraph through paint. Fill gouges, gaps, or nail holes with wood filler, let it cure, and sand it flush. Secure any loose boards before you paint; movement under a painted floor shows up as cracking along the seam much faster than it would under a clear finish.
If the floor is old enough that it might have been painted or varnished before the late 1970s, treat any sanding dust as a potential lead hazard rather than assuming it’s safe – that means no dry power-sanding without a proper respirator and dust containment, and checking with a lead test kit if you’re unsure. This is worth taking seriously; it’s the one step in this project where cutting corners is a health risk, not just a cosmetic one.
Priming: The Step That Actually Prevents Peeling
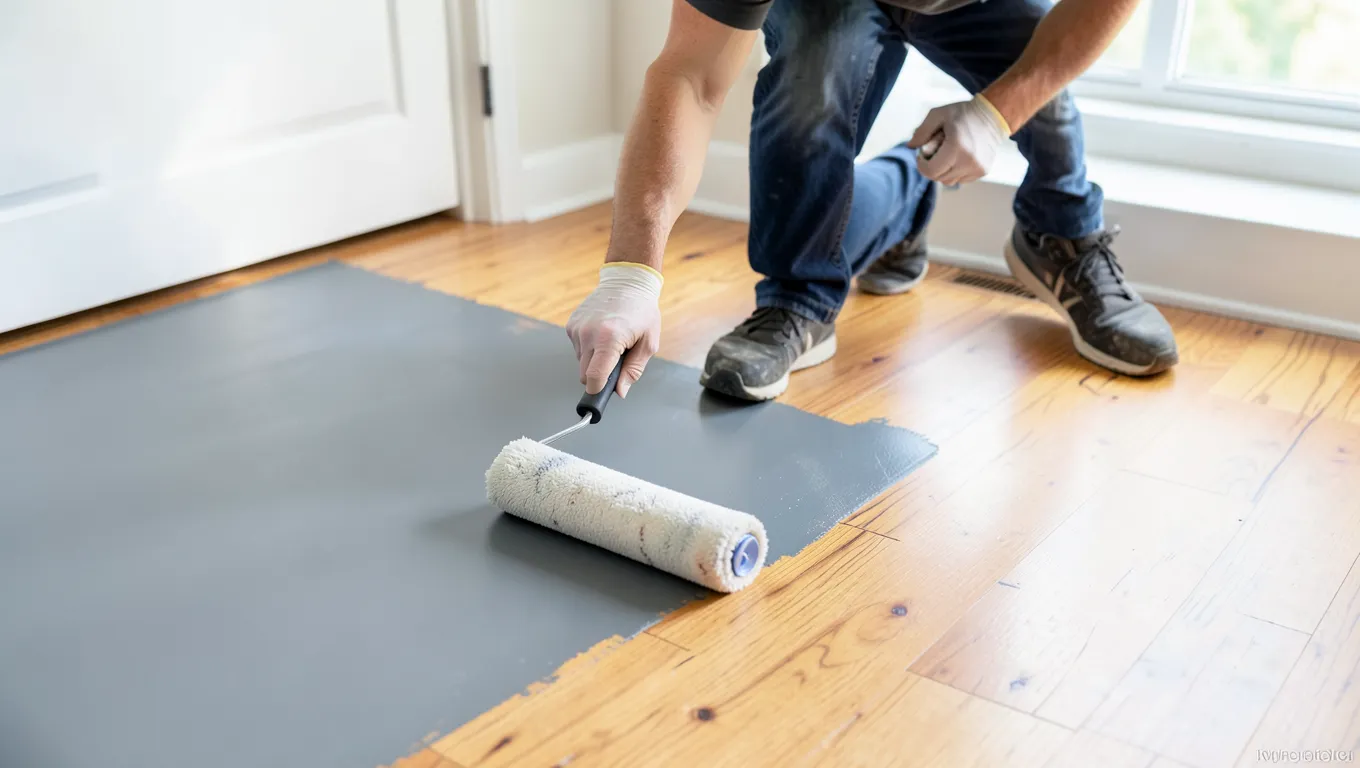
Use a bonding primer specifically made to grip a hard, potentially glossy existing surface – this is different from a general-purpose wall primer, and it’s the product doing the real work of making floor paint stick for years instead of months. Apply it in thin, even coats with a roller for the field and a brush for edges, working from a back corner toward the door so you’re not painting yourself into the room. Let it dry fully per the label (commonly 2-4 hours, longer in cool or humid rooms) before recoating.
Applying The Floor Enamel
Use a short-nap roller for the field and an angled brush for edges and corners, working in the direction of the wood grain to minimize visible roller marks. Two coats is the real minimum for even color and durability; a single coat almost always shows the primer or old finish through in places, especially over a color change. Let the first coat dry completely, scuff it lightly with fine-grit sandpaper to help the second coat bond, remove the dust, then apply the second coat the same way.
Adding A Clear Topcoat For Durability
Once the enamel has cured fully (check the label – this is often longer than it feels dry to the touch), a coat or two of clear water-based polyurethane over high-traffic areas meaningfully extends how long the paint job looks good before it needs touch-ups. This step is optional on a low-traffic room, but on hallways, kitchens, and entries it’s the difference between a painted floor that lasts a few years and one that lasts closer to a decade.
Common Mistakes That Shorten A Painted Floor’s Life
Skipping the bonding primer to save a step is the single most common reason a painted floor peels within the first year – regular wall paint or an unprimed color coat simply doesn’t grip a hard floor surface the way it grips drywall. Using interior wall paint instead of an actual floor-rated enamel is the second most common mistake; wall paint isn’t formulated to resist the abrasion foot traffic puts on a horizontal surface, and it wears through fast. Walking on the floor before the recommended cure time (not just dry-to-touch time) is the third – paint can feel fully dry within hours while still being soft enough underneath to dent or scuff from foot traffic and furniture for days longer.
Keeping A Painted Floor Looking Good
Sweep or vacuum regularly and damp-mop with a mild cleaner rather than harsh degreasers, which can dull the finish over time. Felt pads under furniture legs and rugs in doorways and high-traffic paths prevent most of the scuffing and gouging that eventually needs touch-up. Keep a small amount of the original paint on hand; a quick, feathered touch-up on a fresh scratch is far less noticeable than waiting until an entire section needs recoating.
Frequently Asked Questions
How Do I Prepare A Hardwood Floor For Painting?
Clean and dry the floor fully, then either deglos/scuff-sand an intact finish or fully sand a heavily worn one. Fill any gaps or damage with wood filler, secure loose boards, and vacuum thoroughly before priming. If the floor might be old enough to have lead-based paint or finish on it, treat sanding dust as a hazard and avoid dry power-sanding without proper protection.
What Type Of Paint Is Best For Hardwood Floors?
Use an actual floor-rated enamel (often labeled “porch and floor paint”), not regular wall paint and not polyurethane alone – polyurethane is a clear topcoat, not a color product. Apply the enamel over a bonding primer, then add a clear polyurethane topcoat in high-traffic areas for extra durability. Our best paint for wood floors roundup compares specific products by real cost and cure time.
How Many Coats Of Paint Should I Apply?
Two coats of floor enamel is the practical minimum for even, opaque color, with a light scuff-sand between coats to help adhesion. Add a clear polyurethane topcoat over that in high-traffic areas once the enamel has fully cured, not just dried to the touch.
Can I Paint Hardwood Floors Myself?
Yes, it’s a realistic DIY project. The steps that most often get skipped by DIYers, and that separate a paint job that lasts from one that peels fast, are the bonding primer and using a real floor enamel instead of leftover wall paint. Get those two right and the rest of the process is straightforward.
Conclusion
A painted hardwood floor holds up when the product categories are right (a real floor enamel for color, polyurethane only as an optional clear topcoat) and when the bonding primer isn’t skipped. Match your sanding effort to the floor’s actual condition rather than defaulting to a full sand every time, and give every coat its full cure time, not just its dry time, before walking on it.
Sponsored / affiliate links. As an Amazon Associate I earn from qualifying purchases. I may earn additional commission from eligible campaigns.