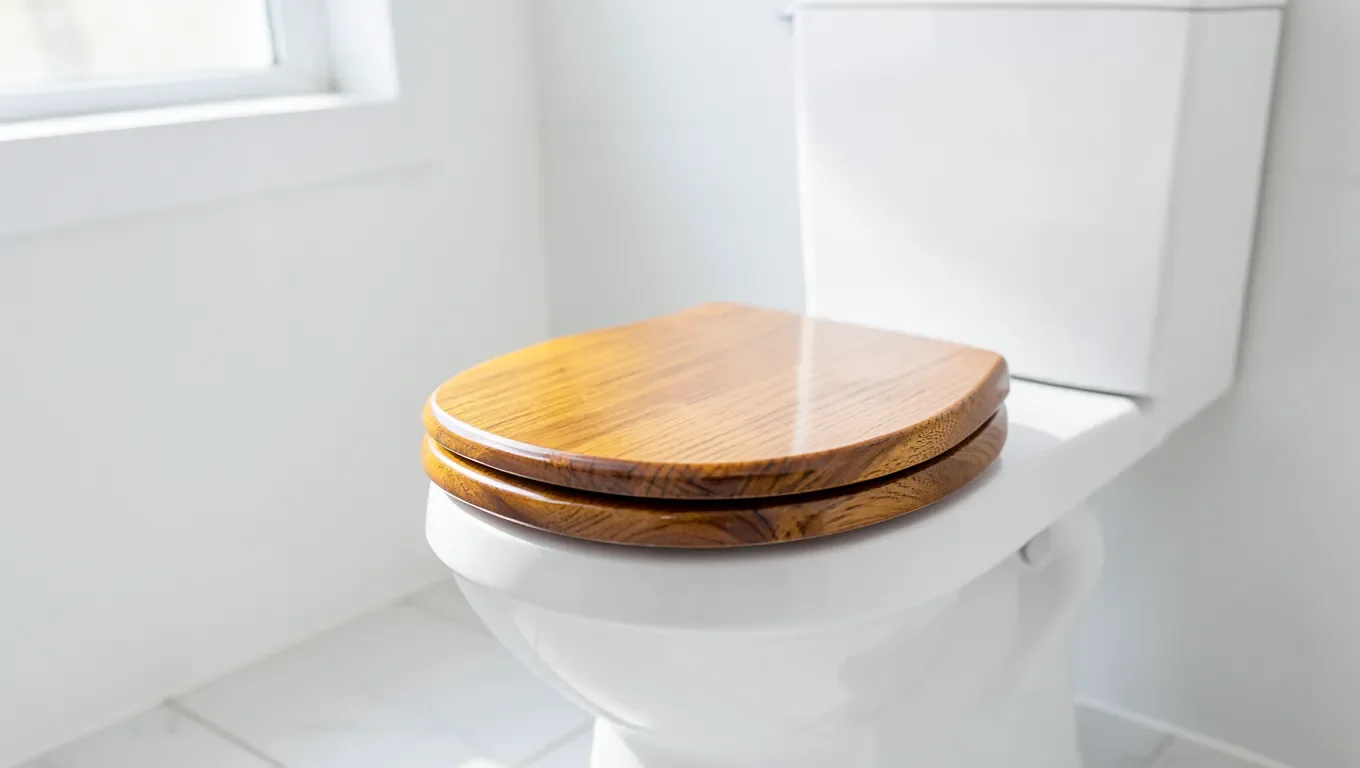
How to Make a Wooden Toilet Seat: Build and Waterproof Finish Guide
To make a wooden toilet seat, cut a seat and lid blank from a moisture-stable hardwood, shape and drill it to match your toilet bowl, then seal every surface, including the underside, with an epoxy coat followed by several coats of an oil-based marine spar varnish before you ever sit on it.
Most DIY guides stop at “sand it and add a coat of sealant.” That’s the step that actually fails on a toilet seat. A wood seat sits in a constantly humid, occasionally wet, occasionally splashed-with-urine environment and needs to be wiped down and disinfected regularly – a job that a standard indoor wood finish, or a “natural” oil like linseed oil or beeswax, was never built to survive. Skip the real waterproofing step and the wood swells, the finish peels, and the seat becomes a place bacteria can hide in open grain. This guide walks through the full build, then spends real time on the sealing step that most articles gloss over in one sentence.
Wood, Tools, and the Finish You’ll Actually Need
Start with a wood species that resists moisture on its own, because no finish is truly bulletproof forever – you want the wood underneath working with the sealant, not against it. Oak, maple, and teak are the three best choices: all three are dense, tight-grained hardwoods that resist water absorption and hold up to repeated cleaning. Teak is the gold standard (it’s what marine decking is made from) but costs more and can be harder to source in seat-sized blanks. Oak is the most common choice for a first build – strong, widely available, and it takes a spar varnish finish beautifully. Avoid pine, cedar, and other softwoods; they’re easy to cut but they compress, dent, and absorb moisture at the screw holes and hinge points faster than a toilet seat’s use case can tolerate.
You’ll need: a jigsaw or bandsaw for the outer and inner cutouts, a random-orbital sander (80, 120, and 220 grit), a router with a roundover bit (or a lot of patience with sandpaper) to ease every edge, a spade bit or hole saw sized to your hinge hardware, wood glue if you’re laminating boards to get a wide-enough blank, clamps, a compass or trammel for marking the bowl radius, and a toilet seat hinge kit. For the finish – the part that actually determines whether this seat lasts – you need a two-part epoxy sealer and enough oil-based marine spar varnish to apply four coats to every surface of the seat and lid. Budget for a full quart even on a single seat; the underside and edge-grain soak up more than you’d expect.
Best Marine-Grade Sealer Pick
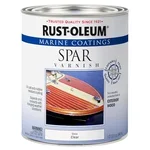 |
Rust-Oleum Marine Spar Varnish – $23.99 This is the oil-based, flexible marine varnish this guide recommends for the topcoat over epoxy – built to handle standing water and won’t break down under ammonia the way a water-based poly will.
|
Measuring the Bowl and Making a Template
Trace your existing seat onto cardboard if you have one, or trace the bowl itself: set a sheet of stiff cardboard over the bowl, mark the outer rim contour by pressing down along the porcelain edge, then mark the inner bowl opening the same way. Measure the hinge post spacing (center-to-center) and the distance from the hinge posts to the back edge of the bowl – these two numbers are what actually determine fit, more than the outer silhouette. Standard seats are either round (roughly 16.5 inches front-to-back) or elongated (roughly 18.5 inches); measure yours rather than assuming, since getting this wrong means recutting the blank.
Cut the cardboard template out and test-fit it on the bowl before you touch a piece of wood. Adjust the front point, the width, and the inner-opening curve until it sits flush with no overhang past the porcelain and no gap at the hinge end. This is the template you’ll trace onto your glued-up blank, so it’s worth getting right on cardboard first.
Cutting and Shaping the Seat and Lid
If your board isn’t wide enough for a one-piece blank, edge-glue two or three boards with wood glue and clamps, let it cure overnight, then trace your template onto the glued panel – do this for both the seat and the lid. Cut the outer profile first with a jigsaw, staying just outside your line, then cut the inner opening. Sand the outer profile down to your final line with 80-grit, then move to the roundover bit on the router (or hand-sand a consistent 1/4 to 3/8-inch radius) on every edge, top and bottom, inside and out. A sharp, unrounded edge is uncomfortable and it’s also where a finish coat is thinnest and fails first, so don’t skip full rounding on the underside edges too.
Work up through 120 and then 220 grit before you stop sanding. Every scratch left at this stage telegraphs through a glossy varnish finish, and open, unsanded grain absorbs the epoxy sealer unevenly, leaving thin spots. Wipe the wood down with a tack cloth to pull off dust before moving to hinge drilling.
Drilling Hinge Holes and Dry-Fitting
Mark your hinge post centers on the underside of the seat using the spacing you measured off the bowl, then drill with the spade bit or hole saw sized to your hardware – most consumer hinge kits use a 5/8 to 3/4-inch bushing. Drill from the top down partway, then finish from the underside to avoid tear-out on the show face. Dry-fit the seat and lid on the bowl with the hinges before any finish goes on: check that the seat sits centered, that the lid closes flush against the seat without rocking, and that there’s clearance at the tank. Fix any binding now – it’s much harder to adjust once four coats of varnish are on the wood.
Sealing and Waterproofing: The Step That Actually Matters
This is the part that separates a wooden toilet seat that lasts for years from one that swells, cracks, and has to be thrown out within a season. A toilet seat isn’t like a picture frame or a cutting board – it sits in near-constant humidity, gets splashed with water and urine, and needs to be wiped down with cleaner regularly. That combination means the finish has to be a continuous, fully cured, waterproof film on every single surface, not just the parts you can see.
Coat one: epoxy. Apply a thin coat of a penetrating/sealing epoxy first (see our full guide on how to seal wood against standing water for the broader technique). Epoxy soaks into open end grain and the hinge holes – the two spots plain varnish tends to skip – and forms a moisture barrier underneath the topcoat. Let it cure fully per the product’s instructions before moving on.
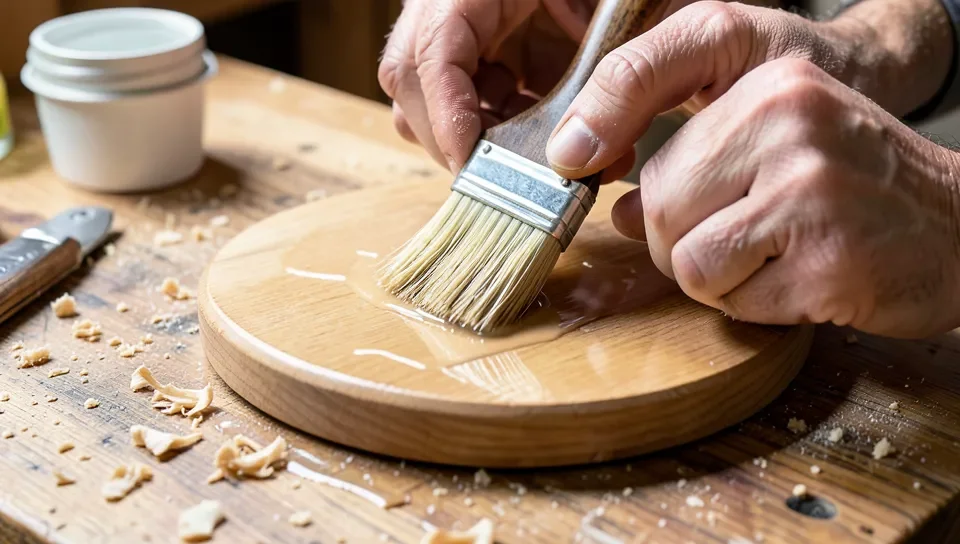
Coats two through five: marine spar varnish. Once the epoxy has cured, apply three to four coats of an oil-based marine spar varnish, sanding lightly with 320-grit and wiping with a tack cloth between each coat. Spar varnish is formulated to stay slightly flexible so it expands and contracts with the wood instead of cracking, and it’s built to shrug off standing water, which is exactly the exposure a toilet seat gets. Use an oil-based formula rather than a water-based/acrylic one: waterborne finishes are broken down over time by ammonia, and urine (even diluted, even wiped promptly) contains ammonia. An oil-based marine varnish holds up to that in a way a water-based poly typically does not.
Every surface, not just the top. Flip the seat and lid over and coat the underside, the inner cutout edge, the outer edge, and the inside of every hinge hole with the same number of coats as the top. The underside is the single most commonly skipped surface in DIY builds, and it’s also the surface that sits closest to standing moisture on the bowl rim. An unsealed underside is how a seat that looks perfect on top ends up swelling, delaminating at a glue joint, or developing a musty smell within a few months.
What not to use. Skip linseed oil, tung oil on its own, beeswax, and butcher-block-style food-safe mineral oil finishes. These penetrate the wood and look attractive, but none of them form the continuous waterproof film a toilet seat needs – they’re maintenance finishes meant to be reapplied regularly on items that don’t sit in standing moisture, and they won’t stop water and bacteria from working into open grain over time. A wood cutting board and a wood toilet seat have very different jobs; don’t finish them the same way.
Cure time before use. Let the final coat cure for a full 3 to 4 weeks in a dry, well-ventilated spot before you install and use the seat. Oil-based finishes feel dry to the touch within hours but need that much longer to fully cross-link and reach their real hardness and water resistance. Installing and using the seat before it’s cured is one of the most common reasons a “properly sealed” wood seat still fails early.
Installing the Seat on Your Toilet
Once the finish has fully cured, set the seat and lid on the hinge posts, drop in the mounting bolts through the bowl’s existing holes, and thread on the plastic wing nuts or hinge caps from underneath. Snug the bolts by hand until the seat feels stable, then add a quarter turn with a screwdriver if the kit uses screws – avoid overtightening, which can crack a finish coat right at the hinge, one of the highest-stress points on the whole piece. Test that the seat and lid both sit level, that the lid stays up on its own or closes gently rather than slamming, and that nothing rubs against the tank or bowl.
Cleaning and Maintaining a Wooden Seat
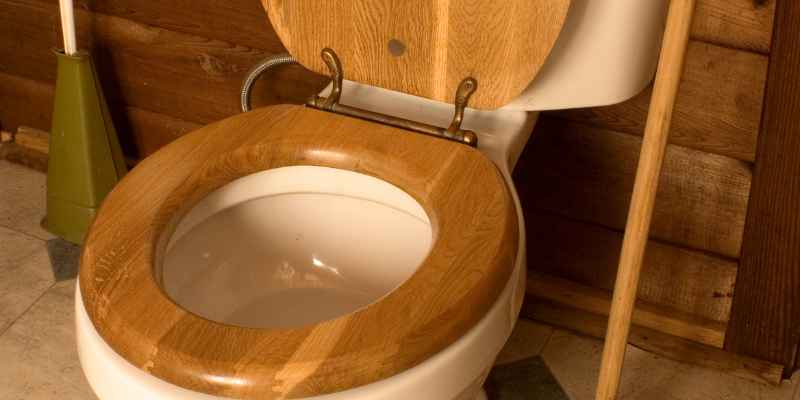
A correctly sealed wood seat cleans the same way a well-finished wood table does: a soft cloth, mild soap or a non-ammonia bathroom cleaner, and a full wipe-dry afterward so water doesn’t sit on the surface. Avoid abrasive pads or scouring powders – they’ll scratch through the varnish film and expose raw wood at exactly the spots most likely to see moisture. Dry the underside occasionally too, not just the top; that’s the surface most people forget and the one most exposed to condensation and splash-back.
Inspect the finish every few months for dulling, a rough patch, or a spot where water is starting to darken the wood – that’s a sign the film has worn through locally and needs a fresh coat before it spreads. A light scuff-sand and one new coat of the same spar varnish, reapplied to the whole seat (not just the worn spot, so the sheen stays even), will typically reset the clock for another year or more of daily use.
Troubleshooting Common Problems
Finish cracking at the hinge: almost always over-tightened mounting hardware flexing the wood against a fully hardened film. Back the bolts off slightly and touch up the cracked spot with a fresh coat.
Wood feels slightly swollen or the seat no longer sits flush: moisture has gotten into unsealed or under-sealed wood, almost always through the underside or a hinge hole that got skipped during finishing. There’s no fix except stripping back to bare wood and starting the sealing process over on that section – it’s not repairable with a surface coat once the wood itself has absorbed water.
Lid won’t stay up or slams down: check that both hinge posts are seated at the same depth and that the hinge tension screws (if your kit has them) are set evenly on both sides.
Musty smell developing: a strong sign moisture is trapped under the finish, usually from an unsealed underside. Address it the same way as swelling – it won’t go away with cleaning alone.
Frequently Asked Questions
What finish should I use to waterproof a wooden toilet seat?
Use a two-part epoxy sealing coat first, then three to four coats of an oil-based marine spar varnish, applied to every surface including the underside and the inside of the hinge holes. Choose an oil-based formula over a water-based one, since waterborne finishes break down faster under the ammonia in urine. Let the final coat cure 3 to 4 weeks before using the seat.
How do I choose wood for a toilet seat?
Pick a dense, tight-grained hardwood that resists moisture on its own, such as oak, maple, or teak. Teak is the most water-resistant and is what marine decking is made from, while oak is the most common and affordable choice that still takes a spar varnish finish well. Avoid softwoods like pine, which absorb moisture and dent more easily around the hinge and mounting holes.
What tools are needed to make a wooden toilet seat?
You’ll need a jigsaw or bandsaw for cutting the profile, a random-orbital sander, a router with a roundover bit (or sandpaper) for the edges, a spade bit or hole saw for the hinge holes, wood glue and clamps if you’re edge-gluing boards for a wide-enough blank, and a toilet seat hinge kit.
How long does it take to make a wooden toilet seat?
The cutting, shaping, and hinge work usually takes a weekend, even for a beginner. The finishing schedule takes much longer: figure on a day for the epoxy sealer, a day each for three to four spar varnish coats with light sanding between them, and then a mandatory 3 to 4 week cure before the seat is installed and used.
Can I use linseed oil or beeswax to finish a wooden toilet seat?
No. Those are penetrating maintenance finishes, not continuous waterproof films, so they won’t stop water and bacteria from working into the open grain of a seat that sits in constant bathroom humidity and gets cleaned regularly. Use an epoxy sealer plus oil-based marine spar varnish instead.
Conclusion
Building the seat itself – tracing a template, cutting the profile, rounding the edges, drilling for hinges – is a straightforward weekend project for anyone comfortable with a jigsaw and a sander. The part worth slowing down for is the finish: an epoxy sealing coat followed by several coats of oil-based marine spar varnish, applied to every surface including the underside and hinge holes, then given a full 3 to 4 weeks to cure before the seat ever gets used. Do that step properly and a wood toilet seat will outlast most plastic ones. Skip it, or substitute a “natural” oil finish because it sounds gentler, and the same seat will swell, crack, and need replacing within a year.
Sponsored / affiliate links. As an Amazon Associate I earn from qualifying purchases. I may earn additional commission from eligible campaigns.