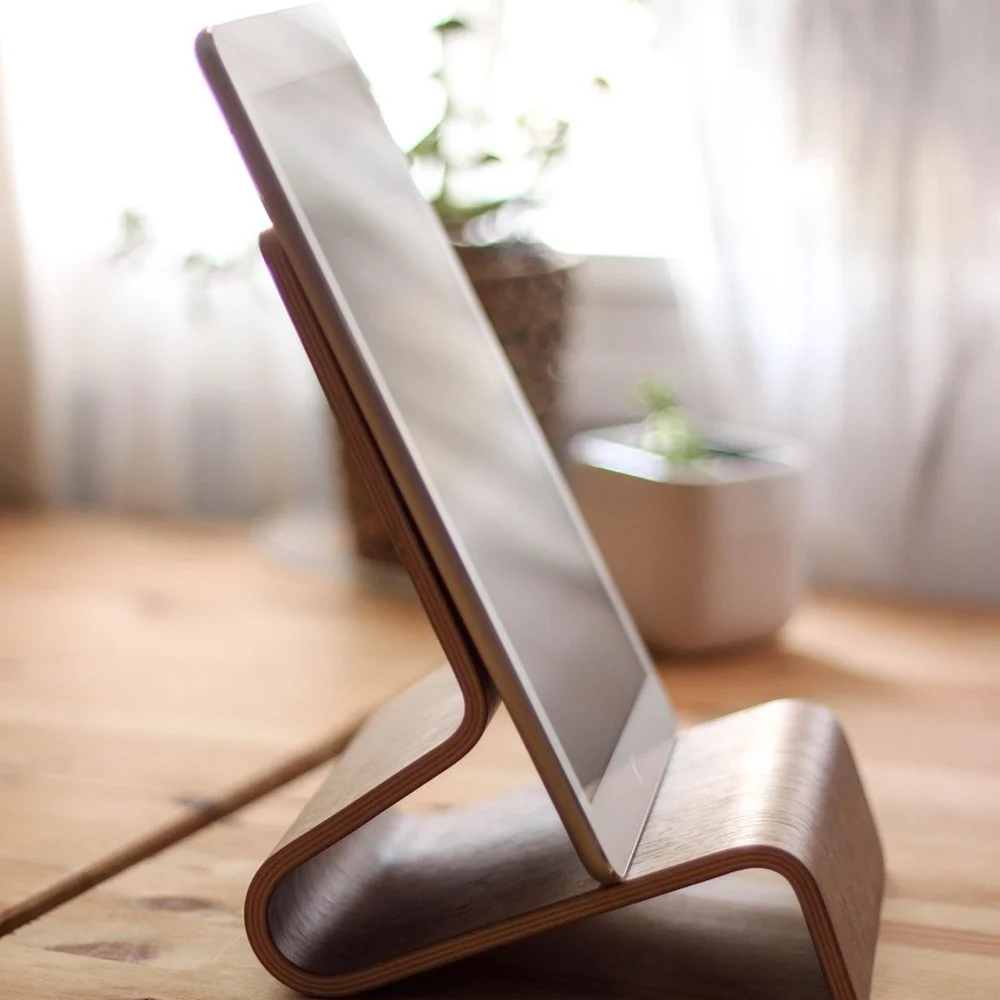
How to Make a Barnwood Tablet Holder: Cut List & Steps
To make a barnwood tablet holder, cut a 10-inch base and a 10-inch backrest from two 1×6 boards, bevel the bottom of the backrest to 20 degrees, glue and screw it upright at a 70-degree lean, add a front lip, then sand lightly and oil the wood. It takes about an hour of work plus glue and finish drying time.
A wooden tablet stand is a good first project for reclaimed boards: it needs two short pieces, a handful of screws, and no special joinery. The catch is the wood itself. Salvaged barn boards are not the same as lumberyard pine, and skipping a few checks can leave you with a ruined saw blade or a stand covered in old lead paint.
This guide gives you a real cut list, the geometry that keeps the stand from tipping, a table of common tablet sizes, and a safety check for salvaged wood. If you are new to shop projects, our list of simple woodworking projects for beginners is a good companion.
The Best Glue for a Barnwood Tablet Holder
Best Glue for Tablet Holder
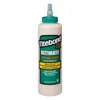 |
Titebond III Ultimate Wood Glue, 16 oz: about $9.58 A water-resistant PVA glue that cleans up with water, sands easily, and suits a stand that will live near coffee cups and windowsills.
|
The joint that carries the load in this stand is the backrest meeting the base, so glue matters more than it looks. A PVA wood glue plus two screws and a small brace makes that joint stronger than the surrounding old wood. If you want the reasoning behind glue and screw combinations, see whether wood glue is stronger than screws, and check the clamp time chart by glue type before you unclamp.
What You Are Building
The design is a simple ledge-and-backrest stand: a flat base, a backrest that leans back about 70 degrees, a low lip that stops the tablet sliding forward, and a small triangular brace behind the backrest. It holds a tablet in landscape or portrait, and the lip is split so a charging cable can run through the middle.
Two design rules keep it stable. First, the backrest should be at least half as tall as the tablet is long, so the tablet leans on the board instead of on its own edge. A 5-1/2 inch backrest supports a tablet up to about 11 inches on its long side. Second, put the bottom of the backrest about 2 inches from the rear edge of the base. Because the backrest leans back, its top then lands almost exactly over the rear edge and the stand cannot topple backward when you tap the screen.
Check the Barnwood Before You Cut It
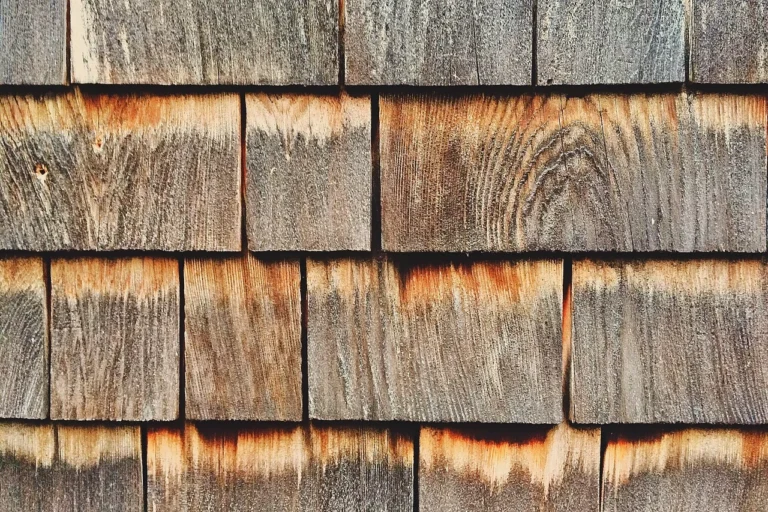
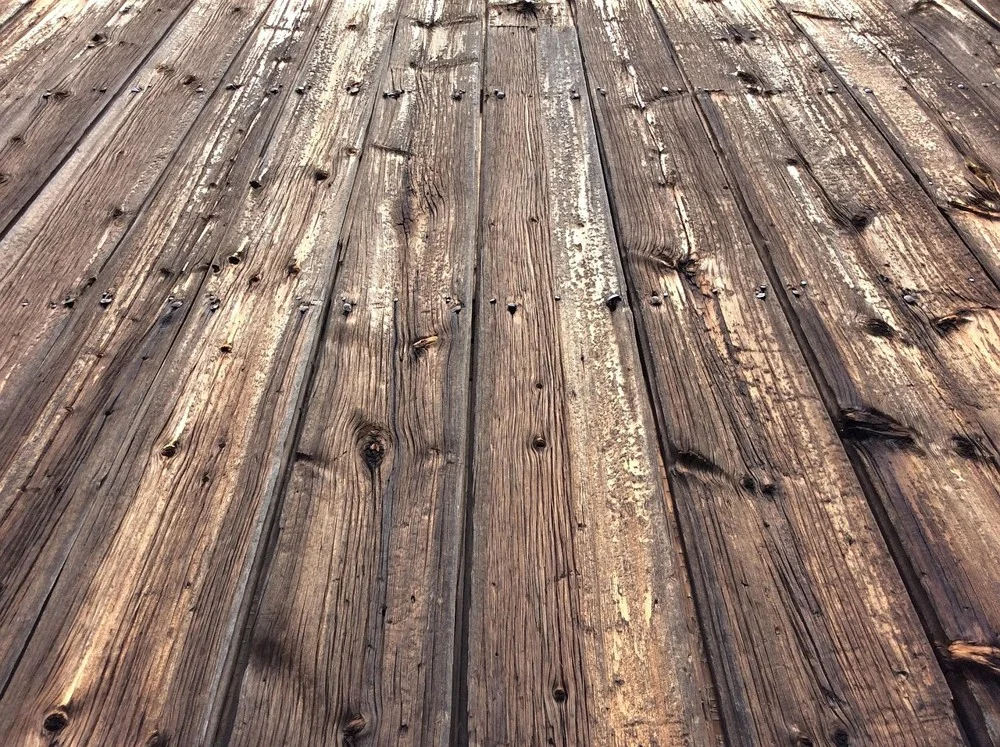
Reclaimed barn boards give a look you cannot buy in new lumber, but they need a short safety check first.
- Old paint. Lead-based paint was banned for use in homes in the United States in 1978, and many old barns and outbuildings are older than that. Use bare, weathered faces only. If a board is painted and you cannot rule out lead, skip it. Do not sand or wire-brush old paint on a board you have not cleared.
- Hidden metal. Nails, staples, and broken-off nail shanks are common in salvaged boards. Pull what you can see, run a strong magnet or a handheld metal detector along every face and edge, and expect to still hit something. A nail strike can chip a carbide tooth, so cut with an old blade if you have one.
- Moisture, mold, and bugs. Only use boards that are dry, firm, and free of soft rot or active insect holes. Let the boards sit indoors for a week or two before cutting so they stop moving.
- Dust. Old wood dust is fine and often carries dirt. Wear at least an N95 respirator, work outdoors or with dust collection, and vacuum rather than blowing dust around.
Our shop guide on using a wire brush on wood covers texturing technique, but only use it on bare wood you have cleared. If you would rather avoid all of this, a new pine 1×6 makes an identical stand.
Tablet Sizes and Stand Dimensions
Measure your own tablet with its case on before you cut anything. These published sizes are a starting point, and the case is what usually changes the numbers.
| Tablet | Approx. size (W x H x D, inches) | Minimum stand width | Lip gap with a thin case |
|---|---|---|---|
| iPad mini (6th generation) | 5.3 x 7.7 x 0.25 | 7 in | 1/2 in |
| iPad (10th generation) | 7.1 x 9.8 x 0.28 | 10 in | 1/2 in |
| Typical 10-inch Android tablet | 6.5 to 7 x 9.5 to 10 x 0.3 | 10 in | 1/2 in |
| Any tablet in a rugged case | Add about 0.3 to 0.5 in to each dimension | 12 in | 1 in |
The minimum stand width equals the tablet length in landscape plus a small margin. The lip gap is the horizontal distance between the lip and the backrest face; the tablet slot is a little wider than the tablet because the backrest is tilted.
Cut List and Tools
Board thickness for a nominal 1×6 is about 3/4 inch and the width is about 5-1/2 inches. Reclaimed boards vary, so measure yours and adjust.
| Part | Size (in) | Qty | Notes |
|---|---|---|---|
| Base | 3/4 x 5-1/2 x 10 | 1 | Square cuts, flat face up |
| Backrest | 3/4 x 5-1/2 x 10 | 1 | Bevel the bottom end 20 degrees off square |
| Front lip | 3/4 x 3/4 x 4 | 2 | Leave a 2-inch cable gap between them |
| Brace | 3/4 x 2 x 2, cut to a triangle | 1 | Glued and screwed behind the backrest |
| Screws | #8 x 1-1/2 in wood screws | 4 to 6 | Pilot holes required in old wood |
- Miter saw or hand saw with a miter box
- Drill with a 1/8 inch bit and a countersink bit
- Clamps and a small square
- Sandpaper in 80 and 120 grit, plus a sanding block
- A tablet or a cardboard cutout the same size for test fitting
Step-by-Step: Build the Stand
- Cut the base and backrest to 10 inches. Hold small pieces with a clamp rather than your hand, and keep your fingers at least 6 inches from the blade.
- Bevel the bottom of the backrest. Tilt the miter saw so the bottom end is cut 20 degrees off square. That angle lets the backrest sit flat on the base while leaning 70 degrees from horizontal. Test on a scrap first.
- Fit the pieces dry. Stand the backrest on the base with its bottom face about 2 inches from the rear edge and set the tablet against it. Adjust before gluing.
- Glue the joint. Sand the glue faces down to fresh wood first, because weathered surfaces bond poorly. Spread glue on the base and the beveled end and clamp the backrest at the marked line.
- Add the brace. Cut a triangle from a scrap, glue it to the back of the joint, and drive two screws through it into the backrest and two into the base. Drill pilot holes first: old wood is brittle and splits near ends.
- Screw through the base. Once the glue has held for the clamp time on the label, drive two countersunk screws up through the underside of the base into the backrest end.
- Attach the lip pieces. Glue and screw the two lip pieces across the base, 1/2 inch in front of the backrest face for a thin case, with a 2-inch gap between them.
Test the stand with your real tablet, in its case, in both orientations before you finish it. Nudge the lip position or trim the backrest height if the tablet sits too upright or too far back.
Sanding and Finishing the Holder
Sand the top of the lip and the edges the tablet touches to 120 grit so they will not scratch a screen or case. Leave the rest of the weathered surface alone; the texture is the point. Wipe off all dust with a dry cloth.
For finish, a wipe-on oil or a thin wipe-on polyurethane keeps the rustic look while protecting against rings and fingerprints. Our comparison of Danish oil vs polyurethane helps you choose, and the wood finishing guide covers cure times. Two safety notes: let the finish cure fully before setting a tablet on it, and lay oily rags flat outdoors to dry, since a crumpled pile can heat up and ignite.
Common Problems and Fixes
The stand tips backward
The backrest is too far forward or the base is too shallow. Move the backrest bottom back toward 2 inches from the rear edge, or glue a longer base underneath.
The tablet slides forward
The lip is too low or too far forward. Move it closer to the backrest, or replace it with a slightly thicker strip. A thin strip of self-adhesive felt on the lip also adds grip.
The wood splits when screwing
Old boards are dry and brittle. Drill a pilot hole slightly smaller than the screw shank, and keep screws at least 1/2 inch from board ends.
The backrest wobbles
The glue joint was clamped too loosely or the faces were dusty. Remove the backrest, sand both faces to fresh wood, reglue, and rely on the brace as reinforcement. For related repair advice, see our guide to gluing a split in solid wood.
Frequently Asked Questions
Is barnwood safe to use for a tablet holder?
It can be, if you check it first. Old barn boards can carry lead paint, embedded nails, mold, or insects. Choose bare, dry, solid boards, remove or avoid painted faces, pull every nail, and wear a respirator when you sand. If the wood is painted and you cannot rule out lead, use a different board.
What angle should a tablet holder be?
About 65 to 70 degrees from horizontal is a comfortable starting point for a desk, and it is what the cut list here uses. Tilt it back further toward 60 degrees for touch typing on a tablet, or stand it more upright for video calls. Cut a scrap version first and adjust before you cut the good board.
Can I use pine instead of barnwood?
Yes. Any dry 1×6 board works with the same cut list. Pine is softer and dents more easily, but it is cheap, easy to find, and free of the lead and nail concerns that come with salvaged barn boards.
How thick should the slot be for a tablet with a case?
Measure the tablet with its case on, then add about 1/8 inch of clearance. A bare tablet is roughly 1/4 to 5/16 inch thick and a rugged case can push that past 3/4 inch, so set the lip gap to the case, not the tablet alone.
What finish is best for a rustic tablet holder?
A wipe-on oil or a thin wipe-on polyurethane keeps the weathered texture and gives light protection against ring marks and fingerprints. Let the finish cure fully before setting a tablet on it, and lay oily rags flat to dry outdoors so they cannot self-heat.
Conclusion
A barnwood tablet holder is a quick build if you respect the wood: check for lead paint and nails, keep the backrest at about 70 degrees, position it near the rear of the base, and size the lip gap to the tablet in its case. For more projects that use scrap and reclaimed boards, browse our woodworking projects for adults, or see how to work with reclaimed wood in our guide to building a barn door from reclaimed wood.
Sponsored / affiliate links. As an Amazon Associate I earn from qualifying purchases. I may earn additional commission from eligible campaigns.