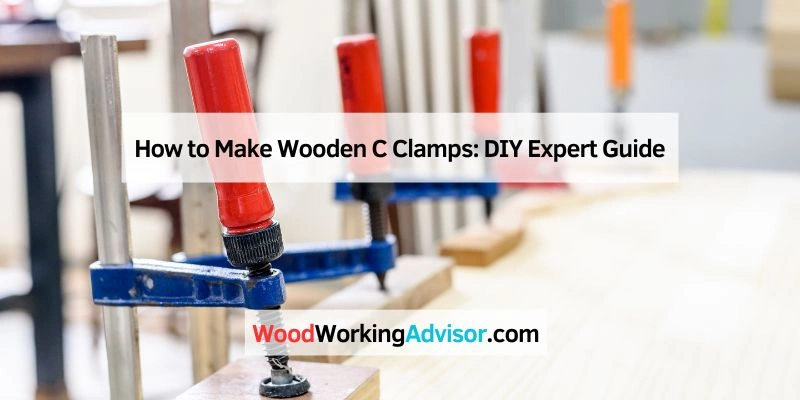
How to Make Wooden C-Clamps: A Step-by-Step DIY Guide
To make a wooden C-clamp, cut a C-shaped frame from a single thick blank (or laminate one from scrap), drill a threaded hole or insert a T-nut in the fixed jaw, and thread a bolt or dowel screw through it so it presses against a swiveling pad on the opposite end. A 3/4-inch-thick hardwood blank and a 5/16-inch bolt make a clamp strong enough for most shop glue-ups.
A shop-made wooden C-clamp will never match the clamping force of a cast-iron F-clamp, but for light glue-ups, holding jigs together, or clamping delicate work where a metal clamp’s jaws might mar the surface, a wooden one does the job and costs almost nothing to build from scrap.
Materials And Tools
Best For The Clamp’s Screw Mechanism
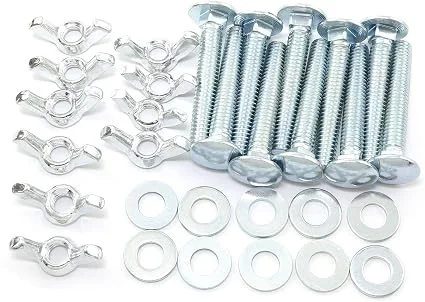 |
Carriage Bolt & Wing Nut Kit, 5/16-18 x 2″ (10-Pack) – $11.99 Skip cutting your own threaded dowel screw – this kit gives you the bolt, wing nut, and washers needed for the clamp’s tightening mechanism in one purchase.
|
Use a dense hardwood for the frame – maple, oak, or beech hold up to repeated clamping pressure far better than pine or other softwoods, which will compress and lose grip strength at the jaws over time.
- A hardwood blank at least 3/4″ thick – maple, oak, or beech
- A 5/16″ or 3/8″ threaded bolt (or a wooden dowel screw if you want an all-wood build) and a matching wing nut or T-nut
- A bandsaw or jigsaw for cutting the C profile
- A drill press (a handheld drill works, but a drill press keeps the screw hole square to the jaw face)
- Sandpaper (120 and 220 grit) and a wood finish (oil or wipe-on poly)
- A small scrap of leather or cork for the swivel pad, optional but recommended
Designing The Clamp
Sketch the C profile before cutting. Decide the throat depth (how far the jaws reach from the edge of the material) and the jaw opening (the maximum thickness of material the clamp needs to hold) based on what you’ll actually be clamping – a small 4-6″ clamp for jigs and box joinery, or a deeper-throated one for glue-ups on wider panels.
Trace the design onto your blank, keeping the section around the screw hole extra thick – that’s where the clamping force concentrates and where a thin wooden clamp is most likely to crack.
Cutting And Shaping The Frame
Cut the C profile on a bandsaw or with a jigsaw, staying just outside your line, then clean up to the line with a spokeshave, rasp, or sander. Keep the inside curve of the C smooth – stress concentrates at sharp inside corners and is a common place for these clamps to eventually crack.
Drill the screw hole through the top of the C, sized to match your bolt or dowel screw. If you’re using a metal bolt and wing nut, drill straight through and let the wing nut ride against the outside face; if you want a wooden screw thread instead, you’ll need a thread-cutting tap set sized for wood, sold specifically for this purpose.
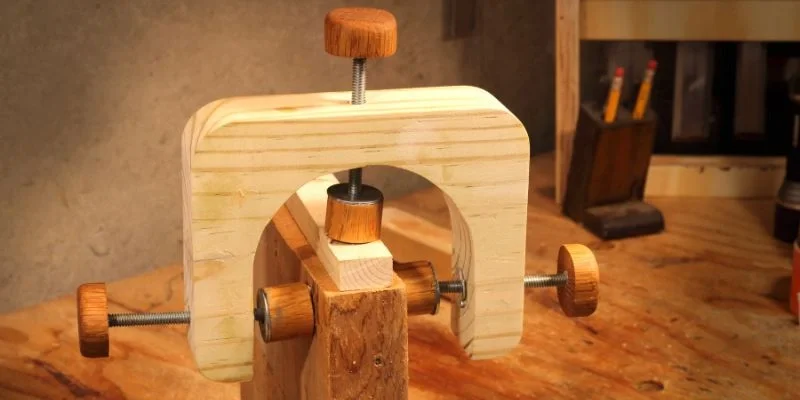
Adding The Screw Mechanism And Swivel Pad
Thread the bolt through the hole from the outside, with the wing nut on the outer face so it can be hand-tightened. On the inner face, glue a small block of hardwood or plywood to the bolt tip (or drill a shallow recess and let the bolt tip spin freely in it) – this becomes the swivel pad that actually contacts your workpiece.
Gluing a thin scrap of leather or cork to the swivel pad protects delicate or finished workpieces from the bolt tip biting in, the same reason padded jaw covers exist for metal clamps.
Sanding And Finishing
- Sand the whole clamp through 120 then 220 grit, working in the direction of the grain.
- Break every sharp edge with a light pass of sandpaper – sharp edges on a clamp you’re gripping by hand get uncomfortable fast.
- Wipe off dust, then apply a wood finish – a wipe-on oil or polyurethane both work well and won’t gum up the moving screw mechanism the way a thick film finish can.
- Let the finish cure fully before use, especially around the screw threads.
Using And Maintaining Your Clamp
Tighten by hand only – a wooden C-clamp doesn’t have the strength margin of a cast-iron clamp, and over-tightening with pliers or a wrench on the wing nut is the most common way these fail. Snug is enough for most glue-ups; you don’t need crushing pressure for wood glue to bond well.
Store clamps somewhere dry – unlike a metal clamp’s concern with rust, a wooden clamp’s main enemy is humidity swings that can loosen glued joints or warp the frame over time. A light coat of paste wax on the threads keeps the screw turning smoothly.
Frequently Asked Questions
What wood is best for making C-clamps?
Dense hardwoods hold up best – maple, oak, and beech are common choices. Avoid softwoods like pine, which compress under repeated clamping pressure and lose grip strength at the jaws over time.
What size bolt should I use for the screw mechanism?
A 5/16″ or 3/8″ bolt works well for most hobbyist-sized clamps. Match the bolt diameter to the drilled hole and use a wing nut so the clamp can be hand-tightened without tools.
How much clamping force can a wooden C-clamp handle?
Enough for typical glue-ups and light-duty holding, but noticeably less than a cast-iron clamp of the same size. Tighten by hand only – the wood frame doesn’t have the strength margin to safely take tool-assisted over-tightening.
Can I make the screw entirely out of wood instead of using a metal bolt?
Yes, using a wood-threading tap and die set made for this purpose, which cuts matching threads into a wooden dowel and the frame’s hole. It takes more setup than a hardware-store bolt but makes an all-wood clamp.
Conclusion
A shop-made wooden C-clamp is a straightforward weekend project: a hardwood C-shaped frame, a threaded bolt and wing nut for the screw mechanism, and a padded swivel block to protect your work. It won’t replace a cast-iron clamp for heavy glue-ups, but for jigs, light holding, and delicate finished surfaces, it’s a durable, low-cost tool you can build to whatever size your projects actually need.
Sponsored / affiliate links. As an Amazon Associate I earn from qualifying purchases. I may earn additional commission from eligible campaigns.