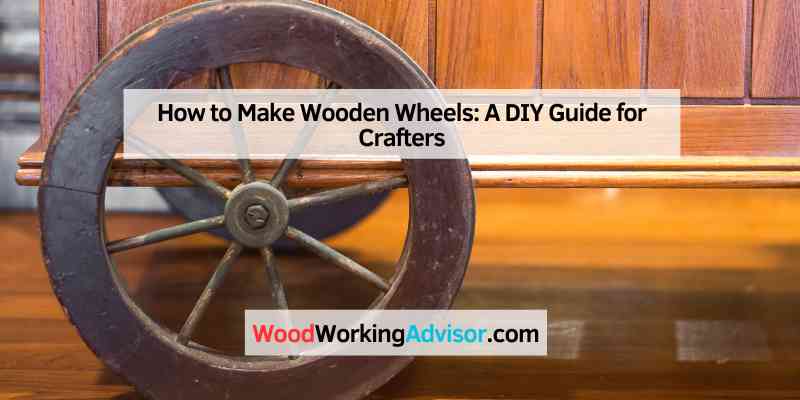
How to Make Wooden Wheels: A DIY Guide for Crafters
To make wooden wheels, select suitable wood like hardwood or plywood. Cut the wood into a circular shape, then smooth the edges.
Creating wooden wheels combines craftsmanship and creativity. These wheels serve various purposes, from toy projects to functional carts. Understanding the basic steps enhances your woodworking skills. Choosing the right materials ensures durability and performance. Using tools like a jigsaw or bandsaw helps achieve precise cuts.
Sanding the edges provides a smooth finish for better movement. This guide simplifies the process, making it accessible for beginners and experts alike. Explore the joy of crafting wooden wheels, and bring your projects to life. Discover how satisfying it is to create functional art with your hands.
Introduction To Wooden Wheel Crafting
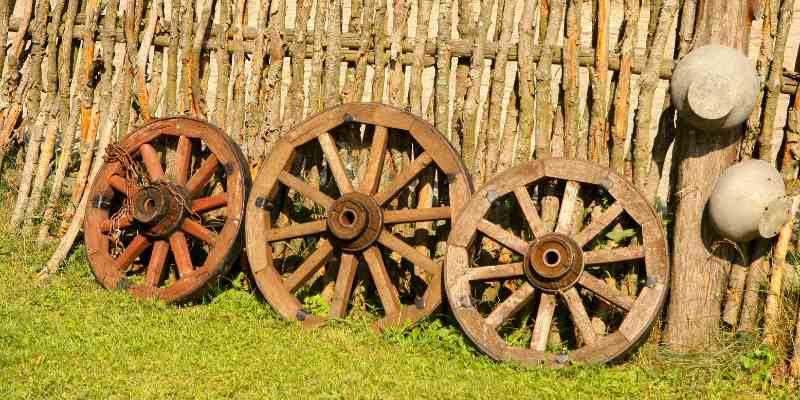
Wooden wheels have a unique charm. Their handcrafted nature makes them special. Many people enjoy making these wheels.
Crafting wooden wheels offers satisfaction and a sense of accomplishment. Each wheel tells a story. The materials used also enhance their beauty.
| Application | Description |
|---|---|
| Toys | Wooden wheels are great for toy cars and wagons. |
| Furniture | They can add a rustic touch to furniture pieces. |
| Decor | Use them in home decor for a vintage look. |
| Craft Projects | Perfect for various craft projects and DIY activities. |
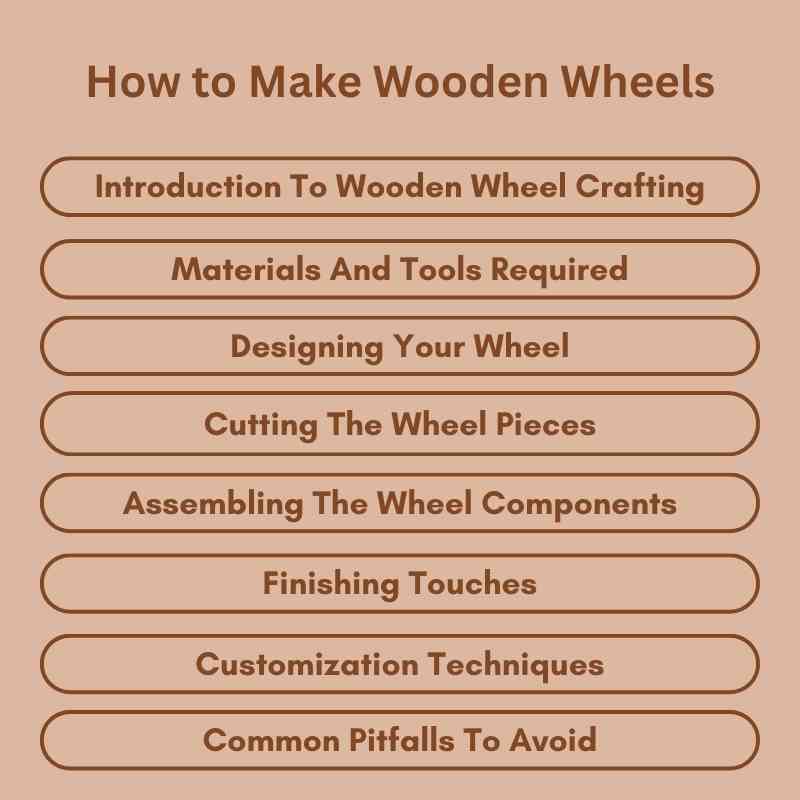
Materials And Tools Required
Choosing the right type of wood is important for making durable wheels. Hardwoods like oak and maple are great options. They provide strength and stability. Softwoods like pine can work too, but they may wear out faster.
Essential tools for wheel making include a saw, a chisel, and a drill. A lathe helps shape the wheels perfectly. A measuring tape ensures accurate dimensions. Safety gear like gloves and goggles protects while working.
| Tool | Purpose |
|---|---|
| Saw | Cut wood to size |
| Chisel | Shape and refine edges |
| Drill | Create holes for axles |
| Lathe | Shape wheels evenly |
| Measuring Tape | Ensure accurate measurements |
Designing Your Wheel
Designing your wooden wheel starts with determining dimensions and scale. Measure the size you want. Consider the wheel’s purpose. A larger wheel rolls easier but may be heavy. A smaller wheel is lightweight but harder to roll.
Next, create a template for consistency. Use cardboard or paper to draw the wheel shape. Cut it out carefully. This template helps in tracing the design on wood. Ensure the template matches the desired size. Consistency is key for smooth rolling.
Cutting The Wheel Pieces
To cut the wheel pieces, use the right tools. Always wear safety goggles. Ensure the area is clear of obstacles. Hold the cutting tool firmly and follow guidelines.
For shaping the outer rim, start with a template. Trace the shape onto the wood. Use a jigsaw for smooth edges. Sand the rim for a finer finish.
Making spokes requires careful measurement. Cut each spoke to the same length. Use a drill to create holes in the wheel. Ensure the holes are evenly spaced for balance.
Assembling The Wheel Components
Start by attaching the spokes to the hub. Ensure each spoke fits snugly. Use wood glue or nails for a strong bond. Check that all spokes are evenly spaced.
Next, fit the rim onto the spokes. Align the rim with the spokes carefully. Press down gently to avoid any cracks. Secure the rim with screws or more glue. This will create a strong wheel structure.
Make sure everything is tight and secure. A well-assembled wheel will roll smoothly. Inspect your work to ensure no loose parts remain.
Finishing Touches
Start with sanding your wooden wheels. Use fine-grit sandpaper for a smooth finish. Focus on edges and surfaces. This helps remove rough spots and splinters.
After sanding, seal the wood to protect it. Choose a wood sealer or varnish. Apply it evenly using a brush. Let it dry completely before using the wheels.
Sealing helps prevent water damage and wear. It keeps the wood looking great for a long time. Regularly check and reapply the sealant as needed.
Customization Techniques
Carving wooden wheels can create unique designs. Use sharp tools for clean cuts. Take your time to ensure accuracy. Consider patterns that reflect your style.
Engraving adds depth to the design. Choose simple shapes for best results. Practice on scrap wood before working on the final piece.
Painting wooden wheels can show your personality. Use bright colors for a fun look. Select stains to enhance the wood’s natural beauty.
Apply a clear coat after painting. This protects the wood and paint. Experiment with different techniques for a custom finish.
Common Pitfalls To Avoid
Misalignment can ruin your wooden wheels. Always double-check measurements before cutting. Use a square to ensure accuracy. Mark your wood clearly to avoid confusion. Take your time during assembly to prevent mistakes.
Wood splitting is a common problem. Select high-quality wood for better results. Keep wood moist before cutting to reduce splits. Use the right tools, like a sharp saw, for clean cuts. Sand the edges smoothly to prevent further cracking.
Maintenance And Care
Wooden wheels need regular cleaning for best results. Use a soft cloth to wipe them down. Avoid harsh chemicals that can damage the wood. A gentle soap solution works well for tough dirt.
Inspect the wheels regularly for any signs of wear. Check for cracks or splinters. Sand down rough areas to keep the surface smooth. This helps in maintaining the wheels’ strength.
To preserve wooden wheels long-term, store them in a dry place. Humidity can cause the wood to warp. Applying a coat of wood oil protects against moisture. This also enhances the wood’s natural beauty.
Consider using a wax finish to add extra protection. Wax helps in keeping dirt away and makes cleaning easier. Regularly check the wheels for any signs of damage.
Innovative Projects Using Wooden Wheels
Wooden wheels can spark creativity in homemade toys and games. Kids love to play with simple toys like cars and carts. Building these toys helps develop fine motor skills. Use colorful paints to make them visually appealing.
Creating decorative and functional furniture is also possible with wooden wheels. They can turn a simple table into a rolling cart. This adds style and practicality to any space. Consider making a bookshelf with wheels for easy movement.
Wooden wheels offer endless possibilities for fun and useful projects. They encourage imaginative play and can beautify your home.
Frequently Asked Questions
How Do You Make Wooden Wheels?
To make wooden wheels, start by selecting the right type of wood. Cut the wood into circular shapes using a saw. Sand the edges for smoothness and attach an axle. Ensure the wheels are balanced for optimal performance. Finish with a protective sealant for durability.
What Tools Are Needed For Wooden Wheels?
Essential tools include a saw, drill, and sander. A lathe can help achieve a perfect round shape. Clamps are useful for holding pieces together while working. Additionally, measuring tools ensure accuracy in dimensions. These tools will make the process easier and more efficient.
Can Wooden Wheels Be Used For Toys?
Yes, wooden wheels are commonly used for toys. They are safe, durable, and provide a classic aesthetic. Ensure the wheels are sized appropriately for the toy’s scale. Properly sanded and finished wheels enhance safety and playability. Kids enjoy the tactile experience of wooden toys.
What Types Of Wood Are Best For Wheels?
Hardwoods like maple, oak, and birch are ideal for wooden wheels. They offer strength and durability, essential for functionality. Softwoods like pine can also work but may wear out faster. Choose wood based on the intended use and desired aesthetics.
Proper sealing enhances longevity.
Conclusion
Making wooden wheels is a rewarding project that enhances your woodworking skills. By following the steps outlined, anyone can create functional and beautiful wheels. Experiment with different designs and finishes to customize your work. Enjoy the process, and let your creativity shine through each wheel you craft.
Happy woodworking!