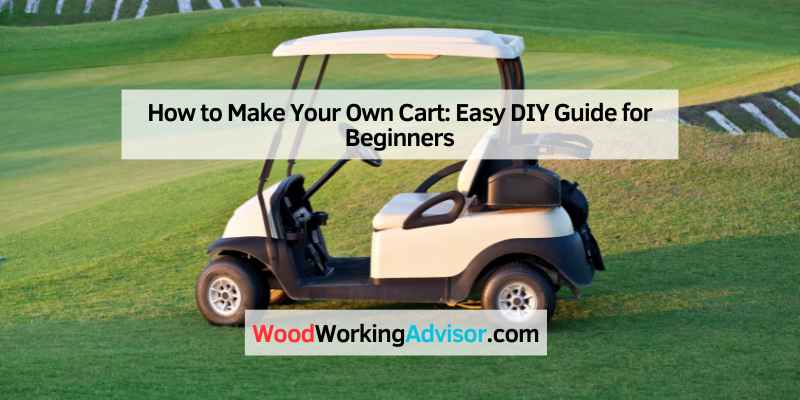
How to Make Your Own Cart: Easy DIY Guide for Beginners
To make your own cart, gather materials like wood, wheels, and tools. Follow a simple design plan to assemble it effectively.
Creating your own cart can be a rewarding project that combines creativity and functionality. Whether you need it for gardening, transporting items, or recreational use, a DIY cart is versatile. Customizing a cart allows you to tailor it to your specific needs.
You can choose the dimensions, materials, and style that best suit your preferences. This guide will walk you through the essential steps and materials required for building a cart. With a little time and effort, you can construct a durable cart that meets your requirements. Let’s dive into the process and start crafting your personalized cart today!
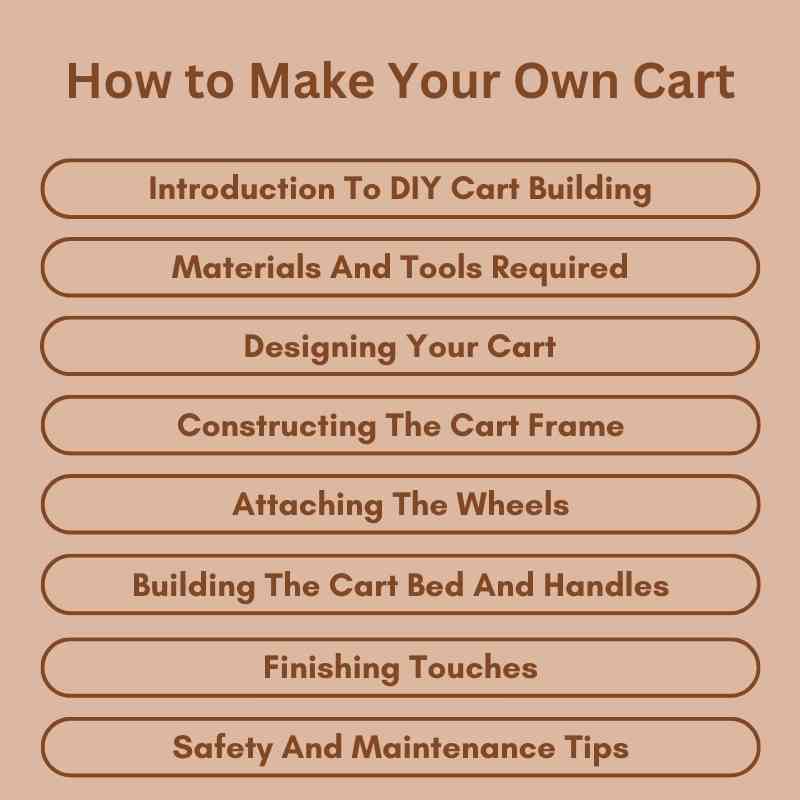
Introduction To DIY Cart Building
Building your own cart is fun and rewarding. It lets you create a cart that fits your needs perfectly. You can choose the materials and design. This guide will help you through the process step by step.
Why Build Your Own Cart?
Creating a DIY cart has several benefits:
- Customization: Design the cart to suit your specific needs.
- Cost-effective: Save money compared to buying a pre-made cart.
- Quality Control: Choose high-quality materials for durability.
- Skill Development: Learn new skills in woodworking or metalworking.
- Fun Project: Enjoy the process of building something yourself.
What You Can Expect From This Guide
This guide will provide clear steps to build your cart. Here’s what you can expect:
- Materials List: A detailed list of everything you’ll need.
- Tools Required: A list of tools to gather before starting.
- Step-by-Step Instructions: Easy-to-follow steps for building your cart.
- Safety Tips: Important safety measures to keep you safe.
- Maintenance Advice: How to care for your cart after building it.
This guide makes cart building simple and enjoyable.
Materials And Tools Required
Building your own cart is a fun project. Choosing the right materials and tools is essential. This section highlights what you need.
Choosing The Right Materials
Using quality materials ensures your cart is strong and durable. Here are some common materials:
- Wood: Plywood or hardwood works well.
- Metal: Steel or aluminum for added strength.
- Plastic: Lightweight and weather-resistant options.
- Wheels: Choose sturdy wheels for smooth movement.
- Fasteners: Screws, nails, and brackets for assembly.
Consider the cart’s purpose. Will it carry heavy items? Select materials based on that need. For garden carts, wood and wheels are great choices. For utility carts, metal or plastic may be better.
Essential Tools For The Build
Gathering the right tools is crucial for your cart project. Below is a list of essential tools:
| Tool | Purpose |
|---|---|
| Measuring Tape | For accurate measurements |
| Saw | To cut wood or metal |
| Drill | For making holes and driving screws |
| Screwdriver | To tighten screws |
| Sandpaper | To smooth surfaces |
| Wrench | To tighten bolts |
Ensure you have safety gear too. Use gloves and goggles. They protect you while working.
Designing Your Cart
Designing your own cart is an exciting project. It allows you to express creativity. You can customize it to fit your needs. Follow these steps for a successful design.
Selecting A Cart Style
Choose a style that matches your purpose. Different styles serve various functions. Here are some common cart styles:
- Utility Cart: Great for carrying tools or groceries.
- Garden Cart: Ideal for moving plants and soil.
- Shopping Cart: Perfect for easy store trips.
- Bike Cart: Designed for hauling items while cycling.
Pick a style that fits your lifestyle. Consider the materials you want to use. Metal, wood, and plastic are common choices.
Creating A Blueprint
A blueprint helps visualize your cart. Start by measuring the space where you will use it. Follow these steps to create a blueprint:
- Determine the cart’s dimensions.
- Sketch the design on paper.
- Include details like wheels and handles.
Consider the weight capacity. Make sure it can hold everything you need. Use clear, bold lines for your design. This makes it easier to follow.
After sketching, review your blueprint. Ensure it meets your needs. Make adjustments if necessary. A solid plan leads to a great cart.
Constructing The Cart Frame
Building a strong cart frame is essential for durability. This section covers cutting materials and assembling the frame. Follow these steps carefully for the best results.
Cutting The Materials
Start by gathering your materials. You’ll need:
- Wood planks (2×4 inches work well)
- Screws (1.5 inches long)
- Wood glue for added strength
- Sandpaper for smoothing edges
Use the following steps to cut your materials:
- Measure the desired cart dimensions.
- Mark the wood planks carefully.
- Use a saw to cut the planks.
- Sand the edges until smooth.
Assembling The Frame
Next, assemble the frame using the cut pieces. Follow these steps:
- Lay out the base pieces in a rectangle.
- Attach the corners using screws.
- Ensure the frame is square by measuring diagonally.
- Apply wood glue at each joint for extra strength.
For better stability, consider adding cross supports:
| Support Type | Location | Purpose |
|---|---|---|
| Diagonal | Between corners | Increases stability |
| Horizontal | Center of sides | Prevents bending |
Ensure all screws are tight. Check for any wobbling. A sturdy frame will support your cart’s weight.
Attaching The Wheels
Attaching wheels to your cart is essential for smooth movement. The right wheels make your cart more efficient. This section covers types of wheels and how to secure them properly.
Types Of Wheels For Your Cart
Choosing the right wheels is important. Different wheels serve different purposes. Here are some common types:
| Wheel Type | Best For | Material |
|---|---|---|
| Rubber Wheels | Smooth surfaces | Rubber |
| Plastic Wheels | Lightweight carts | Plastic |
| Metal Wheels | Heavy-duty use | Metal |
| Swivel Wheels | Easy maneuvering | Rubber/Plastic |
Securing The Wheels Properly
Securing wheels ensures stability and safety. Follow these steps to secure the wheels:
- Gather Tools: You’ll need a wrench, screws, and washers.
- Position the Wheel: Place the wheel on the axle.
- Insert Screws: Use screws to attach the wheel to the axle.
- Add Washers: Place washers for extra support.
- Tighten Everything: Use the wrench to tighten screws securely.
Check the wheels for any wobbling. Properly secured wheels make your cart safe and easy to use.
Building The Cart Bed And Handles
Creating a cart involves two main parts: the bed and the handles. The bed supports your load, while the handles allow easy movement. Let’s explore how to build both effectively.
Crafting A Sturdy Bed
The bed of your cart should be strong and durable. Follow these steps to craft a reliable cart bed:
- Choose a strong material like plywood or solid wood.
- Measure the dimensions based on your needs. Common sizes are:
| Length (inches) | Width (inches) |
|---|---|
| 36 | 24 |
| 48 | 30 |
| 60 | 36 |
Cut the material to size using a saw. Sand the edges for safety. Securely attach the bed to the frame using screws. This ensures strength and stability.
Fixing Handles For Maneuverability
Handles make your cart easy to push or pull. They should be comfortable and sturdy. Here’s how to fix handles:
- Select a strong material, like metal or hardwood.
- Measure the height for comfort. Aim for around 36 inches.
- Attach the handles to the sides of the cart bed.
Use brackets or screws to secure the handles. Ensure they are at a comfortable angle. Test the handles to make sure they can support weight.
Finishing Touches
After building your cart, focus on the finishing touches. These details enhance both appearance and functionality. A little effort here makes a big difference.
Sanding And Painting
Sanding and painting are vital for a polished look. Start with sanding the cart. Use medium-grit sandpaper to remove rough edges. Follow with fine-grit sandpaper for a smooth finish.
- Sand all surfaces evenly.
- Pay attention to corners and joints.
- Wipe away dust with a damp cloth.
Next, choose your paint. Use weather-resistant paint for outdoor carts. For indoor carts, pick vibrant colors. Use a brush or spray paint for even application.
- Apply a primer for better adhesion.
- Let the primer dry completely.
- Apply at least two coats of paint.
- Allow the final coat to dry thoroughly.
Adding Personalized Features
Personalizing your cart makes it unique. Consider adding features that reflect your style. Here are some ideas:
- Attach a nameplate with your name.
- Add decorative stickers or decals.
- Incorporate storage bins for organization.
- Install hooks for tools or bags.
Think about functionality too. Add wheels for easy movement. Choose colors that match your home or garden. Personal touches create a cart you will love.
| Feature | Description |
|---|---|
| Nameplate | Displays your name or a fun phrase. |
| Stickers | Adds color and personality. |
| Storage Bins | Helps keep items organized. |
| Wheels | Makes moving the cart easy. |
Safety And Maintenance Tips
Building your own cart is exciting. Safety and maintenance are crucial. Follow these tips to keep your cart in top shape.
Regular Check-ups
Check your cart regularly. This helps catch problems early. Here are key areas to inspect:
- Wheels: Look for wear and tear.
- Brakes: Ensure they function properly.
- Frame: Check for rust or cracks.
- Fasteners: Tighten any loose bolts or screws.
Set a schedule for check-ups. Once a month works well. Keep a checklist to track your inspections.
Storing Your Cart
Proper storage protects your cart. Follow these tips for safe storage:
| Storage Tip | Description |
|---|---|
| Dry Location | Store in a dry place to prevent rust. |
| Cover | Use a tarp or cover to shield from dust. |
| Elevate | Keep off the ground to avoid moisture. |
Keep your cart away from heavy items. This prevents damage. Regular maintenance extends your cart’s life.
Making The Most Of Your Diy Cart
Your DIY cart can be more than just a project. It serves many practical uses. With a little creativity, it becomes an essential part of your home.
Practical Uses For Your Cart
Think of ways to utilize your cart. Here are some ideas:
- Garden Transport: Move plants, soil, and tools easily.
- Storage Solution: Keep toys, books, or craft supplies organized.
- Mobile Bar: Serve drinks at parties or gatherings.
- Grocery Helper: Carry bags from the car to your kitchen.
- Outdoor Picnic: Load up for a fun day at the park.
Inspiration For Future Projects
Your cart can inspire many new DIY ideas. Consider these projects:
- Mini Workbench: Convert it into a portable workspace.
- Art Station: Create a mobile area for your art supplies.
- Pet Station: Store pet food and supplies in one place.
- Tool Organizer: Keep tools and hardware tidy and accessible.
Each use adds value to your cart. Get inspired and start creating!
Frequently Asked Questions
How Do I Start Building A Cart?
To start building your own cart, gather materials like wood, wheels, and tools. First, sketch a design that suits your needs. Next, measure and cut the materials according to your plan. Assemble the pieces, ensuring everything is secure. Finally, finish it with paint or varnish for durability.
What Materials Do I Need For A Cart?
Essential materials for building a cart include wood, wheels, screws, and tools. Choose sturdy wood for the frame and base. Select wheels that can support the cart’s weight. Additionally, you may need paint or varnish for a protective finish. Ensure all materials are suitable for outdoor use if necessary.
How Long Does It Take To Build A Cart?
The time it takes to build a cart varies by complexity. A simple cart may take a few hours, while a detailed design could require several days. Factors include your skill level, available tools, and the materials used. Plan accordingly to ensure a smooth building process.
Can I Customize My Cart Design?
Absolutely! Customizing your cart design is one of the best aspects of building your own. You can adjust dimensions, add features, or choose different materials. Personalizing your cart ensures it meets your specific needs and style preferences. Be creative and make it uniquely yours!
Conclusion
Creating your own cart is a rewarding project. It allows for customization and creativity. Follow the steps outlined, and you’ll have a functional cart in no time. Remember to prioritize safety and quality materials. With some effort, you’ll enjoy the satisfaction of your handmade cart for years to come.
Happy building!