DIY Wood Table Legs: Styles, Joinery, and Build Basics
Yes, but thin material (3/4″ / 1.8-2cm stock or thinner, including plywood) needs to be laminated into a thicker blank or reinforced with proper joinery before it can safely carry table-leg loads — a single layer that thin will flex and eventually crack at the joint under normal use. Standard table legs run 1.5-2 inches (3.8-5cm) square for dining-height tables; anything thinner works fine for a light side table but isn’t structural on its own for anything people will lean on.
Building your own legs also means real savings and full control over height, style, and joinery — this guide covers wood choice, the four common leg styles, how to cut and join them safely, and how to attach them so the table doesn’t wobble.
Introduction To DIY Table Legs
Building your own table legs saves money over pre-made legs, lets you match the exact height and style your project needs, and is a genuinely approachable project for a beginner with basic tools. You’ll need: leg stock (see wood selection below), a saw for cutting to length, a drill, wood glue, clamps, sandpaper, and a finish of your choice. Safety glasses and hearing protection are worth having on hand for any power tool cutting.
Best For A No-Joinery Build
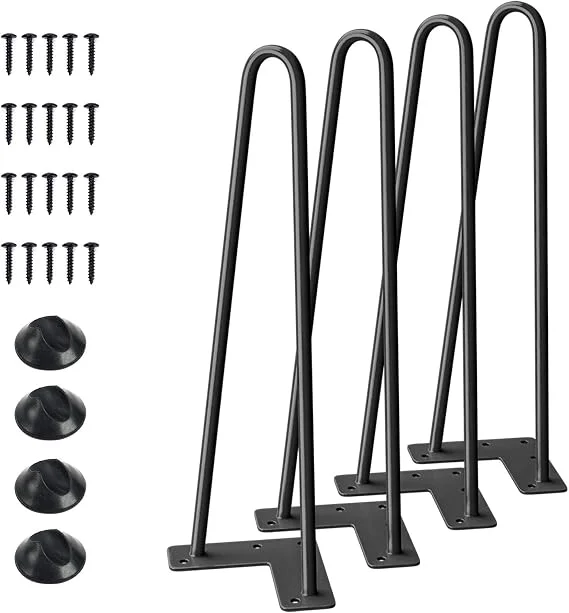 |
SMARTSTANDARD 16″ Hairpin Furniture Legs, 4PCS – $19.99 Skips leg-building entirely — screw these into a tabletop or apron for a modern look with no joinery required.
|
Can You Use Thin Wood Or Plywood For Table Legs?
This is a common question because 3/4″ (about 1.8-2cm) is the thickness most home-center lumber and plywood comes in, and it’s tempting to build legs straight from a single board that size. For a small accent table or plant stand under light load, a single 3/4″ board can work if you widen it (a 3-4 inch wide leg rather than a thin 1.5″ square profile) and use solid joinery. For a dining table, desk, or anything that gets leaned on or bumped, laminate two or three layers of 3/4″ stock face-to-face with wood glue and clamps to build up a solid 1.5-2.25 inch square blank — this is standard practice and far stronger than relying on a single thin layer.
Plywood specifically is workable for legs if you laminate multiple layers (plywood’s cross-grain construction actually resists warping better than solid wood once built up) and finish the exposed edges cleanly with edge banding or a solid-wood edge strip, since raw plywood edge grain looks unfinished and can chip. A single layer of 3/4″ plywood used as-is for a leg will flex noticeably and is not recommended for anything load-bearing.
Choosing The Right Wood
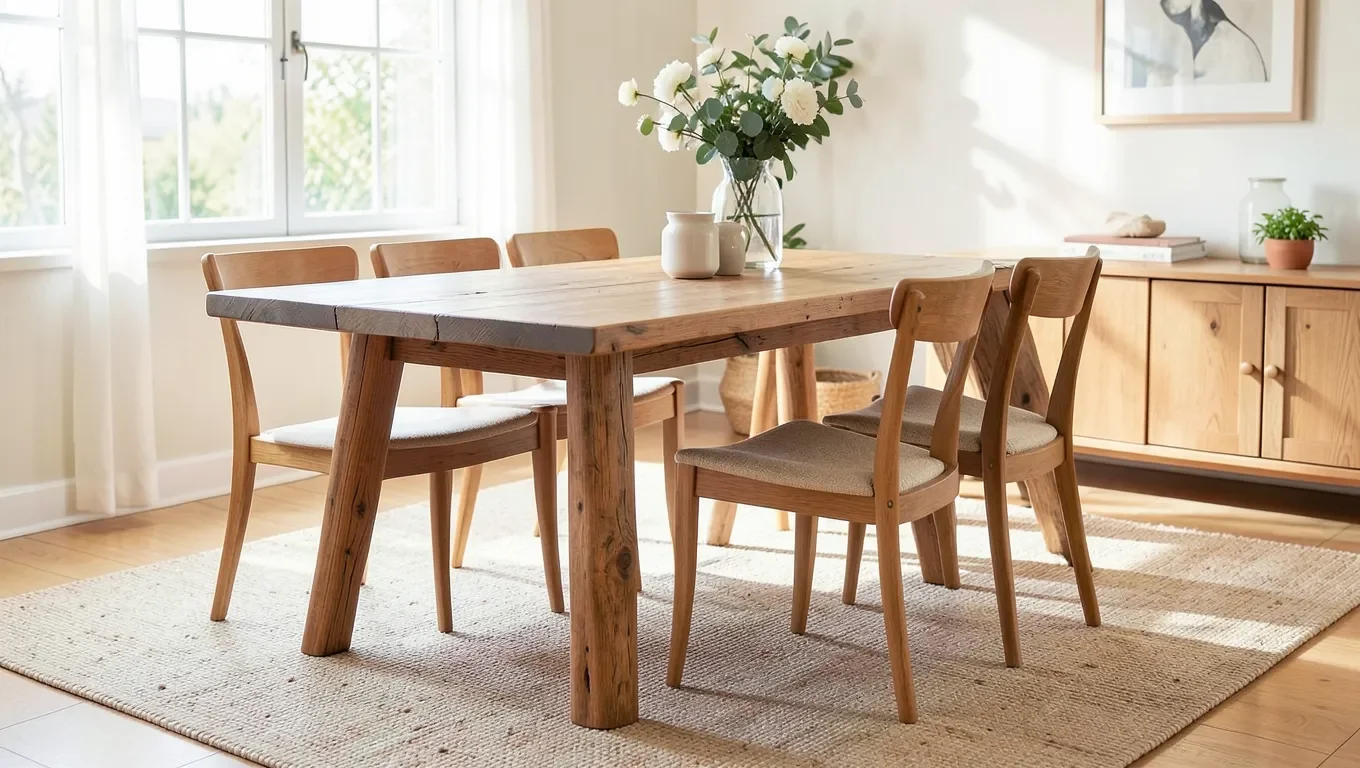
Hardwoods like oak, maple, and walnut are the strongest choice for load-bearing legs and hold fine joinery (mortises, dowels) well, at a higher material cost. Softwoods like pine are cheaper and easier to cut and shape by hand, but are softer and more prone to denting; they work fine for legs that are laminated up to full thickness or paired with simple hardware-based attachment. Reclaimed wood gives a rustic look and is often already the right thickness from old furniture or barn stock, but check it for hidden nails, rot, or insect damage before using it structurally.
Designing Your Table Legs
Straight legs are the simplest to build and most forgiving for a first project. Tapered legs (wider at the top, narrower at the bottom) look more refined and are cut on a table saw with a simple tapering jig. Turned legs need a lathe and more skill but give a classic, decorative look. Hairpin legs are typically bought as metal hardware (see the product above) rather than built from wood, and mount directly to a tabletop or apron.
Measure your target table height (standard dining height is 28-30 inches, desk height is typically 28-30 inches, coffee table height is 16-18 inches) and subtract the tabletop’s thickness to get your leg length. Sketch the design before cutting, and double-check every measurement against the actual tabletop rather than a generic spec.
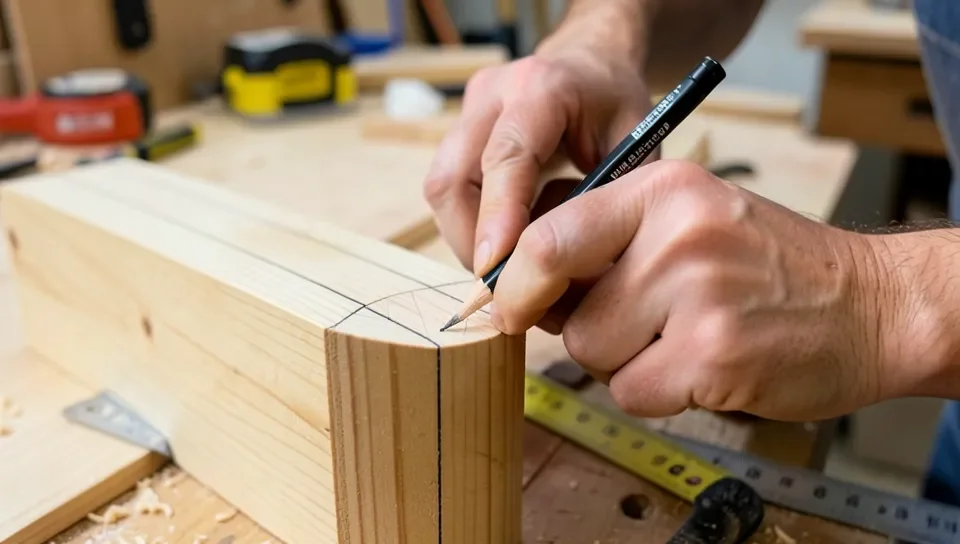
Cutting And Shaping The Wood
Wear safety glasses and hearing protection, keep the work area clear of clutter, and make sure your saw blade is sharp before starting — a dull blade forces more pressure and is a common cause of kickback. Mark all cut lines with a pencil and a square, double-check measurements before cutting, and clamp the wood securely rather than freehanding a cut.
Cut all four legs to the exact same length in one setup if possible (using a stop block on a miter saw or table saw sled) rather than measuring each leg individually — this is the single biggest factor in avoiding a wobbly table from mismatched leg lengths.
Sanding And Smoothing
Start with 60-80 grit to remove saw marks and any large splinters, move to 120-grit to smooth the surface, then finish with 220-grit for a surface ready to accept stain or finish. Sand in the direction of the grain to avoid visible scratches, and use a sanding block on flat faces to keep pressure even.
Attaching The Legs To The Table
A mortise-and-tenon joint is the strongest traditional connection between a leg and an apron, distributing load across a wide glued surface rather than relying on a few screws. Dowel joints are a simpler, still-solid alternative that most home shops can cut with a doweling jig. For a faster, less skill-intensive build, a leg-mounting corner bracket or plate lets you screw the leg directly to the underside of the tabletop or apron — weaker than true joinery but sufficient for lighter tables.
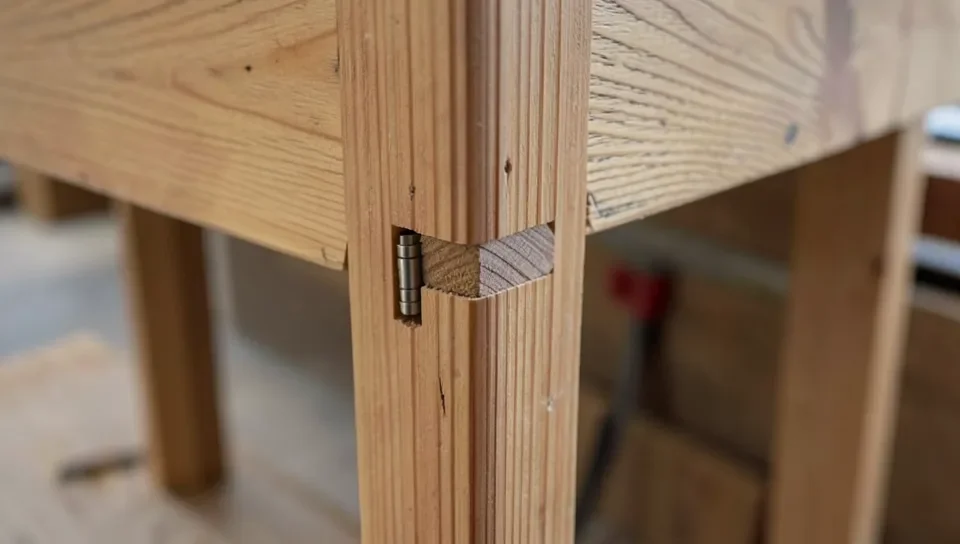
Whatever joinery you use, check that all four legs sit flat and even with a level before the glue sets, and add diagonal cross-bracing between legs on a larger table to prevent side-to-side wobble over time.
Staining And Sealing
Oil-based stains give the deepest, richest color and longer working time; water-based stains dry fast and have less odor but can raise the wood grain slightly. Gel stains sit on the surface rather than penetrating and are more forgiving on blotch-prone woods like pine. For a topcoat, polyurethane is the most durable and water-resistant option for legs that will see daily contact, while varnish gives a glossy look and shellac gives a natural sheen but is less water-resistant.
Frequently Asked Questions
What Is The Best Wood To Make Table Legs Out Of?
Hardwoods like oak, maple, and walnut are best for table legs. They offer strength, durability, and a beautiful finish.
Can I Use 2×4 For Table Legs?
Yes, you can use 2x4s for table legs. They are sturdy and provide good support for most tables.
Can You Make Table Legs With Thin (3/4″ / 1.8cm) Wood?
Only for light-duty pieces at a wide profile, or by laminating multiple layers into a thicker blank. A single 3/4″ board used as a thin, narrow leg will flex and isn’t recommended for a dining table or anything load-bearing.
What Can You Use Instead Of Table Legs?
Use hairpin legs, wooden crates, cinder blocks, or metal pipes instead of traditional table legs. These alternatives offer unique styles.
Conclusion
Building your own table legs saves money and gives you full control over height, style, and joinery. Choose hardwood for anything load-bearing, laminate thin stock rather than using it as a single thin layer, cut all four legs in one setup for consistent length, and use real joinery (or at least a proper leg plate) rather than screws alone into end grain.
Sponsored / affiliate links. As an Amazon Associate I earn from qualifying purchases. I may earn additional commission from eligible campaigns.