How to Build a Bar Top With Plywood: A Step-by-Step DIY Guide
To build a bar top with plywood, laminate two layers of 3/4-inch cabinet-grade or Baltic birch plywood for a substantial 1.5-inch edge, screw it to a properly spaced support frame, then seal it with a self-leveling epoxy rather than polyurethane so it can handle spills, glasses, and daily wear.
Plywood is the most practical material for a home bar top: it is dimensionally stable, far cheaper than a solid hardwood slab, and – because it will be covered in clear epoxy – nobody will ever know it isn’t a single thick board once it’s finished. The catch is that not every sheet of plywood is created equal, and the wrong grade or the wrong finish will show through a glossy epoxy coat in ways that a painted project would hide. This guide walks through picking the right sheet, building a frame that won’t let the top flex, and finishing it so it actually holds up to bottles, ice, and elbows.
Choosing The Right Plywood And Finish For A Bar Top
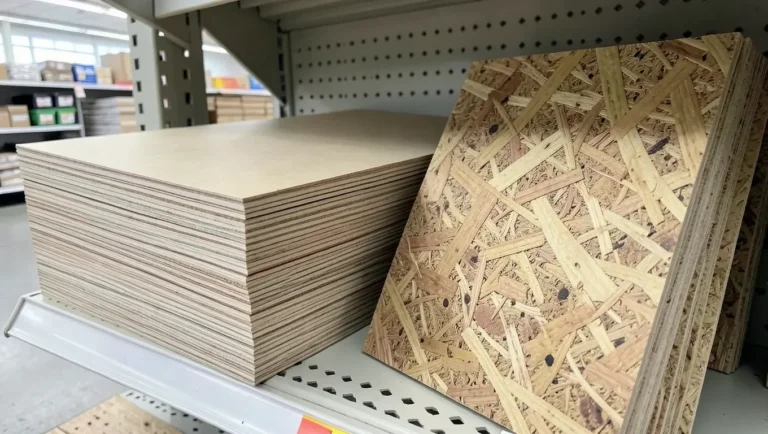
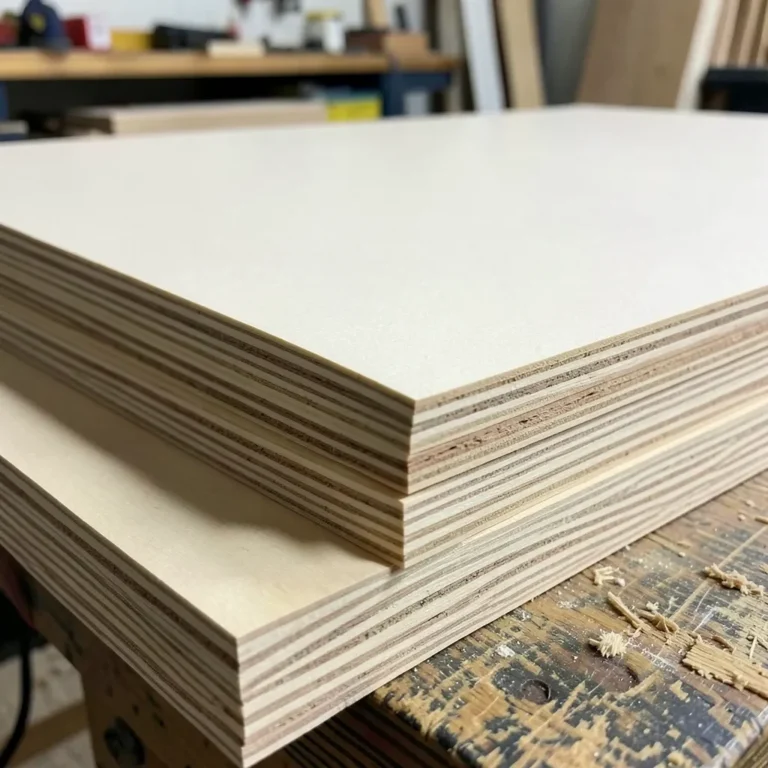
Skip standard BC or CDX construction-grade plywood if you plan to clear-coat the top. Construction-grade sheets are graded for structural strength, not appearance, so their inner plies often have football-shaped voids and putty-filled patches that telegraph straight through a glass-clear epoxy pour once the light hits it. For a natural or stained look, use cabinet-grade plywood or void-free Baltic birch (typically 9 to 13 thin plies) – both cost more per sheet, but the surface stays smooth and void-free under a clear finish. If you’re planning to paint or laminate over the top instead, a cheaper AC-grade sheet is fine since nothing will show through.
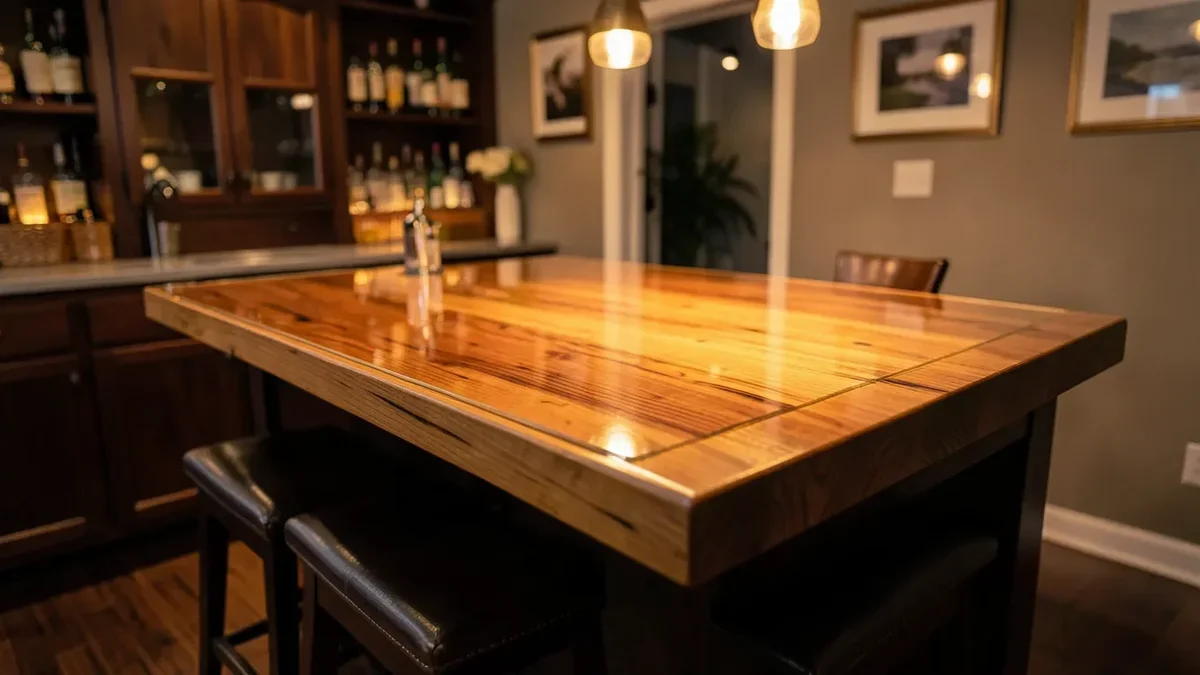
The finish matters just as much as the plywood grade. Polyurethane is easier to apply but it’s a thin film that scratches, rings from wet glasses, and needs recoating every year or two on a surface that sees daily traffic. A poured epoxy resin cures into a thick, glass-like shell that resists moisture, alcohol, and everyday scuffs far longer, which is why most bar tops – plywood or solid wood – are finished in epoxy rather than a wipe-on poly. Here’s the kit we’d reach for on a plywood bar top build:
Best Bar-Top Epoxy Finish
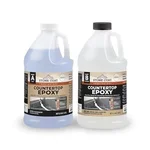 |
Stone Coat Countertops Epoxy Resin Kit, 1 Gallon – $126.13 A self-leveling, food-safe-when-cured epoxy formulated for countertops and bar tops, sized to cover a full 6-foot bar top in one continuous pour.
|
Tools And Materials Needed
Beyond the plywood itself, most of what you need for this build is already in a typical home workshop. Here’s the full list before you start cutting:
- Circular saw or track saw – for straight, splinter-free rip cuts
- Random orbital sander (120 then 220 grit) – for a smooth pre-finish surface
- Cordless drill/driver – for the frame and top attachment
- Measuring tape, straightedge, and framing square – accuracy here saves you from a crooked top
- Clamps – at least four, for gluing up the doubled plywood layers
- Fast-drying wood glue – for laminating plywood layers and assembling the frame
- Epoxy resin kit – see the pick above
- Foam roller and a heat gun or butane torch – for spreading and de-gassing the epoxy pour
| Material | Typical Quantity (6-foot bar top) |
|---|---|
| 3/4-inch cabinet-grade or Baltic birch plywood | 2 sheets (for a doubled, 1.5-inch edge) |
| 2×4 lumber (for the support frame) | Enough for perimeter + supports every 16-24 inches |
| Wood glue | 1 bottle |
| Iron-on edge banding (optional) | 1 roll, matched to the plywood face veneer |
| Epoxy resin | 1 gallon covers roughly 12 sq ft at a standard 1/8-inch pour thickness |
Preparing The Workspace And Base Frame
Work in a space that’s as dust-free as you can manage, especially if you’re pouring epoxy at the end – dust and sawdust that settle into a curing pour are much harder to fix than dust on a poly coat. Build the support frame first, out of 2x4s set on edge, with a perimeter frame plus internal supports spaced every 16 to 24 inches. Plywood is strong for its thickness, but without support at that interval it will flex noticeably when someone leans on it, and that flex is what eventually cracks a cured epoxy finish along a seam line. If the bar top will overhang the base cabinets for knee clearance, keep that overhang to about 10-12 inches unsupported – beyond that, add a corbel or leg underneath.
Measuring And Cutting The Plywood
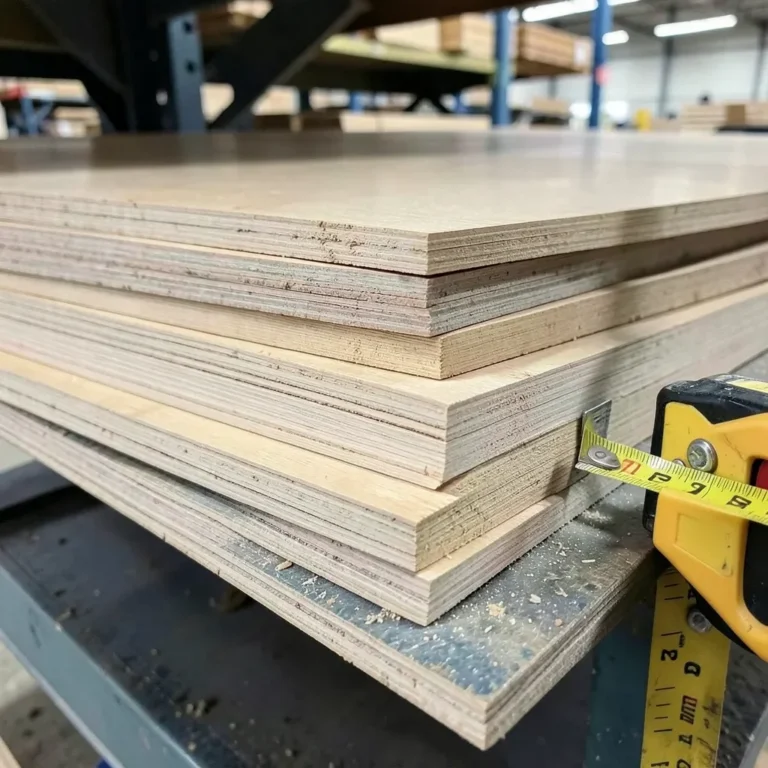
Measure the frame twice and cut once – plywood doesn’t forgive an out-of-square cut the way solid lumber sometimes does, since the face veneer chips easily against the grain of a bad cut. Use a straightedge guide with your circular saw, or a track saw if you have one, and set the blade depth just deep enough to clear the sheet to reduce splintering on the top face. If you want the substantial 1.5-inch edge look that reads as a “real” thick bar top, cut two identical pieces and glue/clamp them face to face rather than trying to source thicker stock, which is harder to find and far more expensive. Let the glued layers cure fully clamped before moving on – rushing this step is the single most common reason a “solid-looking” edge later shows a visible seam line.
Building And Attaching The Support Frame
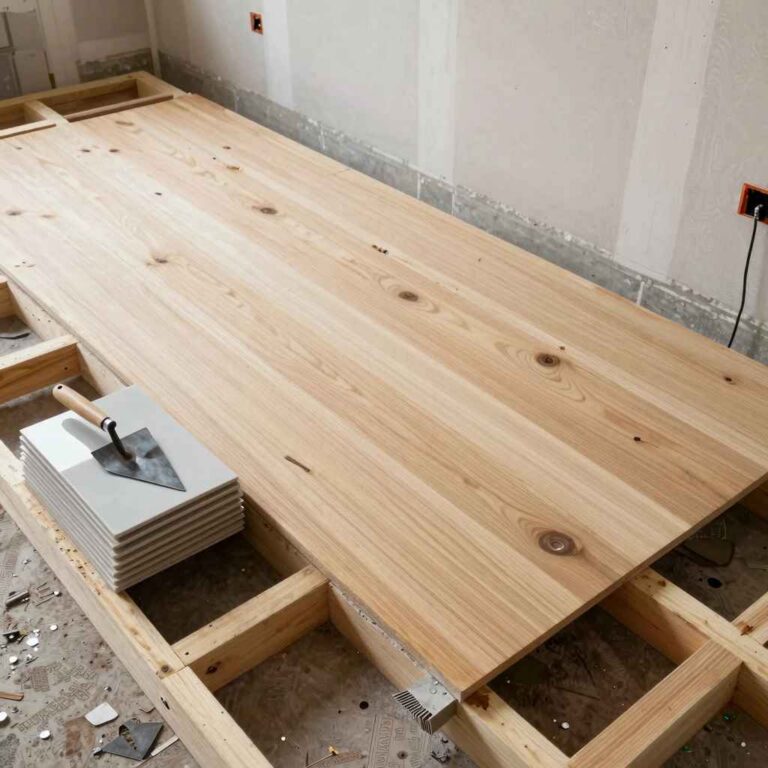
Attach the plywood top to the frame with screws driven up from underneath wherever possible, so no fasteners are visible on the finished surface. Because plywood is cross-laminated, it moves far less with humidity than solid wood does, but it isn’t immune to it – if your bar top is wider than about 24 inches, drill a couple of the underside screw holes as slightly elongated slots rather than perfectly round holes, so the panel has a small amount of room to expand and contract without stressing the joint or the cured epoxy above it. Standard bar height for seating with tall stools is 42 inches to the top surface, compared to 36 inches for a kitchen-counter-height build – confirm which one you’re building before you cut the leg or cabinet height.
Attaching The Plywood To The Frame
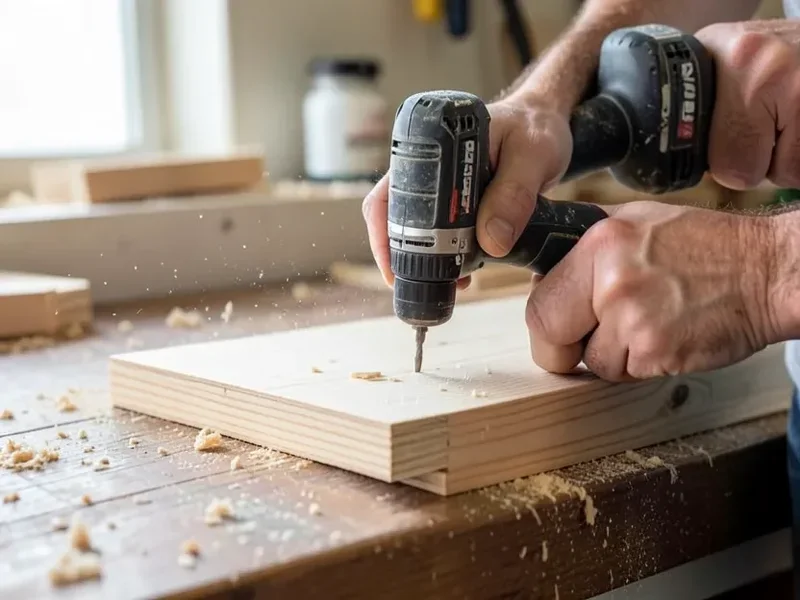
Run a bead of wood glue along the top edges of the frame before setting the plywood down, then drive screws every 8-12 inches along each frame member. Countersink every screw slightly below the surface so it doesn’t interfere with sanding or the epoxy pour later. Once it’s fastened down, sand the whole top surface starting at 120 grit and finishing at 220 grit – epoxy is self-leveling but it is not self-hiding, and any sanding scratches or glue squeeze-out left on the surface will still be visible once it’s sealed under a glass-clear coat.
Sealing And Finishing With Epoxy
Before the epoxy goes on, apply a thin “seal coat” of the same epoxy (or a dedicated seal coat product) if the plywood edges are exposed end grain – raw plywood edges are porous and will off-gas tiny air bubbles into your finish pour if they aren’t sealed first. Once that seal coat has tacked up, mix your resin and hardener in the exact ratio the kit specifies (usually 1:1 by volume for tabletop epoxies), pour it across the surface, spread it with a foam roller or spreader to the edges, then pass a heat gun or butane torch briefly over the surface to pop any trapped air bubbles. Most tabletop epoxies are touch-dry within 24 hours but need 5-7 days before they’re fully cured and ready for heavy daily use, so plan the last stage of this project around a week where the bar can sit undisturbed. If you’d rather see the same pour-and-seal process applied to a kitchen surface instead of a bar, our epoxy plywood countertop guide covers the heat and impact limits worth knowing before you commit a whole kitchen counter to the same finish.
Customization Ideas
A plywood bar top takes color and texture well since you’re not limited to a single wood species. Iron-on edge banding matched to the face veneer hides the plywood layers along the edge for a cleaner look than raw plywood edge grain. Some builders embed bottle caps, dried botanicals, or thin wood inlays into the epoxy pour for a one-of-a-kind surface – just make sure anything you embed is fully dry and epoxy-compatible first, since trapped moisture will cloud the pour. LED strip lighting recessed into the frame edge, visible through a slightly overhanging lip, is another popular add-on for a home bar specifically, since it reads well at night without needing a stained-glass-style inlay.
Frequently Asked Questions
How Do I Choose Plywood For A Bar Top?
Use cabinet-grade or Baltic birch plywood if the top will be clear-coated, since standard construction-grade plywood has voids and patches that show through epoxy. Go at least 3/4-inch thick, and double up two sheets if you want a thicker, more substantial-looking edge.
What Tools Do I Need For Making A Bar Top?
A circular or track saw for cutting, a random orbital sander, a cordless drill, clamps for gluing up layers, and a foam roller with a heat gun for the epoxy pour. Wood glue and screws handle the frame and top assembly.
How Long Does It Take To Build A Bar Top?
Plan on 2-3 days of active building – cutting, laminating, framing, and attaching the top – plus roughly a week for the epoxy to fully cure before the bar sees regular use. Rushing the epoxy cure is the most common reason a finish stays tacky or scratches easily early on.
Can I Stain Plywood For A Bar Top?
Yes, as long as you’re using a cabinet-grade or void-free plywood with a clean face veneer – stain will only look even on a surface without patches or voids. Test the stain on an offcut first, since plywood face veneers can absorb stain unevenly compared to solid lumber.
Conclusion
A plywood bar top comes down to three decisions that matter more than anything else: pick a void-free grade if it’s going to be clear-finished, support it with a frame spaced tightly enough that it won’t flex, and finish it in epoxy rather than a thin wipe-on poly. Get those three right and a plywood build will hold up to years of glasses, spills, and leaning elbows just as well as a solid-wood top costs several times more to build.
Sponsored / affiliate links. As an Amazon Associate I earn from qualifying purchases. I may earn additional commission from eligible campaigns.