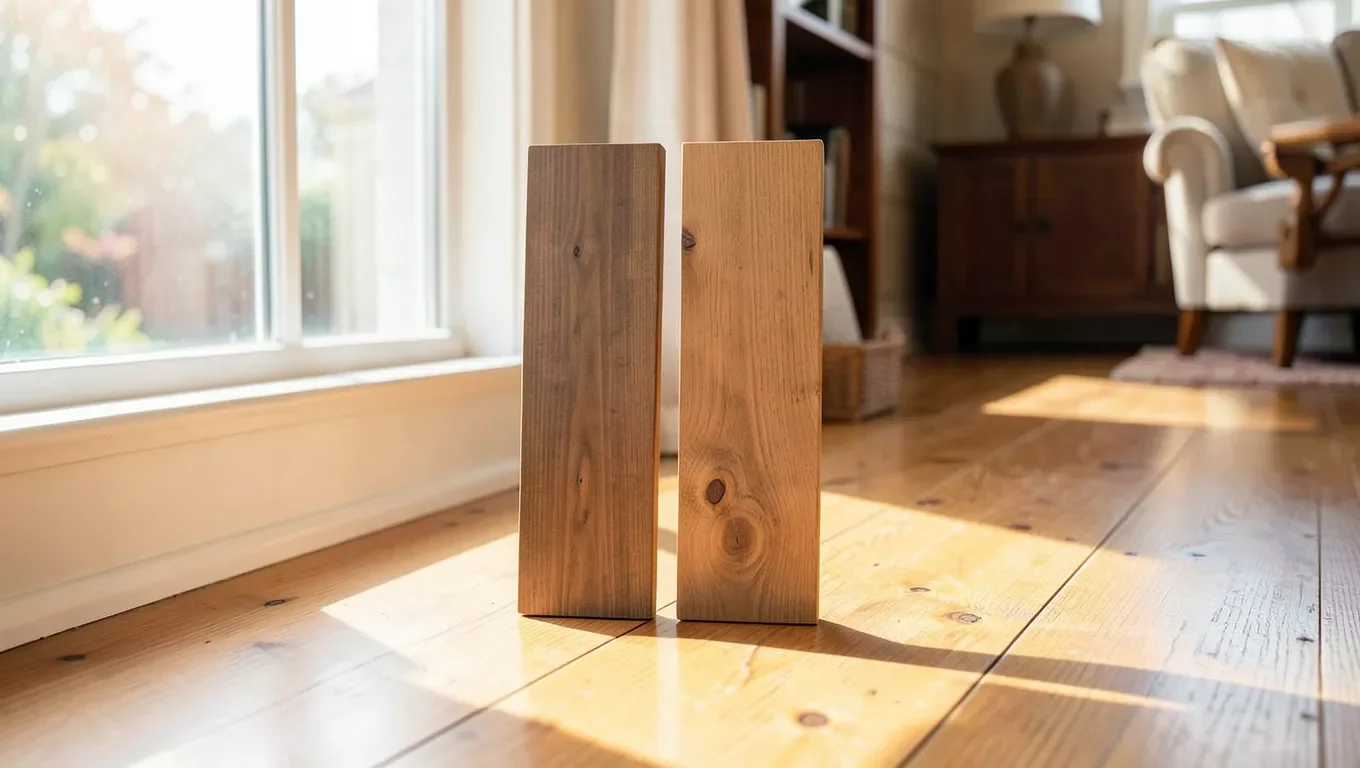
How to Match Hardwood Flooring to Your Existing Floor
Matching new hardwood flooring to an existing floor almost never works on the first try, and it isn’t usually a stain problem. Fresh wood is lighter than wood that’s had years of sun exposure, so even the exact species with the exact stain color can look noticeably “off” the day it’s installed.
The good news: that mismatch is often temporary, and the boards that stay mismatched usually failed on species or grain, not color. Here’s how to actually diagnose what’s different about your existing floor, close the gap with the right stain approach, and know when new wood will simply need time (and sunlight) to catch up.
Why New Wood Never Matches Right Away
Best Wood Color-Matching Touch-Up Kit
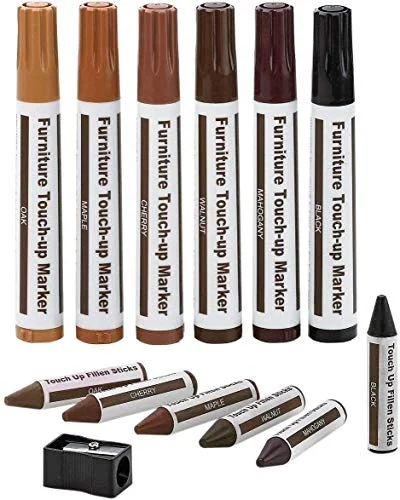 |
Furniture Repair Kit Wood Markers, Set of 13 – $9.96 Six wood-tone markers and matching wax fill sticks (Maple, Oak, Cherry, Walnut, Mahogany, Black) for touching up small color mismatches and scratches while your new hardwood ages into its final color.
|
Wood darkens as it ages, a process called patina, and it’s driven mostly by UV light and oxidation, not dirt or wear. Oak, cherry, and maple all shift tone over months of sun exposure, and cherry in particular can noticeably deepen within the first six months alone. That means a brand-new board cut from the same log as your existing floor can still look pale next to it on install day.
If the species and stain are genuinely correct, patience is the fix. Keep blinds open and let the new boards get regular daylight; some pros speed this along by leaving a sheer curtain open over the repaired area for a few extra hours a day, or using a UV lamp on very small patches. Give it real time; a few weeks of everyday light exposure is usually not enough. Plan on a couple of months for the color to visibly close the gap, longer for high-traffic species like cherry or Brazilian walnut that darken dramatically.
What patina can’t fix is a wrong species or a wrong stain sheen. If the new section still looks wrong after months of light exposure, the problem was never the color; it’s covered below.
Match the Wood Itself, Not Just the Color
Two different species stained to the same shade can still look mismatched under close inspection, because color is only one of four things you’re actually trying to match: species, cut, grain pattern, and plank width.
Species and cut. Oak has an open, ray-fleck grain; maple’s is tight and fine; cherry has a smooth, subtle figure that darkens with age. A red oak stained to look like white oak will still show oak’s coarser grain texture up close, and the difference gets more obvious as the new wood ages and the color gap closes. If you can’t identify the existing species by eye, pull a loose board from a closet or under an appliance and compare grain, not just color, against samples at the store.
Plank width and cut direction. Older homes were often floored with narrower boards (2 to 2.25 inches was standard for decades) than the 3 to 5 inch wide-plank flooring sold today. Mixing widths in the same run reads as an obvious patch even when the color is perfect. If your existing floor uses a discontinued width, a flooring supplier that specializes in reclaimed or custom-milled stock is usually a better bet than a big-box aisle.
Test Stain Matches in Daylight, Not Store Lighting
Fluorescent and LED showroom lighting shifts how wood tones read; a stain that looks like a dead-on match under a store’s cool-white bulbs can look distinctly orange or gray once it’s home under natural light. This is called metamerism, and it’s the single most common reason a “perfect” in-store match turns out wrong.
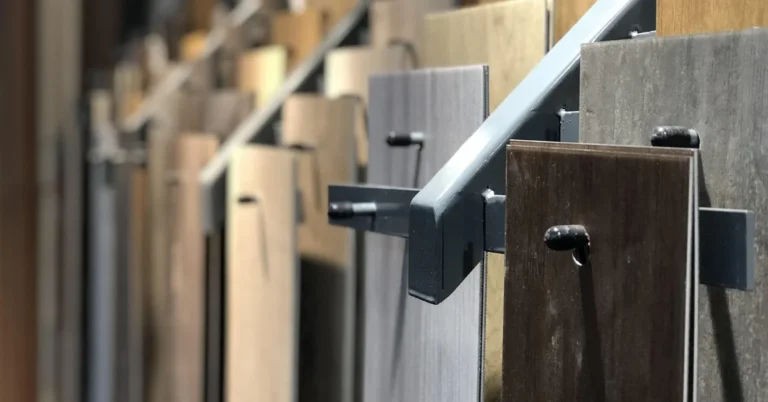
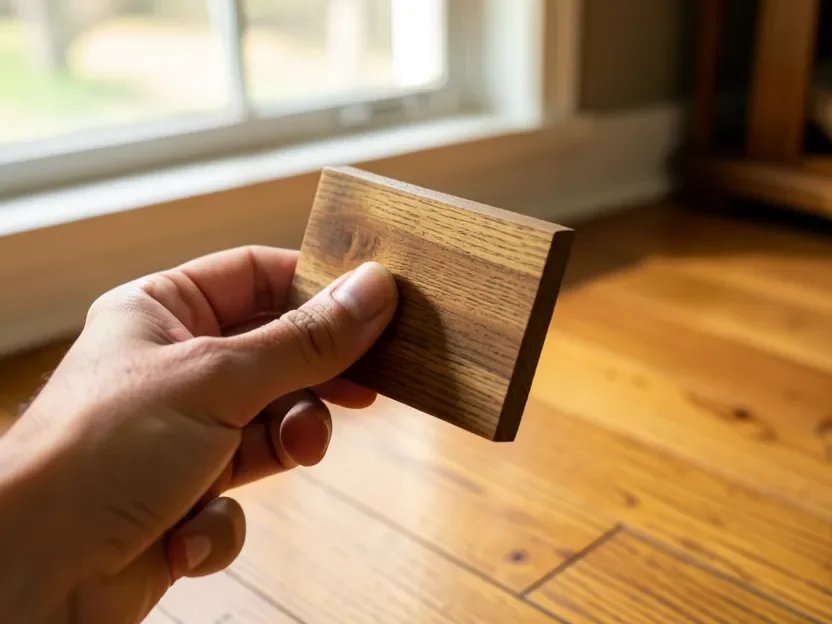
Bring a real sample with you. Pull a spare board, a floor vent cover, or even a shoe-mold scrap from your own house and take it to the store in daylight hours. Hold stain sample chips directly against it near a window, not under the store’s overhead lights. If you can’t pull a sample, take close, well-lit photos of your floor in natural daylight (avoid flash) so you have a true-color reference on your phone while you shop.
Before committing, test the stain on an actual scrap of the new wood, not a paint chip. Apply it, let it cure fully (not just dry to the touch), and set it on the floor next to the existing boards in the same natural light where the repair will actually live. Colors read differently horizontal on a floor than vertical on a sample card.
Water-Popping: The Trick Most DIY Guides Skip
If your test stain looks pale or blotchy on the new wood compared to the old, the wood’s pores may simply be too closed to absorb stain the way your older, more porous floor does. Professionals fix this with a technique called water-popping: wiping the bare new wood with a damp (not soaked) cloth or light water spray before staining, which raises the grain and opens the pores so the stain absorbs more evenly and takes a noticeably deeper, richer tone.
Water-pop the new wood only, let it dry fully (usually a few hours), then lightly sand any raised grain with fine-grit paper before staining. Don’t water-pop the existing floor if you’re only refinishing the new section; it’s a technique for raw, unstained wood, and it can over-darken boards that already have some finish history. Always test water-popping on a scrap first; it increases stain absorption, so a color that matched without it may go too dark once you add the step.
When to Blend Boards vs. Refinish Everything Together
For a small patch, staggering new boards into the old field (rather than adding one solid new block) hides the seam better, since it breaks up any straight line where old meets new. Stain and finish the new boards to match as closely as you can using the steps above, feather the edges, and expect the color gap to keep closing over the following weeks as the new wood ages.
For a larger addition, like extending flooring into a new room, the more reliable fix is sanding and refinishing the old and new wood together as one surface once the new boards are installed and acclimated. A single, uniform stain and topcoat applied across both old and new eliminates the age and sheen difference in one pass instead of trying to chase a stain match. It costs more than a spot repair, but it’s the only approach that removes the mismatch instead of minimizing it.
Installation and Finishing Tips
Let new hardwood acclimate in the room for at least 3 to 5 days (longer in dry winter climates) before installation, so it adjusts to your home’s humidity and doesn’t gap or cup later. Stagger seams so no two adjacent rows end within 6 inches of each other, and keep a expansion gap at the walls, hidden under trim, so the floor can move with the seasons.
Where hardwood meets another flooring type, a matching transition strip in the same species and stain reads far more seamless than a metal or contrasting-wood strip. Finish transitions last, after the stain match has been confirmed on the main field, so any small adjustment doesn’t force you to redo trim twice.
Keeping the Match Looking Right Over Time
Once the color has evened out, protect the match with the same care across old and new sections equally; uneven sun exposure, uneven cleaning, or a rug left in one spot for years can create a new mismatch down the road. Use felt pads under furniture, keep pet nails trimmed, and clean with a hardwood-safe cleaner rather than a wet mop, which can dull finish unevenly between old and new boards.
Keep leftover boards and a small labeled sample of your final stain mix; if you ever need a second repair, having the exact recipe on hand saves you from re-matching from scratch.
Frequently Asked Questions
How Long Does New Hardwood Take to Match an Old Floor’s Color?
Plan on roughly 2 to 3 months of normal daylight exposure for the color gap to visibly close on most species, and longer for woods that darken dramatically, like cherry or Brazilian walnut. Keeping the new area well-lit during the day speeds this up.
Can I Match New Hardwood to Old Flooring Without Refinishing Everything?
Yes, for small repairs. Match the species, grain, and plank width first, then stain-test on scrap wood in natural daylight and consider water-popping if the new wood is taking stain too lightly. For larger additions, sanding and refinishing old and new together gives a more reliable result.
What Affects Hardwood Floor Color Matching?
Wood species, cut, and grain pattern; the age-related patina (UV darkening) of the existing floor; the stain and finish sheen; and the lighting you judge the match under all affect how close a match looks. Testing under store fluorescent lighting is a common cause of a match that looks wrong once it’s home.
Is It Necessary to Match Wood Grain Patterns, Not Just Color?
Yes. Two different species can be stained to a similar color and still look mismatched because their grain texture is different up close. Matching species and cut first, then color, gives a more durable match than chasing color alone.
Conclusion
A hardwood match that looks off on day one usually isn’t a failed repair; it’s new wood that hasn’t caught up in color yet. Confirm the species, cut, and grain are actually right, test your stain in real daylight against a real sample, and give the new wood time in the sun before you assume anything needs to be redone. If it still doesn’t look right after a couple of months, that’s your sign the mismatch is in the wood itself, not the light.
Sponsored / affiliate links. As an Amazon Associate I earn from qualifying purchases. I may earn additional commission from eligible campaigns.