Advanced Hardwood Floor Techniques: Inlays, Borders & Repairs
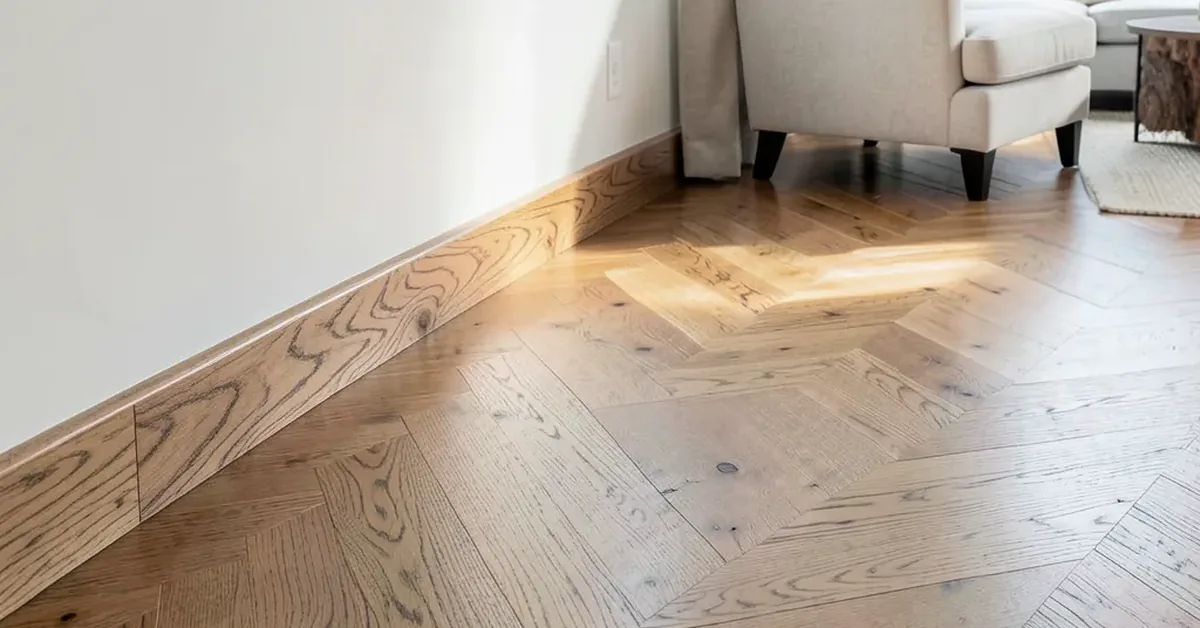
Advanced hardwood floor work means herringbone and chevron layouts, inlaid borders in a contrasting species, and repairs that have to match an angled pattern instead of a straight run — skills a standard plank installation never calls for. Get the starting angle wrong on a herringbone floor and the error compounds across the whole room, not just one board. This guide covers laying out angled patterns, cutting and fitting inlays, and repairing a damaged pattern floor without it showing.
What Makes These Techniques “Advanced”?
Best Inlay Router Bit Pick
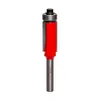 |
Freud 42-104 Bearing Flush Trim Bit – $14.25 Cutting a clean, flush border or inlay pocket freehand is nearly impossible — a bearing-guided flush trim bit rides a template so the router only removes exactly what the pattern below calls for.
|
As an Amazon Associate we earn from qualifying purchases.
Herringbone, chevron, inlays, and decorative borders are “advanced” because a mistake in one board compounds visually across the whole pattern — a slightly off angle on board three of a herringbone floor is still visible at board thirty. If you need the basics first — species selection, subfloor prep, standard installation methods, and general care — our full wood flooring guide covers those in depth; this guide picks up where that one leaves off, focused specifically on pattern layout, inlay work, and repairing angled floors.
Herringbone and Chevron Layout Patterns
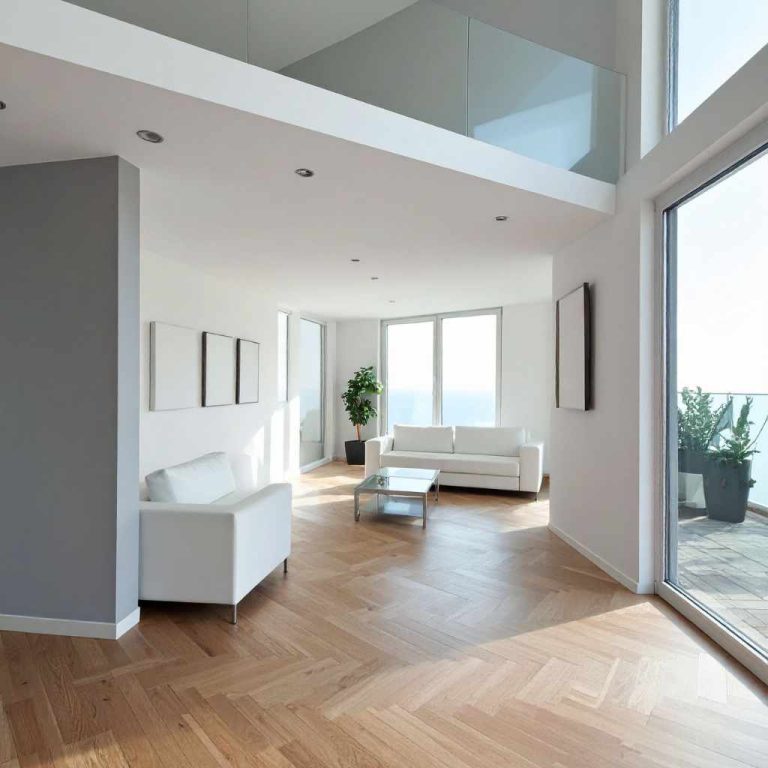
Herringbone uses square-cut plank ends set at 90 degrees to each other in a zigzag; chevron uses planks pre-cut at an angle (usually 45 or 60 degrees) so the ends meet in a continuous “V” with no offset. Chevron requires factory-angled planks or precise shop cuts on every piece — herringbone is more forgiving for a first attempt since standard square-cut planks work.
- Snap a centerline: mark the room’s true center with a chalk line — every row builds out from this reference, not from a wall (walls are rarely perfectly square).
- Dry-lay the first few rows: lay boards without adhesive or nails first to confirm the pattern lines up before committing.
- Use spacers consistently: a small gap left uniform at every joint keeps the zigzag pattern visually straight across the room.
- Work outward symmetrically: install rows in both directions from the centerline so any small cumulative drift stays hidden at the room’s edges, not the middle.
- Save angled cuts for the perimeter: border pieces against the walls need mitered cuts — do these last, after the field pattern is locked in.
📊 Herringbone and chevron floors typically use 10-20% more material than a straight-run installation once angled cuts and pattern waste are factored in — budget for extra boards up front rather than running short mid-pattern, since dye lots can vary between orders. Source: flooring installer material-waste estimates cited across major flooring manufacturer installation guides.
Inlays and Decorative Borders
An inlay or border works best with a contrasting wood species — walnut against white oak, or wenge against maple — rather than a stain color difference, since species contrast stays visually distinct as finishes age while stain differences tend to blend together over time.
- Border strips (banding): pre-milled contrasting strips run parallel to the wall, a few inches in from the main field — the simplest entry point into inlay work.
- Dutchman inlays: a small contrasting patch let into the field at a single point, often used decoratively or to disguise an existing repair.
- Medallions: a pre-fabricated circular or geometric design set into the floor, usually purchased complete rather than built from scratch, then inlaid the same way as a border.
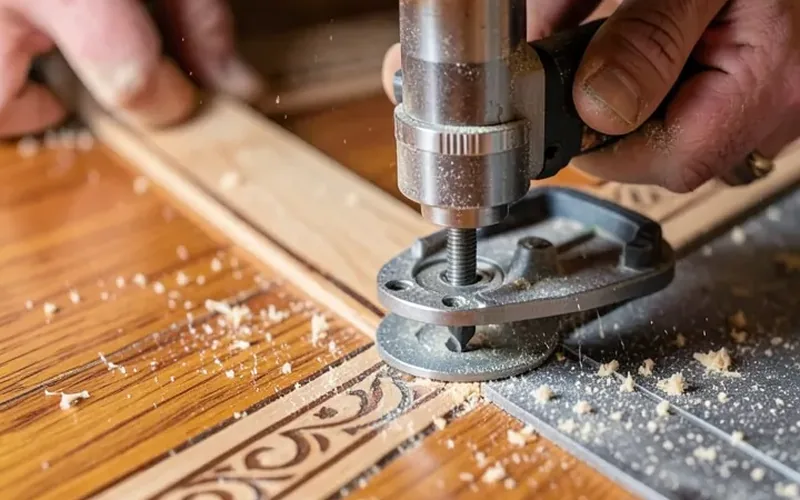
Rout the recess to the exact thickness of the inlay material using a template and a flush trim bit, dry-fit before gluing, and glue the piece in with the same wood glue used elsewhere in the floor. Sand flush only after the glue has fully cured — sanding a green glue joint smears filler into the surrounding grain.
Repairing Advanced Pattern Floors
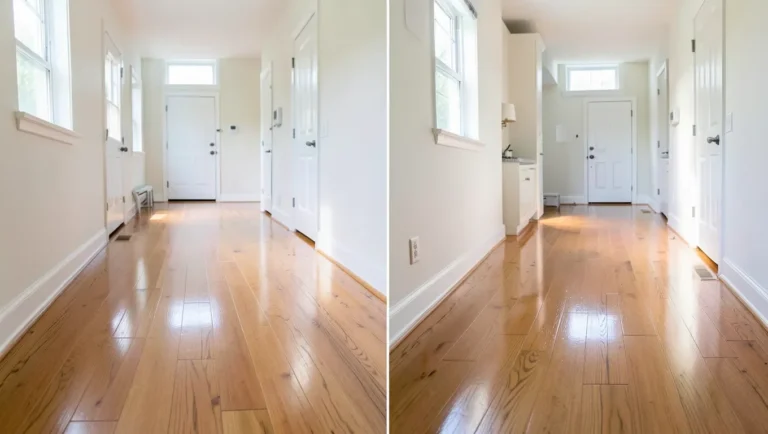
Replacing a damaged board in a herringbone or chevron floor is harder than a straight-run repair because each piece touches its neighbors at an angle instead of squarely on two sides.
- Photograph and number surrounding boards: before removing anything, document exactly how the damaged piece sits relative to its neighbors.
- Cut out the damaged board carefully: score the finish along the joint lines first, then split and remove the piece in sections to avoid disturbing the boards around it.
- Source a matching replacement: same species at minimum; matching the original batch or at least a similarly aged board gets you closer on color and grain than a brand-new plank.
- Angle-cut the replacement to fit: dry-fit before gluing — an angled patch has less margin for a sloppy cut than a straight one.
- Blend the finish last: feather the new finish coat out beyond the repair itself so the sheen transition isn’t a visible ring around the patch.
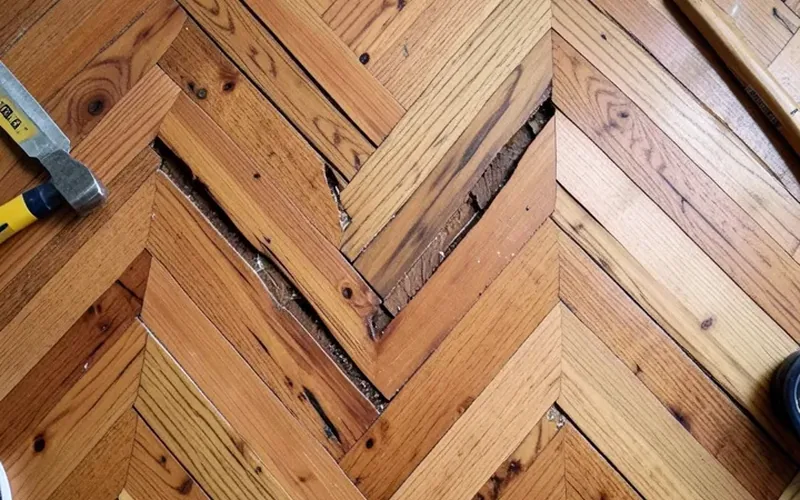
“The herringbone repairs that turn out invisible are the ones where we photographed the surrounding boards before touching anything — once two or three pieces come out of an angled pattern, it’s surprisingly easy to lose track of which piece went where.”
Finishing an Advanced Pattern Floor
Finishing works the same as any hardwood floor — sand through progressive grits, vacuum thoroughly between passes, and apply two to three thin coats of your chosen finish — but a patterned or inlaid floor shows sanding mistakes more readily, since a swirl mark or uneven scratch pattern crosses multiple grain directions at once instead of running with a single consistent grain like a plank floor. Take an extra pass with a fine grit before finishing if the pattern includes more than one wood species, since each species can sand at a slightly different rate.
Frequently Asked Questions
Do I need special tools for herringbone or chevron hardwood floors?
Beyond a standard flooring nailer or adhesive trowel, herringbone and chevron patterns need a way to establish and hold a precise starting angle — a chalk line, a framing square, and spacers to keep each course tight are the minimum. Pre-cut chevron planks (angled at the factory) are far more forgiving for a first attempt than cutting your own 45-degree ends from square-edge boards.
How do you add an inlay or decorative border to a hardwood floor?
Rout a shallow, flush-depth pocket using a template and a bearing-guided flush trim bit, then glue in a contrasting wood strip or medallion cut to fit. Contrast comes from species (walnut against white oak, for example) rather than stain, since stain color fades and blends over time while different wood species stay visually distinct.
Can you repair a herringbone or chevron pattern floor?
Yes, but replacing a single plank is more involved than a straight-run floor because each board touches two neighbors at an angle instead of one on each side. Number and photograph the surrounding pieces before removing the damaged one, and source a replacement from the same species and, ideally, the same original batch so the grain and color match after finishing.
Is advanced hardwood flooring (herringbone, inlays) worth the extra cost?
It depends on the room — a herringbone entryway or an inlaid border in a formal dining room reads as a genuine design feature, while the same pattern in a utility space rarely justifies the extra material waste and install time. Reserve advanced patterns for rooms where the floor itself is meant to be noticed.
Conclusion
Herringbone, chevron, inlays, and borders reward planning far more than a straight-run floor does — a centerline snapped before the first board goes down, a dry-laid test run, and photographed reference points before any repair are what separate a floor that reads as a real design feature from one where a mistake compounds across the whole room. For the fundamentals this guide assumes — species selection, subfloor prep, and basic installation — see our complete guide to wood flooring types, install, and care.
Sponsored / affiliate links. As an Amazon Associate I earn from qualifying purchases. I may earn additional commission from eligible campaigns.