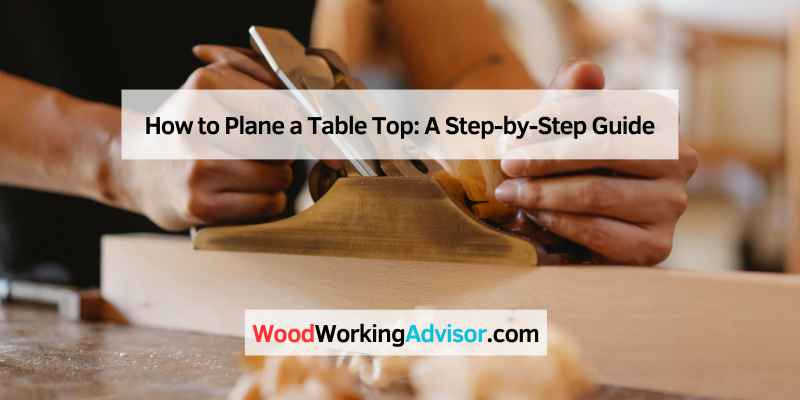
How to Plane a Table Top: A Step-by-Step Guide
To plane a tabletop, secure it on a stable work surface. Use a planer to remove uneven areas and achieve a smooth finish.
Planing a tabletop is essential for ensuring a level and attractive surface. Whether you’re working with reclaimed wood or new lumber, a smooth finish enhances the overall look and durability of your project. Properly planed wood reduces the risk of splinters and makes finishing easier.
This process not only improves aesthetics but also prepares the wood for staining or sealing. Knowing how to effectively plane your tabletop can save time and effort in the long run. This guide will walk you through the necessary tools, techniques, and tips for achieving a beautifully planed tabletop that meets your needs.
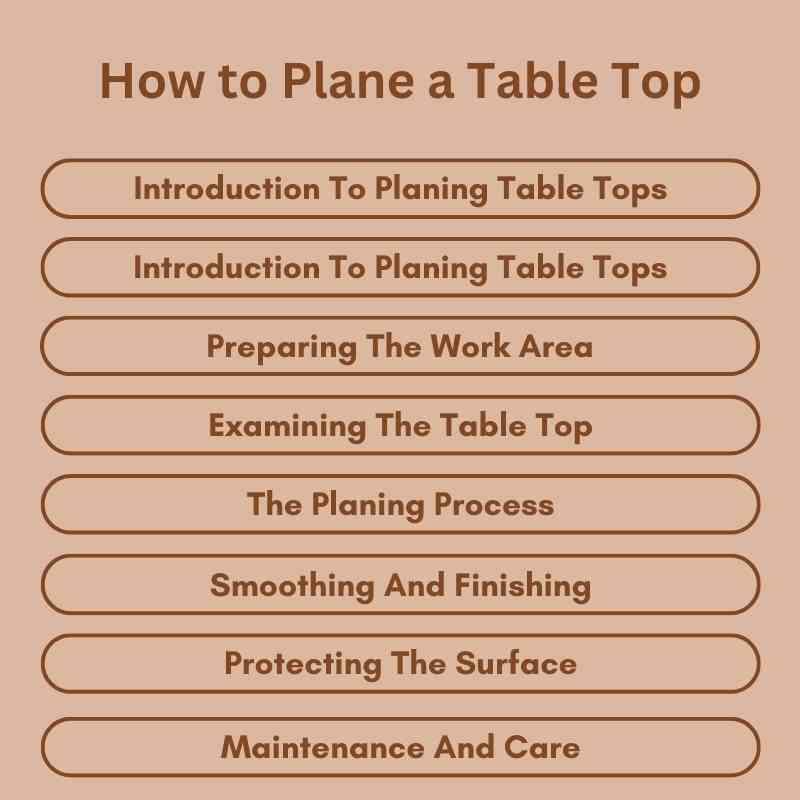
Introduction To Planing Table Tops
Planing a table top transforms rough wood into a smooth surface. This process enhances the look and feel of your furniture. A well-planed table top is essential for both aesthetics and functionality.
The Importance Of A Flat Surface
A flat surface is crucial for various reasons:
- Improved Aesthetics: A smooth table top looks better.
- Better Stability: Flat surfaces hold items securely.
- Enhanced Durability: A level table top lasts longer.
- Ease of Use: It allows for comfortable dining or working.
Tools And Materials Needed
Gather the right tools and materials before starting. Here’s a list:
| Tools | Description |
|---|---|
| Planer | Used to smooth the surface of the wood. |
| Sander | Helps to refine the surface after planing. |
| Measuring Tape | Ensures accurate measurements for your project. |
| Clamps | Holds the wood securely during planing. |
Materials needed:
- Wood: Choose the right type for your table.
- Wood Finish: Protects the surface from wear.
- Safety Gear: Wear goggles and gloves for protection.
With the right tools and materials, planing becomes easier and more effective.
Selecting The Right Wood
Choosing the right wood for your table top is essential. The wood type affects durability, appearance, and cost. Understanding different wood options helps in making the best choice.
Types Of Wood For Table Tops
| Wood Type | Characteristics | Best Uses |
|---|---|---|
| Oak | Strong, durable, and has a prominent grain. | Dining tables and heavy-use surfaces. |
| Maple | Light-colored, smooth, and resistant to scratches. | Kitchen tables and countertops. |
| Cherry | Rich color that deepens over time. | Elegant furniture and statement pieces. |
| Pine | Lightweight, affordable, and easy to work with. | Casual tables and DIY projects. |
Considerations For Wood Grain And Hardness
Wood grain and hardness influence the table’s look and feel.
- Wood Grain:
- Fine grain creates a smooth surface.
- Coarse grain adds texture and character.
- Hardness:
- Hardwoods resist dents and scratches.
- Softwoods are more prone to damage.
Choose a wood type that matches your lifestyle. For example, families with kids may prefer harder woods. A softer wood may suit a decorative table.
Preparing The Work Area
Preparing your work area is crucial for planing a table top. A clean, organized space helps you work efficiently. It also ensures safety during the project.
Setting Up Your Workbench
Follow these steps to set up your workbench:
- Choose a flat surface. Ensure your workbench is level and sturdy.
- Clear the area. Remove any clutter to make space for your tools.
- Gather your tools. Have everything ready at hand:
- Planer
- Clamps
- Measuring tape
- Sandpaper
- Safety goggles
Organize your tools for easy access. A tidy space helps you focus on the task.
Safety Precautions Before Starting
Safety is essential in woodworking. Follow these precautions:
- Wear safety goggles. Protect your eyes from flying debris.
- Use ear protection. Planers can be very loud.
- Wear a dust mask. Avoid inhaling wood dust.
- Keep your hands clear. Always keep fingers away from the planer blade.
- Check your tools. Ensure everything is in good working condition.
Taking these steps will help you stay safe while planing.
Examining The Table Top
Examining the table top is a crucial step in planing. This process ensures a smooth, even surface. Start by checking for any imperfections. High and low spots can affect the final finish.
Identifying High And Low Spots
To achieve a perfect surface, identify any high or low spots.
- High Spots: Areas that protrude above the general surface.
- Low Spots: Areas that dip below the general surface.
Use a straightedge or level to find these spots. Place it across the table top and check for gaps.
| Spot Type | Description |
|---|---|
| High Spot | Protrudes above the surrounding area. |
| Low Spot | Dips below the surrounding area. |
Marking Areas For Planing
Once you identify the high and low spots, mark them clearly.
- Use a pencil or chalk to mark high spots.
- Circle low spots to highlight them.
- Double-check all marks before starting to plane.
These marks guide your planing process. Focus on high spots first. Remove material until the surface is even.
This careful marking leads to better results. A well-examined table top creates a smoother finish.
The Planing Process
Planing a tabletop transforms rough wood into a smooth surface. It enhances the wood’s beauty and prepares it for finishing. Understanding the planing process is essential for achieving great results.
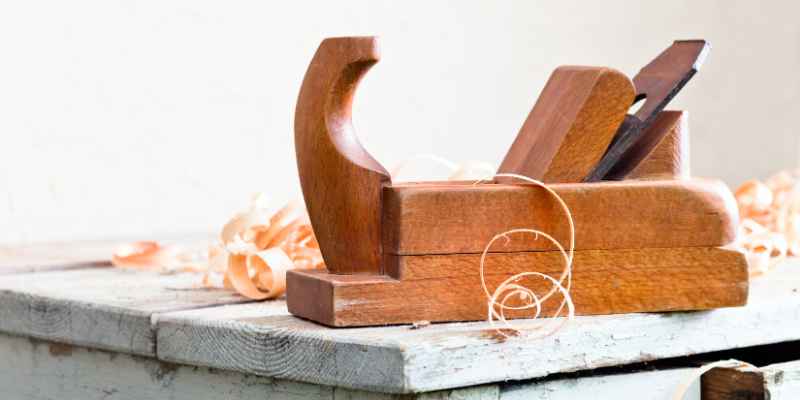
Choosing The Right Plane
Selecting the right plane is crucial. Different types serve different purposes. Here are some common types:
| Type of Plane | Best For |
|---|---|
| Jack Plane | General smoothing and flattening |
| Jointers Plane | Creating flat edges |
| Block Plane | Fine finishing and trimming |
Choose a plane that fits your project needs. A sharp blade ensures better results. Test the plane before starting your project.
Techniques For Effective Planing
Using the right techniques makes planing easier and more effective. Follow these steps for best results:
- Inspect the Wood: Check for knots and defects.
- Adjust the Blade: Set the blade depth to 1/16 inch.
- Stand Properly: Position feet shoulder-width apart for balance.
- Use Even Pressure: Apply consistent force while planing.
- Work with the Grain: Always plane in the direction of the wood grain.
Keep the plane clean. Remove shavings often to avoid clogging. Regularly sharpen the blade for smooth cuts.
Practice makes perfect. Try on scrap wood before working on your tabletop. Master these techniques for a flawless finish.
Smoothing And Finishing
Smoothing and finishing a table top enhances its beauty and durability. This process removes rough spots and prepares the wood for a stunning final look. Proper techniques ensure a professional appearance and feel.
Transitioning To Smoothing Planes
After rough planing, use a smoothing plane. This tool creates a fine surface. Follow these steps:
- Adjust the smoothing plane for depth.
- Check the blade sharpness. A sharp blade cuts better.
- Work in the direction of the grain.
- Apply even pressure while pushing the plane.
Ensure you take thin shavings. This technique prevents tear-out.
Sanding For A Silky Finish
Sanding is crucial for a smooth surface. It removes any remaining imperfections.
Follow this sanding process:
- Start with coarse grit sandpaper (80-120 grit).
- Progress to medium grit (150-180 grit).
- Finish with fine grit (220 grit or higher).
Always sand with the grain. This technique avoids scratches. Clean the surface between grits to remove dust.
For the best finish:
| Grit Size | Purpose |
|---|---|
| 80-120 | Remove rough spots |
| 150-180 | Prepare for fine sanding |
| 220+ | Create a silky smooth finish |
Use a sanding block for even pressure. Hand sanding is effective for edges and corners. The final result should feel soft and smooth to the touch.
Protecting The Surface
After planing a tabletop, protecting the surface is essential. A good finish keeps the wood safe. It enhances beauty and ensures longevity. Choosing the right finish is crucial for durability.
Selecting The Right Finish
Many finishes are available. Selecting the right one depends on the usage and aesthetic appeal. Here are popular options:
- Polyurethane: Offers strong protection and is water-resistant.
- Oil Finish: Enhances the natural look of wood.
- Lacquer: Dries quickly and provides a glossy finish.
- Varnish: Durable with a thicker coat for protection.
Consider your needs before choosing. Some finishes are better for high-traffic areas.
Applying Finish For Durability And Aesthetics
Applying the finish properly ensures it lasts. Follow these steps for best results:
- Prepare the Surface: Clean and sand the tabletop.
- Test the Finish: Apply a small amount on a hidden area.
- Apply Evenly: Use a brush or cloth for smooth application.
- Let It Dry: Follow the manufacturer’s drying times.
- Sand Between Coats: Use fine sandpaper for a smooth finish.
- Apply Additional Coats: Two to three coats enhance durability.
Proper application boosts both durability and aesthetics. Enjoy your beautifully finished tabletop!
Maintenance And Care
Taking care of your table top keeps it looking great. Proper maintenance prevents damage and extends its life. Follow these tips to ensure your table remains in excellent condition.
Routine Cleaning Tips
Regular cleaning helps maintain the table’s finish and appearance. Here are some simple steps:
- Use a soft, dry cloth for dusting.
- For spills, wipe them up immediately.
- Use a damp cloth with mild soap for deeper cleaning.
- Avoid harsh chemicals or abrasive materials.
Consider using a protective coating. It can help resist stains and scratches. Reapply every six months for best results.
Dealing With Wear And Tear
Every table experiences some wear over time. Here’s how to manage it:
- For minor scratches, use a wood filler or crayon.
- For deeper scratches, sand lightly and reapply finish.
- If the finish dulls, consider polishing with a quality wood polish.
Keep the table away from direct sunlight. This prevents fading and warping. Use coasters and placemats to protect surfaces during meals.
Troubleshooting Common Issues
Planing a table top can be tricky. Common issues may arise. Knowing how to troubleshoot these problems will help you achieve a smooth finish.
Dealing With Tearout
Tearout occurs when the wood fibers tear instead of cutting cleanly. This problem often happens with softwoods or grainy materials.
To minimize tearout:
- Use sharp blades. Dull blades increase tearout risk.
- Adjust the depth of cut. A shallower cut reduces stress on the fibers.
- Plane in the direction of the grain. This helps avoid tearing.
If tearout still happens, consider these tips:
- Apply painter’s tape along the edges. This can hold fibers in place.
- Use a backer board when planing. It supports the wood during the cut.
Fixing Uneven Planing
Uneven planing can lead to an unattractive surface. This issue often arises from improper feeding or incorrect adjustments.
To fix uneven planing:
- Check your planer settings. Ensure they are set correctly.
- Feed the wood consistently. Avoid varying speeds during planing.
Use the following table to identify common causes and solutions:
| Issue | Cause | Solution |
|---|---|---|
| Uneven Surface | Improper feeding | Feed at a steady speed |
| Uneven Depth | Incorrect settings | Recheck and adjust settings |
| Wavy Finish | Loose or dull blades | Replace or tighten blades |
Consistent technique helps ensure a smooth surface. Take your time and be patient.
Advanced Techniques
Taking your table top planing skills to the next level involves advanced techniques. These methods enhance both functionality and aesthetics. Mastering them will elevate your woodworking projects.
Incorporating Inlays And Details
Inlays add beauty and character to your table top. They can be simple or complex. Here’s how to incorporate them:
- Choose your materials: Use wood, resin, or metal.
- Plan your design: Sketch out your inlay pattern.
- Cut the recess: Use a router to create space for the inlay.
- Fit the inlay: Ensure it fits snugly in the recess.
- Glue and clamp: Secure it until dry.
- Sand the surface: Make it flush with the table top.
Using Planing Jigs For Precision
Planing jigs improve accuracy during the planing process. They help maintain consistent thickness across your table top. Here’s how to make and use a simple jig:
| Step | Description |
|---|---|
| 1 | Gather materials: plywood, clamps, and screws. |
| 2 | Cut the plywood to size for your jig base. |
| 3 | Attach vertical guides on the sides. |
| 4 | Secure the jig to your workbench. |
| 5 | Use clamps to hold the table top in place. |
| 6 | Run your planer along the jig for uniform results. |
Using a jig provides consistent results. It saves time and effort. Your table top will have a professional finish.
Frequently Asked Questions
How Do You Start Planing A Table Top?
Begin by selecting the right planer. Ensure your table top is clean and free from debris. Adjust the planer to the desired thickness. Always work from one end to the other, maintaining consistent pressure. Check your progress frequently to avoid over-planing.
What Tools Are Needed For Planing A Table Top?
Essential tools include a thickness planer and a jointer. You may also need clamps, a measuring tape, and sandpaper. Safety goggles and ear protection are crucial. A straight edge is helpful for checking flatness. Having the right tools ensures a smooth and efficient process.
How Do You Achieve A Flat Surface?
To achieve a flat surface, start with a properly calibrated planer. Make multiple passes, removing small amounts of wood each time. Use a straight edge to check for flatness frequently. Adjust the depth of the planer as needed. Consistency is key to a perfectly flat table top.
Can I Plane A Warped Table Top?
Yes, you can plane a warped table top. Start by identifying the high spots and low areas. Use a jointer to flatten the high spots first. Then, use the planer to even out the surface. This process may require patience and careful measurements for best results.
Conclusion
Successfully planing a table top enhances its beauty and functionality. By following the right techniques and using quality tools, you can achieve a smooth surface. Remember to take your time and pay attention to detail. A well-finished table top not only looks great but also lasts longer, adding value to your space.