How to Properly Restain Your Floors: Expert Tips
Restaining your wood floors can really change the look of your home. But for many folks, it seems like a big project. You might wonder if you can do it yourself without making a mess or getting a result you don’t like.
Don’t worry! We’re here to help. This guide gives you Expert Tips: How to Properly Restain Your Wood Floors.
We will break it down into simple steps. You’ll learn everything you need to know to get beautiful, updated wood floors.
Prepare Your Wood Floors for Restaining
Getting your wood floors ready is the most important part of restaining. It’s like cooking a great meal; you need to start with good ingredients and a clean kitchen. If you skip this step, your stain won’t look good, and it might not last. Proper preparation ensures the stain sinks in evenly and gives you the color you want. It also helps the new finish stick well, making your floors last longer and look amazing.
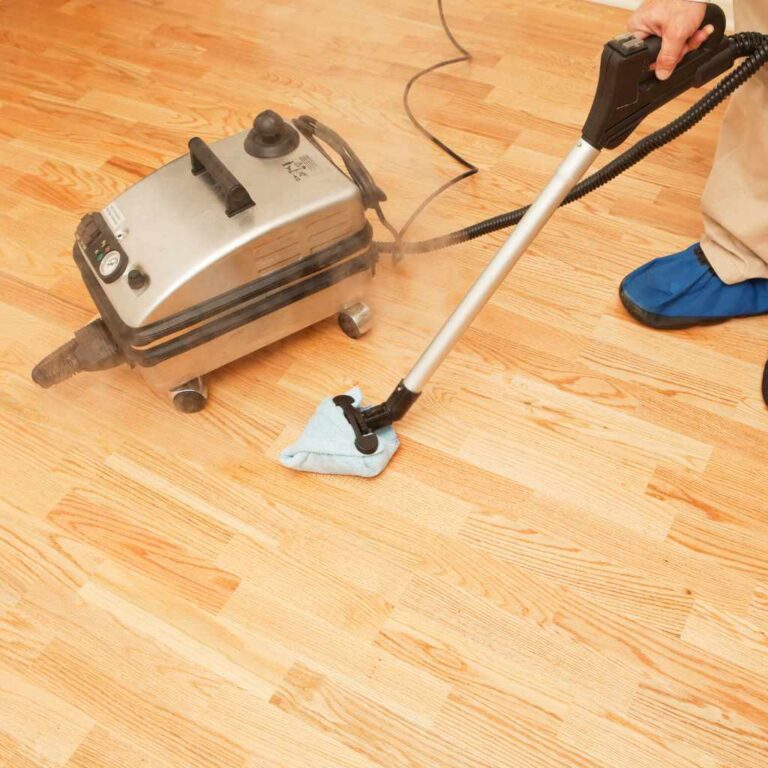
Cleaning Your Floors Thoroughly
Before you can even think about stain, your floors must be spotless. Dirt, grease, and old wax can stop the new stain from sticking. You need to get rid of everything on the surface.
Wipe down with a damp cloth
Use a soft cloth dampened with water. This picks up loose dust. Make sure the cloth isn’t too wet, or you’ll make the wood swell.
Use a wood floor cleaner
For tougher grime, a good wood floor cleaner made for finished floors is best. Follow the product’s instructions. Some cleaners might leave a residue, so always test in a small spot first.
Scrub away old wax or polish
If your floors have old wax or polish, you’ll need a special stripper. These products dissolve the old stuff so you can wipe it away. You’ll usually need a few passes to get it all off.
Sanding Your Floors
Sanding is key to removing the old finish and opening up the wood for the new stain. It sounds tough, but it’s doable. You have a few options for sanding.
Drum sander for the main areas
A drum sander is a big machine that takes off the old finish quickly. You’ll need to practice with it in an inconspicuous spot first. It’s powerful and can dig in fast if you’re not careful. Always move it steadily across the floor.
Edge sander for borders and tight spots
An edge sander is smaller and gets into areas the drum sander can’t reach, like around walls and cabinets. It’s also a powerful tool and requires care to avoid gouging the wood.
Hand sanding for details
For corners and very detailed areas, you might need to sand by hand. Use sandpaper that matches the grit of your machine. This ensures a uniform sanding job.
Choosing the Right Sandpaper Grits
The type of sandpaper you use matters a lot. You start with a coarser grit and move to finer grits. This process smooths out the wood.
Start with 60 or 80 grit
This coarse grit takes off the old finish and any major imperfections. It makes the wood look rough, but that’s okay.
Move to 100 or 120 grit
This grit smooths out the scratches left by the coarser paper. The floor starts to feel much smoother at this stage.
Finish with 150 or 220 grit
This fine grit makes the wood surface very smooth. It’s ready for stain when you can run your hand over it and it feels like silk. Don’t skip this final sanding step.
Vacuuming and Tack Cloth
After sanding, there will be a lot of dust. You need to get every bit of it off.
Vacuum all surfaces
Use a shop vacuum with a brush attachment. Go over the floors multiple times. Pay attention to corners and edges.
Use a tack cloth
A tack cloth is a sticky cloth that grabs tiny dust particles. Wipe the entire floor with it. It might feel a bit strange, but it’s very effective.
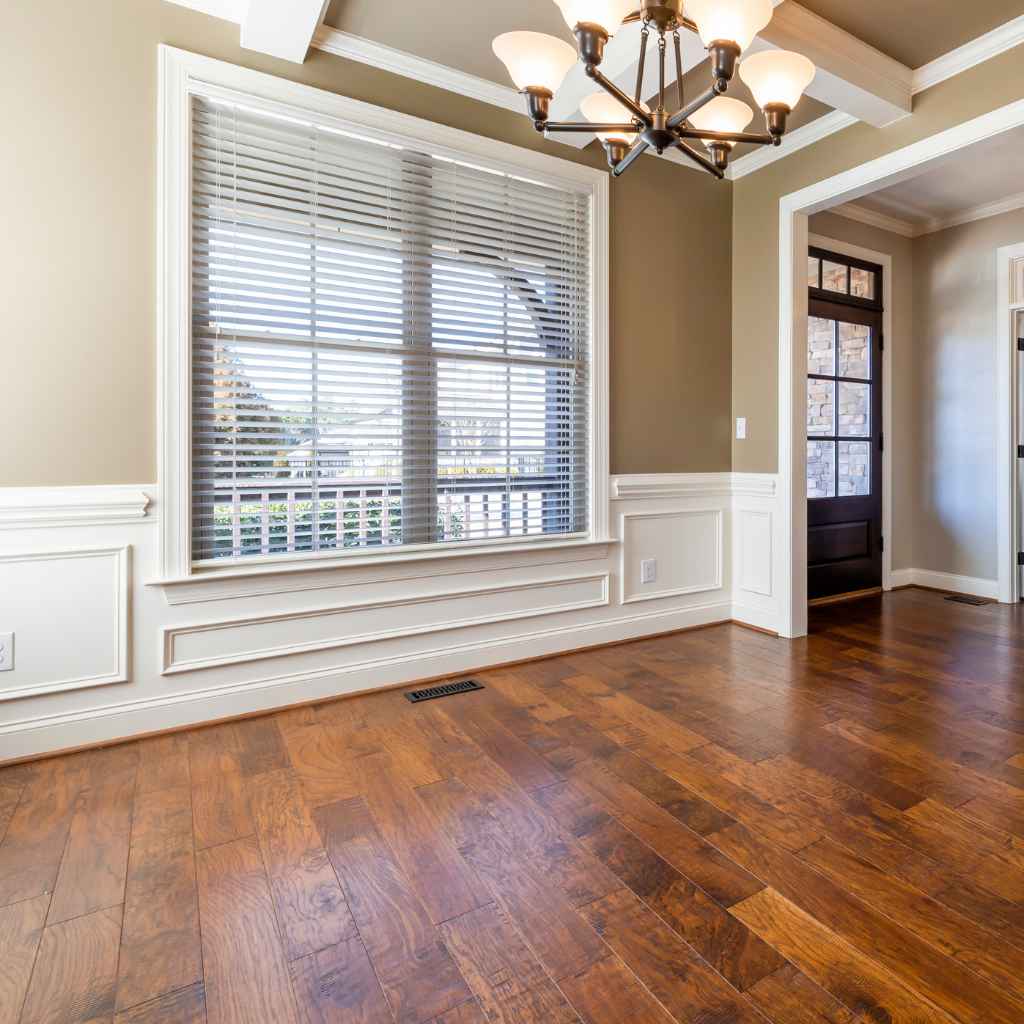
Understanding Wood Stains and Colors
Choosing the right stain color is a big decision. It sets the mood for your room. Wood stains come in many types and colors, and knowing the difference helps you pick the best one.
Types of Wood Stains
There are a few main types of stains. Each has its own pros and cons.
Oil-based stains
These are classic and popular. They penetrate the wood well and offer a rich, deep color. They take longer to dry, which can be good for beginners because it gives you more time to work. However, they require mineral spirits for cleanup.
Water-based stains
These dry much faster than oil-based stains. They are easier to clean up with just soap and water. Water-based stains can sometimes raise the wood grain, so pre-conditioning the wood might be needed. They offer a more modern look.
Gel stains
Gel stains are thicker and sit more on top of the wood rather than sinking in as deep. They are great for covering imperfections and can even be used over existing finishes without full sanding. They are easier to control for even application.
How to Test Stain Colors
Always test your stain before you apply it to the whole floor. This is super important. What looks good on a small sample might be too dark or too light for your whole room.
Use scrap wood
Get some pieces of the same type of wood you have. Sand them the same way you sand your floors.
Apply different stains
Brush on small amounts of the colors you like. Use a thin coat.
Let them dry
Allow the test samples to dry completely. This can take several hours, or even a day. The color will change as it dries.
Evaluate in good light
Look at the dried samples in the same light your room gets. See which color looks best to you.
Color vs. Wood Type
Different wood types take stain differently. Pine, for example, can look blotchy if not prepared right because it has soft and hard parts. Oak is more consistent.
Pine
Pine is a soft wood that soaks up stain quickly in some areas. This can lead to dark spots. Using a pre-stain conditioner can help make the color more even.
Oak
Oak has a strong grain and takes stain very evenly. It’s a popular choice because it looks good with almost any color.
Maple
Maple is a hard wood that doesn’t absorb stain easily. You might need a special stain for hard woods or multiple coats to get a deep color.
A study by the National Wood Flooring Association shows that 65% of homeowners choose a medium to dark stain for their wood floors, finding it adds warmth and hides wear better than lighter colors.
Applying Wood Stain to Your Floors
This is where you see your floors start to change. Taking your time and following the steps will give you great results.
Applying the First Coat
Work in small sections, so the stain doesn’t dry before you can blend it.
Use a good applicator
A high-quality brush or a foam applicator works well. Some people use a lambswool applicator for even spreading.
Apply stain in the direction of the wood grain
Always brush or spread the stain along the length of the wood boards. Don’t go back and forth across the grain.
Wipe off excess stain
After letting the stain sit for a few minutes (check the can for exact time), use a clean cloth or rag to wipe off the excess. This is what controls the depth of the color. Wipe in the direction of the grain.
Applying Multiple Coats
For a deeper, richer color, you’ll likely need more than one coat.
Let each coat dry
Wait for the stain to dry completely. This is very important. If you rush, you can mess up the previous coat.
Lightly sand between coats
Once dry, lightly sand the floor with very fine sandpaper (220 grit). This smooths any raised grain or imperfections. Then, vacuum and wipe with a tack cloth again before the next coat.
Repeat as needed
Apply additional coats until you achieve your desired color. Remember, each coat will make the color darker.
Dealing with Blotches
If you see dark, uneven spots, you might have blotching. This happens when the stain soaks in unevenly.
Use a pre-stain wood conditioner
This product is applied before stain. It seals the wood slightly, helping the stain go on more evenly, especially on soft woods like pine.
Wipe off excess stain quickly
When applying and wiping off, be consistent. If you see a dark spot forming, wipe it right away to even it out.
Drying and Curing Times
Stain needs time to dry and cure properly. Drying is when it feels dry to the touch. Curing is when it reaches its full hardness.
Drying time
Most oil-based stains take 24-48 hours to dry to the touch. Water-based stains can dry in 4-6 hours. Always check the product label for specific times.
Curing time
Stain can take several days, or even up to 30 days, to fully cure. During this time, be gentle with your floors. Avoid heavy furniture or abrasive cleaners.
A common mistake beginners make is not allowing enough drying time between coats. This can lead to a sticky finish and a messy result.
Applying a Protective Top Coat
Once your stain is perfect, you need to protect it. A top coat seals the stain and provides a durable layer against wear and tear.
Choosing Your Top Coat
There are several types of top coats, each offering different levels of durability and sheen.
Polyurethane
This is the most common choice. It’s durable and comes in oil-based and water-based versions.
Oil-based polyurethane offers a warm, amber tone that can deepen with age. It’s very tough but takes longer to dry and has strong fumes.
Water-based polyurethane dries clear and faster. It’s less likely to yellow over time and has fewer fumes. It’s also very durable, though some feel it’s not quite as hard as oil-based.
Varnish
Varnish is similar to polyurethane but often contains more oil. It provides excellent protection and a slightly warmer look. It can be more flexible than polyurethane, making it a good choice for floors that might see a lot of movement.
Lacquer
Lacquer dries very quickly and gives a hard, smooth finish. However, it’s less durable than polyurethane and can be damaged by heat or chemicals. It’s not typically recommended for high-traffic wood floors.
Applying the Top Coat
Just like stain, applying the top coat needs care.
Use a good applicator
A high-quality synthetic brush or a foam applicator is recommended. Ensure it’s clean and free of lint.
Apply thin, even coats
Avoid thick, uneven coats, which can cause streaks or puddles. Work in smooth, overlapping strokes.
Follow the grain
Always apply the top coat in the same direction as the wood grain.
Allow proper drying time between coats
Let each coat dry completely. Check the product label for specific drying times, which can vary significantly between oil-based and water-based products.
Sanding Between Coats
This step is crucial for a smooth, professional finish.
Lightly scuff the surface
After each coat has dried, lightly sand the floor with a very fine grit sandpaper (220 grit or higher). This creates a surface for the next coat to adhere to, ensuring a smooth, glassy finish.
Clean thoroughly
After sanding, vacuum all dust and wipe down the floor with a tack cloth. This removes any residue that could mar the finish.
Repeat for desired protection
Most floors need at least two to three coats of top coat for good protection. High-traffic areas might benefit from four or more coats.
A common scenario is a homeowner applying a single, thick coat of polyurethane, thinking it will provide enough protection. This often leads to a finish that scratches easily and needs refinishing much sooner than expected. Proper application of multiple thin coats, with sanding in between, is vital for longevity.
Maintaining Your Newly Restained Floors
You’ve worked hard to get your floors looking great. Now you want them to stay that way! Good maintenance is easy and keeps your floors beautiful for years.
Daily Care
Simple, everyday habits make a big difference.
Sweep or vacuum regularly
Daily sweeping or vacuuming with a soft brush attachment removes dirt and grit that can scratch your floor.
Clean spills immediately
Don’t let liquids sit on the floor. Wipe them up right away to prevent staining or damage.
Use doormats
Place mats at all entrances to catch dirt and moisture before it gets tracked onto your floors. This is a simple but effective way to protect your finish.
Weekly and Monthly Tasks
These are slightly deeper cleaning steps.
Damp mop
Once a week, use a damp mop with a wood floor cleaner. Avoid using too much water, as it can damage the wood.
Inspect for damage
Regularly check for any scratches or wear marks. Addressing small issues early can prevent them from becoming bigger problems.
Protecting from Furniture and Pets
These can cause wear and tear.
Use furniture pads
Put felt pads on the bottom of all furniture legs. This prevents scratches when furniture is moved.
Trim pet nails
Keep pet nails trimmed to reduce scratching. Consider rugs in high-traffic pet areas.
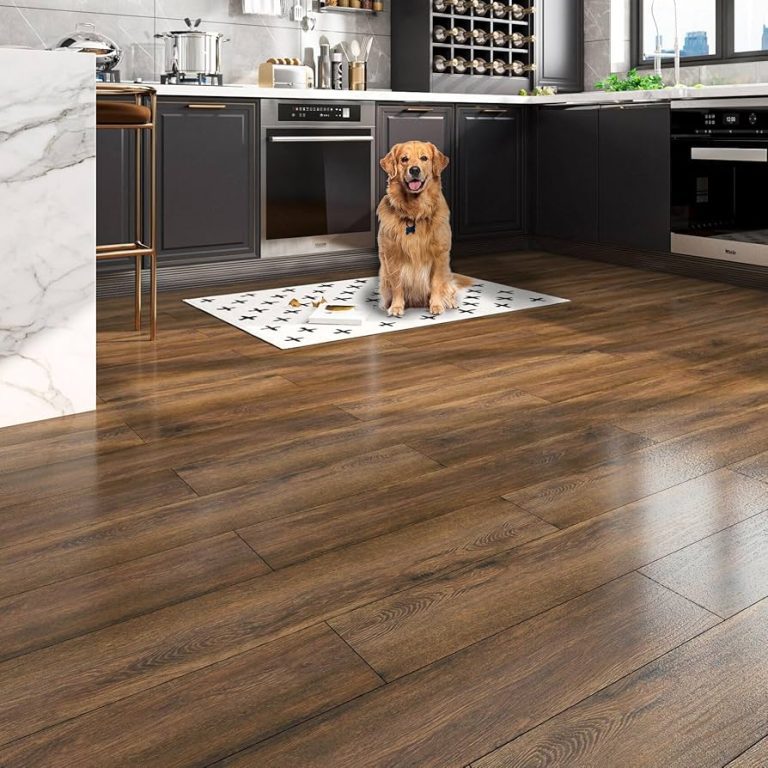
Use area rugs
Place rugs in high-traffic areas, entryways, and under furniture. They add comfort and protect the floor from wear.
Statistics show that proper maintenance can extend the life of wood floor finishes by up to 50%. For example, a study by the Resilient Floor Covering Institute found that floors with regular cleaning and protective measures lasted an average of 15-20 years, while neglected floors often needed refinishing in 5-7 years.
Frequently Asked Questions
Question: How long does it take to restain wood floors?
Answer: The entire process, from preparation to the final coat of finish drying, can take anywhere from 3 to 7 days. This includes sanding, staining, and applying multiple coats of top coat, with drying and curing times in between.
Question: Can I restain over my existing finish?
Answer: You can restain over an existing finish if you use a gel stain or a product specifically designed for refinishing without full sanding. However, for the best and most durable results, it’s always recommended to remove the old finish through sanding first.
Question: What if I don’t want to sand my floors myself?
Answer: If you prefer not to handle the sanding yourself, you can rent professional sanding equipment or hire a professional flooring contractor. Many homeowners opt for professional help for the sanding process due to the physical effort and expertise required.
Question: How do I clean my restained floors?
Answer: Clean your restained floors with a damp mop and a wood floor cleaner designed for finished floors. Avoid using too much water, steam mops, or harsh chemicals, as these can damage the finish.
Question: How many coats of stain should I apply?
Answer: The number of stain coats depends on the color you want to achieve and the type of wood. Typically, one or two coats are sufficient for a light to medium tone. For darker or richer colors, you might need three or more coats.
Always let each coat dry fully before applying the next, and test your color on scrap wood first.
Summary
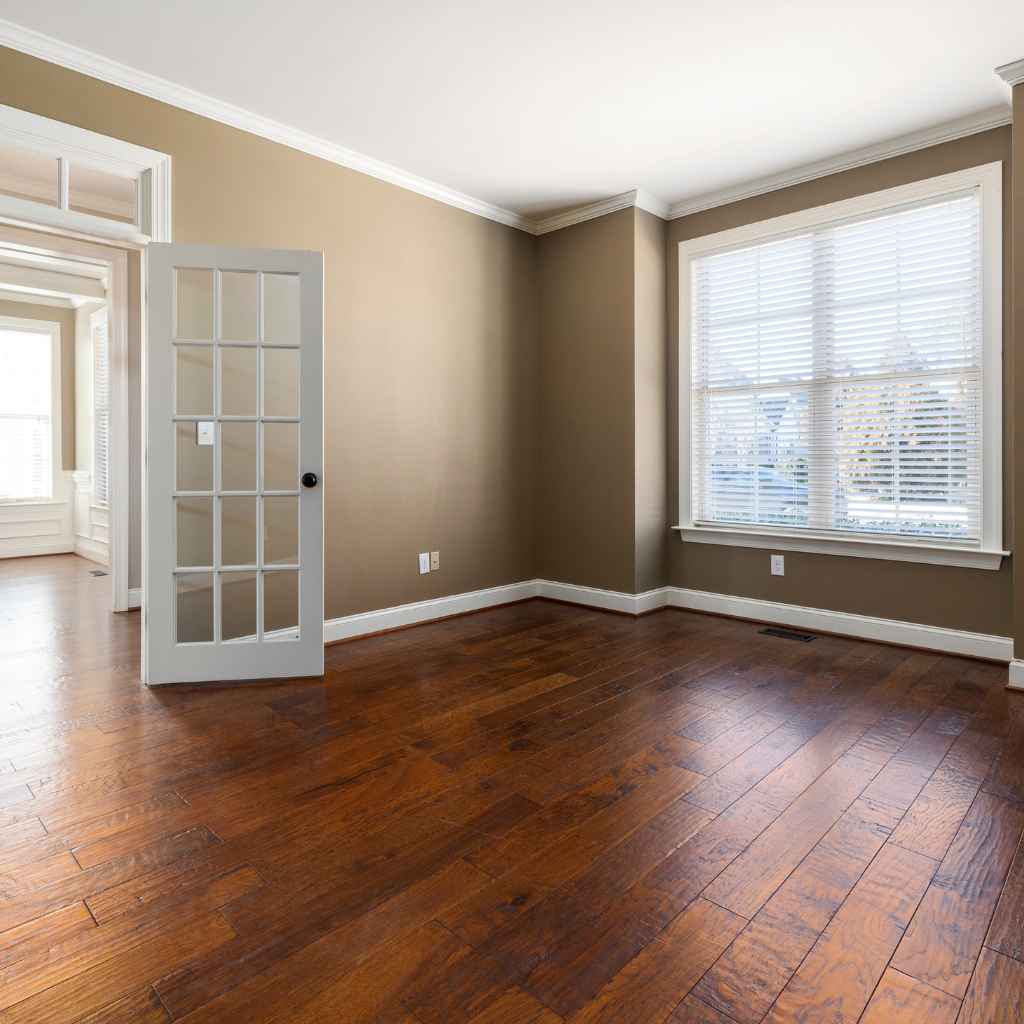
Restaining your wood floors is a rewarding project that can refresh your home’s look. By preparing your floors well, choosing the right stain, applying it carefully, and sealing it with a protective top coat, you can achieve beautiful results. Regular cleaning and maintenance will ensure your floors look great for many years. You’ve got this.