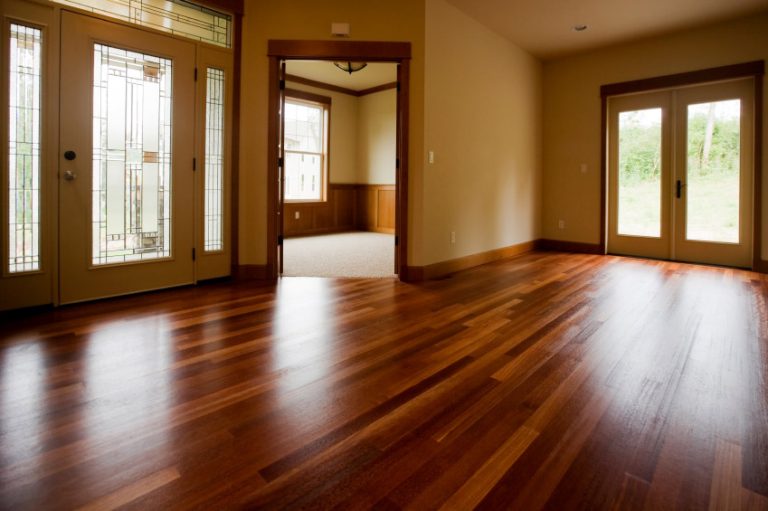
How to Correctly Install Wood Floor on Concrete
Installing a wood floor over a concrete slab can seem like a big task, especially if you’re new to DIY projects. Many people find it tricky to get right because concrete can be uneven, damp, or just feel very hard to work with. But don’t worry! This guide breaks down exactly how to correctly install a wood floor on concrete. We’ll make it simple, step by step, so you can feel confident.
Preparing Your Concrete Slab for Wood Flooring
Getting the concrete ready is the most important first step for a successful wood floor installation. This phase involves checking for any problems with the slab and fixing them. A smooth, dry, and level surface is key to preventing issues later on. If you skip this part, you might end up with squeaky floors, gaps, or even moisture damage. Taking your time here will save you a lot of headaches down the road.
Moisture Testing the Concrete
Moisture is the biggest enemy of wood flooring. Wood expands and contracts with changes in humidity, and if it absorbs moisture from concrete, it can swell, warp, or even rot. You need to know if your concrete is releasing too much water vapor.
A simple way to test for moisture is the plastic sheet test. Tape a 2×2 foot piece of clear plastic sheeting tightly to the concrete. Leave it for at least 24 hours. If you see condensation on the underside of the plastic or the concrete looks darker, there’s too much moisture.
Another common test is a calcium chloride test kit, which you can buy at most hardware stores. These kits measure the amount of moisture vapor passing through the concrete. Most manufacturers of wood flooring will specify the maximum acceptable moisture vapor emission rate (MVER). For example, some might allow up to 5 pounds per 1000 square feet in 24 hours.
If your moisture tests show high levels, you’ll need to address it before installing your wood floor. This might involve a special moisture barrier or a self-leveling underlayment designed for damp conditions.
Leveling the Concrete Slab
Uneven concrete can cause your wood floor to have high or low spots. This not only looks bad but can also put stress on the planks, leading to gaps or breakage over time. You need a flat surface for the wood to lie evenly.
You can check for unevenness by laying a long, straight edge, like a 6-foot level, across the concrete. Any gaps larger than 1/8 inch under the level might need to be filled. For minor dips, you can use a concrete patch or leveling compound.
For larger low spots or a generally uneven surface, a self-leveling underlayment is often the best solution. This is a pourable product that spreads out to create a perfectly flat surface. You mix it with water according to the manufacturer’s instructions and pour it onto the floor. It will naturally flow and level itself out.
Cleaning the Concrete
Dirt, dust, grease, and old adhesives can prevent your new flooring from bonding correctly, whether you’re gluing it down or using a floating method. A clean surface is crucial.
Start by sweeping the floor thoroughly to remove loose debris. Then, use a concrete degreaser or a strong detergent with a stiff brush to scrub away any stains or grime. Rinse the floor well and let it dry completely. A wet vacuum can help speed up the drying process.
For any old paint or adhesive residues, you might need to use a scraper or an orbital sander with a coarse grit sandpaper to remove them. The goal is a clean, smooth surface that’s free of anything that could interfere with the installation.
Choosing the Right Wood Flooring and Installation Method
Not all wood floors are created equal, and some are better suited for installation over concrete than others. The type of wood and how you plan to install it are big decisions that impact the final look and durability of your floor.
Engineered Wood vs. Solid Hardwood
When installing wood on concrete, engineered wood is usually the preferred choice. Engineered wood is made of several layers of wood veneer or composite material glued together, with a top layer of real hardwood. This construction makes it more stable and less prone to expanding and contracting with changes in humidity than solid hardwood.
Solid hardwood floors are made from a single piece of wood. While beautiful, they are more susceptible to moisture damage and can be trickier to install over concrete, often requiring a thicker subfloor like plywood.
For concrete slabs, engineered wood offers better performance because its layered structure helps it resist warping and cupping from moisture. This makes it a more forgiving option for DIY installers.
Understanding Installation Methods
There are a few ways to install wood flooring on concrete, and each has its pros and cons. The best method often depends on the type of wood you’re using and the specific conditions of your concrete slab.
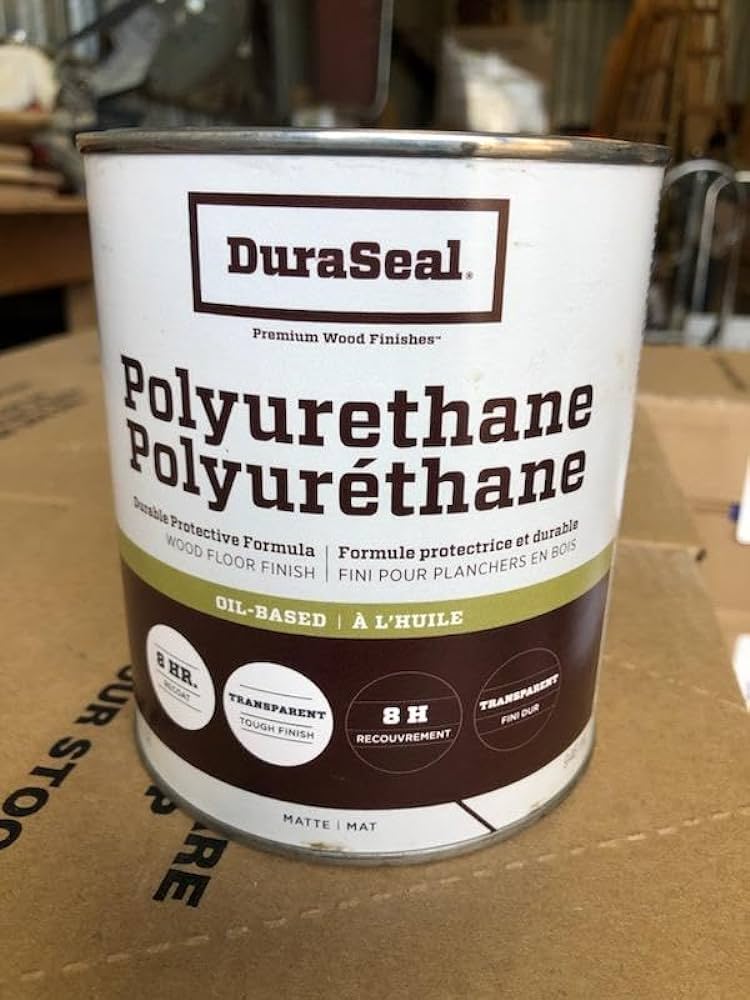
Glue-Down Installation: This involves adhering the wood planks directly to the concrete slab using a special flooring adhesive. It’s a very secure method and creates a solid feel underfoot. It’s also often used for engineered wood. The adhesive acts as a moisture barrier, but it’s still important to ensure the concrete is dry.
Floating Installation: In this method, the wood planks are not attached to the concrete. Instead, they are connected to each other, creating a single “floating” floor that lies on top of an underlayment. This is a common choice for engineered wood and some types of laminate flooring that mimic wood. It’s often simpler and quicker than glue-down.
Nail-Down Installation (with a subfloor): Solid hardwood is typically nailed down. To do this over concrete, you first need to install a plywood subfloor. The plywood is usually attached to the concrete with screws or adhesive, and then the hardwood is nailed to the plywood. This method adds height to your floor and is more complex.
For most DIYers installing wood on concrete, a glue-down or floating installation of engineered wood is the most practical and recommended approach.
The Importance of an Underlayment
An underlayment is a layer installed between the subfloor (in this case, the concrete) and the finished flooring. It serves several important purposes.
For wood floors, an underlayment can provide cushioning, reduce noise, and offer a moisture barrier. Some underlayments are specifically designed for use over concrete. They can help block any residual moisture that might still be present even after testing.
When choosing an underlayment, look for one that is compatible with your chosen flooring type and installation method. Some products combine cushioning and moisture barrier properties. Always follow the flooring manufacturer’s recommendations for underlayment.
Step-by-Step Guide to Installing Wood Flooring on Concrete
Now that you’ve prepared your concrete and chosen your materials, it’s time to get to work. Following these steps carefully will help ensure your new wood floor looks beautiful and lasts for years. Remember to always read the specific instructions from your flooring manufacturer, as they may have unique recommendations.
Step 1 Measuring and Planning
Before you start cutting or laying planks, you need to plan your layout. This helps you figure out how many boxes of flooring you’ll need and how to achieve the best look.
Measure the room’s length and width. Add about 10% to this total to account for cuts, waste, and any mistakes you might make. It’s always better to have a little extra than to run out.
Decide on the direction you want the planks to run. Typically, they run parallel to the longest wall in the room. This makes the room look larger.
Start the installation in a corner. You’ll usually want to have a small gap around the perimeter of the room for expansion. This gap should be covered by your baseboards.
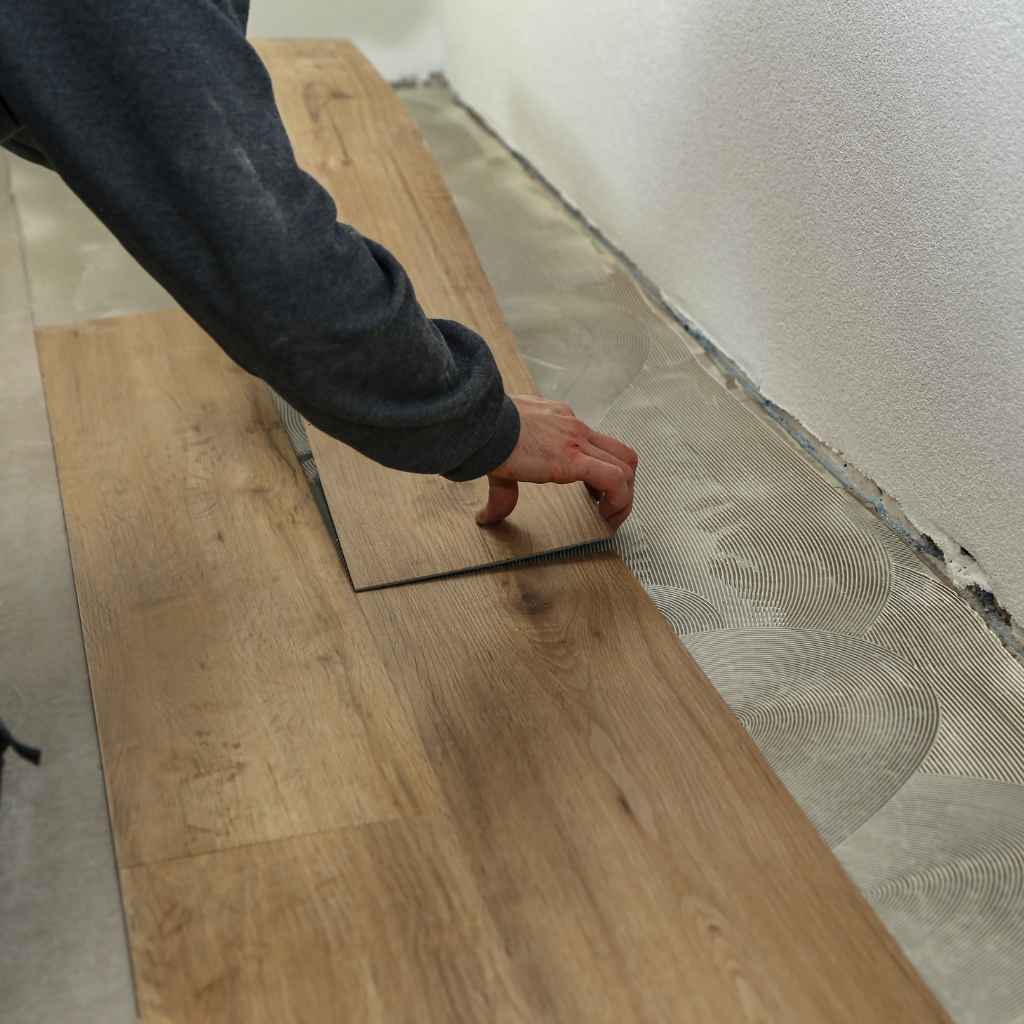
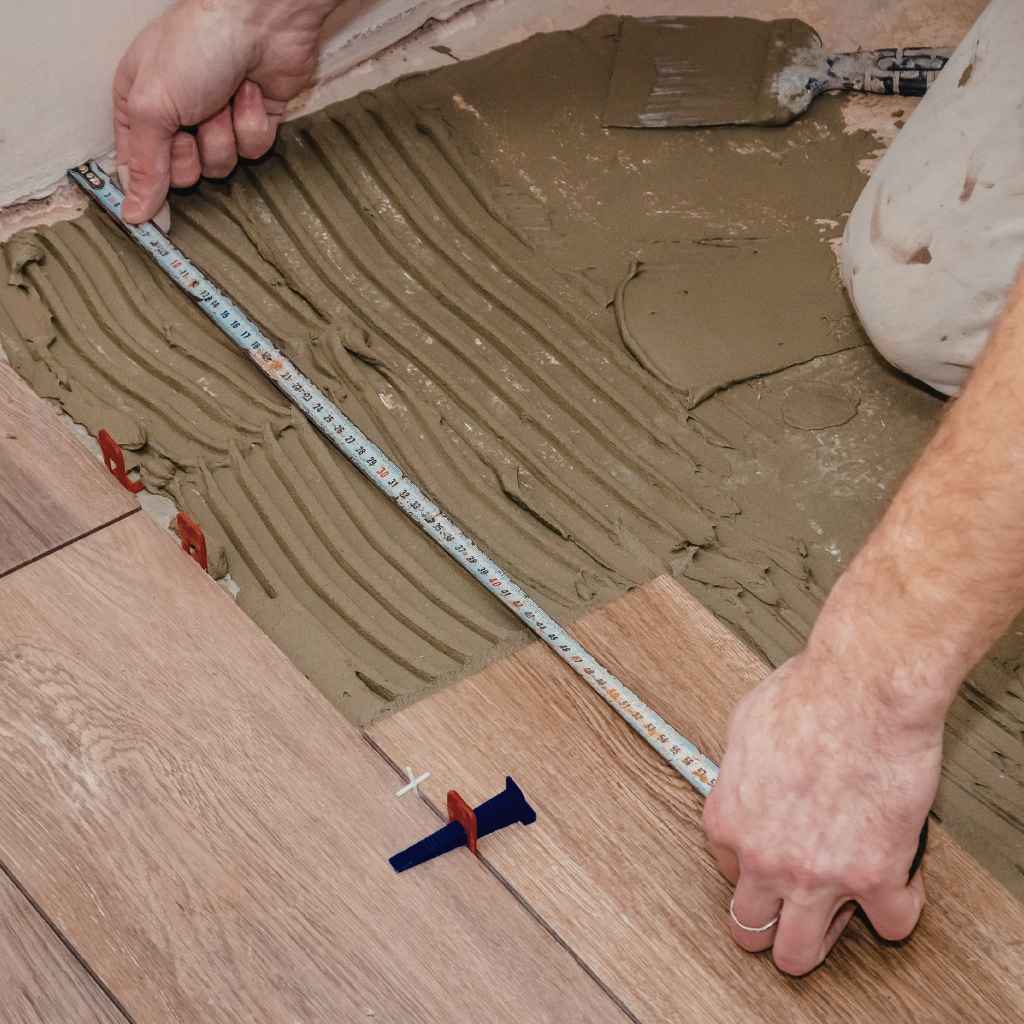
Step 2 Laying the First Plank
Begin in a corner, usually the one farthest from the door. Lay your first plank with the tongue side facing the wall. You’ll need to cut off the tongue on the side that will face the wall.
For a glue-down installation, apply the adhesive to the concrete according to the manufacturer’s instructions. Spread it evenly with a notched trowel. Then, place the first plank into the adhesive.
For a floating floor, you’ll lay down your underlayment first. Then, place the first plank on top, tongue facing away from the wall. You may need to use spacers to maintain your expansion gap.
Step 3 Installing Subsequent Planks
Work your way across the room, plank by plank. For most click-lock or tongue-and-groove systems, you’ll join the next plank to the previous one by fitting the tongue into the groove. You might need to gently tap them into place with a tapping block and hammer to ensure a tight fit.
If you’re gluing, apply adhesive to a section of the floor and then place the planks into it, fitting them together snugly.
Always check that each plank is straight and that your rows are parallel. Use spacers against the walls to maintain the expansion gap.
Step 4 Cutting and Fitting Around Obstacles
You’ll inevitably run into door frames, cabinets, and other fixed objects. Measure carefully and cut planks to fit around these areas. A jigsaw is useful for making irregular cuts.
For door jambs, you can often slide the plank underneath the bottom lip of the jamb, allowing for the expansion gap.
Remember to stagger your plank joints. This means the end joints of one row should not line up with the end joints of the next row. This creates a stronger, more natural-looking floor. A common recommendation is to stagger joints by at least 6 inches.
Step 5 The Final Row and Finishing Touches
The last row of planks will likely need to be cut to size to fit the remaining space. Measure the gap carefully, taking into account the expansion gap. You may need to rip the planks lengthwise using a table saw.
Once all planks are laid, remove any spacers. Install your baseboards and trim around the perimeter of the room. These will cover the expansion gap and give your floor a finished look.
For glue-down installations, clean up any excess adhesive immediately. For floating floors, ensure there are no gaps at the edges.
Maintenance and Care for Your New Wood Floor
Keeping your new wood floor looking its best is pretty straightforward. Regular cleaning and a few preventive measures will help it last for many years.
Regular Cleaning Practices
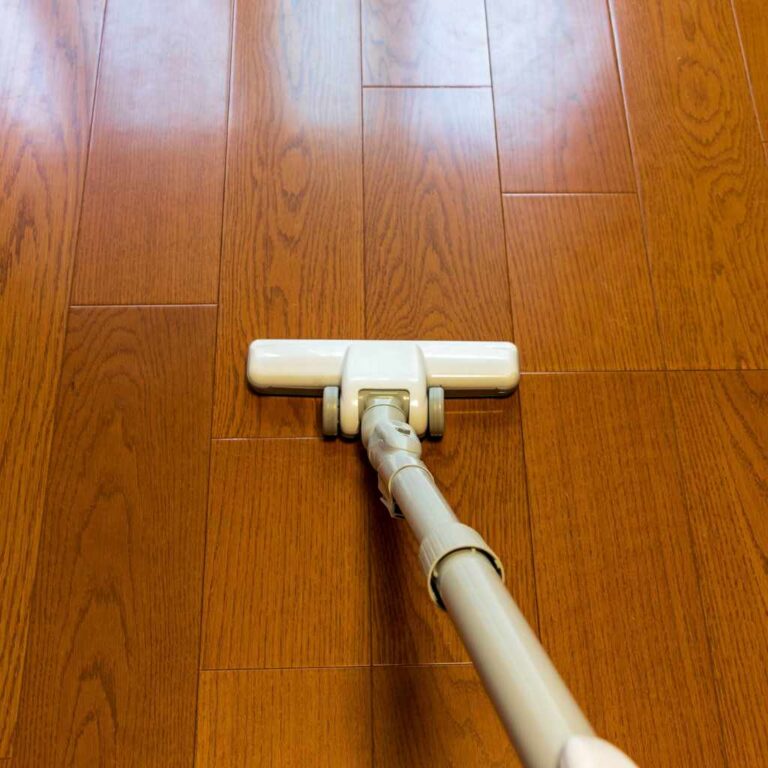
Dust and debris can scratch the surface of your wood floor over time. Sweep or vacuum your floors regularly, at least once a week, or more often in high-traffic areas. Use a vacuum cleaner with a soft brush attachment to avoid scratching.
For spills and messes, wipe them up immediately with a soft, damp cloth. Avoid using too much water, as excess moisture can damage wood.
When you need to do a more thorough cleaning, use a wood floor cleaner specifically designed for your type of finish. Never use harsh chemicals, ammonia-based cleaners, or abrasive pads, as these can dull or damage the finish.
Protecting Your Floor from Damage
Protecting your floor from scratches and dents is key to its longevity. Place felt pads on the bottom of all furniture legs, including chairs, tables, and sofas. This allows furniture to slide easily without scratching the wood.
Use doormats at all entrances to trap dirt, grit, and moisture before they are tracked onto your wood floor. Shake out the mats regularly.
Avoid wearing high heels or cleated shoes indoors, as these can cause dents and deep scratches. Keep pets’ nails trimmed to prevent scratches.
Also, be mindful of direct sunlight. Prolonged exposure to UV rays can fade the color of your wood floor over time. Consider using window coverings like blinds or curtains to protect vulnerable areas.
Dealing with Scratches and Wear
Even with the best care, minor scratches can happen. For light surface scratches, you might be able to use a wood floor repair kit or a touch-up pen that matches your floor’s color. These can help fill in small imperfections.
Deeper scratches or significant wear might require more involved repairs. For engineered wood, you can sometimes replace individual damaged planks, depending on the installation method.
If the wear and tear becomes widespread, you may need to consider refinishing the floor. However, engineered wood has a limited number of times it can be refinished compared to solid hardwood.
Frequently Asked Questions
Question: Can I install any type of wood floor on concrete?
Answer: It’s best to use engineered wood flooring for installation over concrete. Solid hardwood can be used but typically requires a plywood subfloor, making it more complex.
Question: Do I need a vapor barrier when installing wood on concrete?
Answer: Yes, a vapor barrier or a moisture-retardant underlayment is highly recommended, even if your concrete tests dry. It protects the wood from residual moisture.
Question: How long does it take to install a wood floor on concrete?
Answer: The time can vary greatly depending on the room size and your experience. A small to medium-sized room might take 1-3 days for a DIYer, including preparation.
Question: What is the most common mistake when installing wood on concrete?
Answer: The most common mistake is not properly preparing the concrete slab, especially by not addressing moisture issues or unevenness.
Question: Can I lay a floating floor directly on concrete without an underlayment?
Answer: No, it’s generally not recommended. An underlayment provides cushioning, sound dampening, and crucially, a moisture barrier.
Summary
You’ve learned how to correctly install a wood floor on concrete by preparing your slab, choosing the right materials, and following a step-by-step process. This guide covered moisture testing, leveling, cleaning, and selecting between engineered and solid wood. We walked through the installation stages, from laying the first plank to finishing. Proper care ensures your floor stays beautiful. By following these tips, you can achieve a professional-looking wood floor.