How to Replace Carpet With Hardwood: Step-by-Step Guide
Replacing carpet with hardwood can transform your home’s look. It adds elegance and boosts property value.
Are you tired of your old, stained carpet? Hardwood flooring can be the perfect solution. It offers a fresh, timeless appeal. Hardwood is durable, easy to clean, and hypoallergenic. While the process may seem daunting, it is doable with some guidance.
In this blog, we will walk you through each step. From removing the carpet to installing the hardwood, you’ll learn all you need to know. Let’s get started and give your home the upgrade it deserves!
Preparation
Gather Tools and Materials: Start by collecting all necessary tools. You will need a hammer, pry bar, utility knife, tape measure, and a saw. Don’t forget to have safety gear like gloves and goggles. Also, get materials like hardwood planks, underlayment, and nails or adhesive.
Measure the Room: Measure the room to know how much hardwood you need. Use a tape measure for accuracy. Measure the length and width of the room. Multiply these numbers to get the square footage. This helps in buying the correct amount of flooring.

Removing Old Carpet
Removing old carpet reveals the floor beneath, paving the way for beautiful hardwood installation. Carefully pull up carpet and padding, then clean the subfloor. Prep the surface before laying down hardwood planks for a fresh, elegant look.
Clear The Room
Move all the furniture out of the room. Check for any small items left behind. Clean the area to avoid any mess.
Pull Up The Carpet
Start at one corner of the room. Use pliers to grip the carpet. Pull it up slowly. Roll the carpet as you go. This makes it easier to handle.
Remove Carpet Padding
Take out the padding under the carpet. This is usually stapled down. Use a staple remover or pliers. Pull up the padding carefully. Dispose of it in a trash bag.
Dispose Of Old Carpet
Cut the carpet into smaller pieces. This makes it easier to carry. Place the pieces into trash bags. Dispose of them according to local rules.
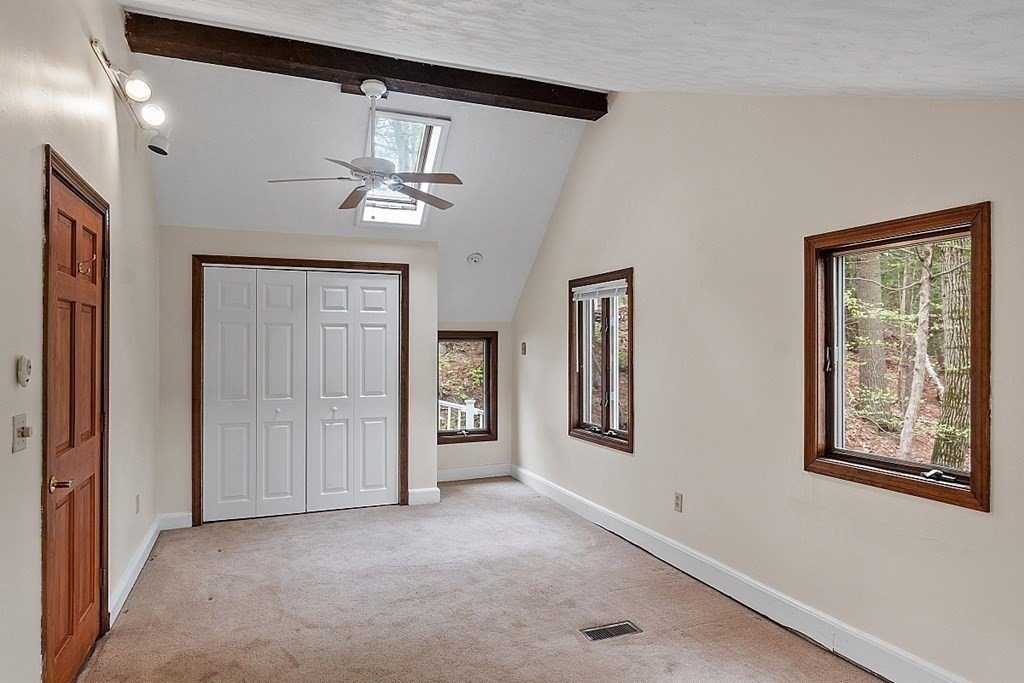
Preparing The Subfloor
Check the subfloor for any damage. Look for cracks, holes, or uneven areas. A good subfloor is key for a smooth hardwood floor. Make sure it is solid and strong.
Fix any issues with the subfloor. Use a patching compound for small holes. Replace any damaged sections of the subfloor. Make sure it is level and flat. A well-repaired subfloor will last longer.
Remove any dust and debris. Sweep the entire area well. Use a vacuum for hard-to-reach spots. A clean subfloor helps hardwood stick better. Ensure no old nails or staples are left behind.
Credit: www.joanbissdorf.com
Installing Underlayment
Underlayment is the layer between the subfloor and hardwood. It helps in moisture control and sound reduction. There are different types of underlayment. Foam underlayment is good for noise reduction. Felt underlayment is best for moisture control. Choose the type that fits your needs.
Start with a clean subfloor. Roll out the underlayment. Make sure it covers the entire floor. Use a utility knife to cut it to size. Secure it with tape or staples. Ensure there are no gaps. Gaps can cause problems later.
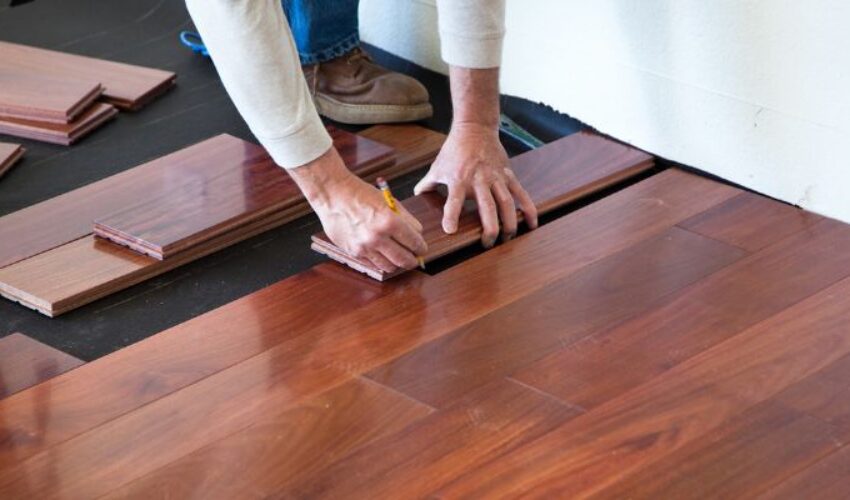
Laying The Hardwood
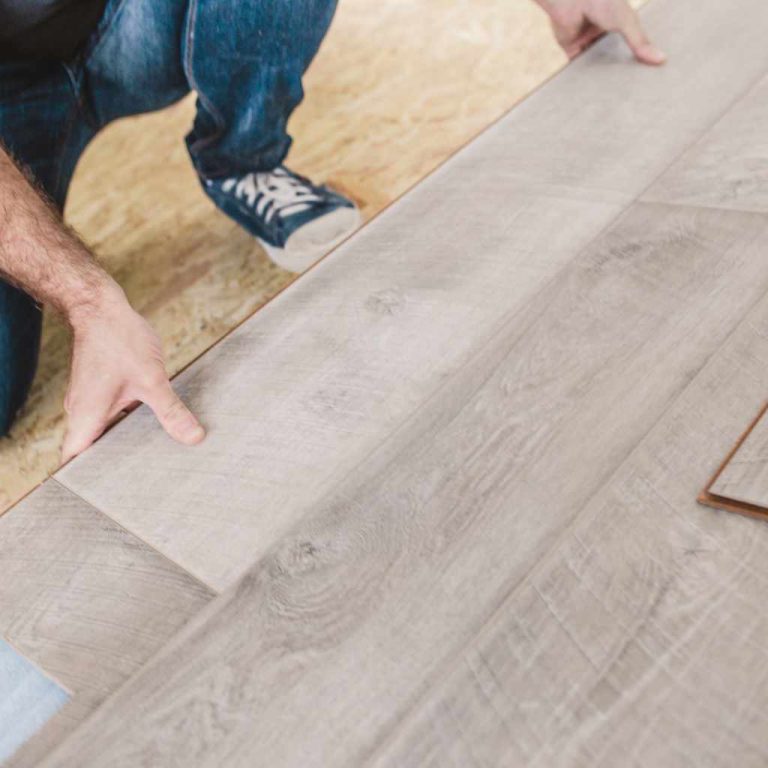
First, measure your room. Make a simple drawing. Mark the walls and doors. This helps you plan where to start. Think about the direction of the wood. Many people lay wood along the longest wall. This can make the room look bigger. But you can choose what you like best.
Place spacers along the wall. These keep a gap for the wood to expand. Start with the longest, straightest boards. Place them with the tongue side facing out. Use a nail gun to secure each board. Check that they are straight. Adjust if needed. Continue until the first row is done.
Begin the next row with a shorter board. This makes the seams stagger. Staggered seams look better and add strength. Tap each board into place with a mallet. Secure with nails. Repeat until the floor is done. Check each row for gaps. Fix any gaps before moving on.
Credit: usvintagewood.com
Cutting And Fitting Boards
Start by measuring the room. Use a tape measure for this. Write down the lengths. Make sure to measure twice. This avoids mistakes. Next, mark the boards. Use a pencil and ruler. Make sure the lines are straight. Cut the boards using a saw. A miter saw works best. Be careful with the saw. Safety comes first. Check the cuts. Make sure they fit well. Trim if needed.
Obstacles like vents or pipes need special attention. Measure the space around the obstacle. Mark the board for the cut. Use a jigsaw for curved cuts. Straight cuts need a handsaw. Test the fit before finalizing. Adjust if needed. Use a coping saw for tight corners. Double-check the fit. Make sure it looks neat. Use small pieces for tricky spots. This makes the job easier.
Finishing Touches
Transform your home by replacing carpet with hardwood. Start by removing the old carpet, then prepare the subfloor. Finally, install the new hardwood planks for a fresh, elegant look.
Install Trim And Molding
Trim and molding give a clean look. Measure the walls first. Cut the trim to fit. Use a saw for straight cuts. Paint or stain the trim. Let it dry. Nail the trim to the wall. Use a hammer and nails. Make sure it is level. Fill any gaps with wood filler. Let the filler dry. Sand the filler smooth. Touch up with paint.
Fill In Gaps
Small gaps can appear. Use wood filler for these gaps. Apply with a putty knife. Let it dry. Sand it smooth. For larger gaps, use a flexible caulk. This can move with the wood. Apply caulk with a caulk gun. Smooth it with your finger. Let it dry. Paint over caulk if needed.
Cleaning And Maintenance
Keep your new hardwood floor clean. Use a soft broom or a vacuum. Avoid using too much water. Water can damage wood. Clean spills right away. Use a soft cloth for this. Never use harsh cleaners. They can scratch the surface.
Place mats at doorways. This helps reduce dirt. Trim your pet’s nails. This prevents scratches. Use furniture pads under legs. This avoids dents. Regularly check for damage. Fix small issues right away. This keeps the floor looking new.

Credit: www.youtube.com
Frequently Asked Questions
Is Replacing Carpet With Hardwood Worth It?
Yes, replacing carpet with hardwood is worth it. Hardwood floors enhance home value, improve air quality, and offer durability.
How Hard Is It To Replace Carpet With Hardwood Yourself?
Replacing carpet with hardwood yourself is moderately challenging. Basic carpentry skills and proper tools are essential. Expect to spend time on preparation, installation, and finishing.
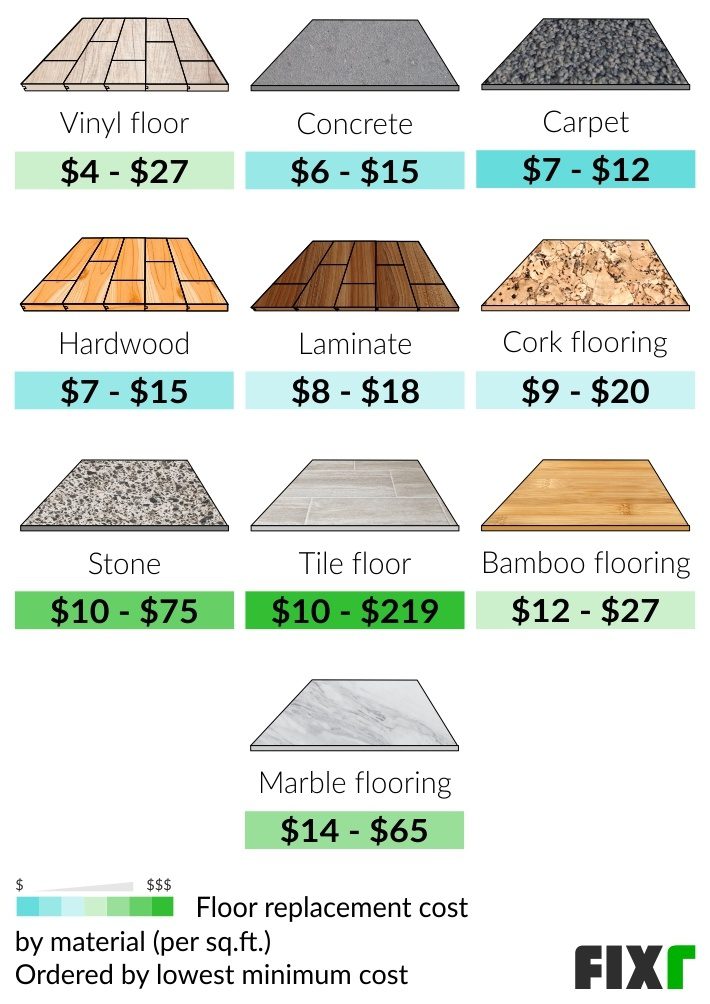
How Much Does It Cost To Turn Carpet Into Hardwood?
Turning carpet into hardwood costs $6 to $12 per square foot. Prices depend on wood type and installation complexity.
How Long Does It Take To Remove Carpet And Install Hardwood?
Removing carpet and installing hardwood typically takes 2-5 days. Factors include room size, complexity, and installer experience.
Conclusion
Replacing carpet with hardwood transforms your home beautifully. The process is straightforward and rewarding. Start with planning and gathering materials. Remove the old carpet carefully. Prepare the subfloor to ensure it’s clean and level. Install the hardwood planks, ensuring they fit well.
Finish by sealing the wood for protection. With patience and effort, you can achieve a stunning new floor. Enjoy the timeless beauty and durability of hardwood in your home.