How to Fix Gaps in Wood Trim: Caulk vs. Wood Filler (Step-by-Step)
Use paintable siliconized acrylic latex caulk for gaps between trim and the wall or ceiling – that joint moves with the seasons. Use wood filler for gaps inside the trim itself, like open miter corners or nail holes, because filler needs to stay rigid and sandable.
Most gap-in-trim guides tell you to grab a tube of caulk and call it done. That’s why so many of those same gaps crack open again by the following winter. The real fix depends on which of two very different problems you’re looking at: a moving joint between two separate materials (trim and drywall), or a rigid seam within one piece of wood (a mitered corner). Treat them the same way and the repair fails within a season.
Why Wood Trim Gaps Keep Coming Back Every Winter
Best Caulk For Trim-To-Wall Gaps
 |
DAP Alex Plus Acrylic Latex Caulk – $2.97 This is the caulk to reach for on trim-to-wall gaps – it flexes with seasonal wood movement instead of cracking, and it’s paint-ready in about 30 minutes.
|
If a gap you filled last spring has reopened, that’s not a bad repair – it’s wood doing what wood does. Indoor relative humidity in a heated home routinely drops from around 45-50% in summer to 20-30% in winter. Wood trim loses moisture as the air dries out, shrinks slightly across its width, and pulls away from the wall or from the next piece of trim at the corner. Come spring, humidity climbs back up and the wood swells again.
This is exactly why trim that was installed without time to acclimate keeps opening gaps year after year: it never matched the home’s actual moisture level to begin with. Trim lumber should sit inside the room where it will be installed for 3 to 5 days before nailing it up, so it equalizes with the home’s humidity instead of moving after the fact. If you’re re-trimming a room now, that step prevents the next round of gaps rather than just patching this one.
Caulk Or Wood Filler? How To Tell Which Gap You Have
Run your finger along the gap. If it sits at the line where trim meets wall, ceiling, or another piece of casing, that’s a joint between two separate materials that will keep expanding and contracting – use caulk. If the gap is inside a single piece of trim, like an open miter at an outside corner, a nail hole, or a split in the wood itself, that’s a rigid gap that won’t move much once repaired – use wood filler or putty.
The mistake to avoid is using wood filler on a trim-to-wall seam. Filler is hard and sandable once cured, which is exactly why it looks great on a nail hole and exactly why it cracks out of a moving joint within a few months. The reverse mistake – caulking an open miter joint instead of pulling it tight and filling it – leaves a visibly soft, slightly recessed line that never quite disappears under paint.
Tools And Materials
- Paintable siliconized acrylic latex caulk for wall-to-trim gaps – skip pure silicone caulk, paint won’t stick to it.
- Wood filler or two-part epoxy putty for gaps inside a single piece of trim.
- Backer rod (foam rope, sold by the foot at any hardware store) for any gap wider than about 1/4 inch.
- Caulking gun, a damp rag or your finger for tooling the bead, and painter’s tape only if you’re caulking a straight run against a contrasting wall color.
- Putty knife, 120- and 220-grit sandpaper, and a finish nail or two for pulling open miter joints tight.
Fixing A Gap Between Trim And The Wall
Clean the joint first – old paint flakes, dust, and caulk residue keep new caulk from bonding. For anything wider than 1/4 inch, press a length of backer rod into the gap before caulking; without it, caulk sinks into a deep gap as it cures and you end up re-doing the bead a week later.
Cut the caulk tube tip at a 45-degree angle, sized to roughly match the gap – a bigger opening than the gap needs just means more cleanup. Run a steady bead the full length of the joint, then tool it immediately with a damp finger or rag before it starts to skin over, usually within 3-5 minutes. Wipe your finger on a rag between passes rather than on the wall. Most paintable caulks are ready to paint in about 30 minutes, but check the tube – some need a full hour in cooler rooms.

Fixing An Open Miter Joint Or Gap In The Wood Itself
An open miter at an outside corner usually isn’t a wood-shrinkage problem – it’s a joint that was never pulled tight, or one that’s worked loose from foot traffic or a door slamming nearby. Before reaching for filler, try closing the gap mechanically: drive a finish nail at an angle through the outer edge of the corner to pull the two pieces together, or use a corner clamp to hold them tight while you nail. Only fill what’s left after that.
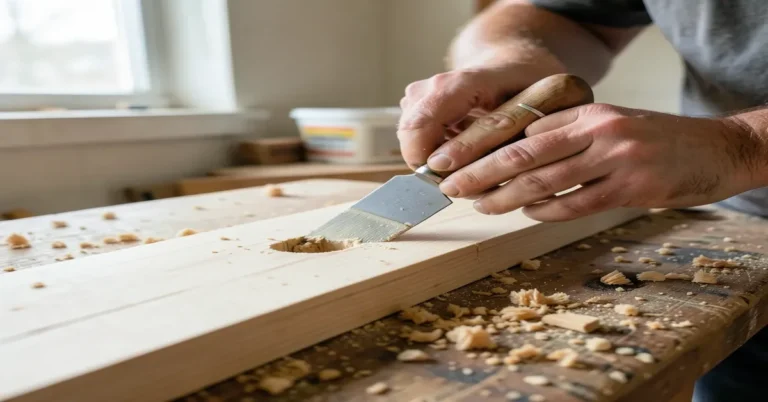
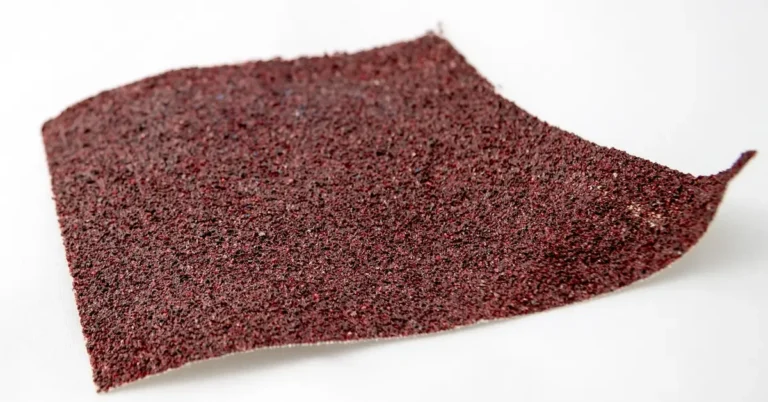
Press wood filler into the remaining gap with a putty knife, slightly overfilling since most fillers shrink a little as they cure. Let it dry fully – check the can, but plan on at least 30 minutes for a thin fill and several hours for anything deeper – then sand flush, starting with 120-grit to level it and finishing with 220-grit along the grain. For a stained (not painted) trim, test the filler on a scrap piece first; most standard wood fillers don’t take stain the same way surrounding wood does, and a filler formulated to accept stain is worth the extra cost there.
Matching Paint Or Stain After The Repair
On painted trim, prime bare filler or caulk before topcoating – both absorb paint differently than the surrounding wood, and skipping primer is the most common reason a repair “ghosts” through under semi-gloss paint. On stained trim, accept that a filled miter joint will rarely match the surrounding grain perfectly under stain alone; a fine-tip stain marker or touch-up pen in a matching tone, applied after the filler dries, closes that gap far better than trying to force a filler to take stain evenly.
Keeping Gaps From Coming Back
A whole-house humidifier or even a portable one that keeps winter indoor humidity closer to 35-40% will noticeably reduce how much trim gaps open up each year, since it’s the humidity swing – not a single bad installation – driving most of the movement. Walk your trim once a year, ideally at the driest point of winter, and touch up new hairline gaps with caulk right away; a fresh, small gap takes two minutes to fix, while a gap that’s been collecting dust and old paint for a year takes considerably longer to clean out and re-fill properly.
Frequently Asked Questions
How Do You Fill Gaps In Wood Trim?
It depends on where the gap is. For a gap between the trim and the wall or ceiling, use paintable siliconized acrylic latex caulk, tooled smooth with a damp finger before it skins over. For a gap inside the trim itself, like an open miter corner, pull the joint tight with a finish nail first, then fill what remains with wood filler and sand it flush once dry.
What Tools Are Needed To Fix Trim Gaps?
A caulking gun and paintable acrylic latex caulk handle wall-to-trim gaps; backer rod is worth having on hand for anything wider than 1/4 inch. For gaps inside the wood itself, you’ll want wood filler, a putty knife, 120- and 220-grit sandpaper, and a finish nail for pulling open miter joints tight before filling. A paintbrush finishes the job once the repair is fully dry.
Can I Use Caulk Instead Of Wood Filler?
Not on every gap. Caulk stays flexible, which is exactly what a moving trim-to-wall joint needs, but that same flexibility means it won’t hold its shape the way filler does inside a rigid gap like an open miter corner – it looks soft and slightly sunken there instead of crisp. Use caulk where two different materials meet and wood filler within a single piece of trim.
How Long Does It Take For Wood Filler To Dry?
Most lightweight wood fillers are dry to the touch in 15 to 30 minutes for a thin fill, but a deeper fill in an open miter joint can take several hours to cure all the way through. Sanding before it’s fully cured tends to gum up the sandpaper and leave a soft, uneven surface, so check the can’s guidance and err on the side of waiting longer for anything more than a hairline gap.
Conclusion
Gaps in wood trim aren’t a sign you did something wrong the first time – they’re wood responding to the humidity swings every heated home goes through. Match the repair to the type of gap (caulk for moving joints, filler for gaps within the wood), let trim acclimate before you install it in the first place, and a yearly touch-up pass will keep your trim looking finished with only a few minutes of work.
Sponsored / affiliate links. As an Amazon Associate I earn from qualifying purchases. I may earn additional commission from eligible campaigns.