How to Repair Water Damaged Wood Veneer: Bubbles, Rings & Peeling
Water damaged wood veneer can almost always be saved — unless the wood core underneath has swollen, rotted, or delaminated all the way through. A quick tap test tells you which repair applies: bubbles and lifted edges respond to heat and glue, while a soft, hollow-sounding core means the veneer needs replacing. This guide covers identifying the damage type, reglueing bubbles with a household iron, and removing white water rings without stripping the finish.
As an Amazon Associate we earn from qualifying purchases. Insert your Affiliate Disclosure reusable block here.
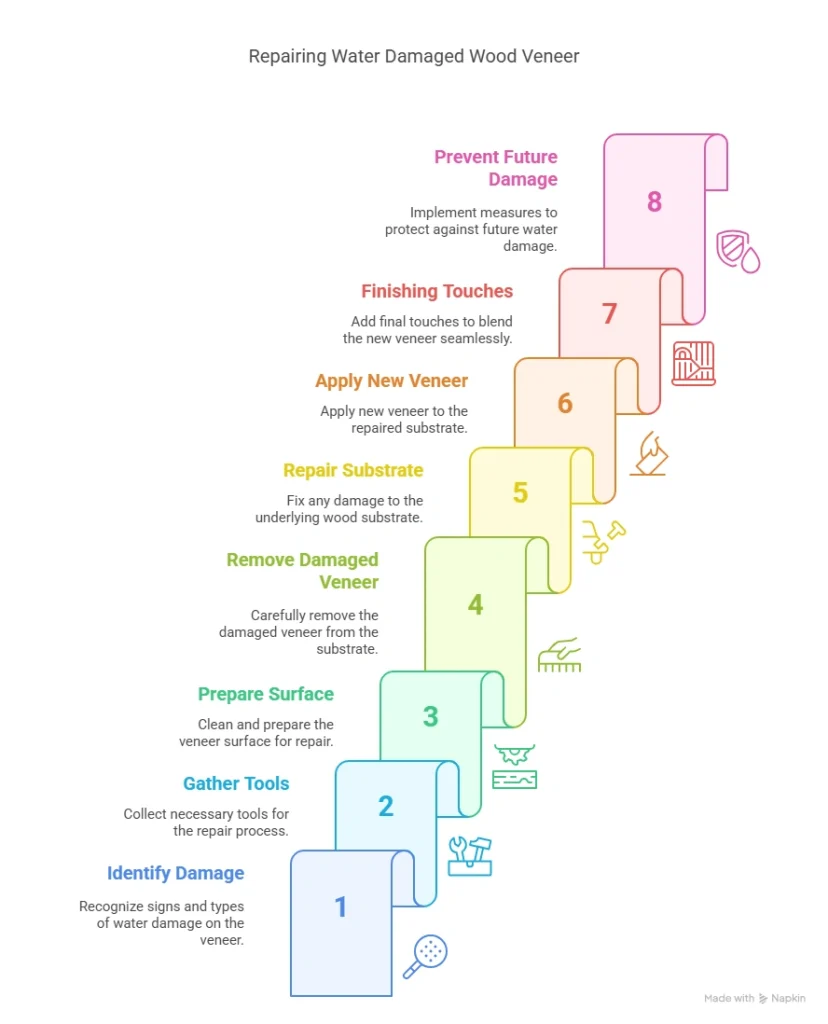
Repair Steps at a Glance
Best Wood Veneer Repair Kit Pick
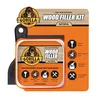
Gorilla All Purpose Wood Filler Kit – $11.97
Comes with a putty knife and sanding block already included — the exact two tools this guide lists under “Gathering Necessary Tools,” so there’s nothing extra to buy for the filling and sanding steps.
- Best for: Filling cracks and gouges after the loose veneer is removed
- Why we picked it: Includes the putty knife and sanding block this guide’s tool list calls for
- Main drawback: Stock color is limited — you’ll still need to stain-match on colored veneers
Compare more veneer repair options
 Option 1 J-B Weld KwikWood Epoxy Putty – $6.19
|
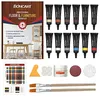 Option 2 Boncart Wood Furniture Repair Kit – $17.86
|
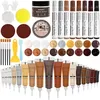 Option 3 Wood Repair Kit, 40-Set 18 Colors – $23.99
|
As an Amazon Associate we earn from qualifying purchases.
- Dry it fully: Let the piece air-dry away from direct heat or sun for 24-48 hours before touching anything.
- Run the tap test: Tap around any bubble — a hollow sound means delamination; a solid thud means a surface bubble you can reglue.
- Reglue bubbles with an iron: Cover with a dry cloth, apply a medium iron with no steam for 10-15 seconds, then clamp while it cools.
- Fill cracks and gouges: Press wood filler into any split or missing veneer with a putty knife, then sand flush once dry.
- Remove white rings: Rub a 1:1 vinegar-and-olive-oil mix onto surface haze in circles, then wipe clean.
- Refinish and seal: Match the stain, apply a protective finish, and keep the piece off damp floors going forward.
Identifying Water Damage
Spotting water damage in wood veneer involves looking for signs such as discoloration, bubbling, or warping. Repairing it involves drying the area, sanding the damaged parts, and applying a matching veneer finish.
Signs Of Damage
Water damaged wood veneer shows several signs. Bubbling is one clear sign. The veneer may also peel or crack. Dark spots or stains can appear. The wood might feel soft to touch. Warping or bending is common too. Check for a musty smell — that can indicate mold.
Delamination Or Surface Bubble? The Quick Tap Test
Before you reglue anything, tap gently around the damaged spot with the plastic handle of a screwdriver. A hollow, drum-like sound means the veneer has fully separated from the substrate underneath — true delamination, which often means replacing that section of veneer. A solid thud means only the surface layer has lifted, and that’s a straightforward glue-and-clamp repair. Widespread soft or swollen wood, black rot spots, or large flaking areas are signs the piece is beyond a DIY fix and needs a professional restorer.
Types Of Damage
| Type of Damage | Description |
|---|---|
| Bubbling | Surface forms small bumps or bubbles. |
| Peeling | Veneer starts to lift or come off. |
| Cracking | Small splits appear in the veneer. |
| Dark Spots | Discoloration due to water. |
| Softness | Wood feels soft or spongy. |
| Warping | Wood bends or curves. |
Gathering Necessary Tools
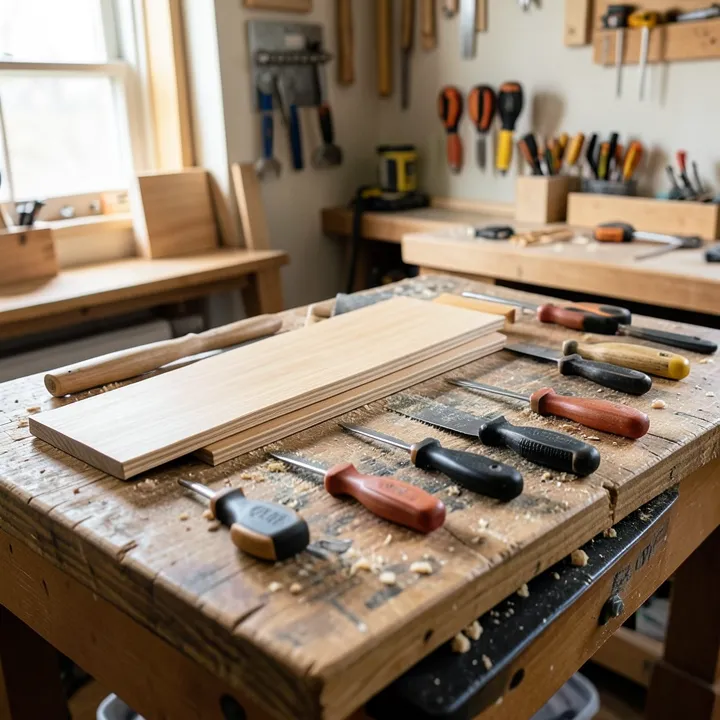
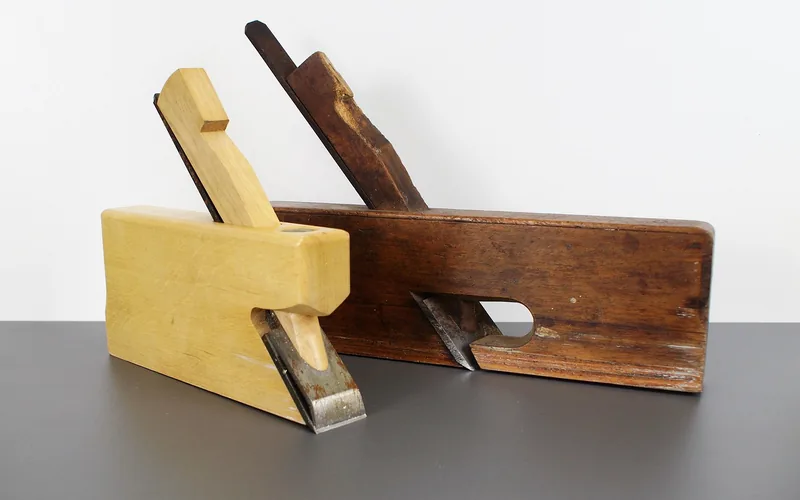
First, you need a few basic items. A screwdriver helps to remove fittings. Sandpaper smooths rough surfaces. Wood glue repairs small cracks. A putty knife spreads the glue evenly. A soft cloth cleans the wood. Clamps hold the pieces together while drying. Each tool is essential for a good repair.
Some tools make the job easier — but skip the heat gun (see the safety note below). A household iron reglues bubbles more safely than a heat gun. Wood filler fixes deep cracks. A veneer saw cuts precise lines. A small brush applies glue neatly. A vacuum removes dust. These tools are not a must but are helpful.
Preparing The Veneer Surface
Clean the wood veneer with a soft cloth. Use warm water and mild soap. Avoid soaking the wood. Wipe gently to remove dirt and debris. Dry the area with a clean cloth. Inspect for any residue and repeat if needed. Ensure the surface is free of dust before moving on.
Dry the veneer completely. Use a fan to speed up drying. Avoid direct sunlight to prevent damage. Check for any damp spots. Ensure the veneer is completely dry before repair — this usually takes 24-48 hours at room humidity. Patience is key here; gluing over trapped moisture is the most common reason a veneer repair fails.
Removing Damaged Veneer
Start by gently peeling off the loose veneer. Use a putty knife or a razor blade. Be careful not to damage the wood underneath. Slowly work your way around the loose edges. If the veneer resists, don’t force it. Wet a cloth and place it over the stubborn area. Wait a few minutes. The moisture will loosen the glue. Now, try peeling again.
Once you remove the loose veneer, it’s time to sand. Use fine-grit sandpaper. Sand the exposed wood gently. Focus on making the surface smooth. Remove any remaining glue bits. Wipe the area with a damp cloth to remove dust. Let it dry completely before moving to the next step.
Repairing The Substrate
Remove loose pieces of wood. Clean the area well. Use wood filler to fill gaps — for deeper gouges where the substrate itself has broken away, an epoxy putty rebuilds the shape before you sand it. If the substrate has split rather than just chipped, treat it the same way you’d mend split wood elsewhere on the piece. Apply filler with a putty knife. Let it dry fully. Sand the surface smooth. Use fine-grit sandpaper. Clean off any dust.
Ensure the surface is even. Sand the filled areas again. Use fine-grit sandpaper. Check for any rough spots. Sand until the surface is smooth. Clean off dust with a cloth. The surface should feel smooth to touch.
Applying New Veneer
Measure the damaged area. Use a ruler for accuracy. Cut the new veneer slightly larger. This helps in fitting well. A sharp utility knife works best. Be careful while cutting. Always cut on a stable surface. This prevents mistakes. Sand the edges gently. Smooth edges look better.
Apply wood glue to the back of the veneer. Spread it evenly with a brush. Press the veneer onto the damaged area. Use a roller for a firm press. Wipe off excess glue — it can stain the wood. Place a heavy object on top. This keeps the veneer in place. Leave it to dry overnight. This ensures a strong bond.
How To Fix Bubbled Veneer With A Household Iron
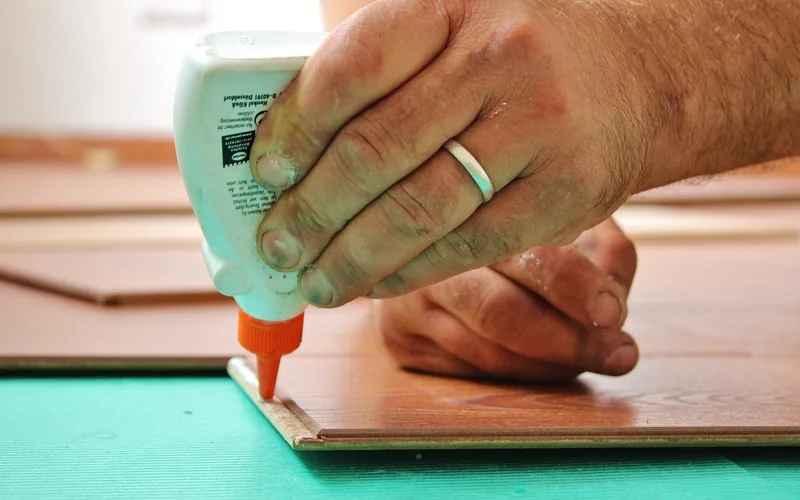
Lay a dry cotton cloth over the bubble — no steam setting, since steam adds the moisture that likely caused the bubble in the first place. Set the iron to medium heat and press for 10-15 seconds, moving in small circles along the grain to spread the heat evenly. Lift and check; repeat until the bubble softens and flattens. For a bubble that won’t flatten, slit it along the grain with a utility knife, work a thin bead of wood glue underneath with a small brush, then repeat the iron step and clamp or weight the spot while it cools completely.
Finishing Touches
Use a sharp knife to trim the edges. Be careful not to cut too deep. Excess veneer can make the surface uneven. Trim slowly for a clean finish. Check the edges after trimming. Smooth edges are important. You want the veneer to look neat.
Polish the wood with fine sandpaper. Rub gently to avoid scratches. Wipe the surface clean after sanding. Use a soft cloth to polish. Apply wood polish for a shiny look. Let the polish dry for best results. A polished surface looks new. If the surrounding finish is scuffed rather than water-stained, see our guide on removing scratches from wood furniture for that separate fix.
Removing White Water Rings From Wood Veneer
White rings and haze on a finished veneer surface are usually the finish clouding, not a stain in the wood itself. Mix equal parts white vinegar and olive oil, rub it into the ring in small circles with a soft cloth, let it sit 3-5 minutes, then wipe off. This works well on most sealed, modern finishes but test it on a hidden spot first — skip it on antique shellac or unsealed veneer, where the oil and acid can do more harm than the ring itself. For a deeper method and more stubborn marks, see our dedicated guide to removing white water stains from veneer.
Preventing Future Damage
Fix water-damaged wood veneer by addressing the issue promptly. Use gentle cleaning methods and apply wood conditioner to restore its appearance. Prevent future damage by maintaining proper humidity levels — see our full guide to fixing water-damaged wood for solid-wood pieces alongside veneer.
Is A Heat Gun Safe For Veneer Repair?
No — skip the heat gun for in-place veneer repairs. Heat guns run far hotter than a household iron and can over-soften the original adhesive, including hide glue, which is heat- and moisture-reversible by design. That extra heat risks scorching the finish or causing more delamination than it fixes. Restorers reach for a heat gun only when they’re deliberately stripping veneer off entirely, not when reglueing it in place.
Protective Measures
Keep your wood veneer safe from water. Use coasters under drinks. Wipe spills quickly. This helps to prevent stains. Apply a protective sealant. This will repel water. Keep furniture away from damp areas. Moisture can damage wood over time.
Regular Maintenance
Dust wood often. This keeps it clean and shiny. Use a soft cloth to avoid scratches. Polish the veneer. This adds a protective layer. Check for signs of damage. Fix issues early. This prevents big problems later. Keep wood in a stable climate. Avoid extreme heat and cold. This will protect the wood veneer.
📊 Veneer and its wood substrate should be dried to roughly 6-8% moisture content before any glue-up, matched to the piece’s normal indoor conditions — the mismatch between a damp veneer face and a drier core is exactly what causes the checking and cracking seen after water damage. Source: NC State University Wood Products Extension.
“Wood shrinks and swells most across the grain (tangentially), least along the length of the grain, with radial movement in between — that uneven movement is why a water-damaged veneer panel cracks in a particular pattern rather than warping evenly.”
Frequently Asked Questions
Can You Repair Water Damaged Wood Veneer?
Yes, most water damaged wood veneer can be repaired. Clean, dry, and flatten it, reglue bubbles with a warm iron, fill cracks with wood glue or filler, then sand and refinish. Replacement is only needed when the core has delaminated throughout.
How Do You Get Water Marks Off Wood Veneer?
Mix equal parts vinegar and olive oil, then gently rub the mixture onto the ring using a soft cloth. Let it sit for 3-5 minutes, then wipe off the excess. Repeat if necessary for stubborn marks, and spot-test first on antique or unsealed finishes.
How To Fix Bubbled Up Wood Veneer?
Cover the bubble with a dry cloth and press a medium-heat iron over it (no steam) for 10-15 seconds, moving in small circles. Let it cool under a clamp or weight. If it won’t flatten, slit it along the grain, add glue underneath, then repeat.
Can Wood Veneer Be Repaired?
Yes, in the large majority of cases. Use wood filler for small chips, glue for loose edges, and matching veneer patches for missing sections. Sand and refinish once repairs are dry. Only a fully rotted or soaked-through core resists repair.
Is Peeling Veneer Worth Repairing?
Yes, if the tap test shows a solid thud rather than a hollow sound. Peeling edges usually just need the old glue cleaned out and fresh glue pressed and clamped back into place. Widespread peeling across a large panel is more often worth a professional’s time.
How Long Does It Take Wood Veneer To Dry Out After Water Damage?
Plan on 24-48 hours at normal room humidity with airflow from a fan, away from direct heat or sunlight. Gluing or sealing before the veneer is fully dry is the most common reason a repair fails and the bubble comes back.
Does A Heat Gun Damage Veneer Glue?
It can. Heat guns run hotter than a household iron and can over-soften original adhesive, including hide glue, risking more delamination or a scorched finish. Use a household iron for in-place repairs and save the heat gun for fully stripping veneer off.
Conclusion
Repairing water damaged wood veneer is manageable with the right steps. Start by drying the wood thoroughly. Use sandpaper to smooth rough spots. Apply wood filler for deeper damage. Let it dry completely. Sand again for a smooth finish. Choose a matching stain or paint.
Apply and let it dry. Seal the veneer to protect it. Regular maintenance prevents future damage. With these tips, your wood veneer will look as good as new. Don’t let water damage ruin your furniture — proper care and timely repair make a big difference. For more wood-repair guides, browse our full wood care and maintenance guide.
Happy woodworking!
Sponsored / affiliate links. As an Amazon Associate I earn from qualifying purchases. I may earn additional commission from eligible campaigns.