How to Replace a Circular Saw Power Cord (Safely, in Under an Hour)
Replacing a circular saw’s power cord takes about 30-60 minutes: unplug the saw, open the handle, note how the old cord’s wires connect (a quick phone photo helps), swap in a cord matched to your saw’s specs, match wire colors to the same terminals, and test on a GFCI-protected outlet before you trust it. A frayed, nicked, or cut cord isn’t just inconvenient – exposed wire on a tool this powerful is a real shock and fire risk, so the fix is worth doing properly rather than wrapping it in tape.
This is a straightforward repair for most corded circular saws, and it’s almost always cheaper than a service center visit or a new saw. Here’s the full process, plus the mistakes that actually cause repairs to fail.
Why Cords Get Damaged
Best Universal Replacement Cord
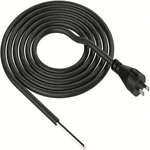 |
10 ft 16-Gauge Replacement Power Cord – $13 A 2-wire, 16-gauge cord that fits many DeWalt circular and miter saws, plus other corded power tools using the same terminal style.
|
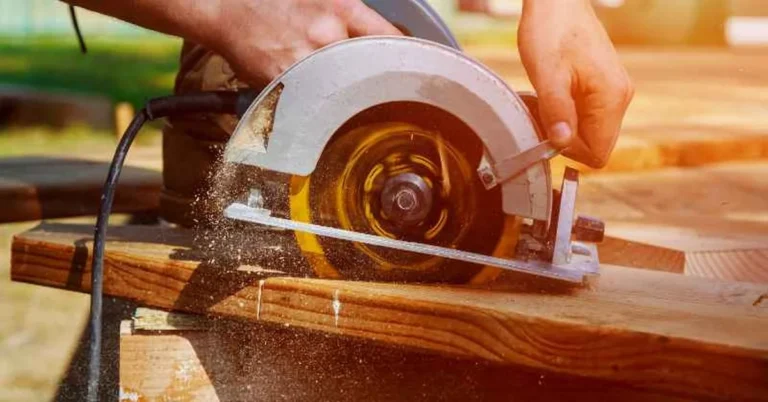
- Accidental cuts – the blade nicks the cord mid-cut, which is why keeping the cord routed behind you (not across your cut line) matters.
- Wear and tear – repeated flexing, pulling, or dragging across rough surfaces breaks down the insulation and the wire strands inside it over time.
- Tight coiling – storing the cord wound tightly stresses and eventually fatigues the internal copper strands even when the outer jacket looks fine.
- Environmental exposure – UV, heat, and cold all make cord insulation brittle and more prone to cracking over a season or two of job-site use.
Tools and Materials
| Item | Purpose |
|---|---|
| Replacement power cord | Matched to your saw’s model/specs – check the manual or a parts lookup by model number |
| Screwdriver set | Phillips, Torx, or slotted – whichever your saw’s handle screws use |
| Wire strippers | To expose fresh copper on the new cord’s wire ends |
| Wire cutters | To trim the new cord to the correct length |
| Multimeter | To test the finished repair for continuity before trusting it |
| Heat shrink tubing (optional) | Cleaner, more durable insulation than tape alone over connections |
| Safety glasses and gloves | Basic protection while handling wire ends and tools |
Buy a cord matched to your saw’s specific model – the manufacturer’s parts site or a parts-lookup retailer using your model number is more reliable than a generic hardware-store cord, especially for the connector end that plugs into the saw’s internal switch.
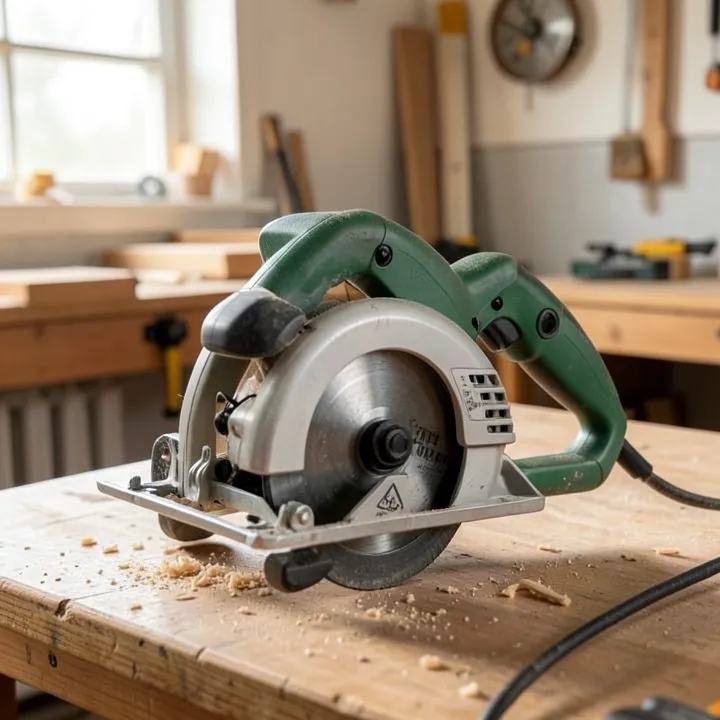
Safety Before You Start
- Unplug the saw completely from the outlet before touching anything. Don’t rely on the trigger lock or switch position – physically disconnect it.
- Work on a clean, well-lit bench. Small screws roll away easily; a shallow tray or magnetic parts dish keeps them found.
- Wear safety glasses. Old insulation and small metal shavings from stripped wire can flick up while you work.
- If you’re at all unsure the saw is fully de-energized, switch off the breaker for that outlet as a second layer of protection while you work.
Step-by-Step Replacement
1. Disconnect the Power Source
Unplug the saw. Confirm the cord is fully disconnected before opening anything – there’s no reason to rush this step.
2. Open the Handle
Most circular saw handles split into two halves held together by several screws. Remove them with the correct driver and set them somewhere they won’t roll off the bench. Pry the halves apart gently; some saws have small internal components (springs, trigger lock buttons) that can pop loose if you force it.
3. Document, Then Remove the Old Cord
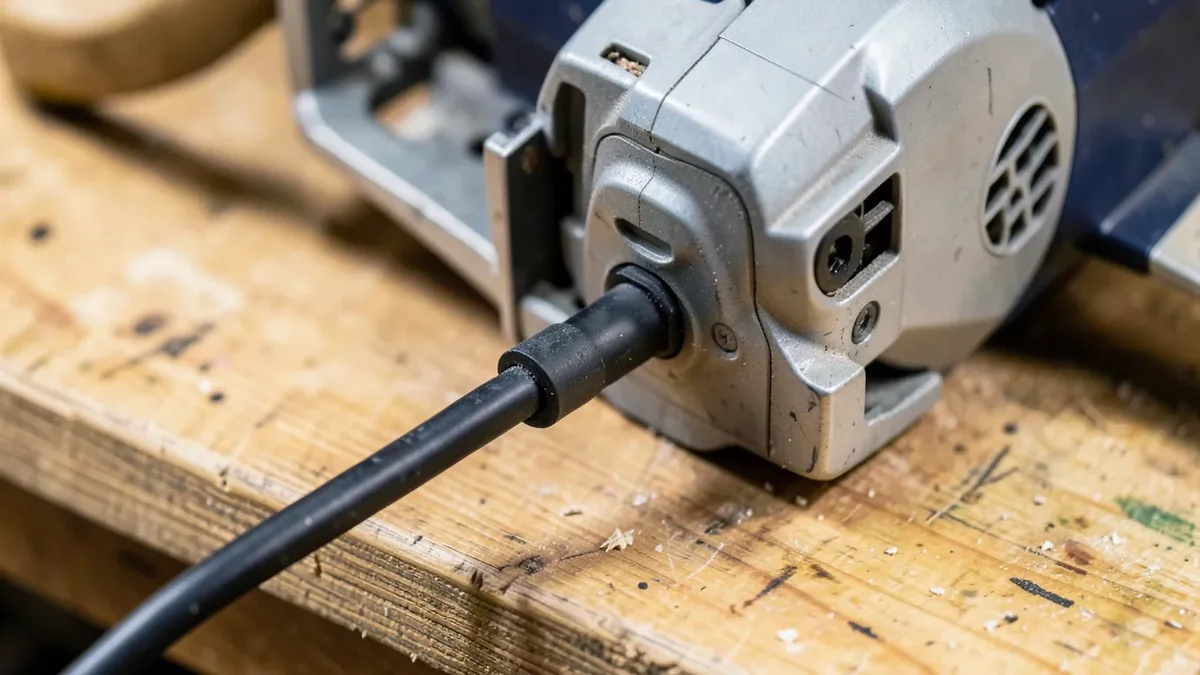
Before disconnecting anything, take a clear photo of exactly how the old cord’s wires attach to the switch or terminal block – this single step prevents the most common mistake in this repair, which is mixing up the wire connections on reassembly. Loosen the terminal screws or clips, then pull the old cord out through the strain-relief boot (the rubber piece where the cord enters the housing). If that boot is undamaged, you can usually reuse it with the new cord.
4. Prepare the New Cord
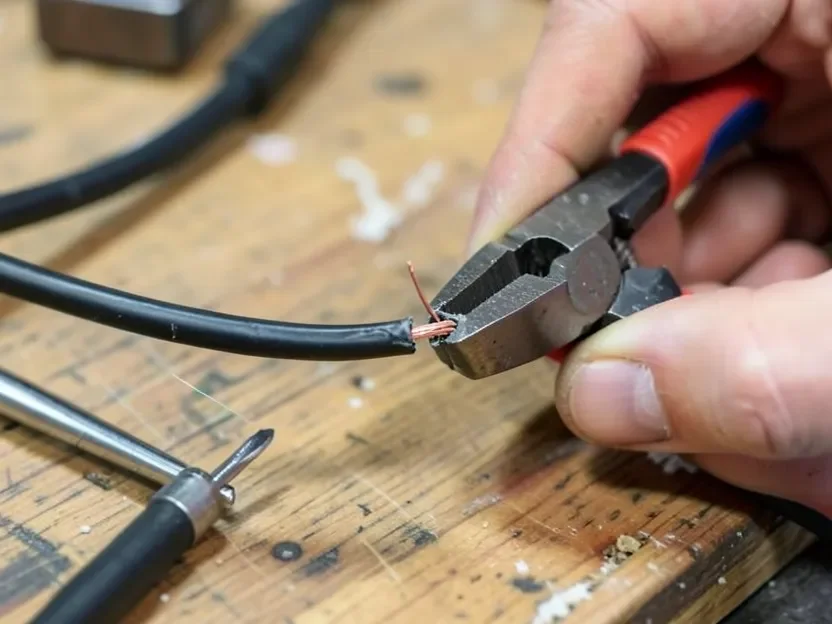
Measure the new cord against the old one and trim to match with wire cutters, leaving a little slack rather than cutting it flush. Strip about half an inch of outer jacket from the end, then about a quarter-inch of insulation from each of the individual wires inside (typically black, white, and green for ground on a grounded plug), being careful not to nick the copper strands while stripping.
5. Connect the New Cord
Thread the new cord through the strain-relief boot before making any connections, then match each wire to the same terminal the old cord’s matching color occupied (this is why the photo from Step 3 matters): black to the hot terminal, white to neutral, green to ground. Tighten each terminal screw firmly – a loose connection here is a common cause of intermittent operation or arcing.
6. Secure and Reassemble
Tuck the wires neatly inside the housing so nothing pinches when the halves close, and confirm the strain-relief boot is properly seated so the cord can’t be pulled loose from outside. Reassemble the handle halves and reinstall the screws snug, not overtightened – stripping the plastic threads is an easy way to turn a cord repair into a housing repair.
7. Test Before You Trust It
Plug into a GFCI-protected outlet and check that the trigger engages smoothly with no hesitation, sparking, or unusual sound. If you have a multimeter, check the cord for continuity end to end as a final confirmation before putting the saw back into regular use.
Common Mistakes That Cause a Repair to Fail
- Using a mismatched cord – wrong gauge or connector type can cause poor performance or a genuine safety issue, not just a loose fit.
- Skipping the disconnect step – never work on a plugged-in saw, even “just to check” something.
- Loose terminal connections – check every screw is snug; a loose wire can spark or cause the saw to cut out mid-use.
- Skipping or damaging the strain-relief boot – without it, the new cord takes direct stress at the entry point and fails again quickly.
Splicing a damaged section instead of replacing the whole cord isn’t a safe shortcut – a spliced joint has more electrical resistance and a weaker mechanical connection than a factory-made cord, and it’s a real fire and shock risk on a tool that draws real current under load.
Preventing the Next Cord From Failing
Route the cord behind you or over your shoulder while cutting so it’s never in the blade’s path. Store the saw with the cord loosely looped, not tightly coiled, and use a cord wrap or hook rather than wrapping it around the handle. Give the cord a quick visual check before each use – catching a small nick before it becomes exposed wire is the cheapest fix there is.
When to Call a Professional Instead
If opening the handle reveals a more complex electronic trigger module, a brushless motor controller board, or wiring that doesn’t match anything in this guide, a manufacturer service center is the safer call rather than guessing. Weigh the repair cost against the saw’s age and value – if a service center repair runs close to the cost of a comparable new saw, replacing it (or upgrading to a cordless model) is often the more practical choice – our best circular saw picks covers current options if you go that route.
Frequently Asked Questions
Can I use any power cord to replace my circular saw’s cord?
No. The replacement needs to match your saw’s voltage, amperage, and wire gauge specifications, and ideally the connector type at the saw end too. Check your owner’s manual or look up a parts-matched cord by your saw’s exact model number rather than grabbing a generic extension cord.
Is it safe to splice a damaged cord instead of replacing it?
No. A spliced section has higher electrical resistance and a weaker connection than an intact cord, which increases both shock and fire risk on a tool drawing significant current. A full cord replacement is the safer and more reliable fix.
How long does replacing a circular saw power cord take?
Most DIYers can finish in 30 minutes to an hour, depending on the saw’s handle design and your familiarity with basic wiring. Taking the time to photograph the original wire connections before disconnecting anything is what keeps this a 30-minute job instead of a troubleshooting session.
What if the saw still doesn’t work after the new cord is installed?
Recheck that every wire is connected to the correct terminal and tightened securely, and use a multimeter to confirm continuity end to end. If everything checks out and it still doesn’t run, the problem is likely the switch or motor rather than the cord, and that’s a good point to consult a service center.
Conclusion
A damaged circular saw cord is a genuine safety issue, not just an inconvenience, but replacing it is a manageable repair for most DIYers with basic tools and about an hour of care. Match the cord to your saw’s specs, photograph the original wiring before you disconnect it, and test on a GFCI outlet before trusting the repair – that sequence is what separates a clean fix from a callback repair.
Sponsored / affiliate links. As an Amazon Associate I earn from qualifying purchases. I may earn additional commission from eligible campaigns.