Makita Circular Saw Replacement Cord: OEM Part Numbers & Fix
A worn or frayed cord on a Makita circular saw is a safety issue, not just an inconvenience — Makita ships model-specific OEM cords (commonly the 664265-4: 16-gauge, 8-foot, 2-prong) rather than one universal part. Using a thinner cord than spec risks overheating under load. This guide covers finding your exact OEM part number, the 10-minute swap, and what a compatible generic cord needs to match.
Quick Answer
Makita circular saws use model-specific OEM replacement cords (usually 16-gauge, 2-prong, 8 ft) rather than a single universal part. Check the serial-number plate on your saw’s motor housing for the exact model, then match the OEM part number (e.g., 664265-4) or use a UL-listed generic 16-gauge cord rated for at least 13A.
Finding Your Makita Model and OEM Cord Part Number
Best Replacement Cord Pick
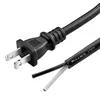
Power Tool Replacement Cord, 2-Prong, 16 Gauge, 10 ft, Open End
A UL-listed 16-gauge cord with an open wiring end, matching Makita’s OEM gauge spec for 2-prong saw models.
- Best for: 2-prong Makita saws needing OEM-equivalent gauge
- Why we picked it: 16 AWG matches Makita’s own spec instead of a thinner generic cord
- Main drawback: Open end requires you to strip and connect the wires yourself
Compare more replacement cord options
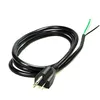 Option 1 Pinfox 6ft 16-Gauge 3-Prong Heavy Duty Cord
|
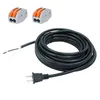 Option 2 25ft 16-Gauge Replacement Power Cord, 2-Prong
|
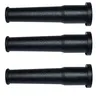 Option 3 Cord Protector Strain Relief Rubber Boot (3-Pack)
|
As an Amazon Associate we earn from qualifying purchases.
Every Makita circular saw has a serial-number plate on the motor housing or near the base of the handle — that model number is what determines the correct cord, since Makita’s cord length, wire gauge, and connector type vary by saw generation. Locate it before ordering a cord instead of guessing from the plug shape.
Once you have the model number, match it against the OEM part table below or take it to a circular saw parts retailer’s model-lookup tool. A cord rated for a lower gauge (thinner wire, higher gauge number) than your saw’s OEM spec is the single most common mistake in cord-replacement questions.
| OEM Part # | Wire Count | Gauge | Length | Plug Type |
|---|---|---|---|---|
| 664265-4 | 2-wire | 16 AWG | 8 ft | 2-prong |
| 664276-9 | 2-wire | 16 AWG | 16 ft | 2-prong |
| 664723-0 | 3-wire | 16 AWG | 8 ft | 3-prong (grounded) |
| 664064-4 | 2-wire | 16 AWG | 8 ft | 2-prong |
If your exact model isn’t in this table, cross-check the number stamped on your old cord’s connector housing against Makita’s parts lookup, or bring the old cord to a hardware store — matching gauge and wire count matters more than matching the part number exactly.
Tools You’ll Need
- Phillips screwdriver
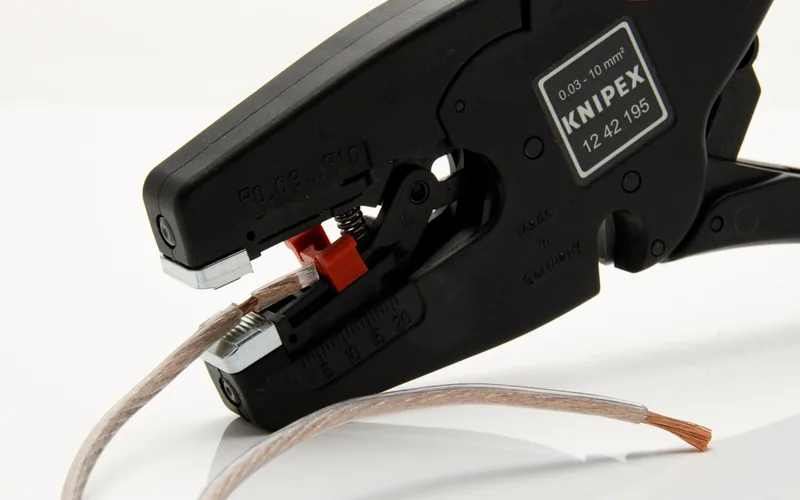
- Wire strippers
- Wire nuts or crimp connectors
- Multimeter (optional, to test continuity before closing the housing)
- New replacement cord — OEM part number or a UL-listed 16-gauge generic
Step-by-Step: Replacing the Cord
The full swap takes about 10 minutes once the new cord is in hand. Work through these steps in order — skipping the strain-relief step (4) is the most common reason people have to redo the job.
- Unplug the saw: Disconnect it from the power source and remove the battery pack if your model has one.
- Open the handle-side cover: Remove the screws (typically five) holding the handle side cover in place with a Phillips screwdriver.
- Remove the cord clamp: Take out the two screws securing the cord clamp/strain relief so the old cord can move freely.
- Note the wire positions before disconnecting: Photograph or sketch which wire (by color) connects to which switch terminal, then disconnect the old cord’s wires.
- Pull the old cord free: Remove it completely from the housing, including the strain relief.
- Thread the new cord through the strain relief first: Do this before connecting any wires, or you’ll have to disconnect everything to add it after the fact.
- Strip and connect the wires: Match colors and positions exactly to your notes from step 4 — black to black, white to white, green/bare to ground if your model has a 3-wire cord — and secure with wire nuts or crimp connectors.
- Reinstall the strain relief and cord clamp: Seat the strain relief in its housing slot, then reinstall the two clamp screws so the cord can’t be pulled or twisted at the connection point.
- Close the housing and test: Reinstall the handle-side cover and screws, then plug in and test the saw on scrap wood before returning it to regular use.
Common Mistakes to Avoid
- Using a thinner cord than the OEM spec: An 18-gauge cord may physically fit the strain relief opening, but it will overheat under a circular saw’s motor draw. Match 16-gauge or heavier.
- Forgetting the strain relief before wiring: Threading it on after you’ve already connected the wires means disconnecting everything again.
- Mismatching wire connections: Reversed hot/neutral connections at the switch are a shock hazard — this is exactly why step 4 (photographing the original wiring) matters.
- Skipping the continuity test: A multimeter check across the new connections before closing the housing catches a loose wire nut before it becomes a mid-cut power loss.
Authentic OEM vs. Generic Replacement Cords
Both options are safe when the gauge matches your saw’s spec — the real difference is fit, price, and warranty impact.
| Factor | OEM Makita Cord | Generic UL-Listed Cord |
|---|---|---|
| Typical price | $15–$30 | $7–$15 |
| Connector fit | Exact factory fit | Usually needs wire-stripping and terminal work |
| Warranty impact | Preserves manufacturer warranty | May void warranty on saws still covered |
| Best for | Saws still under warranty, exact-fit priority | Older saws, budget fixes, DIY comfort with wiring |
If your saw is out of warranty and the cord is only one of several aging parts, it may be worth comparing the cost of this repair against our best circular saw picks before you commit to a full cord replacement.
“The most common mistake I see in cord-replacement questions is someone grabbing whatever cord fits the strain-relief opening, without checking the gauge stamped on the old one. It’ll run fine for a few cuts, then the insulation starts to feel warm near the plug — that’s the wire telling you it’s undersized.”
Frequently Asked Questions
How do you replace the power cord on a Makita circular saw?
Unplug the saw, remove the handle-side cover screws, take off the cord clamp, disconnect the old cord’s wires from the switch (noting their positions), thread the new cord through the strain relief, reconnect the wires by color, reinstall the clamp and cover, then test on scrap wood. The full process takes about 10 minutes.
Where is the serial number on a Makita circular saw?
The serial number is on a grey, silver, or white plate on the saw’s motor housing or near the base of the handle. It’s the number you need to look up the correct OEM cord part number for your specific model.
What gauge cord does a Makita circular saw need?
Most Makita circular saw OEM cords use 16 AWG wire, rated for at least 13 amps at 125V. A thinner cord (18 AWG or higher gauge number) will fit some strain-relief openings but can’t safely handle the saw’s motor draw.
Can I use a generic replacement cord instead of an OEM Makita cord?
Yes, as long as it’s UL-listed and matches or exceeds the OEM gauge (16 AWG) and prong configuration. A generic cord is usually $7–$15 cheaper but may void the manufacturer warranty on a saw that’s still covered.
How long does it take to replace a circular saw cord?
Around 10 minutes for someone doing it for the first time, once the correct replacement cord is on hand. Most of that time is spent removing and reinstalling the handle-side cover screws.
Conclusion
Replacing a Makita circular saw’s power cord is a straightforward 10-minute fix once you have the right gauge and part number in hand — the OEM table above covers the most common models, and the comparison above helps you decide between an exact-fit OEM cord and a cheaper generic one. For cord replacement on other saw brands, see our full circular saw power cord guide, and check out our circular saw tips for keeping the rest of the tool in good shape.
Sponsored / affiliate links. As an Amazon Associate I earn from qualifying purchases. I may earn additional commission from eligible campaigns.