Top Circular Saw Tips for Perfect Cuts Every Time
Perfect cuts with a circular saw come down to three things: a sharp blade matched to the material, a blade depth set close to the material’s thickness, and a straight edge or guide instead of freehanding the line. Skip any one of those and you get tear-out, wandering cuts, or a saw that binds and kicks back.
Below is how to set the saw up correctly, choose the right blade for wood, metal, or tile, mark and guide a straight or angled cut, and the specific depth-setting habit that both improves cut quality and cuts your kickback risk.

Choosing the Right Blade
Best Straight-Cut Guide
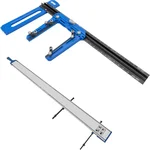 |
Kreg Rip-Cut Circular Saw Guide with 4-Foot Straight Edge – $82.18 Clamps to a board or sheet good and rides your saw’s base plate along a fixed edge, so a hand-held circular saw can rip a straight line as clean as a track saw.
|
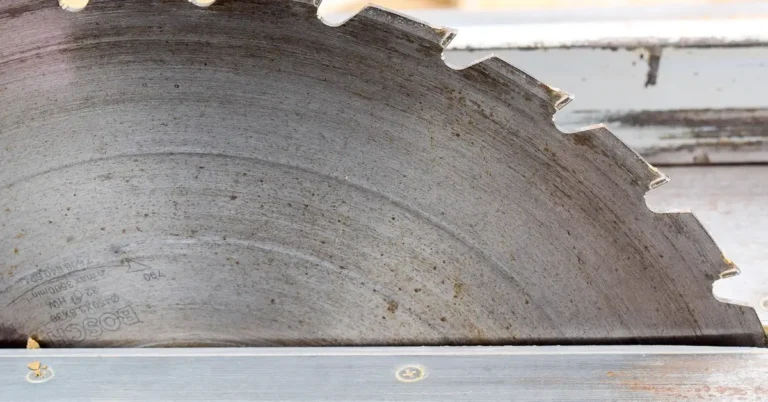
The blade is doing all the actual work, so matching it to the material matters more than any technique. For general wood cutting, a carbide-tipped blade with 24 teeth cuts fast for framing and rough work, while 40 to 60 teeth gives a much cleaner edge for cabinet-grade plywood or trim. Metal-cutting blades use a different tooth geometry, often with a carbide or abrasive edge rated specifically for thin steel or aluminum – a wood blade will dull almost instantly on metal. For tile, a diamond blade rated for wet cutting reduces chipping along the cut edge. Running the wrong blade for the material is one of the most common reasons for rough, splintered cuts that have nothing to do with technique – if you’re not sure what tooth geometry you’re looking at, see our guide on triple-chip saw blades for tile and non-ferrous metal.
Setting Blade Depth (and Why It Actually Matters for Kickback)
Set the blade so it extends roughly a quarter inch below the bottom of the material you’re cutting, not several inches. To adjust it, unplug the saw, loosen the depth adjustment lever, raise or lower the base plate against the material until only that quarter inch of blade would show through the bottom, then lock the lever back down and confirm the setting on a scrap piece before your real cut.
This isn’t just a cleanliness habit. A blade set too deep exposes more tooth surface below the workpiece than it needs to, and that extra exposed blade is more surface area for the material to catch, pinch, or twist against if the cut binds. Less exposed blade means less torque working against the blade during a bind, and it means a shorter length of spinning blade is exposed if kickback does happen. Correct depth is a real, mechanical reduction in both the odds and the severity of kickback, not just a nicer-looking cut.
Safety Habits That Actually Prevent Kickback
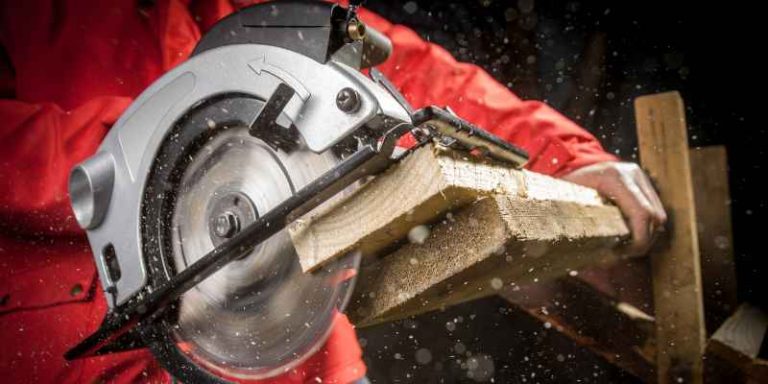
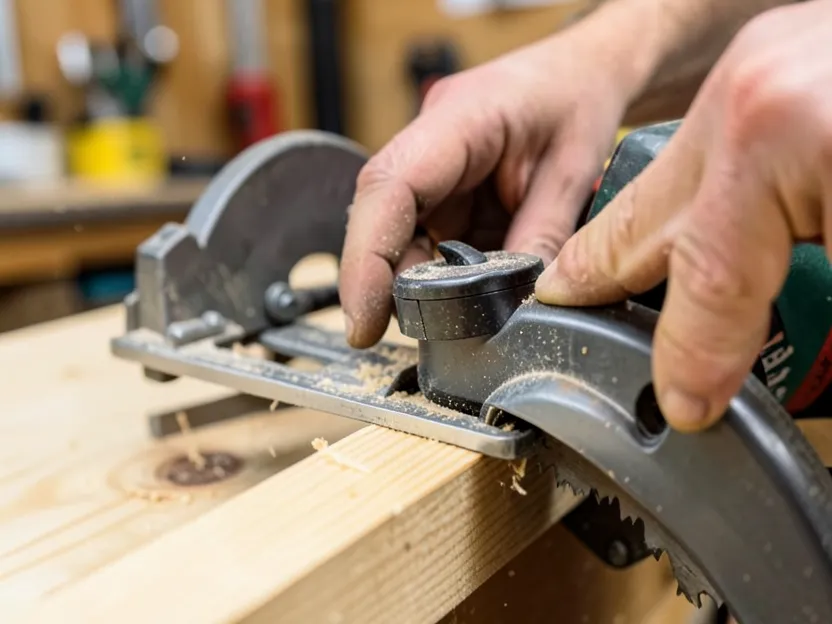
Wear safety glasses and hearing protection every time; a circular saw throws debris and runs loud enough to cause hearing damage over repeated exposure. Beyond protective gear, the habits that matter most for kickback are: keep both hands on the saw, never start the saw with the blade already touching the material (let it reach full speed first), stand slightly to the side of the cutting line rather than directly behind it, and clamp the material so it can’t shift or pinch the blade mid-cut. A dull blade also raises kickback risk, since it has to work harder and is more likely to bind – if a blade is burning the wood or bogging the motor down, replace or sharpen it before continuing.
Marking and Guiding Straight Cuts
A sharp pencil or fine marker gives a line you can actually see and follow; a dull pencil line is wide enough to introduce its own error. For longer rips, a chalk line is faster and stays straight over distance better than eyeballing a tape measure mark every foot.
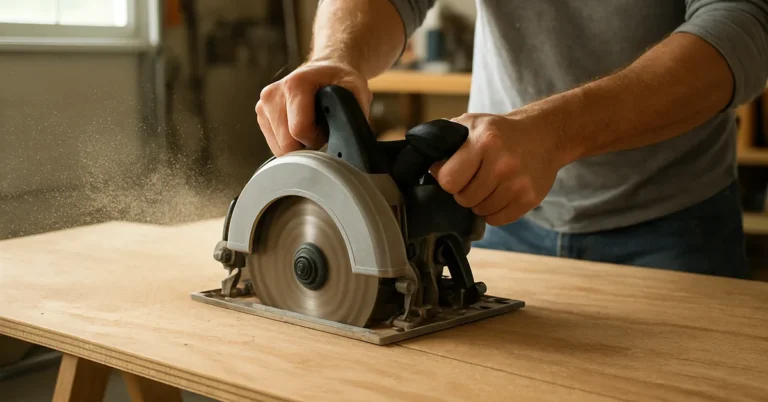
Marking is only half the job, though. Freehanding a circular saw along a pencil line drifts, because the saw naturally wants to follow the path of least resistance in the wood grain, not your line. Clamping a straight edge, a piece of scrap plywood, or a dedicated guide like a rip-cut jig to the workpiece and running the saw’s base plate against it removes that drift entirely. It’s the single biggest jump in cut accuracy you can make without buying a track saw.
Handling Angled and Bevel Cuts
Most circular saws bevel from 0 to 45 degrees through an adjustable base plate. Loosen the bevel adjustment knob, tilt the base plate to the angle you need, and tighten it back down before cutting, then confirm the angle with a protractor or angle gauge rather than trusting the saw’s built-in scale alone, since those scales drift out of calibration over time. Clamp the workpiece securely for a bevel cut especially, since the saw’s base plate has less flat contact with the material at an angle and is more prone to rocking – see our full walkthrough on cutting angles with a circular saw for miters and compound bevels.
Maintaining Your Saw
Clean resin and pitch off the blade periodically with a blade cleaner and a soft brush; built-up resin increases friction and heat, which dulls the blade faster and can contribute to binding. Check the blade for cracks, missing carbide tips, or warping before each use, since a damaged blade is a genuine safety hazard, not just a cut-quality issue. Blow dust out of the motor housing regularly and follow the manufacturer’s lubrication schedule for the bearings; a saw that’s straining against packed sawdust runs hotter and wears out faster.
Troubleshooting Common Problems
- Blade binding mid-cut: stop immediately, check whether the material has shifted or is pinching the kerf closed behind the blade, and make sure the offcut is supported so it doesn’t sag and close the cut as you finish it.
- Uneven or wandering cuts: almost always a guide problem (no clamped straight edge) or a dull blade, not a hand-steadiness problem – add a guide before assuming you need more practice.
- Splintering on the top or bottom face: switch to a higher tooth-count blade for that material, or score the cut line with a utility knife first on plywood and veneered panels.
Frequently Asked Questions
How Do You Cut Precisely With A Circular Saw?
Clamp a straight edge or guide rail to the workpiece instead of freehanding the cut, mark the line clearly, and set the blade depth to about a quarter inch below the material. Let the saw reach full speed before it touches the wood, then feed it at a steady pace along the guide.
What Circular Saw Blade Gives The Cleanest Cut?
A carbide-tipped blade with a high tooth count, generally 40 to 60 teeth for a 7-1/4 inch blade, gives the cleanest cut in wood and sheet goods. Fewer teeth (16 to 24) cut faster but leave a rougher edge, which is fine for framing lumber but not for a visible edge.
How To Get Better With A Circular Saw?
Practice on scrap material, always cut with a clamped guide rather than freehand, keep the blade sharp and set to the correct depth, and build the habit of checking your grip, stance, and blade depth the same way before every cut.
What Saw Is Used To Make Perfectly Straight Cuts?
A table saw or a track saw is built to make consistently straight cuts, but a circular saw paired with a clamped guide rail or a rip-cut jig can match that accuracy for straight rips and crosscuts without either machine.
Why Is Circular Saw Blade Depth Set To About A Quarter Inch Below The Material?
A shallow blade depth leaves less blade surface exposed under the workpiece, which gives the blade less material to bind, catch, or twist against. Less binding means less torsion on the blade, and less exposed blade also means a shorter, less violent kickback if the material does pinch the blade.
Conclusion
A circular saw cuts as straight and as safely as its setup allows. Match the blade to the material, keep the depth close to the material’s thickness rather than cranked all the way down, clamp a guide instead of freehanding the line, and treat wheel-locking, blade checks, and safety gear as a routine, not an afterthought. Get those right and the saw will do the precise part on its own.
Sponsored / affiliate links. As an Amazon Associate I earn from qualifying purchases. I may earn additional commission from eligible campaigns.