MDF Installation Guide: Nails, Screws & Pilot-Hole Sizes
MDF installs cleanly when you acclimate it, drill pilot holes at 85 to 95 percent of the screw core diameter, and keep fasteners at least 12 mm (1/2 inch) from the edges, per the European Panel Federation. Skip those steps and screws split edges while stacked boards cup. This guide covers acclimation times, nail and screw spacing, expansion gaps and trim joints, using manufacturer and industry sheets.
Before You Begin
 |
Best MDF Screw Pick FASTENPOWER #8 x 1-1/4 Inch Particle Board and MDF Screws (100-Pack): $9.99 A #8 Type 17 thread-cutting screw, the size the pilot-hole table in this guide uses (0.110 inch, about 2.8 mm, for a #8).
|
As an Amazon Associate we earn from qualifying purchases.
Two things decide whether an MDF installation lasts: how the board adjusts to the room before you cut it, and whether you have the right fasteners on hand. Standard MDF and HDF behave differently under screws, so confirm which board you bought first (see HDF vs MDF).
Acclimating MDF To Your Environment
Acclimating MDF means letting it reach the same moisture content as the room it will live in, so it does not swell or shrink after it is fixed. The published numbers vary because they answer different questions:
| Source | What it says | What it applies to |
|---|---|---|
| ARAUCO installation instructions | Acclimate up to 48 hours, laid out around the room | Light MDF moulding and trim |
| Composite Panel Association bulletin | Two or more weeks to reach a satisfactory equilibrium | Panels being laminated or fabricated |
| European Panel Federation | A single board in open air equilibrates in a few days; the centre of a stack takes many weeks | Raw MDF sheets |
The practical reading: a few lengths of trim spread around the room can be ready in a day or two, but a full sheet that arrives stacked is not acclimated just because it sat in the garage for 48 hours. Separate the sheets with stickers so air reaches both faces.
- Unstack the boards in the room where they will be installed and separate them with stickers of equal thickness.
- Keep them off the floor on 2×4 bearers, never directly on concrete.
- Hold the room at the heat and humidity it will have after installation.
- Store flat; a board stood on its edge for weeks can take a permanent set.
Required Tools And Materials
Gather these before you start so the installation runs in one session:
| Tools | Materials |
|---|---|
| Saw with a carbide or fine-tooth blade, tape measure, pencil, level | MDF boards or trim, wood glue, construction adhesive |
| Drill and drill bits sized for pilot holes, countersink | Coarse-thread MDF screws and 15 to 18 gauge brad or angle nails |
| Brad nailer (90 to 100 PSI, tested on scrap), sanding block | Paintable elastomeric caulk, primer, paint |
Preparation Steps
Accurate measuring and clean cuts separate a tight MDF installation from one with a gap at every joint.
Measuring And Marking
- Measure the run of baseboard, wall paneling or molding with a tape measure.
- Transfer the measurements to the board and mark the cut lines clearly.
- For corner joints, mark the angle with a square or protractor; an off-angle miter is the most common cause of a gapped corner.
Cutting MDF
- Support the board on sawhorses or a bench.
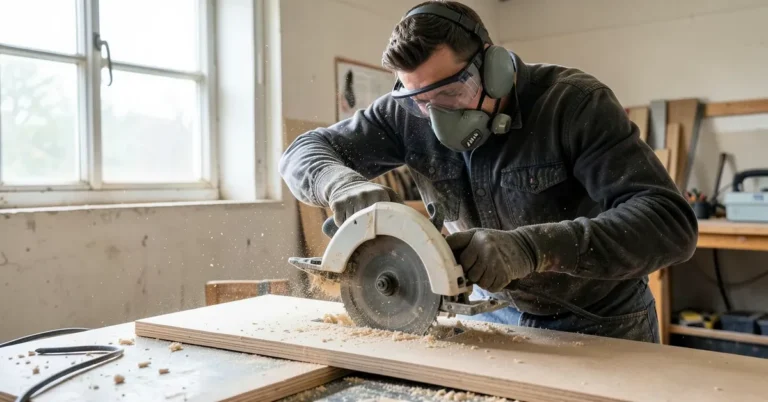
- Cut MDF with a fine-tooth or carbide blade. ARAUCO recommends carbide tools because they cut cleaner and last longer.
- Wear a dust mask and goggles; MDF dust is fine and stays airborne.
- Sand the cut edges lightly before fitting.
Joining MDF Panels
To join MDF panels, apply adhesive to clean cut faces and press them together, then reinforce with screws or nails once the glue has begun to set. ARAUCO advises machining joints to use as much of the board face as possible rather than the edge, because edges hold fasteners less well.
Best Adhesives For MDF
Wood glue and polyurethane construction adhesive both bond MDF. Construction adhesive is the stronger choice for load-bearing or corner joints because it expands slightly as it cures and fills small gaps. Use an adhesive rated for the humidity of the room.
Creating Strong Corner Joints
For a mitered or coped trim joint, ARAUCO says to put a bead of glue on a clean miter cut, then drive a brad or angle nail through the top of the joint downward, which pulls the miter tight. Do not use T-nails or large staples in this application. Finish the joint with a paintable elastomeric sealant so small seasonal movement does not open a visible crack.
Wipe off excess glue right away, and let the joint dry fully before sanding; sanding wet glue smears it into the fibers and shows under paint.
Installation Techniques
Whether you are fixing baseboard, wall paneling or molding, the fastener type and its distance from the edge decide whether the joint holds or splits. For wall panels specifically (adhesive, screws, anchors, uneven walls), see our guide to fixing an MDF panel to a wall.
Nailing Vs. Screwing MDF
Screws give the highest withdrawal strength in MDF; nails and staples give satisfactory results for trim and for holding parts while glue sets, according to the European Panel Federation.
- Nails: ARAUCO names brads and angle nails in 15 to 18 gauge as the best fasteners for MDF moulding. Pick length from our nail size chart for baseboard.
- Edge nailing: use a fine wire gauge under 14, keep nails at least 70 mm (2-3/4 inches) from a corner and at least 150 mm (6 inches) apart, and ring-shank nails inserted at a slight angle hold better (European Panel Federation).
- Screws: use them where the part must resist being pulled off, such as shelf brackets or cabinet-adjacent trim.
Using Power Nailers Effectively
- ARAUCO recommends 90 to 100 PSI for pneumatic nailers and says to test the fastener and pressure before running a full job.
- Drive nails at right angles to the surface; the same sheet warns that excessive pressure can leave tool marks or cause splitting.
- Ease off near board ends, where MDF splits most easily.
“Excessive pressure may produce objectionable tool marks or splitting.”
What Pilot Hole Size Do You Need For MDF Screws?
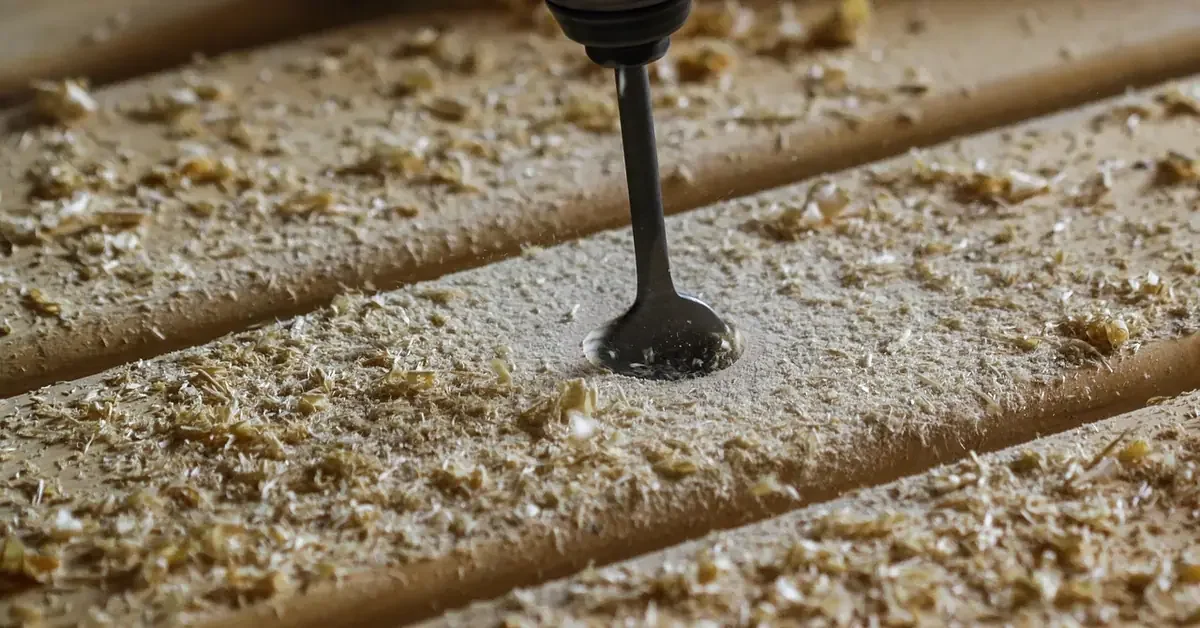
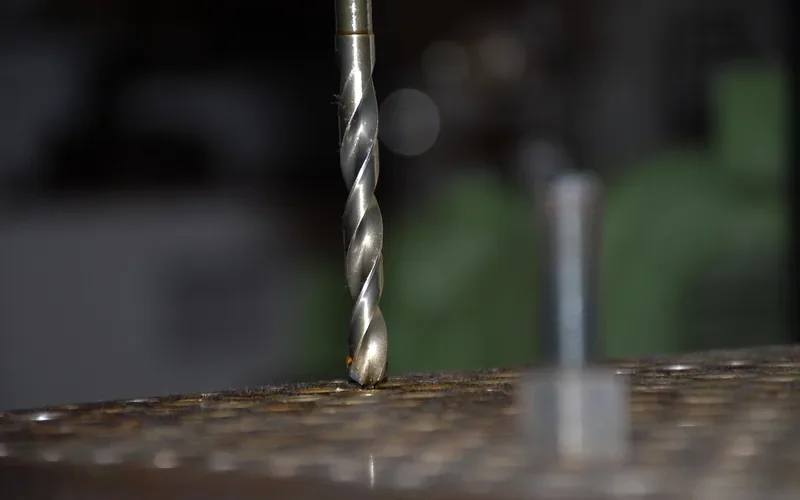
An MDF pilot hole should be 85 to 95 percent of the screw core (root) diameter, which is larger than the hole you would drill for solid wood. MDF has no grain to part around the screw, so the fibers need the solid core of the screw to fit without being forced outward and splitting the board. Drill the pilot hole at least 1 mm deeper than the screw will penetrate, and add a small counterbore so the surface does not lift around the screw. (European Panel Federation, Screwing)
| Screw size | Pilot hole | Drill gauge |
|---|---|---|
| #6 | 0.078 in (about 2.0 mm) | 44 |
| #8 | 0.110 in (about 2.8 mm) | 35 |
| #10 | 0.120 in (about 3.0 mm) | 31 |
Sizes above come from ARAUCO’s published MDF pilot-hole chart. Coarse, two-start screws hold best, and our MDF screws guide covers thread types and lengths. Test on an offcut of the same board first, since density differs between brands.
How Far From The Edge Should MDF Fasteners Be?
Edges are where MDF splits, so spacing matters more than screw brand. These are the minimums published by the European Panel Federation:
| Fastener location | Minimum distance |
|---|---|
| Screw or staple in the face, from the board edge | 12 mm (1/2 inch) |
| Screw or staple in the face, from a corner | 25 mm (1 inch) |
| Screw or staple into the edge, from a corner | 70 mm (2-3/4 inches) |
| Nails into the edge, from a corner / between nails | 70 mm / 150 mm (6 inches) |
Edge screw holding is also weaker than face holding; the MDF pros and cons guide compares published edge-hold figures if a joint will carry load.
Special Considerations
Three situations need more care than a standard install: long runs that will move, fire-rated assemblies, and damp rooms.
Leaving Expansion Gaps On Long Runs And Panels
MDF is stable but not fixed. The European Panel Federation gives a movement of about 0.05 percent in the plane of the board per 1 percent change in moisture content, and 0.35 percent in thickness. Its own example: a 600 mm wide panel swells about 1.5 mm for a swing from 35 to 85 percent relative humidity. Scaling that rate to common run lengths gives:
| Run length | Movement across a 35 to 85 percent RH swing |
|---|---|
| 600 mm (24 in) | about 1.5 mm (1/16 in) |
| 1,200 mm (4 ft) | about 3 mm (1/8 in) |
| 2,440 mm (8 ft) | about 6 mm (1/4 in) |
The table is arithmetic from the published coefficient, not a manufacturer-stated gap, and a heated home rarely sees the full swing. The CPA warns that panels butted edge to edge and rigidly fastened can buckle as they take on moisture, and that long walls and panel runs need expansion joints. Leave a small reveal at long butt joints and hide it with caulk or a trim strip rather than fastening panels tight.
Dealing With Fire Rated MDF
Fire-rated MDF keeps its rating only when installed the way its manufacturer specifies. Use the adhesives and fasteners named on that product’s data sheet, and confirm the framing behind it also meets code.
Installing MDF In High Moisture Areas
Raw MDF edges absorb water fastest and swell first, so prime every cut edge before the board goes up, following our guide to sealing MDF. Ventilate the room and keep water from standing on the bottom edge of trim; see MDF vs solid wood baseboards for why the floor line fails first.
Finishing Touches
Sanding, priming and painting give the finished installation its look and protect the fibers.
Sanding And Priming
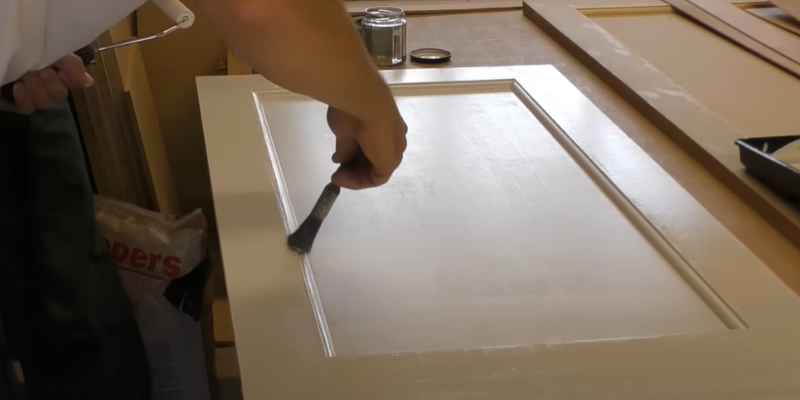
Sand lightly and wipe off the dust. ARAUCO sells its moulding pre-primed and says a light sand with 220 grit or finer before the finish coat gives the best result. On raw MDF, apply a primer made for it so the fibers do not soak up paint unevenly.
Painting MDF For A Professional Finish
Use latex or acrylic paint in several thin coats; thick coats drip and show brush marks. Let each coat dry fully and follow the paint maker’s temperature range.
Maintenance And Care
Cleaning MDF Surfaces
Wipe with a soft, damp cloth and dry the surface right away. MDF has no natural moisture resistance, so standing water causes swelling, not brief contact.
Repairing Damaged MDF
Fill small dents with wood filler and sand smooth. For a swollen edge or cracked corner, cut out and replace the section; filler does not restore strength to a split joint.
Frequently Asked Questions
What Is The Best Way To Attach MDF?
The best way to attach MDF is glue or construction adhesive on the joint faces, reinforced with pre-drilled screws or brad nails once the adhesive sets. Use the board face rather than the edge where you can, because edges hold fasteners less well.
Should I Nail Or Screw MDF?
Screws hold better than nails under load, but nails and staples work well for trim and for holding parts while glue sets. Always pre-drill for screws, and keep nails at least 70 mm from a corner when driving into an edge.
How Is MDF Installed?
Acclimate the MDF, cut and dry-fit it, glue the joints, then fasten with pre-drilled screws or 15 to 18 gauge brad nails at the minimum edge distances. Seal cut edges in damp rooms and leave a small reveal on long runs.
How Long Does MDF Need To Acclimate?
ARAUCO says up to 48 hours for MDF moulding laid out in the room. Full sheets take longer: the European Panel Federation notes the centre of a stack takes many weeks to equilibrate, and the CPA cites two or more weeks for panels being fabricated.
What Size Pilot Hole Do You Need For MDF Screws?
Drill the pilot hole to 85 to 95 percent of the screw core diameter. ARAUCO lists 0.078 inch for a #6, 0.110 inch for a #8 and 0.120 inch for a #10. Drill 1 mm deeper than the screw will go.
How Far From The Edge Should MDF Fasteners Be?
Keep screws and staples in the face at least 12 mm (1/2 inch) from the board edge and 25 mm (1 inch) from corners. Keep edge fasteners at least 70 mm (2-3/4 inches) from corners.
Conclusion
A lasting MDF installation comes down to acclimating the board properly, gluing joints, and pre-drilling at 85 to 95 percent of the screw core diameter with fasteners kept clear of the edges. See more MDF guides for cutting, comparisons and finishing.
Sponsored / affiliate links. As an Amazon Associate I earn from qualifying purchases. I may earn additional commission from eligible campaigns.