Painting A Treated Wood Deck The Right Way (No Peeling)
Understanding Treated Wood for Painting
Treated wood is wood that has been soaked in chemicals. These chemicals protect it from rot and bugs. This is great for decks.
But it can make painting tricky. The chemicals can stop paint from sticking well. Also, treated wood holds moisture.
This moisture can push paint off from underneath.
Most lumber treated for outdoor use is pressure-treated. This means it’s put in a tank. Chemicals are forced deep into the wood.
This is why it’s often green or brown when new. It’s also heavier than untreated wood.
The type of wood matters too. Pine is common for treated lumber. Fir and cedar are also used.
Each wood has its own grain. Some woods soak up more water than others. This affects how you paint them.
It’s important to know if your deck is truly treated wood. Some decks look like treated wood but are composite. Composite decks need different paint.
Always check if you’re not sure.
New treated wood needs time to dry out. If it’s painted too soon, problems can happen. Water trapped inside will try to escape.
It pushes the paint away. This causes blisters and peeling. So, waiting is key.
How long to wait? It depends on the weather. And how wet the wood is.
A good rule is to wait at least a few weeks. Some experts say months. We will talk about how to test if it’s ready.
The chemicals used in treatment can change over time. They can also break down. This can affect how paint sticks.
Older treated wood might paint better than new wood. But it might also be more worn.
Why Decks Peel When Painted Incorrectly
Peeling paint on a deck is super frustrating. You spend time and money. Then, it looks bad quickly.
This happens for a few main reasons. Moisture is the biggest enemy. Treated wood is designed to resist water.
But it still holds some. If this water can’t escape, it lifts the paint.
Paint needs a good surface to stick to. If the wood is dirty or dusty, paint won’t bond. Grease or old stain residue also stops paint.
Proper cleaning is vital. We will cover this in detail.
Using the wrong type of paint is another cause. Not all paints are made for decks. Decks face tough conditions.
They get sun, rain, and foot traffic. You need paint that can handle this.
Applying paint in bad weather is also a problem. Too much humidity can stop paint from drying right. Too much sun can dry the surface too fast.
This makes a weak layer. Then, it peels later.
Skipping important prep steps is common. People want to get the job done fast. But prep is where success is made.
Sanding, cleaning, and priming are not optional.
The wood itself can also be a factor. If the wood is already rotting or damaged, paint won’t help. It just covers up a bigger issue.
Always check the wood for rot before you start.
Finally, wear and tear are normal. Even the best paint job will show some wear. But if it peels within a year, something went wrong.
It’s usually one of the points above.
The best way to paint a treated wood deck without peeling involves thorough preparation. This includes allowing new wood to dry out for weeks or months, cleaning the surface meticulously, and using a high-quality deck primer and paint designed for exterior use. Proper application during suitable weather conditions is also crucial for long-lasting results.
The Crucial Role of Surface Preparation
This is the most important part. If you rush this, your paint job will fail. Think of it like building a house.
You need a strong foundation. For painting, the foundation is the clean, dry wood surface.
First, you need to clear the deck. Move all furniture, plants, and grills. Remove any nails or screws sticking out.
Hammer them in or pull them out. Check for any loose boards too. Fix them before you paint.
Next, you must clean the wood. Use a deck cleaner. These cleaners are made to lift dirt, mildew, and old finishes.
Follow the product directions. Usually, you wet the deck. Then, you spread the cleaner.
You might need a stiff brush. Scrub the wood gently. Then, rinse it very well.
Use a garden hose or a pressure washer on a low setting. High pressure can damage the wood. You want to remove all cleaner residue.
Rinsing is very important. Any leftover cleaner will hurt paint adhesion. It can also leave streaks.
Make sure to rinse in the direction of the wood grain. This helps push the dirt away.
After cleaning, you need to check for old paint or stain. If there’s peeling paint, you must remove it. Sanding is the best way to do this.
You can use a hand sander or a floor sander. Start with a medium grit sandpaper. Maybe 60 or 80 grit.
If the paint is thick, you might need a coarser grit. You want to get down to bare wood. Sand in the direction of the wood grain.
If the deck has an old stain, you might need to strip it. Deck strippers can remove tough stains. Follow their instructions carefully.
They often involve a lot of scrubbing and rinsing.
Once the deck is clean and any old finish is removed, let it dry. This is critical for treated wood. New treated wood can hold a lot of moisture.
It can take days or even weeks for it to dry out enough for paint.
How do you test if it’s dry enough? Do the water drop test. Put a few drops of water on the wood.
If the water beads up, it’s still too wet. The wood is like a sponge. If the water soaks in quickly, it’s likely dry enough.
You can also use a moisture meter. Aim for less than 12-15% moisture content.
If you sanded, there will be dust. Vacuum or sweep the deck thoroughly. Dust left behind will prevent paint from sticking.
You can also wipe it down with a damp cloth. Just make sure it dries again.
This whole prep process takes time. It’s not a one-day job. Give yourself enough time.
Rushing here means peeling paint later.
Prep Checklist: Your First Steps
- Clear Everything Off: Furniture, pots, mats.
- Inspect Wood: Fix loose boards, hammer down nails.
- Deep Clean: Use a good deck cleaner. Scrub well.
- Rinse Thoroughly: Remove all cleaner. Use low pressure if power washing.
- Remove Old Finishes: Sand or strip peeling paint/stain.
- Dry Completely: Wait days for new wood. Use water test.
- Dust-Free Surface: Vacuum or sweep well after sanding.
Choosing the Right Paint for Your Deck
Not all paint is created equal. For decks, you need something tough. You need paint that can handle foot traffic.
It needs to resist sun and rain. Using interior paint or regular exterior paint won’t work well.
Look for paint specifically labeled for decks. These are usually oil-based or a high-quality acrylic. They are formulated to be flexible.
They expand and contract with the wood. This helps prevent cracking and peeling.
Oil-based paints are very durable. They often penetrate the wood better. This can provide a strong bond.
However, they can be harder to clean up. They also have stronger fumes. They tend to be less flexible than acrylics.
Water-based acrylic paints are now very popular. High-quality ones are excellent for decks. They are flexible.
They clean up easily with soap and water. They also dry faster. Many modern deck paints are acrylic-based.
Consider the finish. A satin or semi-gloss finish is often best for decks. It’s more durable than a flat finish.
It’s also easier to clean. A high-gloss finish can show every scratch. It can also be slippery when wet.
What about solid stain vs. paint? Solid stains look like paint.
They cover the wood grain. They are often as durable as paint. They can be a good option if you want a painted look.
But they are harder to remove later than semi-transparent stains.
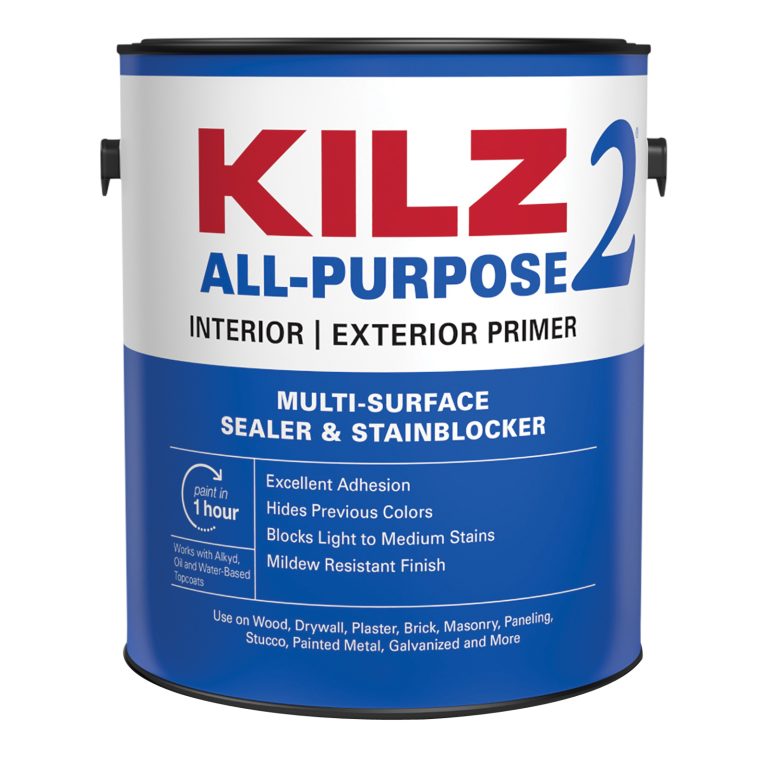
Many experts recommend using a primer. A good primer creates a seal. It helps the paint stick better.
It also blocks tannins from bleeding through. This is common with woods like cedar or redwood. Some paints are “paint and primer in one.” These can work, but a separate primer is often more reliable for tricky surfaces like treated wood.
For primers, look for an exterior-grade, oil-based primer. These are good for sealing. They work well on wood.
Ensure it’s compatible with your topcoat paint. Check the paint can labels.
When you buy paint, buy enough. You don’t want to run out mid-job. Also, buy from the same batch if possible.
This ensures color consistency.
Color choice matters too. Dark colors absorb more heat. This can make your deck hotter in the summer.
Lighter colors stay cooler. They can also hide dirt better.
Paint Selection Guide
- Type: Deck-specific paint (oil-based or high-quality acrylic).
- Finish: Satin or semi-gloss for durability and cleaning.
- Primer: Use an exterior-grade, oil-based primer for best adhesion.
- Solid Stain: An alternative that covers wood grain like paint.
- Color: Lighter colors stay cooler and hide dirt better.
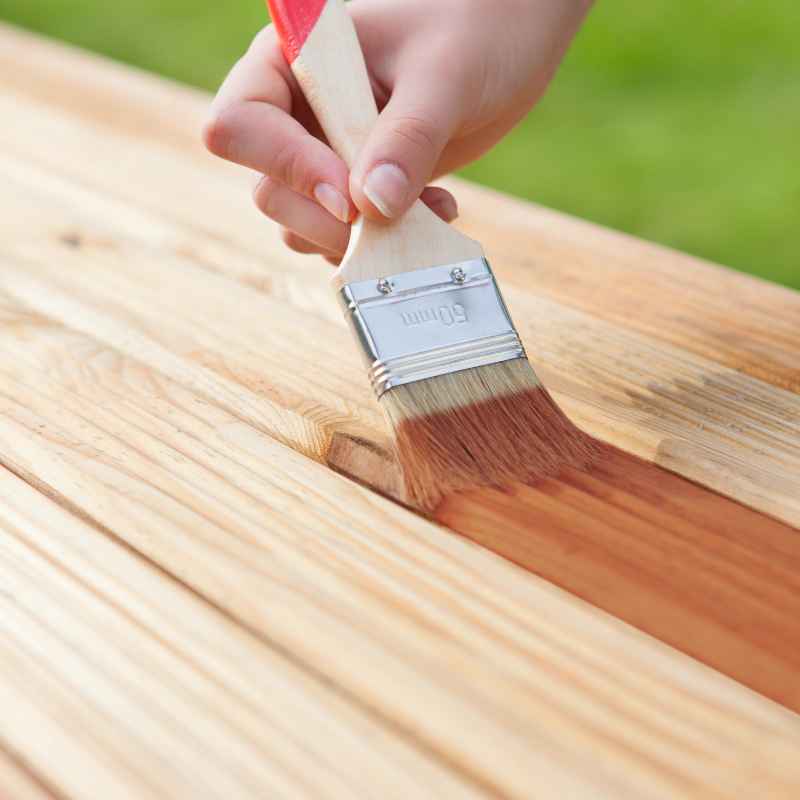
The Application Process: Step-by-Step
Once your deck is prepped and you have your paint, it’s time to paint. The weather must be right. You need a dry spell.
Aim for mild temperatures, ideally between 50°F and 85°F (10°C and 30°C). Avoid painting if rain is expected. Also, don’t paint in direct, hot sun.
This dries the paint too fast.
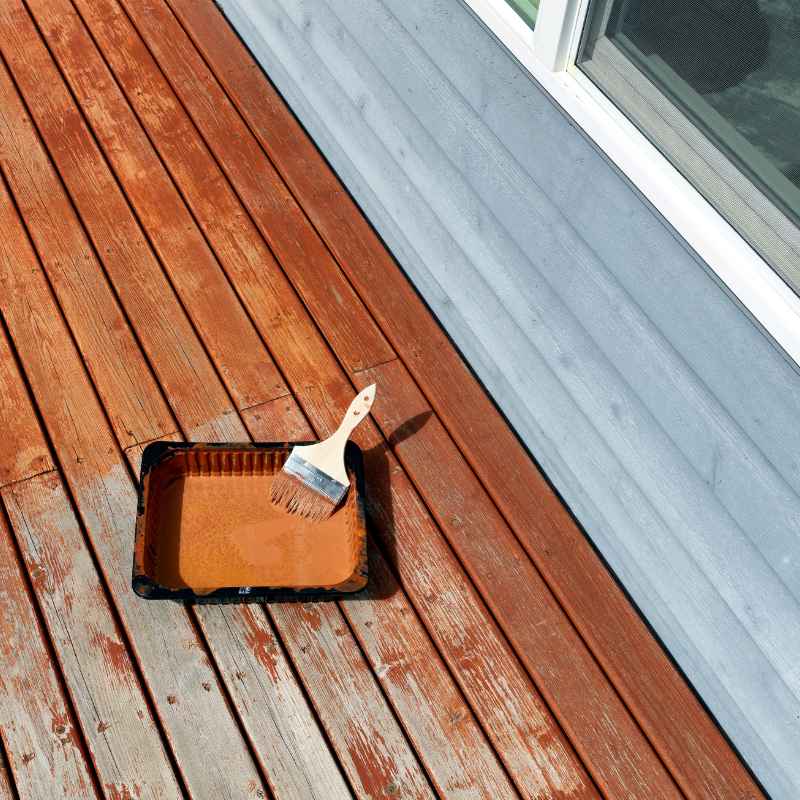
Start with the primer. If you’re using a roller, you can use a wider one for the deck boards. For edges and corners, use a good quality paintbrush.
Work in sections. Apply a thin, even coat of primer. Don’t let it pool.
Brush out any drips.
Let the primer dry completely. Check the product can for drying times. It’s often several hours.
You might need to wait overnight. Ensure it’s dry to the touch and not tacky.
Now, you’re ready for the paint. Stir the paint well before you start. Never shake a can of paint vigorously.
This can create air bubbles. Use a stir stick to mix the pigment from the bottom.
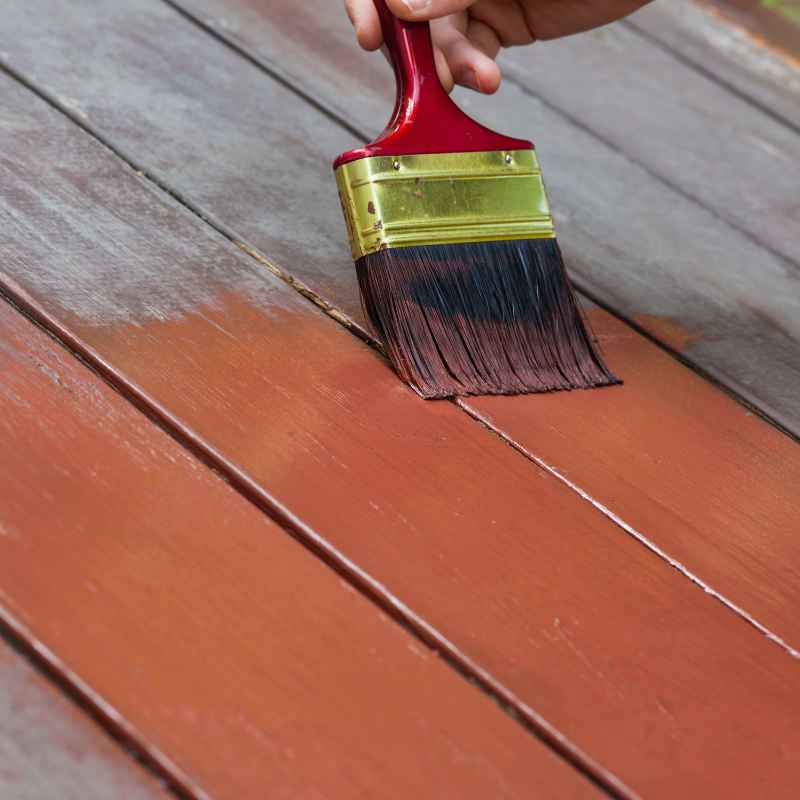
Apply the paint in thin, even coats. Again, work in sections. Use your roller for the main deck boards.
Use your brush for the edges, railings, and stairs. Roll or brush in the direction of the wood grain.
Avoid applying too much paint. Thick coats can lead to peeling. They also don’t dry as well.
It’s better to do two thin coats than one thick coat.
Let the first coat dry fully. Check the paint can for recoat times. This can vary from 4 hours to 24 hours.
Don’t rush this step. Walking on a wet or not-fully-dried painted deck will ruin it.
Apply the second coat. Follow the same process as the first coat. Ensure even coverage.
Brush out any drips or lines.
After the second coat dries, you need to let the paint cure. Curing is when the paint reaches its full hardness. This can take several days, sometimes up to a week.
During this time, be gentle with the deck. Avoid heavy furniture or scrubbing.
If you have railings, spindles, or stairs, paint them carefully. These areas get a lot of touch. Use a good quality brush.
Take your time to get clean lines.
For areas where the deck meets the house, use painter’s tape. This gives you a clean line. Apply it after the wood is dry.
Remove it slowly and carefully after painting.
The biggest mistake people make is rushing. They want to use the deck too soon. Or they apply paint too thick.
Patience is your best friend here.
Painting Tips for Success
- Weather: Paint on dry days, mild temps (50-85°F). Avoid sun.
- Primer First: Apply thin, even coats. Let dry fully.
- Stir Paint: Mix well before and during use.
- Thin Coats: Apply two thin coats, not one thick one.
- Grain Direction: Always paint/roll with the wood grain.
- Drying Times: Respect recoat and cure times.
- Tape Edges: Use painter’s tape for clean lines.
Real-World Scenarios and Common Pitfalls
I remember one summer when a friend asked for help. Their deck paint was peeling badly after just one year. They had painted it a bright red.
They were so proud of how it looked. But the peeling started in the spring.
We went over to look. The wood seemed okay, but it felt a little damp. They admitted they hadn’t waited long after buying the wood.
They just wanted it done before a barbecue. They also mentioned they used an exterior paint, but it was the kind for siding, not decks.
The biggest issue was the rushed drying time. New treated wood needs to dry out. This allows the chemicals to settle and the moisture to escape.
Painting too soon traps that moisture. It’s like putting a sticky bandage on a wet wound. The bandage won’t stick.
The paint won’t stick.
Another friend used a dark, almost black paint. They loved the modern look. But in the summer sun, their feet would burn just walking on it.
The heat also stressed the paint. It didn’t peel as much, but it became brittle faster. This is why cooler colors are better.
I’ve also seen people skip sanding. They just power-washed and painted. But power washing doesn’t always remove all the residue.
Old sealers or even just the fuzzy wood fibers can prevent good adhesion. This leads to paint lifting at the edges.
One time, I was painting my own deck. I got careless with a roller. I left a few thick puddles of paint.
I thought it would level out. It didn’t. Those spots became weak points.
They started to blister and peel within months. It taught me a hard lesson about thin, even coats.
People also forget about railings and stairs. These get touched and stepped on more. They need just as much care as the deck boards.
Often, they get less attention. This leads to uneven wear and tear.
Finally, using indoor paint outdoors is a huge mistake. Indoor paint is not made to handle UV rays, rain, and temperature changes. It will chalk, fade, and peel very quickly.
Common Painting Mistakes
- Rushing Prep: Not waiting for new wood to dry.
- Wrong Paint: Using siding paint instead of deck paint.
- Dark Colors: Absorbing too much heat stresses paint.
- Skipping Sanding: Not creating a proper surface for adhesion.
- Thick Coats: Applying too much paint leads to weak spots.
- Ignoring Details: Neglecting railings and stairs.
- Indoor Paint: Using paint not meant for outdoor conditions.
What This Means for You: When to Worry
So, how do you know if your deck is painted right? And when should you start to worry about peeling?
When it’s normal: A small amount of wear is expected. If you see tiny chips where furniture legs scrape. Or if a spot looks a little faded.
This is normal after a year or two. Especially in high-traffic areas. If you notice a very slight discoloration.
Or if the texture feels a bit rougher.
When to worry: Big flakes of paint coming off. This is a clear sign of a problem. Especially if it’s happening all over the deck.
Blisters or bubbles under the paint are bad. They mean moisture is trapped. This will lead to more peeling soon.
If the paint is cracking or chipping. This often happens when paint gets old and brittle. Or if it wasn’t flexible enough for the wood’s movement.
If the paint feels soft or gummy after it should be cured. This means it didn’t dry properly.
If peeling starts within the first few months. This is a major red flag. It means a fundamental mistake was made.
Likely in prep or application.
Simple checks you can do:
- The Fingernail Test: Gently try to scrape a small area with your fingernail. If paint comes off easily, it’s not adhering well.
- Look for Bubbles: Walk around your deck and look for any raised areas. These are bubbles.
- Check Edges: Pay attention to the edges of boards and stairs. This is where wear often starts.
- Feel the Surface: Does it feel smooth and hard? Or rough and crumbly?
If you see widespread peeling or blistering, don’t just paint over it. You’ll likely have the same problem again. You need to remove the old paint.
Then, start the prep process over. It’s more work, but it’s the only way to get a lasting finish.
Sometimes, the wood itself is the issue. If the wood is old and starting to rot, paint won’t save it. You might see the paint peeling away from rotten spots.
Check for soft wood with a screwdriver. If it gives easily, the wood needs replacing.
Quick Fixes & Tips for Longevity
While there are no magic quick fixes for widespread peeling, there are things you can do to help your paint last longer. And to address minor issues.
Touch-Ups: For small chips or scrapes, you can do touch-ups. Make sure the area is clean and dry. Lightly sand the edges of the chip.
Apply a small amount of matching paint. Feather the edges so it blends in. It won’t be perfect, but it’s better than letting it spread.
Regular Cleaning: Keep your deck clean. Sweep it often. Wash it down with a mild soap and water solution once or twice a year.
Rinse well. This removes dirt and grime that can degrade the paint.
Address Spills Quickly: If you spill something greasy or colorful, clean it up right away. Don’t let it sit on the paint. It can stain or even damage the finish.
Protect from Furniture: When placing furniture, use felt pads or rubber feet. This prevents scratches and scrapes. Lift furniture when moving it, don’t drag it.
Shade Can Help: If possible, provide some shade for your deck. A pergola or umbrella can reduce direct sun exposure. This helps the paint stay cooler and last longer.
Re-coat When Needed: Don’t wait until the paint is peeling badly. When you see signs of wear, consider a maintenance coat. This might just be one thin coat of the same paint.
It adds protection and refreshes the look.
Watch for Mildew: In damp climates, mildew can grow on painted surfaces. Clean it off as soon as you see it. Use a mild cleaner.
Scrub gently.
Remember, a painted deck requires ongoing care. It’s not a set-it-and-forget-it project. Regular attention will extend its life significantly.
Frequently Asked Questions About Deck Painting
How long does painted treated wood last?
With proper preparation and high-quality paint, a painted treated wood deck can last anywhere from 5 to 10 years. However, this depends heavily on weather conditions, foot traffic, and how well it’s maintained. Consistent cleaning and occasional touch-ups can extend its lifespan.
Can I paint over an existing deck stain?
Yes, but it requires thorough preparation. You must clean the stained surface very well. Often, you’ll need to strip or sand off as much of the old stain as possible.
If the stain is a solid color, it’s similar to painting over old paint. A good primer is essential.
Is it better to use oil-based or water-based paint for decks?
Both can work well if they are high-quality and specifically designed for decks. Oil-based paints offer great durability and penetration. Water-based (acrylic) paints are more flexible, easier to clean, and often have lower VOCs (fumes).
Modern acrylics are excellent choices for decks due to their flexibility.
Should I paint or stain my deck?
It depends on your preference and the look you want. Paint covers the wood grain completely for a uniform color. Stain soaks into the wood, allowing the grain to show through.
Paint tends to peel if not applied perfectly. Stain can fade or wear but is generally easier to reapply without full stripping.
How do I fix peeling paint on my deck?
First, you need to remove all the loose and peeling paint. Scrape and sand the affected areas until you reach sound wood. Then, clean the entire deck again.
Apply a good quality primer to the bare spots and feathered edges. Finally, reapply your deck paint in thin, even coats, ensuring proper drying times between coats.
Can I paint my deck in cold weather?
It’s best to avoid painting in cold weather. Most deck paints require temperatures above 50°F (10°C) for proper application and drying. Cold temperatures can affect the paint’s ability to cure correctly, leading to poor adhesion and premature failure.
Always check the paint manufacturer’s recommendations for temperature ranges.
Conclusion
Painting a treated wood deck without peeling is achievable. It demands patience and attention to detail. Focus on thorough preparation.
Choose the right products. Apply them carefully. Your beautiful, long-lasting deck awaits.