Will Epoxy Stick to Cured Epoxy? (Recoat Window + Grit Guide)
Epoxy sticks to cured epoxy through a mechanical bond, not a chemical one, once the surface passes its tacky recoat window — typically 4 to 24 hours after the first pour at room temperature. Miss that window and skip prep, and the new layer can peel or fish-eye within days. This guide covers the recoat-window timing, why amine blush blocks adhesion, and the exact grit sequence (80-120 grit, then a light 220-grit pass) for a bond that holds.
Introduction to Epoxy
Best Sanding Sponge Pick
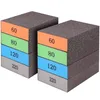
Romeda 8-Pack Sanding Sponge (60/80/120/220 Grit) – $5.99
Covers the full grit progression this guide recommends for a fully-cured recoat — an 80-120 grit scuff followed by an optional 220-grit finishing pass — in one washable, reusable set.
- Best for: Going straight through the 60-220 grit sequence without buying separate sandpaper sheets
- Why we picked it: Matches the exact 80-120 grit starting point (plus a finer 220 pass) this guide recommends before recoating cured epoxy
- Main drawback: Sponge blocks wear faster on a large tabletop pour than sheet sandpaper on a random-orbit sander
Compare more sanding sponge options
 Option 1 4-Pack Sanding Sponge (120/220/320/400 Grit) – $4.59
|
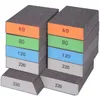 Option 2 BOSHCRAFT 10 Pcs Sanding Sponge Set (60-220 Grit) – $9.99
|
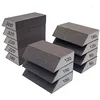 Option 3 SACKORANGE 12-Pack Sanding Sponge Set (80-320 Grit) – $9.99
|
As an Amazon Associate we earn from qualifying purchases.
Epoxy is a two-part adhesive: a resin and a hardener that chemically react once mixed, turning liquid into a rigid, glass-hard solid. Unlike single-part wood glue, epoxy’s strength comes from that resin-hardener reaction, not from moisture evaporating out of the joint — which is exactly why a second coat behaves so differently once the first one has already reacted and cured.
Cured Epoxy Properties
Cured epoxy is hard, glassy, and chemically inert. Once the resin and hardener finish reacting, there are no unreacted molecules left on the surface for a new coat to bond with directly — the surface is done reacting. Fully cured epoxy resists water, most solvents, and moderate heat, which is why it shows up across so many adhesive and glue projects, and exactly what makes a second coat harder to attach without help.
The Epoxy Recoat Window: When You Can Skip Sanding
Whether you need to sand depends entirely on timing, not on whether the first coat “feels dry.” Recoat while the first layer is still in its tacky, partially-cured stage and the new epoxy chemically fuses into it — no sanding required. Wait until it’s fully hardened and that chemical window is gone; only a mechanical bond from sanding will hold the new layer on.
| Recoat Stage | Timing at ~73°F | Sanding Needed? | Bond Type |
|---|---|---|---|
| Tacky / green window | Roughly 4–24 hours after the first pour (varies by hardener speed and room temperature) | No | Chemical — new resin fuses into the still-curing layer |
| Fully cured | Past 24 hours, typically 3–7 days for full hardness | Yes — 80-120 grit, then an optional 220-grit pass | Mechanical only |
📊 Recoating inside the tacky window (under ~24 hours for a standard fast hardener at room temperature) lets new epoxy fuse into the old layer well enough to skip sanding entirely. — Source: West System Epoxy Problem Solver FAQ, 2026
Bonding New Epoxy to Cured Epoxy
Once the tacky window has passed, epoxy can still bond to cured epoxy, but only mechanically — the new layer grips a roughened surface rather than fusing into it chemically. This is the situation for most repair and strength-building work: fixing a chip or crack in a countertop, patching a spot the way you would in wood rot repair with epoxy, or building up extra thickness on a tabletop pour one layer at a time. Each added layer needs the same treatment as a first recoat on fully cured epoxy — sand, clean, then pour.
Surface Preparation Techniques
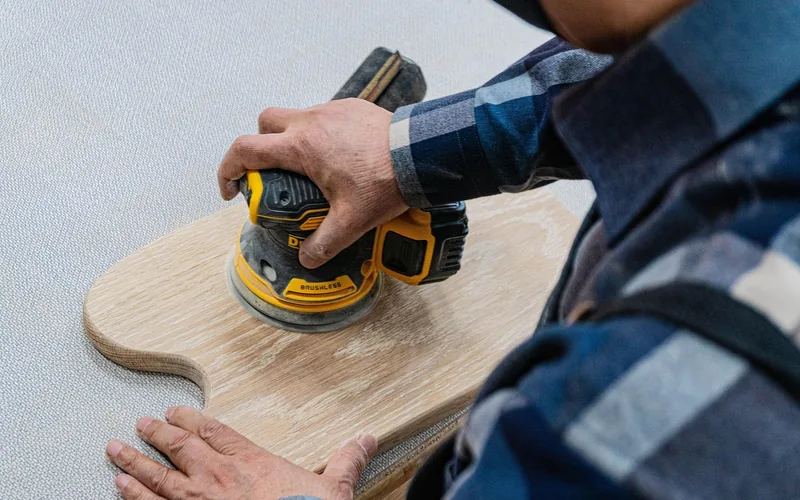
Clean before you sand, not after. Wash the cured epoxy with warm water and a mild detergent to lift dust, grease, and any amine blush, then dry it completely. Sand with 80-120 grit in small circular passes, covering the entire surface evenly — the same coarse-first approach that applies when you sand cured wood glue squeeze-out — then vacuum and wipe with a clean cloth so no grit dust is left behind before the new coat goes on.
What Is Amine Blush and Why You Must Wash It Off First
Amine blush is a thin, waxy, water-soluble film that forms on curing epoxy when the hardener’s amines react with moisture and carbon dioxide in the air. It shows up most in cool, humid conditions. Wiping it with a dry cloth or acetone alone can smear it around instead of removing it — a wash with warm water and mild detergent (or an abrasive pad and water) actually lifts it before you sand.
Using Primers and Adhesion Promoters
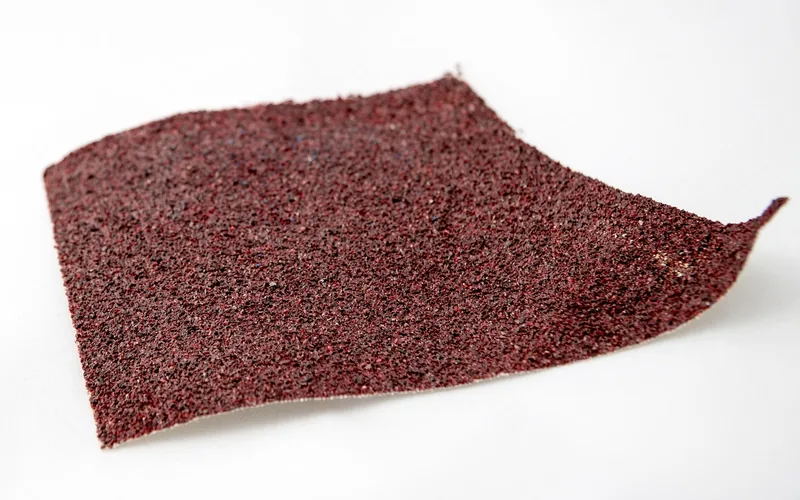
An epoxy-compatible primer or adhesion promoter adds a second layer of insurance on top of sanding, especially on a surface you can’t scuff as aggressively (a thin veneer, or a decorative pour you don’t want to dull). It doesn’t replace cleaning and sanding — it works best combined with them.
Types of Primers
An epoxy-specific primer bonds most reliably to a cured epoxy surface. Some are two-part and need mixing before use, just like the epoxy itself — always follow the label ratio, since an off-ratio primer can stay soft under the new coat.
Application Tips
Clean and lightly sand first — primer is an addition to that prep, not a shortcut around it. Apply a thin, even coat, let it fully dry per the label, then pour the new epoxy. Work in a ventilated space and wear gloves and a mask; both the primer and the epoxy release fumes while curing.
“Amine blush is water soluble and can be removed with an abrasive pad and water.”
Temperature, Humidity, and Mixing Ratios for a Lasting Bond
Cure conditions affect how well a recoat holds as much as sanding does. Work between 70-75°F with humidity under 85% — cold slows curing and can leave a soft, easily-damaged surface, while high humidity is what produces the heaviest amine blush. Measure resin and hardener to the exact ratio printed on the label; eyeballing it is the single most common cause of a soft, tacky coat that never fully hardens, recoat or not.
Common Mistakes to Avoid When Recoating Epoxy
Pouring a new coat over dust, grease, or unremoved amine blush is the top cause of peeling — the new layer looks fine going on, then lifts at the edges days or weeks later. Rushing the wait is a close second: recoating in the awkward middle ground, after the tacky window closes but before the surface is hard enough to sand cleanly, can gum up sandpaper and leave a cloudy bond line. When in doubt, wait for a full, hard cure and sand properly rather than guessing at the tacky window.
Frequently Asked Questions
Can You Apply Epoxy Over Cured Epoxy?
Yes. Fully cured epoxy needs a mechanical bond, so clean the surface and sand it with 80-120 grit first; epoxy still inside its 4-24 hour tacky window will bond chemically with no sanding needed.
How Long Do You Have to Wait Before Recoating Epoxy?
For a standard fast hardener at room temperature, the no-sand recoat window is roughly 4 to 24 hours after the first pour. Past that, the epoxy is fully cured and needs sanding before a new coat will hold.
Do You Need to Sand Cured Epoxy Before Recoating?
Yes, if it’s past the tacky window. Sanding creates the mechanical grip a fully hardened surface can no longer bond to chemically. Skip sanding only if you’re recoating within the first 4-24 hours.
What Grit Sandpaper Should You Use on Cured Epoxy?
Start with 80-120 grit to cut a rough tooth into the surface, then follow with a light 220-grit pass if you want a smoother base for a glass-clear finish coat. Vacuum and wipe away all dust before pouring.
Why Is My New Epoxy Peeling Off the Old Layer?
Peeling almost always traces back to skipped prep: dust, grease, or amine blush left under the new coat, or sanding that was too light to give the epoxy anything to grip. Strip back to bare cured epoxy, wash, sand with 80-120 grit, and re-pour.
How Do You Prepare Cured Epoxy for a New Coat?
Wash with warm water and mild detergent to remove dust, grease, and amine blush, dry completely, then sand with 80-120 grit in small circular passes. Vacuum and wipe with a clean cloth before pouring the new epoxy.
Conclusion
Epoxy sticks to cured epoxy either way — chemically if you catch the 4-24 hour tacky window, or mechanically if you sand a fully cured surface with 80-120 grit first. Wash off dust, grease, and amine blush before you sand, and keep the room between 70-75°F with humidity under 85% while everything cures.
Get the timing and the prep right and a recoat holds as well as the original pour. Rush either one and the most likely failure is peeling at the edges within days, not a dramatic failure right after you pour.
Sponsored / affiliate links. As an Amazon Associate I earn from qualifying purchases. I may earn additional commission from eligible campaigns.