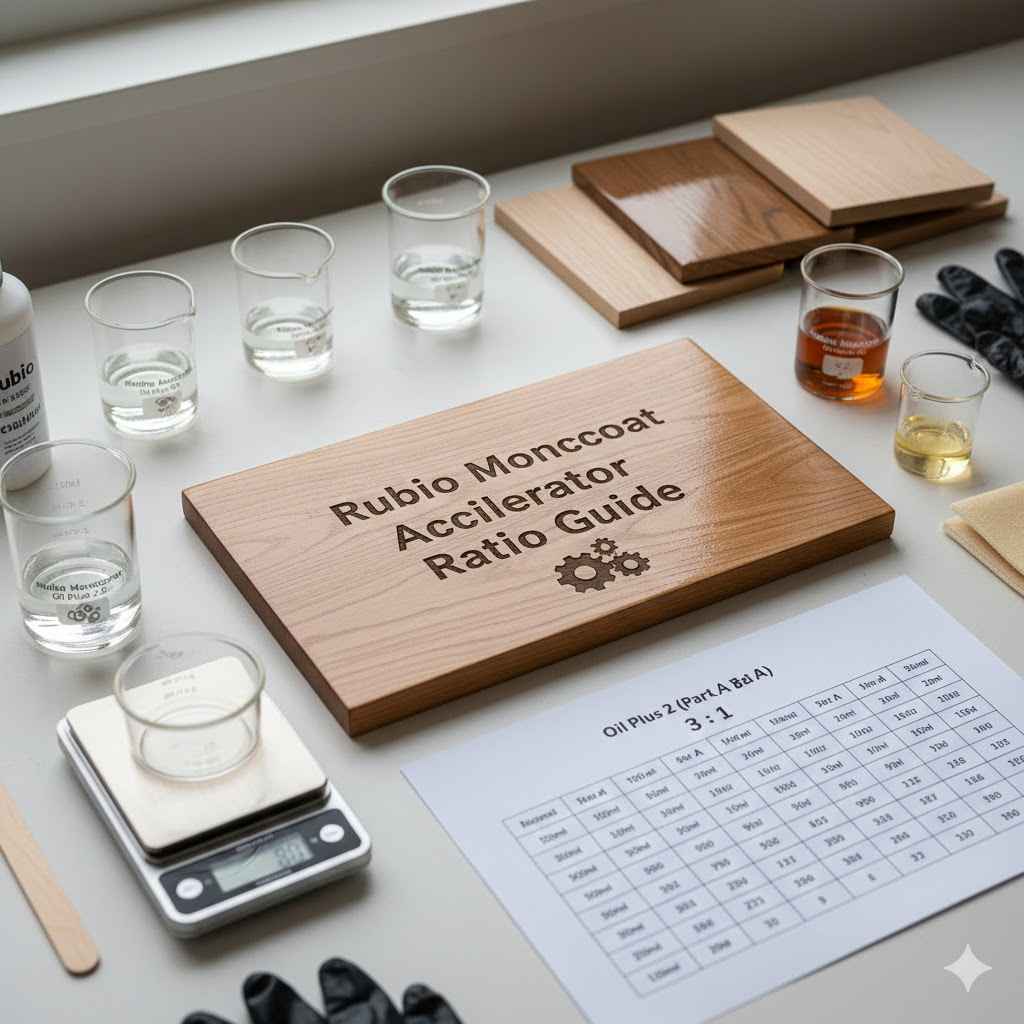
Rubio Monocoat Accelerator Ratio Guide
Figuring out the right mix for Rubio Monocoat can seem tricky when you’re new to it. Many people wonder about the perfect Rubio Monocoat Accelerator Ratio Guide. It’s easy to get confused by different product names and application methods.
But don’t worry! This guide will break it down simply, step by step, so you can get beautiful, lasting finishes on your wood projects. We’ll show you exactly what you need to know to get it right every time.
Understanding Rubio Monocoat Accelerator
Rubio Monocoat products are known for their single-coat system that protects and colors wood. The accelerator is a key component that helps the oil cure faster. This is super helpful for professionals who need to move quickly and for DIYers who want to speed up their projects.
Getting the ratio right means the finish will last longer and look its best. It ensures the oil bonds properly with the wood for a strong, beautiful result.
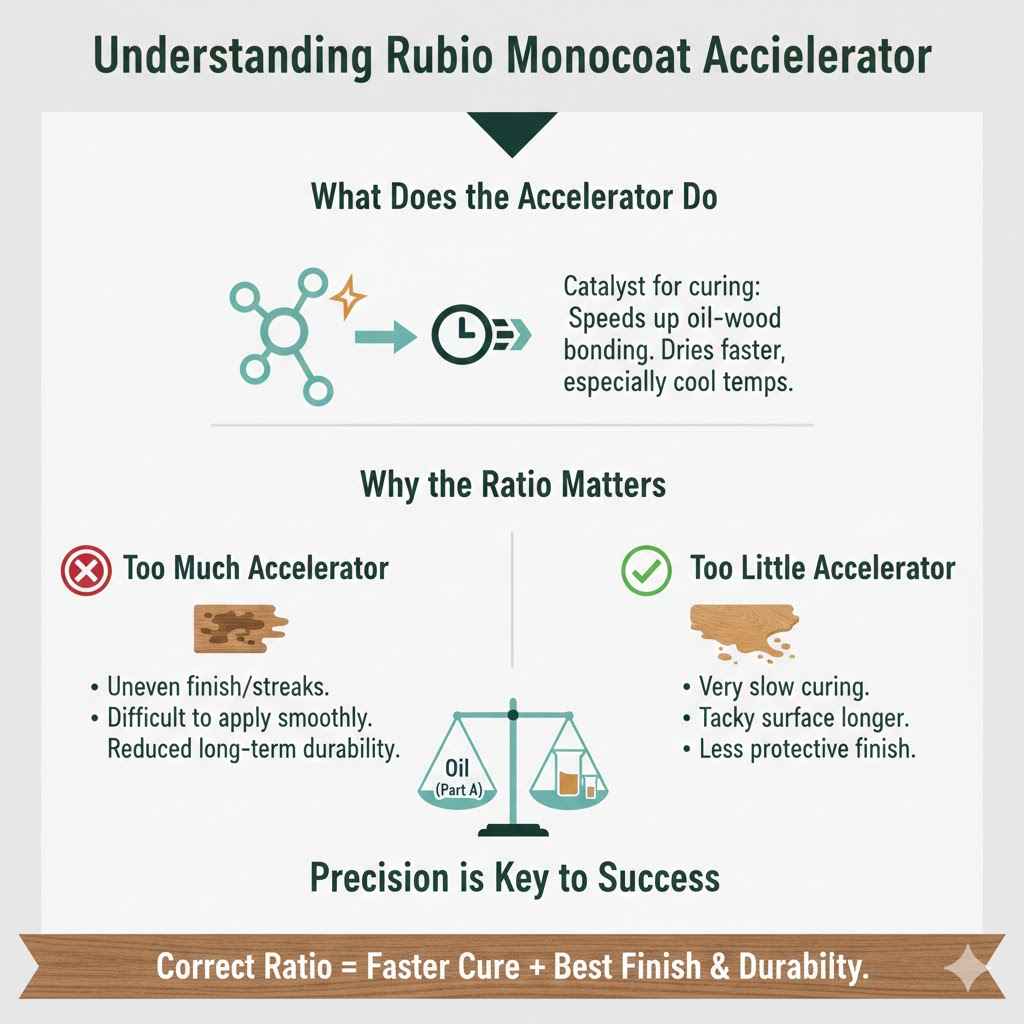
What Does the Accelerator Do
The accelerator in Rubio Monocoat products is like a catalyst for the curing process. It speeds up the reaction between the oil and the wood fibers. This means you can often recoat or use the finished surface much sooner than with traditional finishes.
Without the accelerator, some Rubio Monocoat products would take much longer to cure fully. This is especially true in cooler temperatures or when applying a thicker coat.
Think of it like baking. Some recipes need baking soda or powder to help the dough rise and cook faster. The accelerator does something similar for Rubio Monocoat.
It helps the oil molecules link together, or polymerize, which is what makes the finish hard and durable. This faster curing is a big advantage for saving time on your projects.
Why the Ratio Matters
Using the correct ratio of accelerator to Rubio Monocoat oil is vital for achieving the best results. Too much accelerator can make the oil cure too quickly, potentially leading to an uneven finish or issues with application. It might become difficult to spread the oil evenly, leaving streaks or blotches.
This can also affect the long-term durability of the finish.
On the other hand, too little accelerator means the oil will cure very slowly. This can leave the surface feeling tacky for a long time and make it more prone to damage before it’s fully cured. You might also find that the wood doesn’t reach its full protective potential if the curing process is too sluggish.
So, precision in mixing is key to success with these finishes.
Rubio Monocoat Accelerator Ratio Guide Basics
When you start using Rubio Monocoat, understanding the accelerator is a big step. The company makes different products, and some need an accelerator while others don’t. For those that do, there’s a specific ratio you need to follow.
This ratio is usually printed on the product’s can or in its technical data sheet. Sticking to these instructions ensures your finish works as it should.
Identifying Products That Require Accelerator
Not all Rubio Monocoat finishes need an accelerator. For example, the popular Rubio Monocoat Oil Plus 2C is a two-component system that already includes the accelerator mixed in the packaging. However, other products, like certain single-component oils or some specialized finishes, might require you to add a separate accelerator.
It’s always best to check the product label or the official Rubio Monocoat website for your specific product.
If a product requires an accelerator, it will usually be clearly stated. You might see terms like “Accelerator A” or “Fast-Drying Accelerator” mentioned. These products are designed for situations where speed is important, or when working in conditions that slow down the natural curing process.
Always read the instructions before you start mixing anything.
Understanding the Standard Ratio
The most common ratio for Rubio Monocoat products that require an accelerator is 3:1. This means three parts of the Rubio Monocoat oil to one part of the accelerator. For instance, if you are using 100 ml of oil, you would add about 33 ml of accelerator.
This is a widely used ratio for many applications and helps achieve a balanced cure time and finish quality.
It’s important to measure accurately. Using a reliable measuring cup or syringe is highly recommended. Eyeballing the amounts can lead to errors.
The 3:1 ratio is designed to work well with the oil’s chemistry to provide optimal protection and appearance. This consistent ratio makes it easier for users once they know it.
When to Deviate From the Standard Ratio
While 3:1 is the standard, there are times when you might adjust the accelerator ratio. These adjustments are usually made based on environmental conditions like temperature and humidity, or the specific application. For example, in very cold conditions, you might slightly increase the accelerator to help the oil cure.
Conversely, in very warm and dry conditions, you might use slightly less.
Rubio Monocoat often provides guidance on these adjustments in their technical data sheets. They might suggest a range, like 3:1 to 10:1 depending on the circumstances. Always refer to the most current product documentation.
Making too drastic a change can negatively impact the finish. It’s best to stick close to the recommended ratios unless you have a clear reason and guidance to do otherwise.
Step-by-Step Mixing and Application
Mixing and applying Rubio Monocoat with an accelerator is a straightforward process if you follow a few simple steps. The goal is to ensure the accelerator is fully blended with the oil before applying it to the wood. Proper mixing means you’ll get a consistent finish that cures evenly and provides the best protection.
Let’s walk through how to do it correctly.
Gather Your Materials
Before you begin, make sure you have everything you need. This includes your Rubio Monocoat oil, the accelerator (if it’s a separate component), clean mixing containers, measuring tools (like graduated cylinders or precise measuring cups), and an applicator (such as a pad applicator, brush, or lint-free cloth). Always work in a well-ventilated area.
Having all your supplies ready before you start mixing saves time and prevents mistakes. You don’t want to realize you’re missing a measuring cup halfway through! Also, ensure your wood surface is clean, dry, and free of dust or debris, as this is crucial for a good finish.
Measuring the Oil and Accelerator
This is the most critical part of the process. Use your measuring tools to get the exact amounts of oil and accelerator. If the ratio is 3:1, and you need 300 ml of mixed product, you would measure 225 ml of oil and 75 ml of accelerator.
Accuracy here directly impacts the final outcome.
It’s better to measure slightly more product than you think you’ll need than to run out and have to mix another batch, which could result in color differences. For small projects, using syringes can provide excellent precision. For larger jobs, calibrated containers are ideal.
Mixing the Components
Pour the measured oil into a clean mixing container. Then, add the measured accelerator to the same container. Stir the mixture thoroughly for at least 1-2 minutes.
You want to make sure the accelerator is completely incorporated into the oil. A stir stick or a clean mixing paddle works well.
It’s important to stir gently to avoid introducing too much air, which can create bubbles in your finish. Continue stirring until the liquid looks uniform in color and consistency. Some accelerators might slightly change the color or viscosity of the oil, which is normal.
Application to the Wood
Once mixed, apply the product to your wood surface. Use your chosen applicator and work in sections, applying a thin, even coat. Rubio Monocoat is known for its single-coat application, so aim to cover the entire surface with an adequate amount of product.
Wipe off any excess oil after about 10-15 minutes, depending on the product and conditions. Use a clean, lint-free cloth for this step. This removal of excess is what helps the oil cure properly and prevents a sticky or greasy finish.
The wood should look matte, not shiny, after wiping off the excess.
Troubleshooting Common Issues
Even with clear guides, sometimes things don’t go perfectly. When working with Rubio Monocoat and its accelerator, you might encounter a few common problems. Knowing how to identify and fix these issues can save your project and ensure you get the beautiful finish you expect.
Most problems are related to mixing, application, or environmental factors.
Uneven Finish or Blotching
This is a frequent issue if the oil and accelerator weren’t mixed properly or if the application wasn’t even. If the mixture is not uniform, some areas might cure faster than others, leading to blotches. Another cause can be not removing excess oil evenly.
Too much oil left on the surface can also create an uneven appearance.
The solution often involves careful application and proper excess removal. Ensure thorough mixing before applying. When applying, try to maintain a wet edge to avoid visible lines between sections.
If blotching has already occurred, it might require sanding down the affected area and reapplying the finish.
Slow Curing or Tacky Surface
A tacky surface usually means the accelerator was not used, or not enough was used. Low temperatures and high humidity also significantly slow down the curing process. If the environment is too cold (below 50°F or 10°C), the oil will take much longer to cure, even with the accelerator.
To speed up curing, ensure you are using the correct ratio of accelerator and applying in recommended temperature ranges. If the surface remains tacky after the expected curing time, you might need to wait longer or consider a light reapplication of the accelerator (in some cases, as per technical guidance) in the affected areas. Sometimes, increased airflow can help.
Accelerator Solidifying in the Can
If the accelerator is stored improperly, it can sometimes solidify or form crystals. This is more common if the accelerator has been exposed to air for too long or stored at very low temperatures. Solidified accelerator will not mix properly with the oil, leading to application problems.
To prevent this, always store accelerators in tightly sealed containers in a cool, dry place. If you notice solidification, try warming the can gently in a warm water bath. Then, stir it thoroughly to see if it can be re-liquefied.
If it remains lumpy or cannot be dissolved, it’s best to replace it.
Tips for Optimal Results
Achieving a perfect Rubio Monocoat finish with accelerator involves more than just mixing. Paying attention to small details can make a big difference in the final look and durability of your project. These tips cover everything from preparation to long-term care.
Proper Wood Preparation
Always start with properly prepared wood. This means sanding to the desired grit and thoroughly cleaning the surface. Any dust, grease, or old finishes can interfere with the oil’s bonding.
Sanding from a coarser grit to a finer grit, then vacuuming and wiping with a tack cloth, is essential.
Ensure the wood is completely dry before applying any finish. Moisture in the wood can affect how the oil cures and adheres. If you’ve recently sanded or cleaned the wood, give it ample time to air dry.
Environmental Considerations
The temperature and humidity of your working environment play a significant role in how Rubio Monocoat cures. Ideal conditions are typically between 68°F and 77°F (20°C to 25°C) with relative humidity between 40% and 60%.
If working in cooler temperatures, you may need to increase the amount of accelerator slightly, as mentioned before. In very humid conditions, curing can also be slowed down. Good ventilation is always beneficial as it helps remove solvents and aids in the curing process.
Maintenance and Re-oiling
Rubio Monocoat finishes are known for their durability and ease of maintenance. For regular cleaning, use a pH-neutral cleaner specifically designed for oiled wood surfaces. Avoid harsh chemicals or abrasive cleaners.
If the wood starts to look dull or worn after several years, it doesn’t necessarily need a full refinishing. You can often refresh the surface with a maintenance oil or a new coat of the original finish. This is part of the beauty of oil finishes – they are easily repairable and maintainable.
Real-World Applications and Examples
The versatility of Rubio Monocoat and its accelerators shines through in various projects. From furniture to flooring, these products deliver consistent and beautiful results. Seeing how they are used in practice can inspire your own projects and highlight the benefits of getting the ratios right.
Case Study A Furniture Restoration
A woodworking enthusiast decided to restore an old oak dining table. The table had a dull, worn finish that needed a complete overhaul. They chose Rubio Monocoat Oil Plus 2C, which has a pre-packaged accelerator.
The process involved sanding the table smooth and then applying the oil using a microfiber applicator.
The user reported that the two-component system cured quickly, allowing them to use the table within 24 hours, which was significantly faster than traditional varnishes. The final finish was a rich, natural look that highlighted the oak’s grain, and it felt incredibly smooth to the touch. The even color and durable finish made the table look brand new.
Case Study B Commercial Flooring
A contractor was tasked with finishing a large commercial space with hardwood floors. Time was a major factor, as the space needed to be operational quickly. They opted for Rubio Monocoat Hardwood Finish, which uses a separate accelerator.
The contractor followed the 3:1 ratio strictly for all batches.
The application was done with large floor applicators, and the accelerator ensured a fast cure, allowing the crew to move onto the next section of the floor without waiting long. The floors were ready for light foot traffic within 48 hours and full use within a week. The durability of the finish stood up well to the heavy daily use of the commercial space.
Sample Scenario 1 A Small Wooden Box
Imagine you are building a small wooden gift box. You want a quick, beautiful finish. You have Rubio Monocoat Oil Plus 2C.
The product comes in two bottles, A and B. You pour the contents of bottle B (the accelerator) into bottle A. Then you shake bottle A thoroughly for about a minute.
You then apply this mixture to your box using a foam brush. After about 15 minutes, you wipe off any excess oil with a lint-free cloth. The box will be dry to the touch in a few hours and ready for its final assembly the next day.
This speed is ideal for small, detailed projects where you want to see fast progress.
Sample Scenario 2 A Large Wooden Countertop
For a large kitchen countertop, you need to ensure a robust finish. You might use a Rubio Monocoat product that requires mixing the accelerator separately. Let’s say you have 500 ml of oil and the ratio is 3:1.
You would measure out approximately 375 ml of oil and 125 ml of accelerator.
Mix these thoroughly in a larger container for 2 minutes. Apply to the countertop evenly. Allow 10-15 minutes for the oil to penetrate, then wipe off all excess vigorously with a clean cloth.
The accelerator helps ensure that this large surface cures properly and is ready for use within the recommended timeframe, providing a durable and attractive finish for your kitchen.

Frequently Asked Questions
Question: What happens if I use too much accelerator?
Answer: Using too much accelerator can cause the oil to cure too quickly, making it difficult to apply evenly and potentially leading to an uneven or streaky finish. It might also affect the long-term durability and appearance of the wood.
Question: Can I use a standard measuring cup for the accelerator ratio?
Answer: For small amounts, a graduated cylinder or a syringe will give you the best accuracy. For larger projects, precise measuring cups are recommended to ensure the correct ratio.
Question: How long does the mixed Rubio Monocoat with accelerator last after mixing?
Answer: Once mixed, the product has a limited working time, often between 4-8 hours, depending on the product and temperature. It’s best to mix only what you plan to use within that time frame to avoid waste and ensure optimal performance.
Question: Is it safe to use Rubio Monocoat accelerator indoors?
Answer: Yes, Rubio Monocoat products and their accelerators are designed for use indoors. However, it is always important to work in a well-ventilated area and follow the safety guidelines on the product label.
Question: Do I need to sand between coats of Rubio Monocoat?
Answer: Generally, no. Rubio Monocoat is designed for a single-coat application. This means you typically do not need to sand between coats, which saves a lot of time and effort compared to traditional finishes.
Summary
Mastering the Rubio Monocoat accelerator ratio guide is simple with the right knowledge. You learned the importance of precise measuring and mixing for a durable, beautiful finish. Following the recommended ratios, like the common 3:1, ensures your projects cure correctly.
Understanding environmental factors and common issues helps you achieve professional results every time.