How to Sand Small Details in Wood (Corners, Carvings & Trim)
Sanding small details in wood — corners, carvings, trim edges — calls for a triangular-pad detail sander or a wrapped dowel, not the random-orbital sander you use on flat panels. The most common mistake is sanding across the grain instead of with it, which leaves scratches that only show up once stain goes on. This guide covers the right tool for each shape, the correct grit progression, and the step-by-step technique for corners, carvings, and trim.
What Tools Work Best for Sanding Small Wood Details?
Best Detail Sander Pick
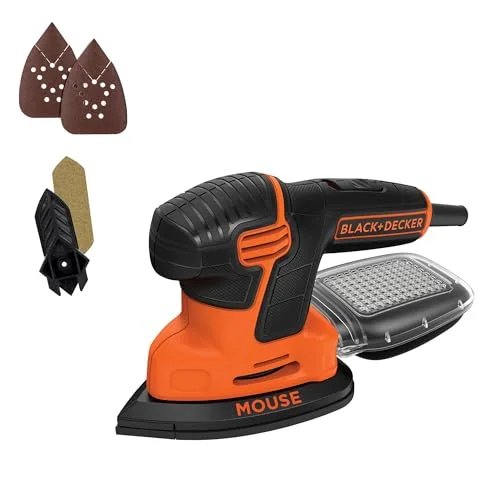 |
BLACK+DECKER BDEMS600 Detail Sander – $42.0 Its triangular pad and finger attachment reach the same tight corners and inside edges this guide covers, at 16,000 OPM for fast, even material removal.
|
Three tools cover almost every detail-sanding situation. A detail sander with a triangular pad vibrates into corners and inside edges that a flat sander’s pad can’t reach. A rotary tool fitted with a sanding drum, disc, or brush handles curved carvings and scrollwork. A wrapped dowel — start around 3/8 inch in diameter — works for tight curves and carvings that don’t conform to a straight edge or a rotary tool’s shape at all.
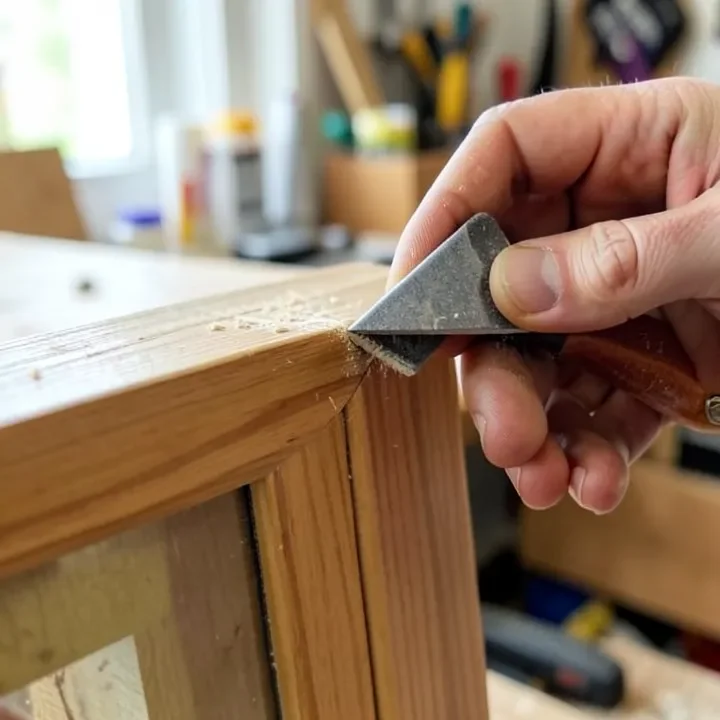
For repeated detail work across multiple projects, a dedicated detail sander saves the most time over hand-sanding with folded paper or a dowel.
How to Sand Small Details in Wood: Step-by-Step
- Pick the right tool for the shape: Use a triangular-pad detail sander for corners and inside edges, a rotary tool with a sanding drum for curves, or a wrapped dowel for carvings and scrollwork that don’t have a flat edge.
- Start with the right grit: Use 80-120 grit only if you need to remove material or fix a gouge; start at 150-180 grit for normal detail work so you don’t create deeper scratches to sand out later.
- Sand with the grain, never across it: Move the sander or wrapped sandpaper in the same direction as the wood grain — sanding across the grain, especially with a rotary tool, leaves scratches that show up under stain.
- Use a light touch: Let the abrasive do the work. Pressing hard with a detail sander rounds over crisp edges and corners that are supposed to stay sharp.
- Finish with fine grit: Step up to 220-320 grit for the final pass on any detail area that will be stained or finished, so it matches the smoothness of the surrounding flat surfaces.
📊 Detail sanders typically run 12,000-16,000 orbits per minute, using a small triangular pad specifically designed to vibrate into corners and tight spaces that a standard orbital sander’s round pad can’t reach.
Sanding Intricate Carvings and Corners: Grit and Technique
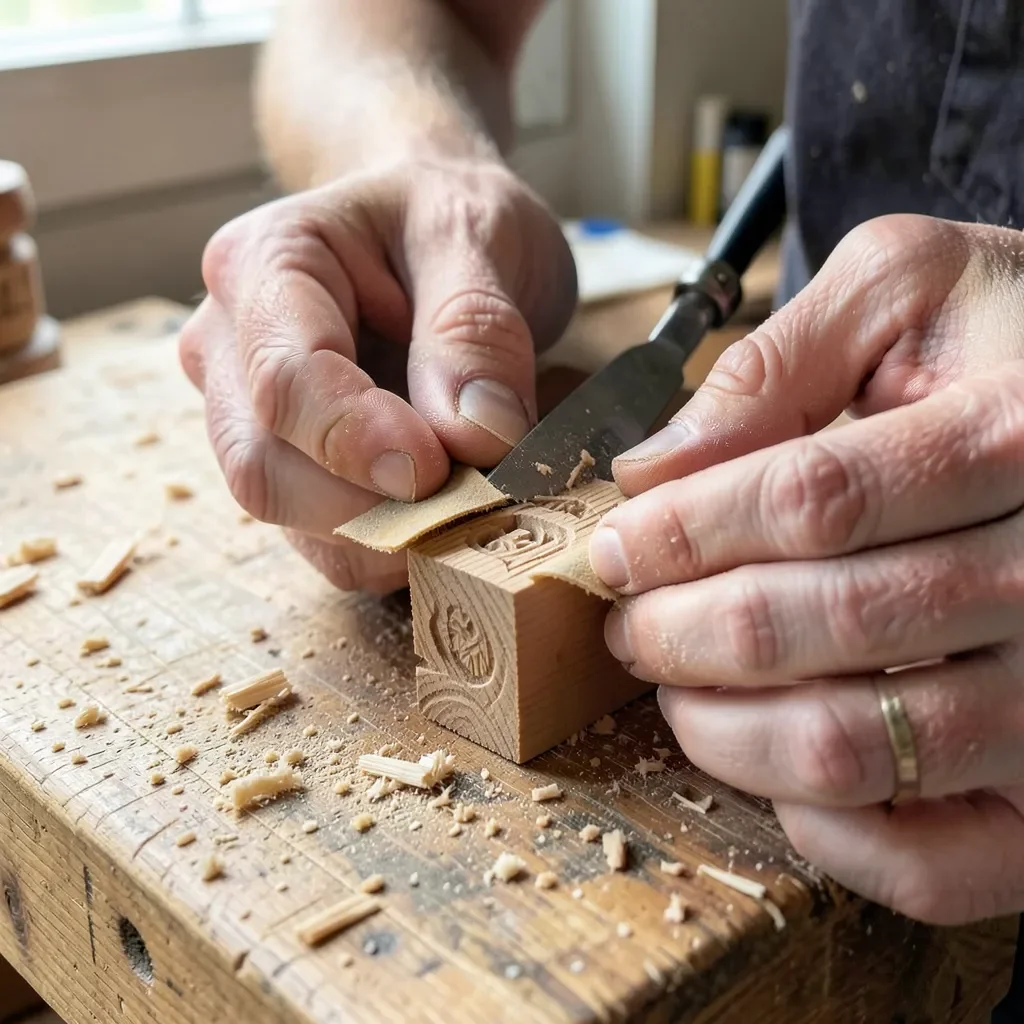
Carvings and deep grooves need a slower, more deliberate approach than flat sanding. Hold a wrapped dowel or rotary sanding accessory diagonally in a tight corner and work it like a mini file rather than pushing straight in — this keeps you from gouging the inside edge.
| Grit | Use for |
|---|---|
| 80-120 | Removing material, fixing gouges or tool marks |
| 150-180 | General detail shaping and smoothing |
| 220-320 | Final pass before stain or finish |
For a carved detail around 3mm deep, a rotary tool with a small sanding drum clears it far faster and more evenly than plain sandpaper wrapped around a dowel — worth the switch for anything with an undercut or curved profile. For general project planning and finishing order, our woodworking project tips guide covers where detail sanding fits into the overall build sequence, and our woodworking tools guide covers the rest of the tool kit you’ll want alongside a detail sander.
Common Mistakes When Sanding Detailed Woodwork
- Sanding across the grain: The single biggest cause of visible scratches under stain — always match the sanding direction to the grain, even in tight corners.
- Skipping grits: Jumping from 100 grit straight to 320 leaves the coarser scratches behind; step through the grits in order.
- Pressing too hard with a detail sander: Rounds over corners and edges that are meant to stay crisp — let the tool’s vibration do the work.
- Using the wrong tool for the shape: A flat detail-sander pad can’t follow a curved carving — switch to a rotary tool or wrapped dowel for anything that isn’t a straight inside corner.
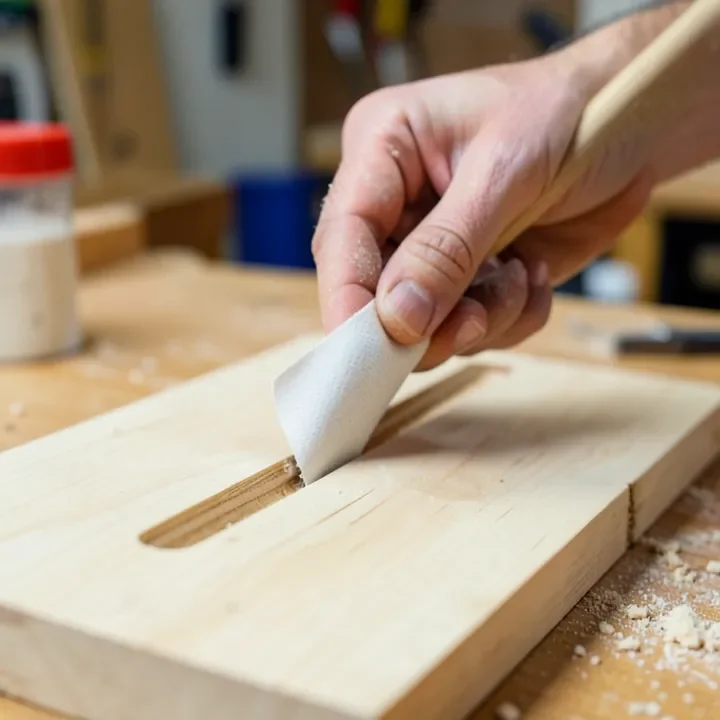
Not every tight spot is a corner or a carving, though. A narrow recessed crevice — a glue line between two boards, a decorative groove run with a router, or the gap along a moulding profile — is a different shape again, and it usually calls for a folded point of sandpaper or a homemade sanding stick rather than this guide’s triangular pad or rotary drum. See our guide to sanding in crevices for the tools that fit that narrower shape.
Frequently Asked Questions
What can I use to lightly sand details on wood?
A folded piece of fine-grit sandpaper (220 grit or higher) held in your fingers works for very light detail sanding, since it flexes into curves a rigid sanding block can’t reach. For repeated detail work, a triangular-pad detail sander like the BLACK+DECKER BDEMS600 covers the same tight spots faster.
What tool is best for sanding intricate wood carvings?
A rotary tool fitted with a sanding drum or disc reaches into carved grooves that a flat sander can’t, and a wrapped dowel (starting around 3/8 inch) works well for scrollwork and curves that don’t follow a straight edge. Always follow the direction of the wood grain, not the direction easiest for the tool.
Why does sanding wood details leave scratches?
Cross-grain sanding is the most common cause — moving sandpaper or a rotary tool across the wood grain instead of with it digs in scratches that show up clearly once stain is applied. The fix is re-sanding the area with the grain at one grit finer than the scratch depth.
Is it easy to sand a carved detail 3mm deep with sandpaper?
It’s possible but slow with plain sandpaper wrapped around a dowel or folded into the groove — a rotary tool with a small sanding drum reaches a 3mm-deep carved detail far faster and with more even results, especially on curved or undercut shapes.
Match the tool to the shape, keep the sanding direction with the grain, and step through your grits in order — that combination handles nearly every tight corner, carving, or trim detail you’ll run into.
Sponsored / affiliate links. As an Amazon Associate I earn from qualifying purchases. I may earn additional commission from eligible campaigns.