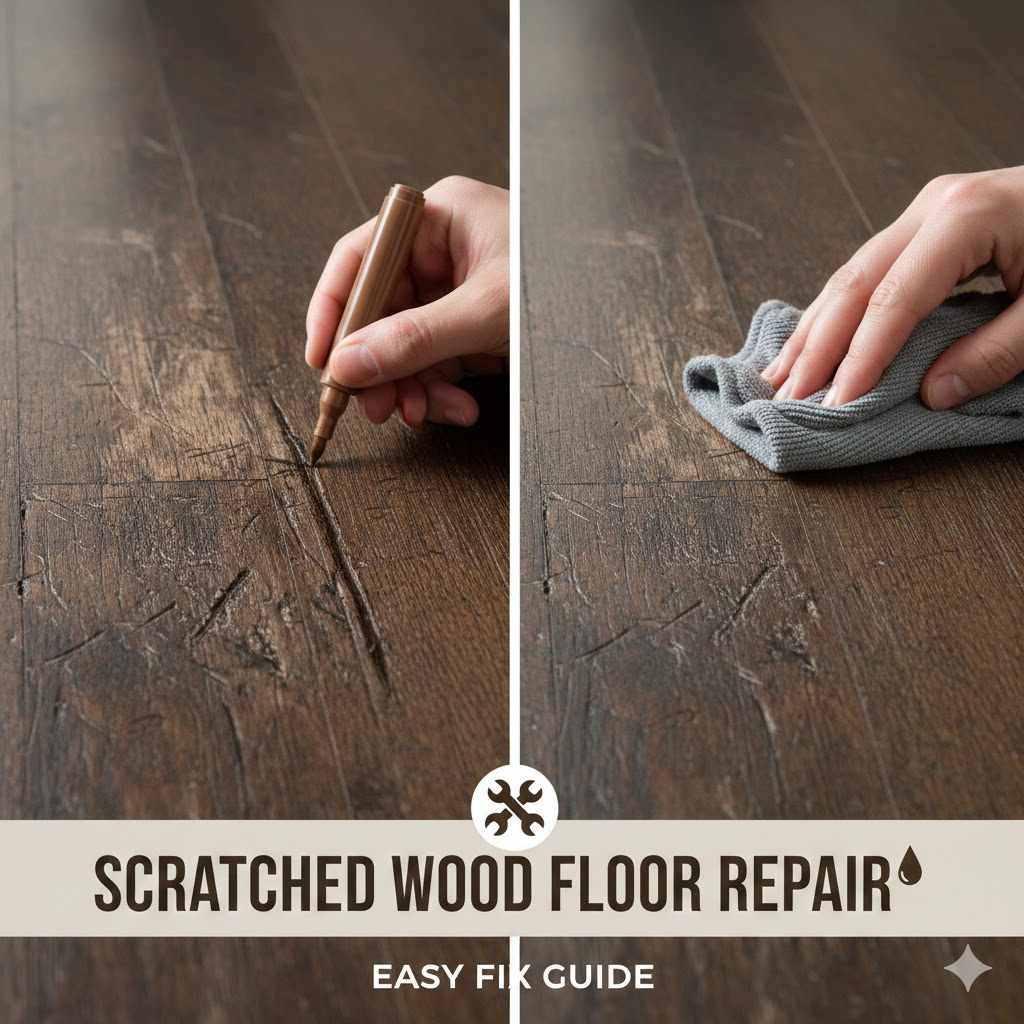
Scratched Wood Floor Repair Easy Fix Guide
Wood floors look beautiful, but scratches can happen. It’s easy to worry about fixing them yourself. Many people think it’s too hard or they might make it worse.
But don’t worry, we have simple steps for you. This guide will show you how to tackle those marks and make your floor look great again. Let’s get started!
Fixing Scratched Wood Floors Simple Guide
This section covers the basics of how to approach fixing scratches on your wood floors. We will explore why scratches happen and how to assess the damage. Knowing these things helps you pick the right repair method.
It’s like understanding the problem before you try to solve it. We want to make sure you feel confident with every step you take.
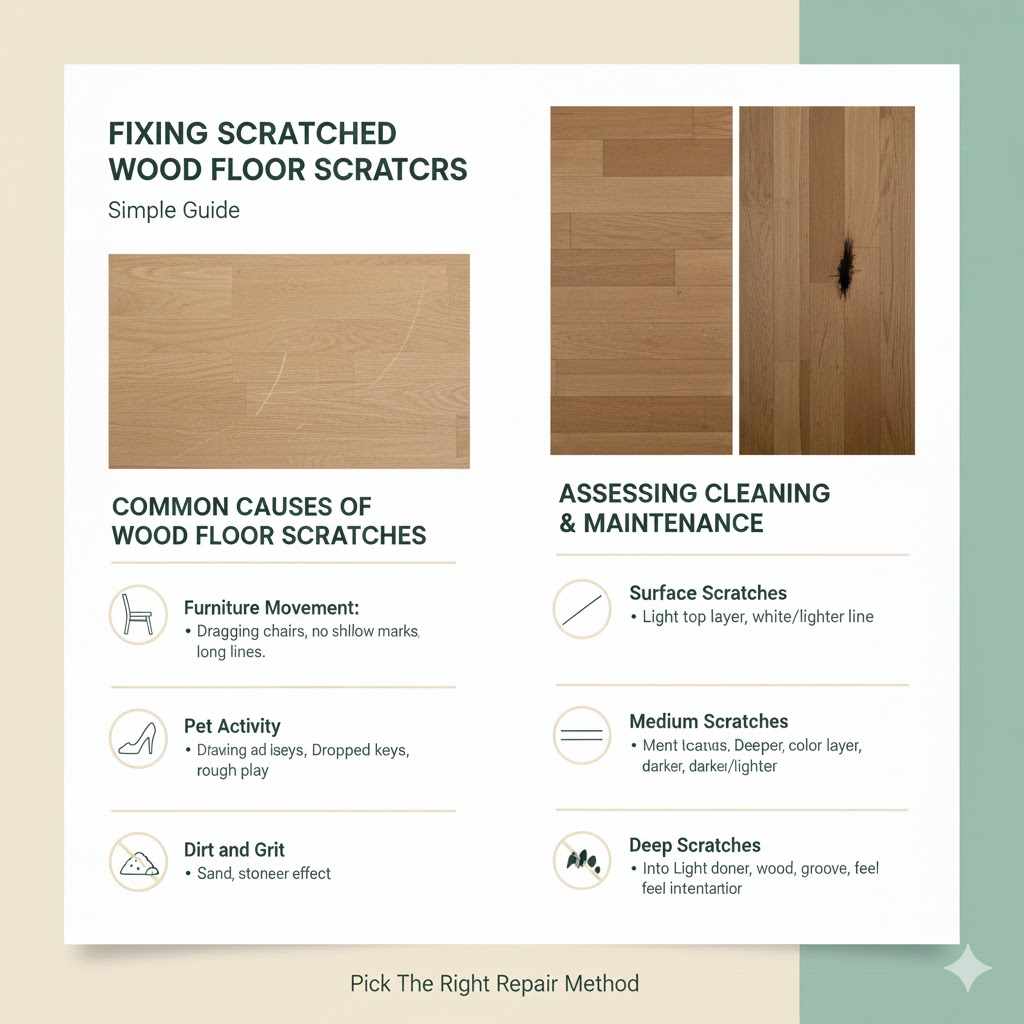
Common Causes of Wood Floor Scratches
Wood floors get scratched for many reasons. Furniture being moved is a big one. Small pebbles or dirt stuck in shoes can also cause tiny lines.
Pets’ claws can leave their mark. Even regular wear and tear over time can lead to scratches.
- Furniture Movement: Dragging chairs or tables without felt pads can easily scrape the floor. This can create long, noticeable lines.
- Pet Activity: Dogs and cats can scratch floors with their nails, especially during play. These scratches are often shallow but can be widespread.
- Daily Wear and Tear: Dropping keys, high heels, or even rough play by children can result in new scratches.
- Dirt and Grit: Sand and small stones tracked in from outside act like sandpaper on your floor’s finish.
Understanding these causes helps prevent future damage. For instance, always use felt pads on furniture legs. Keep your floors clean by sweeping or vacuuming regularly.
Trimming pet nails also helps a lot. This knowledge is the first step to keeping your wood floors looking their best.
Assessing the Scratch Depth
Before you grab any repair product, look closely at the scratch. Is it just on the surface, or has it gone deeper? A light scratch might only affect the finish.
A deeper scratch could go into the wood itself.
- Surface Scratches: These are light and usually only affect the top protective layer. They often look like a white or lighter line.
- Medium Scratches: These go a bit deeper, sometimes into the wood’s color layer. They might look darker or lighter than the surrounding wood.
- Deep Scratches: These go into the wood and might even create a groove. You can often feel the indentation with your fingernail.
The depth of the scratch determines the best way to fix it. Simple products work for light marks. Deeper damage might need more involved methods.
We will cover different fixes for different depths.
Scratched Wood Floor Repair Easy Fix Guide Solutions
Now, let’s get to the actual fixes! This part explains the different ways you can repair scratches. We’ll go from the easiest fixes for light damage to slightly more involved methods for deeper marks.
You don’t need to be a pro to do this. We’ll break it down so it’s easy to follow.
Repairing Light Surface Scratches
For those small, superficial scratches that only mark the finish, you have several simple options. These are quick fixes that can make a big difference without much effort. Think of these as first aid for your floor.
Wood Floor Repair Markers and Crayons
These are like colored pencils or crayons specifically made for wood floors. They come in various wood tones. You simply color over the scratch to fill it in and match the surrounding wood.
- How to Use: Choose a color that closely matches your floor. Rub the crayon or marker gently along the scratch. Wipe away any excess with a soft cloth.
- Best For: Very light surface scratches and scuffs. They are great for hiding minor blemishes.
Imagine a light scratch from your dog’s toy. A quick swipe with a matching wood crayon can make it disappear. This is a very accessible method for most homeowners.
Wood Polishes and Touch-Up Solutions
Some wood polishes contain colorants that can help blend minor scratches. They also add shine to the area, which can make scratches less visible.
- How to Use: Apply a small amount of the polish to a soft cloth. Rub it into the scratch following the wood grain. Buff the area to a shine.
- Best For: Fading minor scratches and revitalizing the finish in worn areas.
If your floor looks a little dull and has faint scratches, a good polish can do wonders. It’s like giving your floor a mini spa treatment.
Addressing Medium Scratches
When scratches are a bit deeper, you need a product that can fill them in more effectively. These methods might take a little more time but are still very DIY-friendly.
Wood Filler and Putty
Wood filler is a paste that you can apply to fill deeper scratches or gouges. It dries hard and can be sanded and stained or painted to match your floor.
- How to Use: Clean the scratch thoroughly. Apply the wood filler using a putty knife, pressing it into the scratch. Smooth it level with the floor surface. Let it dry completely, then lightly sand it smooth.
- Best For: Deeper scratches and small chips that have removed some wood material.
Think of a scratch left by a dropped tool. Wood filler can effectively fill this gap. After it dries, you can sand it down.
This makes the surface smooth again.
A common scenario is a scratch from moving a heavy piece of furniture. Let’s say you accidentally scraped a table leg across your oak floor.
- First, clean the area around the scratch. Remove any dust or debris.
- If the scratch is a deep gouge, you’ll want to use wood filler. Choose a color that matches your floor as closely as possible, or one that can be stained.
- Use a small putty knife to press the filler firmly into the scratch. Make sure it fills the entire depth of the damage.
- Smooth the filler so it’s level with the rest of the floor. Wipe away any excess filler before it dries.
- Let the filler dry completely. This can take a few hours, depending on the product.
- Once dry, very lightly sand the filled area with fine-grit sandpaper. This helps it blend in.
- If your filler is an uncolored type, you might need to apply a wood stain or a touch-up pen to match the surrounding floor color.
- Finally, apply a matching floor finish over the repaired area to protect it and make it blend in.
Stain Pens and Matching Stains
If the scratch has removed some of the wood’s color, a stain pen can be very helpful. These are like markers but use wood stain. You can also use a small amount of matching wood stain.
- How to Use: Apply the stain pen or stain carefully into the scratch, following the wood grain. Wipe away excess immediately. Let it dry. You may need to repeat for deeper color.
- Best For: Scratches that have removed the wood’s color layer. They help restore the original look.
Consider a scratch from a pet’s claws. It might be shallow but has taken off some of the color. A stain pen can easily refill that color.
Dealing with Deep Scratches and Gouges
For the most serious damage, like deep gouges, you’ll need more robust solutions. These are still manageable for a homeowner willing to put in a little extra effort.
Wood Repair Kits
There are comprehensive kits available that include fillers, stains, and sealants. These kits are designed to help you tackle more significant damage.
- What’s Inside: Typically, these kits contain putty or filler, applicators, sandpaper, and various colorants or stains. Some even include a top coat.
- How to Use: Follow the specific instructions in the kit. Generally, you’ll clean the area, fill the damage, let it dry, sand, color match, and seal.
- Best For: Significant scratches, gouges, and even small dents. They offer a complete solution.
Imagine a deep scratch caused by a falling object. A good repair kit can fill this in and help it blend beautifully.
Professional Wood Floor Refinishing (for extensive damage)
If your floor has numerous deep scratches or widespread damage, it might be time to consider professional help. Refinishing involves sanding down the entire floor and applying a new finish.
- When to Call Pros: If scratches cover a large area of your floor, or if the damage is too deep for DIY methods.
- What They Do: Professionals will sand your floor smooth, remove old finishes, and apply new stain and protective coatings.
- Result: This restores your floor to look like new, but it’s a more costly and time-consuming option.
Sometimes, a floor has been through a lot. Many years of use can lead to widespread wear. In these cases, a full refinish is the best way to bring back its glory.
DIY Wood Floor Scratch Repair Materials
To successfully complete your Scratched Wood Floor Repair: Easy Fix Guide, having the right materials is key. Don’t worry, most of these are easy to find at hardware stores.
Essential Tools and Supplies
Having the correct items makes the job smoother. You don’t need a lot of fancy equipment. Simple, common household items often do the trick.
- Soft Cloths: For cleaning, applying polishes, and wiping away excess.
- Putty Knife: A small, flexible knife for applying wood filler.
- Fine-Grit Sandpaper: For smoothing filled areas and blending. Aim for 180-220 grit.
- Wood Filler or Putty: Choose a color that matches your floor or can be stained.
- Wood Floor Repair Markers or Crayons: For quick touch-ups on light scratches.
- Wood Polish or Touch-Up Solution: For light scratches and general maintenance.
- Wood Stain Pen or Small Can of Stain: To match the color of the wood if it’s faded.
- Protective Finish or Sealer: To match your floor’s existing finish and seal the repair.
Gathering these items beforehand ensures you can work efficiently. It prevents interruptions once you’ve started the repair process.
Choosing the Right Color Match
Matching the color of your floor is one of the most important parts of a good repair. If the color is off, the repair will stand out.
- Test Colors: If using stain pens or fillers, always test the color on an inconspicuous area first, like inside a closet.
- Natural Light: Try to match colors in natural daylight. Artificial light can change how colors appear.
- Consider Undertones: Wood floors have undertones (e.g., red, yellow, brown). Try to match these for the best blend.
- When in Doubt, Go Lighter: It’s often easier to deepen a color with multiple light coats than to fix a color that’s too dark.
A slight mismatch can make the repair obvious. Taking the time to get the color right is worth it. It ensures your floor looks seamless again.
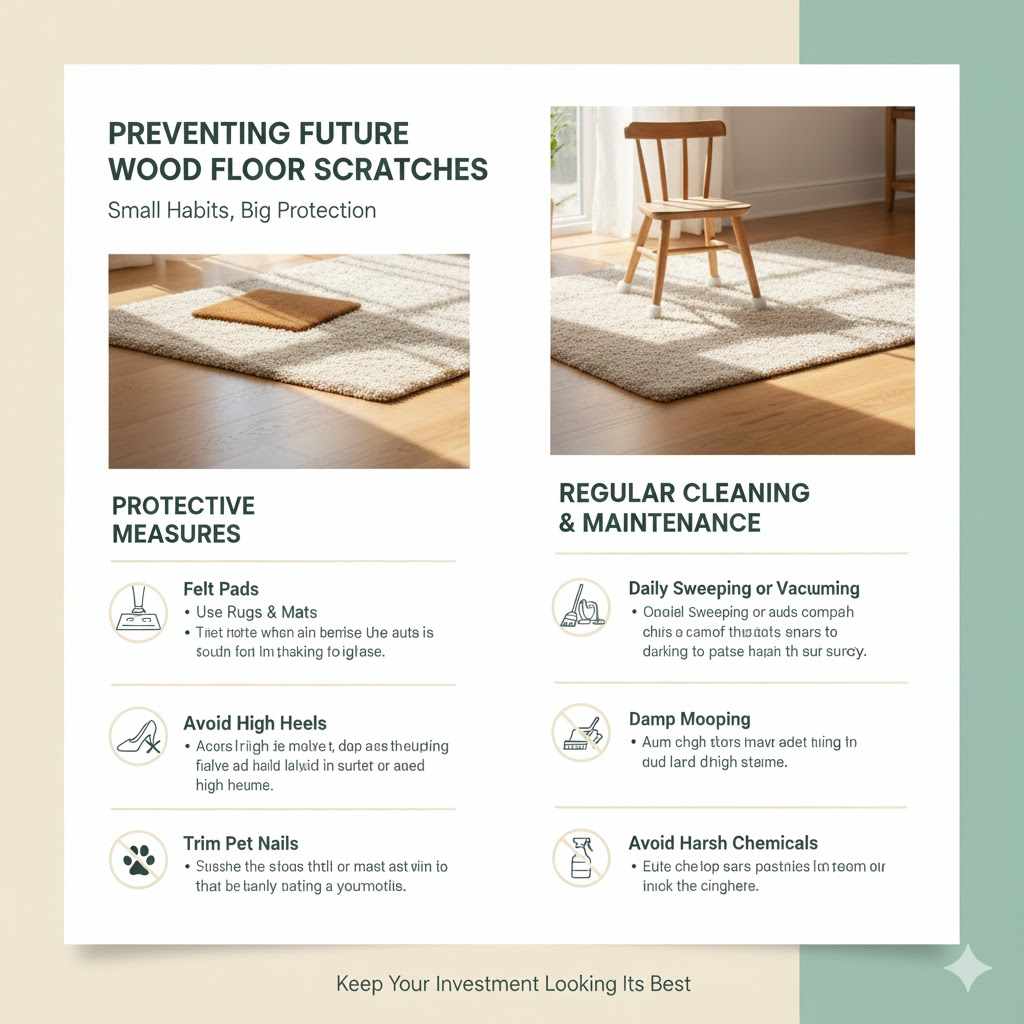
Preventing Future Wood Floor Scratches
Once you’ve successfully repaired your scratches, you’ll want to keep your floors looking good. Prevention is always easier than repair. Small habits can go a long way.
Protective Measures for Your Floors
Simple actions can protect your wood floors from new scratches and wear. Think of these as ongoing maintenance steps to keep your investment looking its best.
- Felt Pads on Furniture: Always attach felt pads to the bottom of all furniture legs. Check them regularly and replace them when they wear out.
- Use Rugs and Mats: Place rugs in high-traffic areas like hallways and entryways. Use doormats outside all exterior doors to catch dirt and grit.
- Avoid High Heels and Cleats: Ask guests to remove shoes with hard soles or sharp heels before walking on wood floors.
- Trim Pet Nails: Keep your pets’ nails trimmed regularly to minimize scratching.
These preventative steps help maintain the beauty of your wood floors. They reduce the need for frequent repairs and keep your home looking polished.
Regular Cleaning and Maintenance
Consistent, proper cleaning is vital for protecting your wood floors. It removes the small particles that can cause damage over time.
- Daily Sweeping or Vacuuming: Use a soft-bristle broom or a vacuum cleaner with a hard floor attachment. This removes dust, dirt, and grit.
- Damp Mopping: Use a wood floor cleaner specifically designed for your type of finish. Wring out your mop well so it’s just damp, not wet. Too much water can damage wood.
- Avoid Harsh Chemicals: Never use abrasive cleaners, ammonia, or excessive water on your wood floors.
By following these simple cleaning routines, you safeguard your floors. This helps preserve their shine and protect them from premature wear and tear.
Frequently Asked Questions
Question: How can I fix a deep scratch on my wood floor?
Answer: For deep scratches, you will likely need wood filler. Clean the scratch, apply the filler with a putty knife, smooth it level, let it dry, and then sand it gently. You may need to match the color with a stain pen or touch-up stain and then seal the area with a matching finish.
Question: What is the easiest way to fix a light scratch on a wood floor?
Answer: For light scratches, a wood floor repair marker or crayon is often the easiest fix. Choose a color that matches your floor and simply color over the scratch. Wipe away any excess with a soft cloth.
Wood polishes can also help blend very minor surface marks.
Question: Can I repair scratches on a laminated wood floor?
Answer: While this guide focuses on solid wood floors, many of these principles apply to laminate. For light scratches, touch-up markers or specific laminate repair kits can work. Deep damage on laminate is harder to fix invisibly and may require plank replacement.
Question: How do I prevent my dog from scratching my wood floors?
Answer: Keeping your dog’s nails trimmed short is the most effective way to prevent scratching. You can also use rugs or mats in areas where your dog spends a lot of time or plays. Some owners also use paw wax or booties for added protection.
Question: What is the difference between wood filler and wood putty?
Answer: Wood filler is generally stronger and can be sanded and stained, making it ideal for deeper repairs. Wood putty is softer and more flexible, often used for smaller imperfections or nail holes, and usually dries to a paintable finish rather than being stained.
Wrap Up
Fixing scratched wood floors is very doable with the right approach. You can easily tackle light marks with markers or polish. Deeper damage needs filler and careful color matching.
Taking preventative steps like felt pads and regular cleaning keeps floors looking great long-term. Your wood floors can look beautiful again with these simple fixes.