How to Prepare a Wooden Floor for Tiling: Expert Tips & Tricks
Preparing a wooden floor for tiling can seem like a big task. It’s essential to get it right for a perfect finish.
Before starting, make sure your wooden floor is ready for the tiles. This step is crucial to avoid any issues later. Proper preparation ensures the tiles stick well and last longer. In this guide, you will learn the steps to prepare your wooden floor for tiling.
We will cover cleaning, leveling, and priming the floor. By the end, you will feel confident to start tiling on your wooden floor. Keep reading to make sure your tiling project is a success.
Credit: homeandawaywithlisa.com
Gather Necessary Tools
Gather necessary tools like tile cutters, trowels, and a level. Ensure you have safety gear, including gloves and goggles. Prepare everything before starting to save time.
Essential Equipment
First, collect all the tools. You will need a tape measure, level, and chalk line. Get a notched trowel and tile spacers. A rubber mallet is also important. Don’t forget mixing buckets and a mixing paddle. A tile cutter or wet saw is essential for cutting tiles. Lastly, have a sponge and bucket for cleaning.
Safety Gear
Wear safety goggles to protect your eyes. Work gloves will keep your hands safe. Use knee pads for comfort. A dust mask is needed. This will protect you from dust. Ensure you have hearing protection if using loud tools. Stay safe while you work.
Credit: www.homedepot.com
Inspect The Wooden Floor
Look for any cracks, holes, or soft spots in the wood. These need to be fixed before tiling. Use a flashlight to see better. Tap the floor to find hidden damage. Weak spots can cause tiles to break later. Fix all damaged areas to ensure the floor is strong.
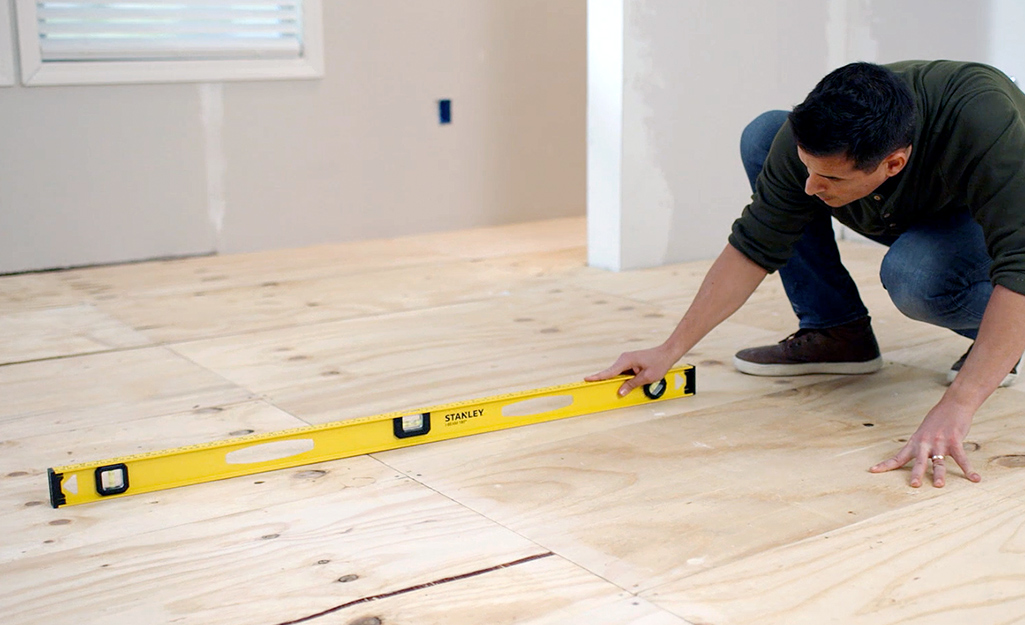
Place a long level tool on the floor. Check if the floor is even. Uneven floors can cause tiles to sit poorly. Fix high or low spots using a floor leveling compound. It helps create a flat surface. This step is important for a smooth tile finish.
Clean The Floor Surface
Ensure the wooden floor is clean and free of dust. Sweep thoroughly and mop to remove any residue.
Remove Debris
First, pick up any large pieces of debris by hand. Then, use a broom to sweep away smaller bits. Make sure you get into corners and edges. This will help ensure a smooth surface for tiling.
Vacuum Thoroughly
After sweeping, it’s time to vacuum. Use a vacuum with a strong suction. Go over the floor slowly to pick up dust and dirt. Pay special attention to any cracks or gaps. This step is important for a clean surface.
Repair And Reinforce
Check the floor for any loose boards. Secure them with nails or screws. Remove any old nails sticking out. Sand the surface until smooth. This will create a flat base for tiling. Make sure no boards are moving.
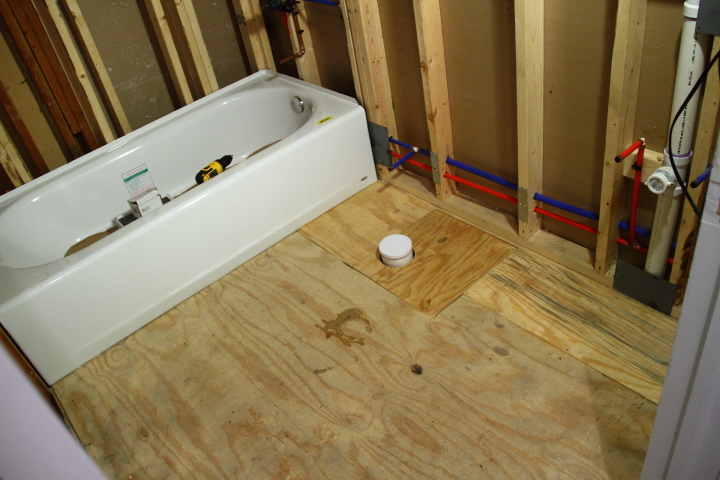
Lay down a layer of underlayment. This helps protect the tiles. It also reduces movement in the floor. Cut the underlayment to fit the room. Use adhesive to secure it. Make sure there are no gaps. This will ensure a stable surface for the tiles.
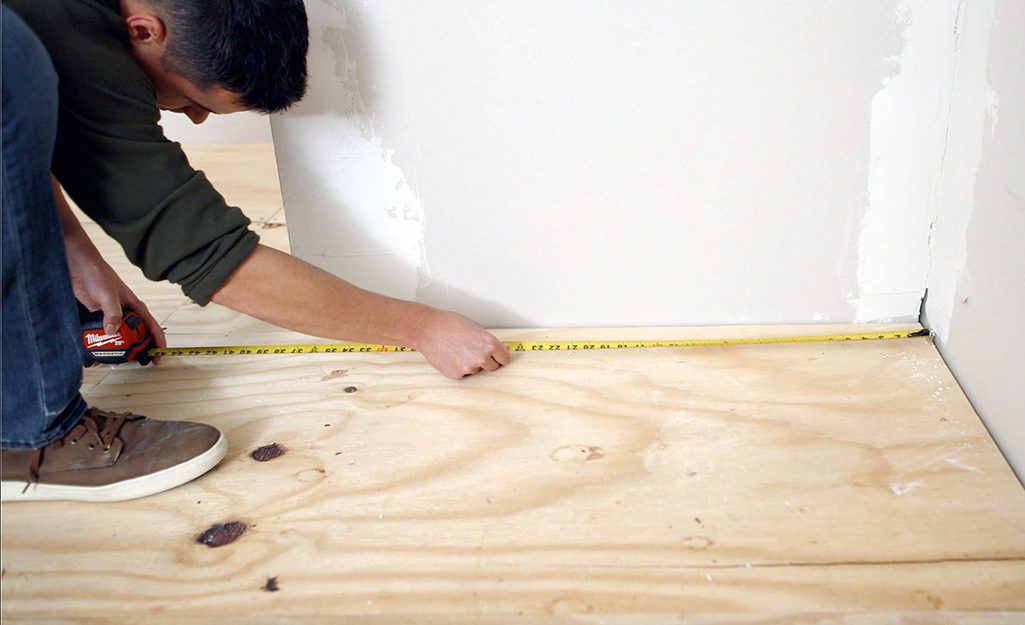
Measure And Mark
First, gather your tools. You need a tape measure, chalk line, and pencil. Measure the length and width of the room. Write down these measurements. Now, find the center of the room. Mark this spot with a pencil. Use the chalk line to make a straight line. Do the same for the other side.
Plan Tile Layout
Start at the center point. Lay out some tiles without glue. Check how they fit. Adjust if needed. Make sure there are no small cuts at the edges. This helps tiles look better. Keep tiles straight. Use spacers if needed.
Mark Reference Lines
Once tiles are in place, mark lines with chalk. These lines help you keep tiles straight. Mark both directions. Now you have a grid. Follow this grid when placing tiles. This will make your work easier.
Apply Primer
Choosing the right primer is very important. It helps the tiles stick well. Check the primer label. Look for one that says it’s good for wood. This will ensure a strong bond. If unsure, ask a store expert. They can guide you.
Start by cleaning the floor. Remove all dust and dirt. Pour some primer into a tray. Use a paint roller or brush. Spread the primer evenly. Cover the whole floor. Let it dry completely. This step is crucial. It ensures tiles will stick properly. Don’t rush this part. A well-primed floor lasts longer.
Mix And Apply Adhesive
Read the instructions on the adhesive package. Pour the powder into a bucket. Add water slowly and stir. Make sure to mix well. The adhesive should be smooth and thick. Let it sit for a few minutes.
Use a trowel to spread the adhesive. Cover a small area first. Spread evenly. Make sure the layer is not too thick. Press tiles gently into the adhesive. Use spacers to keep tiles straight. Check for any gaps or bubbles.
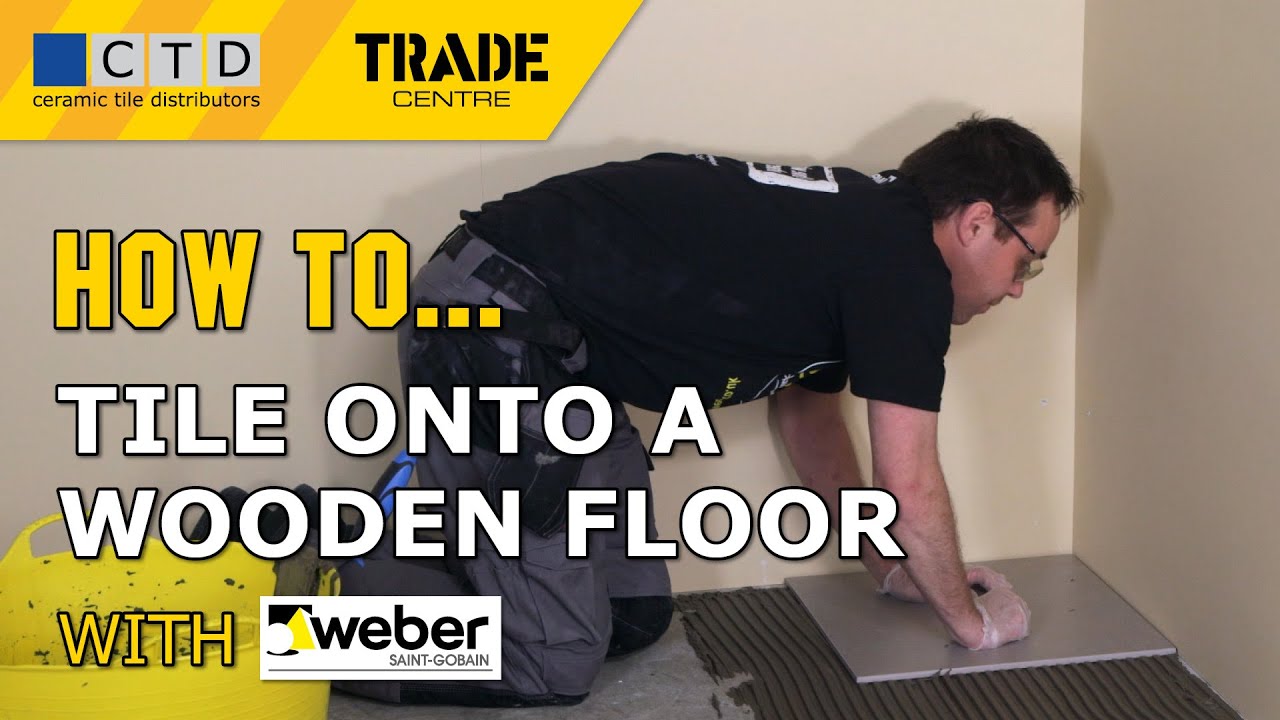
Lay The Tiles
Start by placing tiles in a small section. Use a notched trowel for spreading the adhesive evenly. Press each tile gently to ensure it sticks well. Keep the tiles aligned for a neat look.
Tile spacers help keep gaps even between tiles. Place spacers at each corner of the tile. This ensures consistent spacing and grout lines. Remove the spacers once the adhesive dries.
Grout The Tiles
Use a clean bucket to mix the grout. Follow the instructions on the grout package. Stir the grout to remove lumps. Ensure the grout is smooth and creamy. Let the grout sit for 10 minutes. Stir again before use.
Spread the grout with a float. Hold the float at a 45-degree angle. Press the grout into the gaps. Remove excess grout with the float. Wipe the tiles with a damp sponge. Clean the sponge often. Let the grout dry for 24 hours. Polish the tiles with a dry cloth.
Final Touches
Ensure the wooden floor is clean and level before tiling. Sand rough areas and fill gaps for a smooth surface. A stable base guarantees long-lasting tiles.
Seal The Grout
Sealing the grout is crucial. It prevents water damage and stains. Start by cleaning the grout lines. Use a damp cloth for this step. Wait until the grout is completely dry. Then, apply the grout sealer. A small brush or roller works well. Apply evenly and avoid over-saturating. Let it sit for the recommended time. Usually, this is 24 hours. Check the instructions on your sealer for exact time. This step ensures long-lasting results.
Inspect The Finished Floor
Inspect the floor carefully. Look for any loose tiles. Check for uneven spots or gaps. If found, fix them immediately. Walk over the floor. Make sure it feels sturdy. No tiles should move. Ensure there are no sharp edges. These can cause injuries. Lastly, clean the entire floor. Remove any dust or debris. Your wooden floor is now ready for use.
Credit: m.youtube.com
Frequently Asked Questions
How Do I Clean A Wooden Floor Before Tiling?
To clean a wooden floor before tiling, sweep and vacuum the surface. Use a damp mop with mild detergent. Ensure the floor is completely dry before proceeding.
Do I Need To Sand The Wooden Floor?
Yes, sanding the wooden floor is necessary. It helps to create a rough surface for better tile adhesion.
Can I Tile Directly Over A Wooden Floor?
No, you shouldn’t tile directly over a wooden floor. Use a cement backer board or a suitable underlayment to ensure proper adhesion.
What Tools Do I Need For Preparing The Floor?
You will need a broom, vacuum, mop, sandpaper, and a cement backer board. These tools help in proper preparation for tiling.
Conclusion
Properly preparing your wooden floor for tiling ensures a strong, long-lasting finish. Follow each step carefully to avoid common mistakes. Ensure the surface is clean, level, and dry. Use quality materials to enhance durability. Take your time with this process.
A well-prepared floor will make tiling easier and more effective. With patience and attention to detail, you can achieve great results. Now, you are ready to lay your tiles and enjoy a beautiful new floor. Happy tiling!